Introduction
Welcome to this guide on how to cancel an order on PayPal. Whether you made a purchase in error, changed your mind, or encountered an issue with the seller, PayPal offers a convenient way to cancel and request a refund for your transaction.
PayPal is a widely used online payment system that allows individuals and businesses to send and receive money securely. Apart from its primary function as a payment platform, PayPal also provides protection mechanisms to ensure that buyers are satisfied with their purchases.
Canceling an order on PayPal can be a straightforward process if you know the correct steps to follow. In this guide, we will take you through the process step-by-step, from logging in to your PayPal account to verifying the cancellation status.
Whether you’re using PayPal on a computer or a mobile device, the cancellation process is generally the same. However, please note that certain features may be located in slightly different places depending on the device you’re using.
Before we dive into the steps, it’s important to note that you can only cancel an order if it has not yet been processed or shipped by the seller. If you’re unsure about the status of your order or have any concerns, it’s a good idea to contact the seller directly before initiating the cancellation process.
Now, let’s get started with canceling your order on PayPal!
Step 1: Log in to your PayPal account
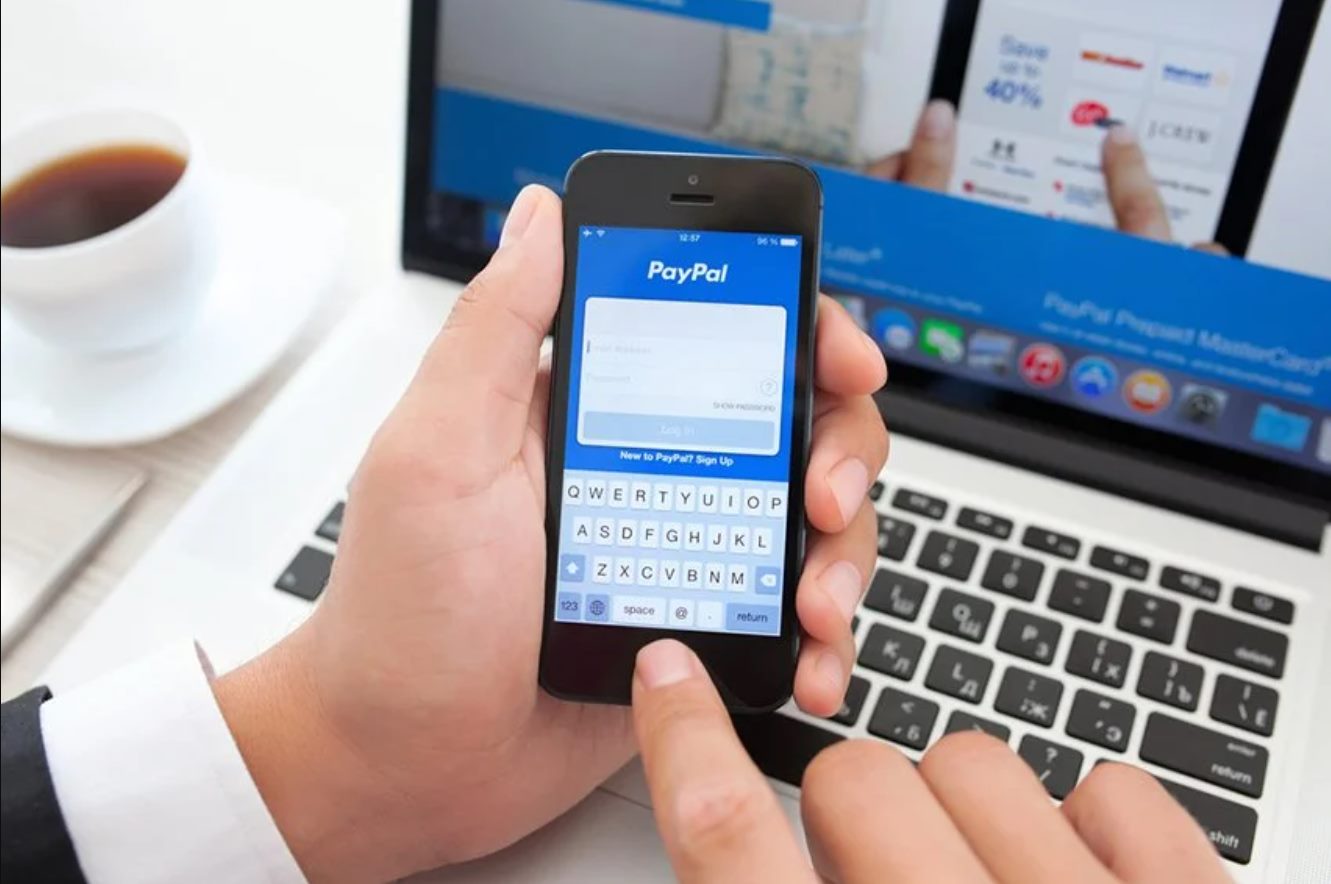
The first step to canceling an order on PayPal is to log in to your PayPal account. To do this, open your preferred web browser and go to the PayPal website. If you’re using a computer, you can also use the PayPal mobile app.
Once you’re on the PayPal homepage, locate the “Log In” button at the top right corner of the page and click on it. This will take you to the login page where you can enter your login credentials.
If you have an existing PayPal account, enter your email address associated with the account in the designated field, then enter your password. Make sure to type in the correct login information to ensure a successful login.
If you’re logging in from a trusted device, you can check the “Stay logged in for faster checkout” option to save time in the future. However, exercise caution and avoid checking this option if you’re on a public or shared device to protect your account security.
After entering your login credentials, click on the “Log In” button to access your PayPal account. If the information you entered is correct, you will be redirected to your PayPal dashboard, where you can manage your transactions and account settings.
If you’re having trouble logging in or have forgotten your password, click on the “Having trouble logging in?” link located below the login button. This will guide you through the password recovery process so you can regain access to your account.
Now that you’ve successfully logged in to your PayPal account, you’re ready to proceed to the next step, which is accessing your PayPal dashboard.
Step 2: Go to your PayPal dashboard
Once you have logged in to your PayPal account, the next step is to navigate to your PayPal dashboard. The dashboard is where you can find an overview of your account activity, including your recent transactions, balance, and other account information.
To access your PayPal dashboard, look for the “Summary” or “Dashboard” tab at the top of the page. Clicking on this tab will take you to the main page of your account, where you can find all the essential information at a glance.
On the dashboard, you will see a summary of your account balance, recent transactions, and any notifications or alerts related to your account. This is also where you can access various features and tools provided by PayPal.
Take a moment to familiarize yourself with the layout and options available on the dashboard. You may find it helpful to explore different tabs and sections to discover the features that PayPal offers, such as sending money, requesting a payment, or managing your linked bank accounts and cards.
The dashboard provides a centralized hub for all your PayPal activities, making it convenient to navigate and manage your transactions. Keep in mind that the layout and options on the dashboard may vary slightly depending on whether you’re using a computer or a mobile device.
Now that you have accessed your PayPal dashboard, let’s move on to the next step, which involves locating the transaction you want to cancel.
Step 3: Locate the transaction you want to cancel
Once you are on your PayPal dashboard, it’s time to locate the specific transaction that you want to cancel. This step is crucial as it ensures that you are canceling the correct order and not any other transaction.
To find the transaction, you will need to look for the “Activity” or “Transactions” tab on your PayPal dashboard. This tab typically displays a list of your recent transactions, allowing you to easily identify the one you wish to cancel.
Click on the “Activity” or “Transactions” tab to access the transaction history. Here, you’ll see a chronological list of your past transactions, with the most recent ones appearing at the top.
If you have a large volume of transactions or many recent activities, you can use the search or filter option to narrow down the list. Look for a search bar or filter options that allow you to enter keywords or select specific date ranges for your search.
Enter relevant keywords related to the transaction you want to cancel, such as the seller’s name, product name, or order number. This will help you quickly locate the transaction from the list.
Once you have located the transaction you want to cancel, take note of the transaction details, including the amount, date, and any additional information related to the purchase. This will be useful in the next steps as you initiate the cancellation process.
Now that you have successfully located the transaction you wish to cancel, proceed to the next step to learn how to access the transaction details.
Step 4: Click on the transaction details
Once you have identified the transaction you want to cancel, the next step is to click on the transaction details. This will allow you to access more information about the specific transaction, including options for cancellation and refunds.
To access the transaction details, locate the transaction you wish to cancel in your PayPal activity or transaction history. It should be displayed as a clickable item in the list.
Click on the transaction to open the transaction details. This will typically open a new page or a pop-up window where you can view all the relevant information regarding that particular transaction.
In the transaction details, you will find important information such as the name of the seller, the item or service purchased, the transaction ID, and the date of the transaction.
Take a moment to review the transaction details carefully to ensure that you have selected the correct transaction for cancellation. Verify that the information matches your expectations and that there are no discrepancies.
Additionally, this is the page where you may find options related to canceling the order or requesting a refund. Look for buttons or links that indicate actions you can take, such as “Cancel Order” or “Request Refund.”
Depending on the seller’s refund policy and the stage of the transaction, you might have different options available. Some sellers may offer a straightforward cancellation process, while others might require you to communicate directly with them before initiating a refund.
If you cannot find a specific option to cancel the order or request a refund in the transaction details, do not worry. Proceed to the next step, and we will guide you through how to initiate the cancellation process.
Now that you have clicked on the transaction details and have reviewed the information, it’s time to move on to the next step: initiating the refund or cancellation process.
Step 5: Initiate the refund or cancellation process
After accessing the transaction details, the next step is to initiate the refund or cancellation process for the specific transaction. PayPal provides different options and methods for initiating a refund or canceling an order, depending on the seller’s policies and the stage of the transaction.
Look for a button or link that indicates the action you want to take, such as “Cancel Order” or “Request Refund.” This will typically be located within the transaction details page.
If you have the option to cancel the order directly through PayPal, click on the corresponding button or link to initiate the cancellation process. Follow any on-screen prompts or instructions provided by PayPal to complete the cancelation.
Keep in mind that if the transaction details page does not provide an option to cancel the order or request a refund, you may need to contact the seller directly. Look for the seller’s contact information or a customer support section within the transaction details page.
In some cases, the seller may have specific steps or requirements for canceling an order or requesting a refund. Follow their instructions and contact them if necessary for further assistance.
If you encounter any obstacles or difficulties during this process, PayPal’s customer support is available to assist you. You can contact PayPal’s customer support through their website or by phone to seek guidance and resolve any issues you may face.
Remember to remain patient and maintain open communication with the seller throughout the process. Clear communication can help in resolving any misunderstandings and ensure a smooth refund or cancellation process.
Now that you have initiated the refund or cancellation process, proceed to the next step for confirmation and verification of the cancelation.
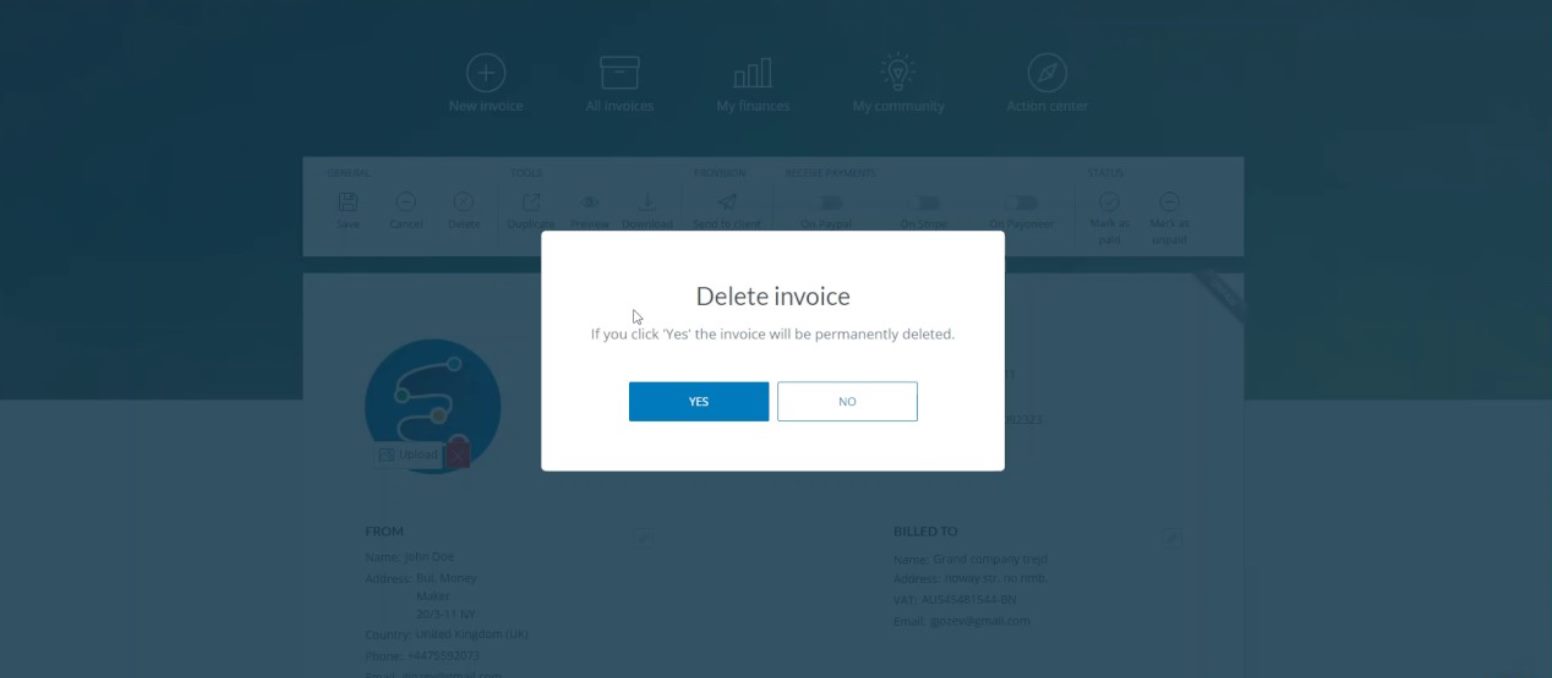
Step 6: Confirm the cancellation
After initiating the refund or cancellation process, it’s important to confirm that the cancellation has been successful. Verifying the cancellation ensures that your order has been canceled and any applicable refunds are processed accordingly.
Depending on the specific cancellation method or the seller’s refund policy, the confirmation process may vary. However, there are a few general steps you can take to confirm the cancellation:
- Check your email: PayPal will often send a confirmation email regarding the cancellation of your order. Look for an email from PayPal in your inbox or spam folder. The email should contain details about the cancellation and any associated refunds.
- Review your PayPal account: Go back to your PayPal dashboard and navigate to your transaction history or activity section. Look for the canceled transaction and verify that it is marked as canceled or refunded. This confirms that the cancellation has been processed.
- Contact the seller (if necessary): If you have not received any confirmation or if you have any doubts about the cancellation, it is advisable to contact the seller to confirm the status. Reach out to them through the contact information provided or any communication channels available.
By following these steps, you can ensure that the cancellation has been successfully processed and that any refunds have been initiated. If you find any discrepancies or have further concerns, it’s important to contact PayPal’s customer support for assistance.
Keep in mind that the cancellation and refund process may take some time, depending on the seller’s policies and any applicable refund processing times. Be patient and allow for the necessary processing and verification procedures to be completed.
Verifying the cancellation status is crucial to ensure that your order has been successfully canceled and any funds are returned. By confirming the cancellation, you can have peace of mind knowing that the transaction has been resolved according to your request.
Now that you have confirmed the cancellation, we can move on to the final step: verifying the cancellation status.
Step 7: Verify the cancellation status
Once you have gone through the process of canceling an order on PayPal and confirmed the cancellation, the final step is to verify the cancellation status. Verifying the cancellation ensures that the transaction has been successfully canceled and any associated refunds have been processed.
To verify the cancellation status, follow these steps:
- Check your PayPal transaction history: Return to your PayPal dashboard and navigate to your transaction history or activity section. Locate the canceled transaction and ensure that it is marked as “canceled” or “refunded.” This indicates that the cancellation has been processed.
- Review your email communication: Check your email inbox and spam folder for any correspondence from PayPal or the seller regarding the cancellation. Look for confirmation emails or messages that confirm the cancellation and provide details on any refunds or further actions.
- Monitor your PayPal account balance: If a refund has been issued for the canceled order, you should see the refunded amount reflected in your PayPal account balance. Confirm that the refund has been processed and the funds have been returned to your account.
- Check with the seller (if necessary): If you have any doubts or concerns about the cancellation status, it is advisable to reach out to the seller directly. Use the contact information provided by the seller or any communication channels available to inquire about the cancellation and refund status.
Verifying the cancellation status is essential to ensure that your order has been successfully canceled and any refunds have been processed according to your request. It provides peace of mind and confirmation that the transaction has been resolved as intended.
If you encounter any issues, discrepancies, or if the cancellation status does not match your expectations, it is recommended to contact PayPal customer support for further assistance. PayPal’s customer support team is equipped to address any concerns or questions you may have regarding the cancellation process.
Now that you have verified the cancellation status and confirmed that the transaction has been successfully canceled, you can rest assured that the order has been resolved according to your request.
Conclusion
Cancelling an order on PayPal is a relatively straightforward process that can be done in a few easy steps. By following the steps outlined in this guide, you can successfully cancel an order and request a refund if needed.
Remember to log in to your PayPal account, navigate to your dashboard, locate the transaction you want to cancel, access the transaction details, initiate the cancellation process, confirm the cancellation, and verify the cancellation status. Following these steps will help ensure that the cancellation is processed correctly.
It’s important to note that the ability to cancel an order and receive a refund may depend on the seller’s policies and the stage of the transaction. If you encounter any difficulties or have questions throughout the process, don’t hesitate to reach out to PayPal’s customer support for assistance.
Always double-check the transaction details and take note of any refund or cancellation policies provided by the seller. Clear communication with the seller is also crucial, especially if additional steps or information are required to complete the cancellation.
Finally, once the cancellation has been confirmed, remember to monitor your PayPal account and email for any updates and ensure that the associated funds have been returned to your account.
We hope this guide has been helpful in guiding you through the process of canceling an order on PayPal. By following the steps and being diligent in verifying the cancellation status, you can have a hassle-free experience and have any necessary refunds processed smoothly.
Now that you’re equipped with the knowledge, go ahead and cancel that unwanted or problematic order on PayPal with confidence!