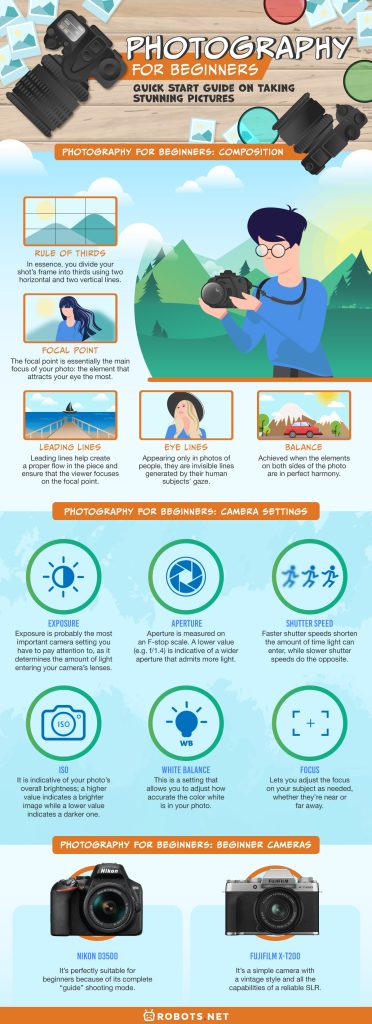
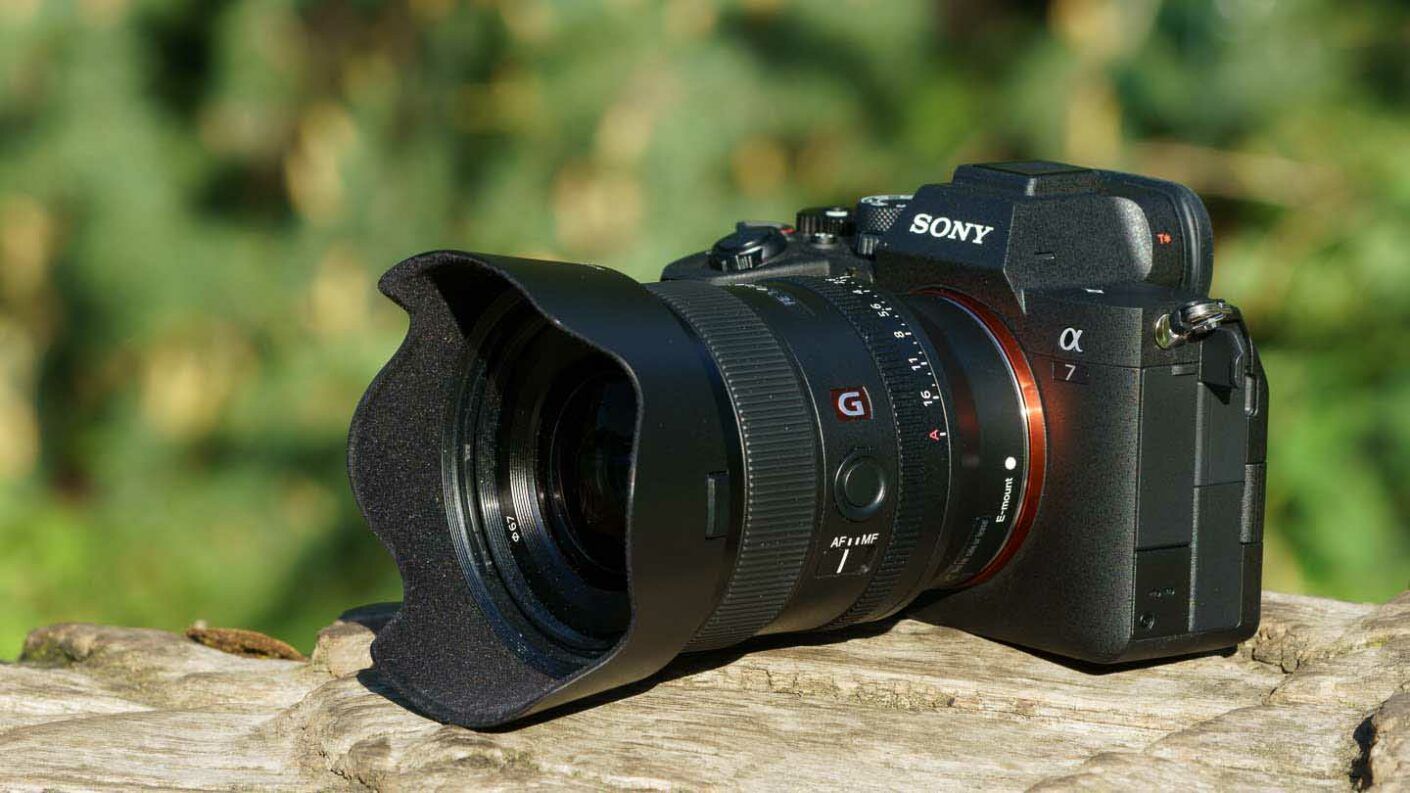
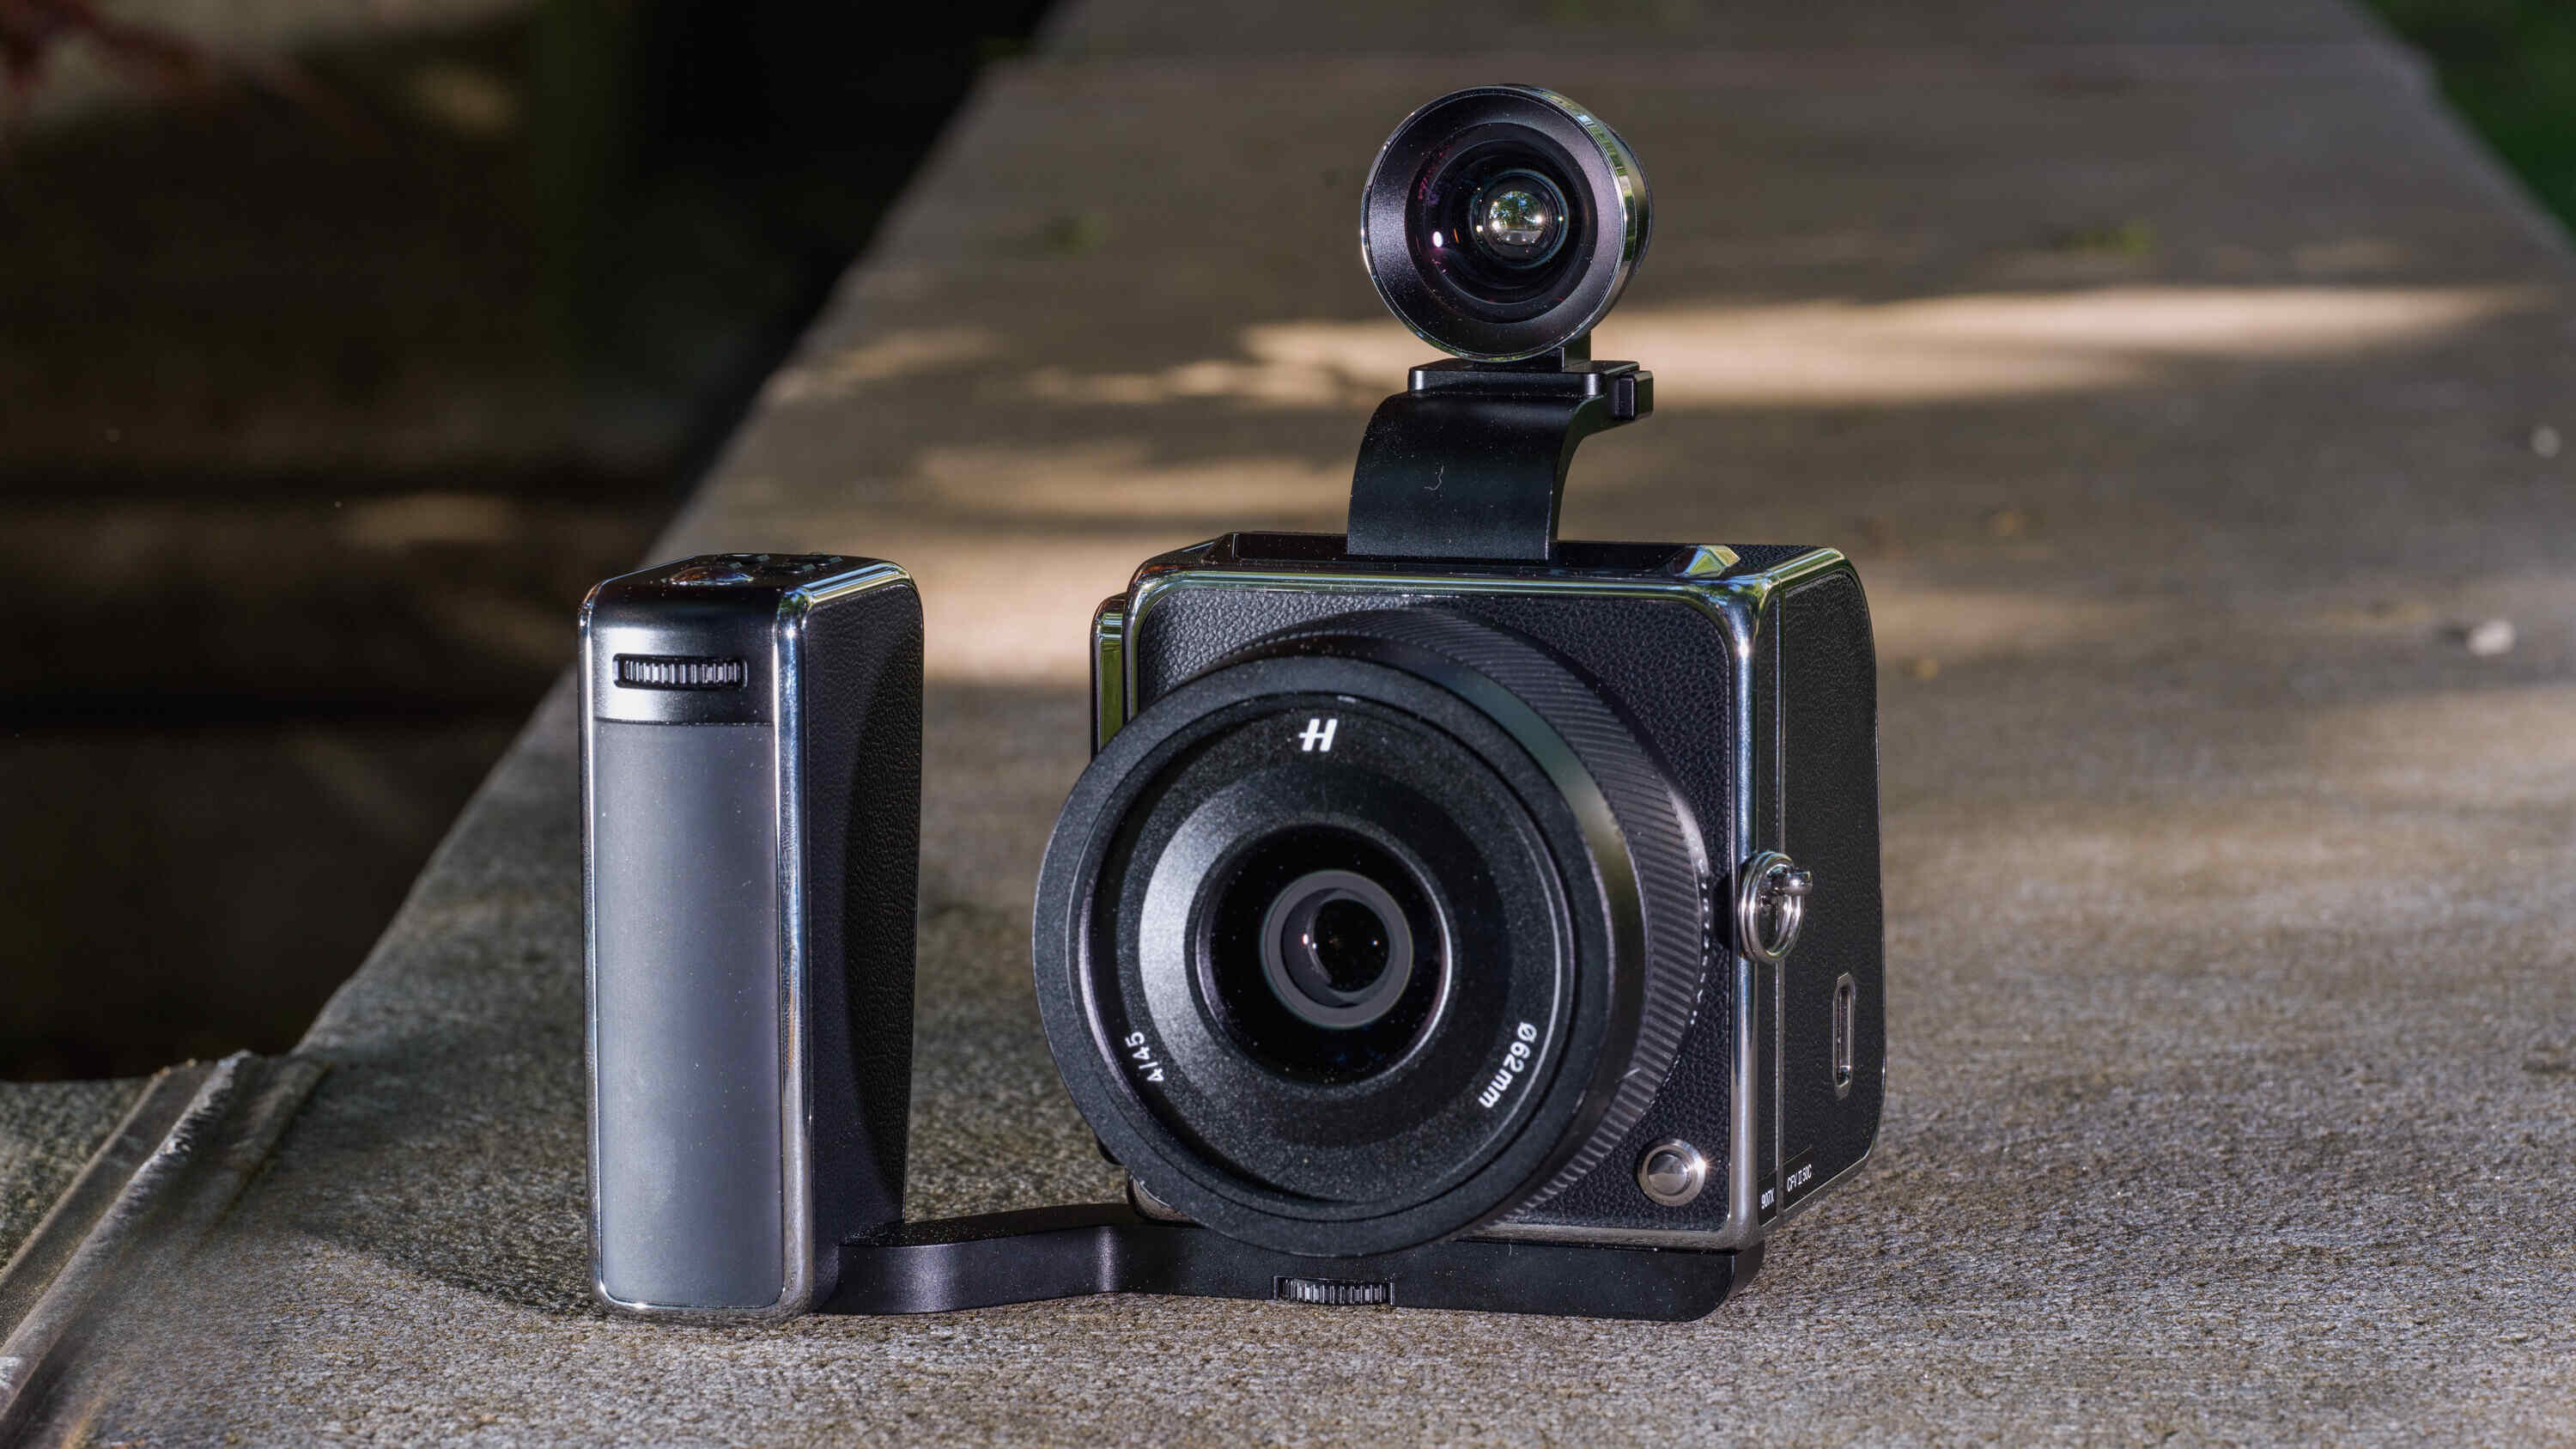
Photography is popular for many reasons, including the many interesting subjects to find, stories to tell, and landscapes to see. That’s why many people try to get into photography at some point in their life. Moreover, since smartphone developers are constantly releasing devices with better cameras, practically anyone can learn the basics of photography—even you. If you’re new to photography and don’t know where to start, fret not: check out our guide on photography for beginners.
Photography for Beginners: Composition
So, you’ve tried taking photos here and there, but you just can’t seem to get the right shot. Maybe the lighting is off or the composition just isn’t right. Regardless, it’s ideal for you to start with the basics, and we will first guide you through composition. Keep the following composition principles the next time you raise the viewfinder to your eye:
1. Rule of Thirds
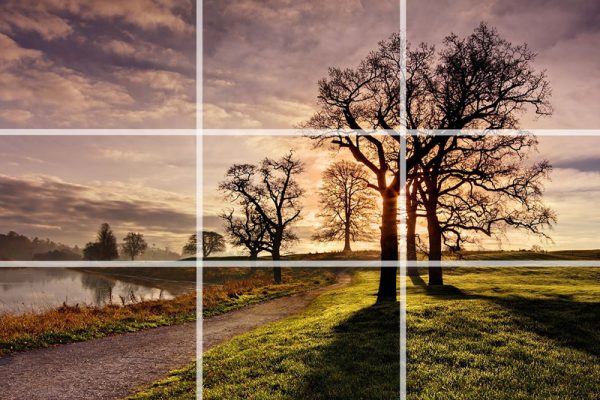

Let us begin with the simplest compositional structure you can adapt to your shots: the Rule of Thirds. In essence, you divide your shot’s frame into thirds using two horizontal and two vertical lines. The points at which the dividing lines intersect act as focal points; from here, align your subject to these points to snap the most visually appealing shots.
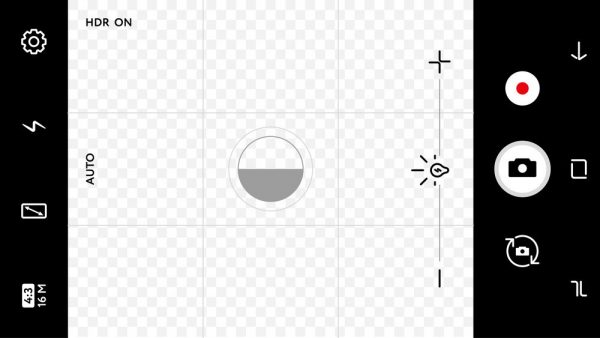
Most modern smartphones even carry a Rule of Thirds feature that lets you visualize the dividing lines on your camera app—perfect for keeping your composition on point.
2. Focal Point
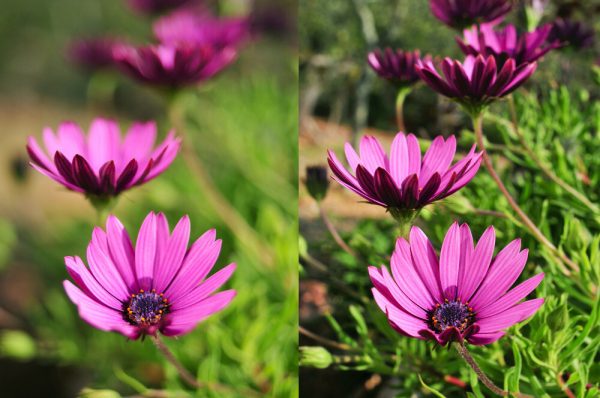

The focal point is essentially the main focus of your photo: the element that attracts your eye the most. More commonly known as the subject of the piece, the focal point of your piece will give clarity to it. Photos with no focal point can result in them appearing chaotic, even when the scenery is beautiful.
3. Leading Lines


Leading lines, often used by painters and illustrators to direct the viewer’s eye, are also applicable to photography. These lines can be any visible “line” in your composition: the horizon, building edges, railings, line-like clouds, etc. Leading lines help create a proper flow in the piece and ensure that the viewer focuses on the focal point.
4. Eye Lines


While eye lines are similar to leading lines in drawing the viewer’s attention to the focal point, they are very specific: appearing only in photos of people, they are the invisible lines generated by their human subjects’ gaze. And their gaze is very powerful indeed, commanding the eyes of onlookers to look in the same direction. So the next time you take a photo that features people, pay attention to where they are looking; with a careful manipulation of your subjects’ line of sight, you’ll be able to further enhance the visual appeal of your overall photo.
5. Balance
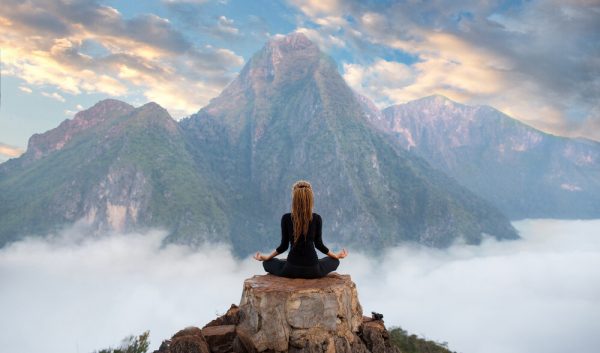

The last thing to pay attention to is balance. Balance in photography is achieved when the elements on both sides of the photo are in perfect harmony. One of the easiest ways to achieve balance is through symmetry, as is the case with the above photo. Everything is balanced, both left and right.
Symmetry is not the only means of achieving balance. This can also be achieved by minimizing the number of distractions in the photo and ensuring that your subject(s) remains the central focal point of the overall composition.
Alternatively, if you are actually trying to experiment by imposing imbalance into your shot, simply reverse the above principles. Knowing when and when not to use balance is key to good photography.
Photography For Beginners: Camera Settings
Now that you know how to create good compositions, it’s time to get technical by learning your camera’s settings. In this section, we’ll tackle some of the basics and also a few intermediate settings to get you started.
1. Exposure
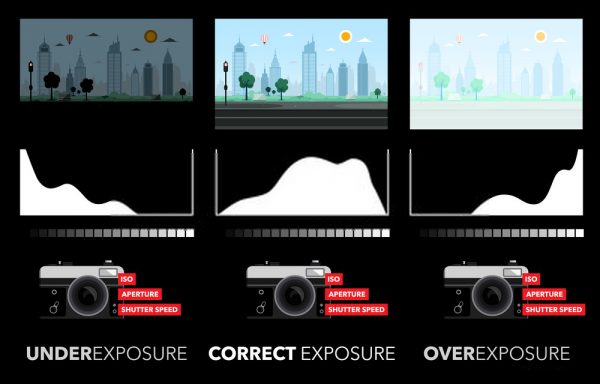

Exposure is probably the most important camera setting you have to pay attention to, as it determines the amount of light entering your camera’s lenses. As you might have guessed, what this means is that exposure determines the brightness of your photos.
Three settings configure your camera’s exposure: Aperture, Shutter Speed, and ISO (more on them later). Cameras often come with a default exposure setting that automatically adjusts to fit the environment you’re in, letting you point and shoot with ease. However, the default exposure may not be what you want, and that’s when you have to manually adjust it. Check out the following points to learn how to do so:
2. Aperture
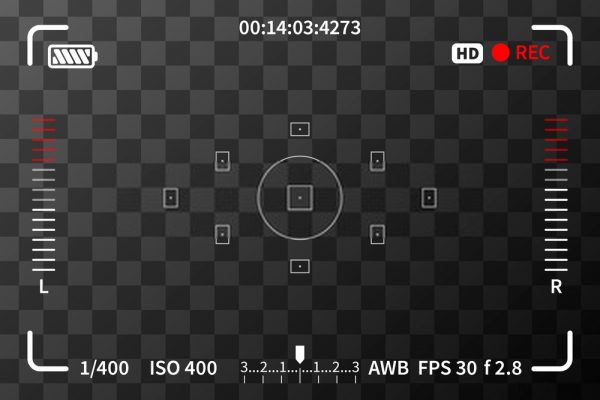

The aperture (otherwise known as f-stops) of the camera refers to the hole in your camera lens. This “hole” is what lets light into your camera and determines how much light passes through. Think of the aperture as your camera’s “pupil,” which functions much the same way as a human eye’s pupil; the wider the pupil (wider aperture), the more light passes through. The converse is true, where a narrower pupil (narrower aperture) admits less light.
Generally, keep your aperture wider when there’s not much light in your environment, such as when you’re shooting at night. With a wider aperture, you can capture as much light as possible and ensure the visibility of your subjects. Conversely, when you’re out on a bright, sunny day, lower your aperture to avoid over-exposing your subjects.
Aperture is measured on an F-stop scale, like so: f/1.4, f/2, f/2.8, f/4, f/5.6, f/8, f/11, f/16, f/22. A lower value (e.g. f/1.4) is indicative of a wider aperture that admits more light. A higher value (e.g. f/8) represents a narrower aperture that limits the amount of light entering your lens.
3. Shutter Speed
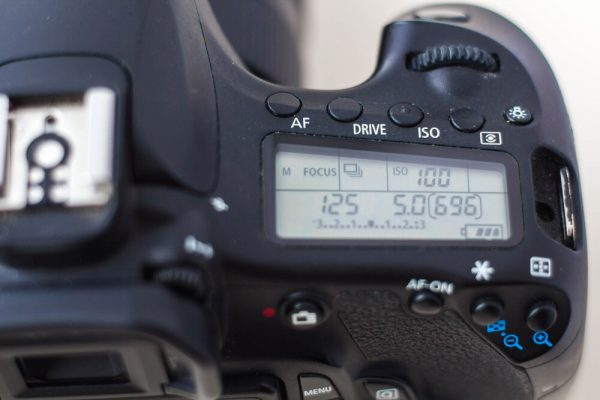

The shutter speed is exactly what its name suggests: how fast or slow the shutter activates when shooting. Specifically, the shutter speed refers to how long the shutter remains open to admit light into your lens. Faster shutter speeds shorten the amount of time light can enter, while slower shutter speeds do the opposite.
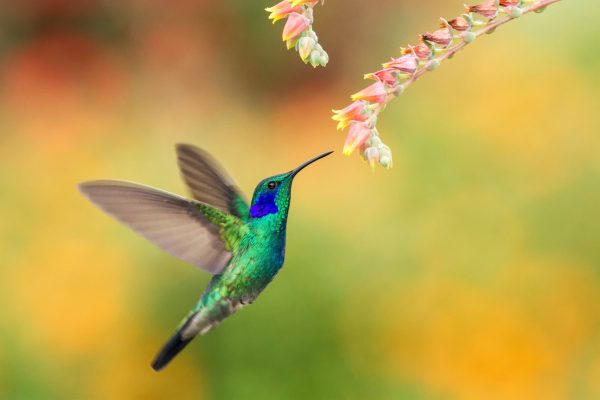

Shutter speed doesn’t only affect the amount of light entering your lens, however. It is also the setting to watch out for when you’re photographing subjects in motion. To capture photos of moving subjects, increase your shutter speed to freeze them in place and capture them in still shots. The image of the hummingbird in flight available illustrates this point; it’s normally too hard to photograph these birds due to how quickly they move.


A slower shutter speed is ideal for capturing the motion, which will appear in your photos as bolts and lines of color. As the photo above demonstrates, a slower shutter speed will allow you to capture the motion of fast-moving traffic as cool, vibrant swirls and lines.
4. ISO
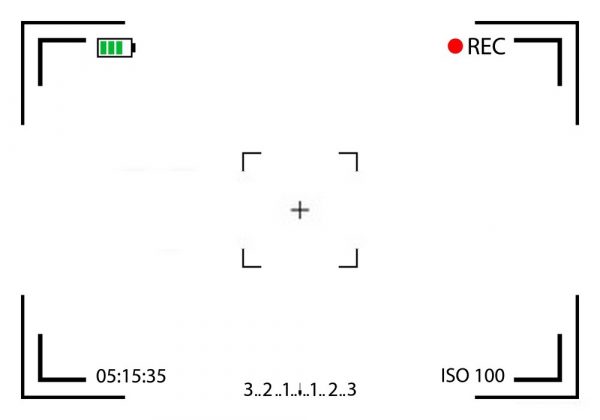

ISO is the setting that controls the brightness and noise of your photos. It is indicative of your photo’s overall brightness; a higher value indicates a brighter image while a lower value indicates a darker one. By manipulating the ISO, you can brighten your photos when you’re shooting in a dark place or at night. However, there’s a tradeoff for doing so: a higher ISO will make your photo grainier and noisier.
Many photographers recommend turning your ISO down to its lowest setting as much as possible. This not only lessens grain but also allows your camera to capture more detail and information.
5. White Balance

Now, let’s move on to color-related principles of photography. The first thing you should understand in this area is white balance. This is a setting that allows you to adjust how accurate the color white is in your photo. Under warm lighting, the color white takes on a reddish hue, while cool lighting will make it appear bluish.
By adjusting the white balance of the photo, you’ll be able to ensure that your camera captures the most accurate colors in your photos. For beginners, we recommend that you use the auto mode for white balance, as it usually works pretty well under most conventional settings. Most cameras have white balance presets to use when it’s cloudy, during daylight, when you’re in the shade, etc. You can use any one of these presets to apply to your shot.
6. Focus


To end off this section, we’ll discuss focus. Sure, the auto-focus feature work just fine for the most part, but things can get muddied in situations when it fails to focus on the correct subject—this problem surfaces most prominently in a scene with several elements.
This is when you’ll have to switch to manual focus, which lets you adjust the focus on your subject as needed, whether they’re near or far away. This is handy for when you want to shoot a faraway subject in focus with a blurry nearby subject.
Also read: How to Edit Photos for Beginners
Photography For Beginners: Beginner Cameras
Now that you’re armed with the juicy basics of photography, it’s time to choose your weapon. Here are a few choice cameras you can pick up to start out:
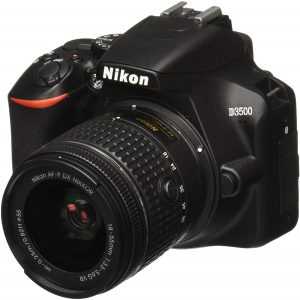  |
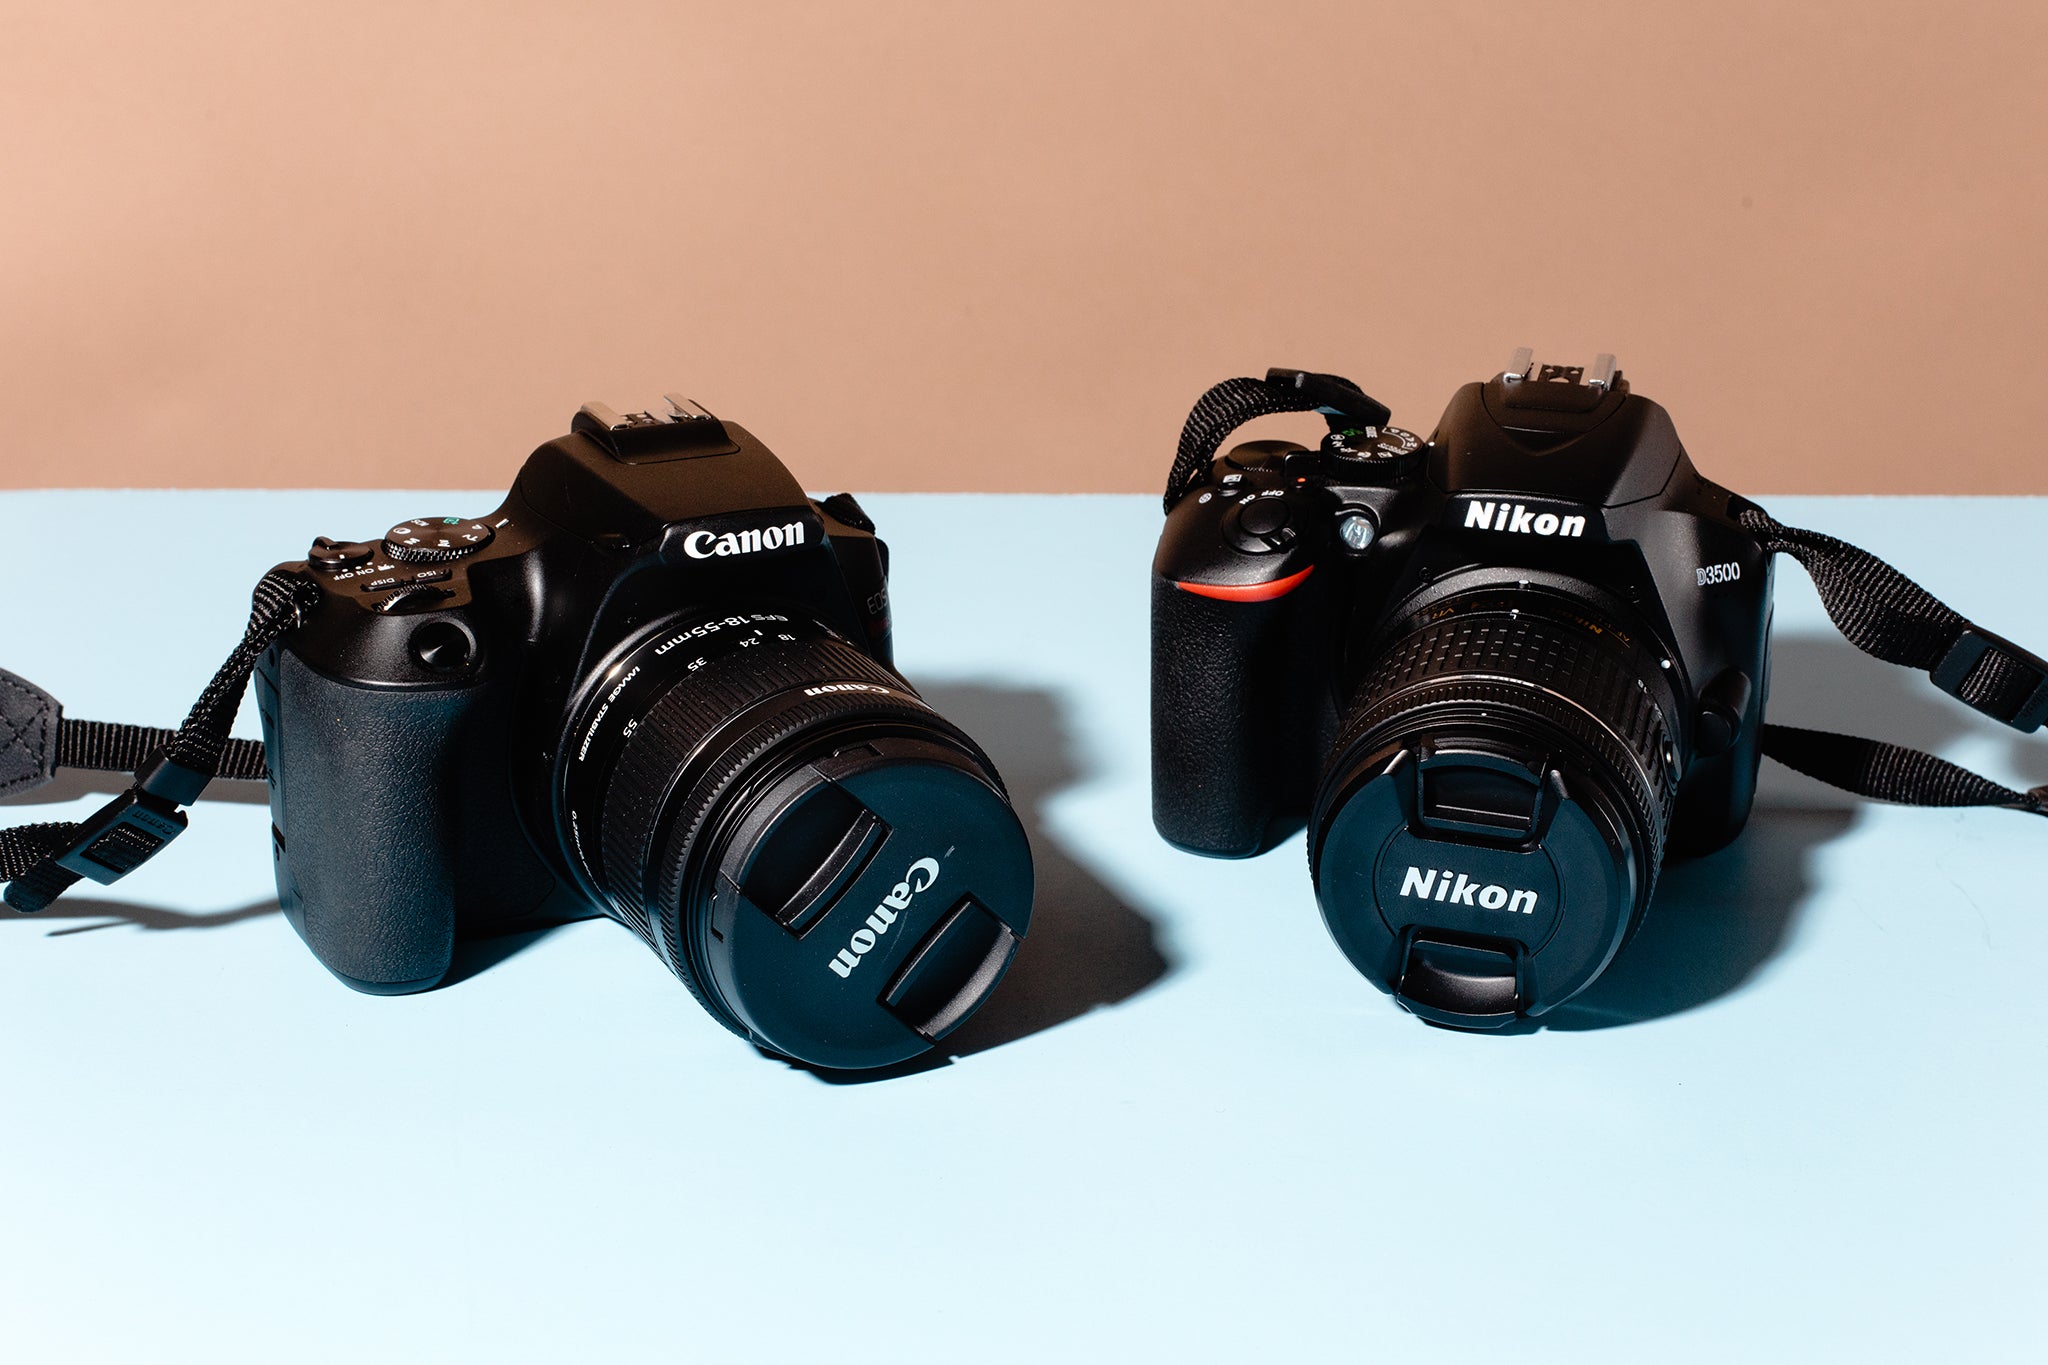
Nikon D3500
The Nikon D3500 might look like a complicated DSLR, but it’s not. It’s perfectly suitable for beginners because of its complete “guide” shooting mode. This guide is interactive and helps you navigate the camera’s settings with ease.
Moreover, it doesn’t have a lot of complex controls. Most of the buttons and controls are easy to use and get used to. However, it does cut back on a few advanced features like a custom settings menu. Nevertheless, it’s a great entry-level device for the price.
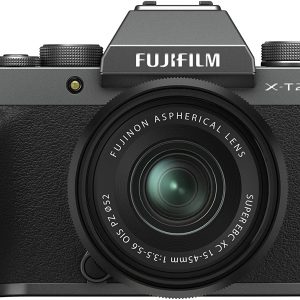  |
Fujifilm X-T200
Another option is the Fuji-Film X-T200. It’s a simple camera with a vintage style and all the capabilities of a reliable SLR. The shooting quality is excellent and it can even shoot videos in 4K. It’s also light and compact, perfect for beginners who need something convenient and portable.
Final Word
Learning photography might seem intimidating at first, but don’t be discouraged. Photography is a beautiful medium for creative expression and the world needs more photographers. The best way to truly learn is to dip your toes and try it out. Once you learn all of the basics of your camera settings and composition, you can start your creative photography journey. It may take years to master, but it’ll certainly be worth it.
