Introduction
If you've recently acquired an Andeer camcorder and are eager to harness its full potential on your PC, you're in the right place. This comprehensive guide will walk you through the essential steps to seamlessly integrate your Andeer camcorder with your computer. Whether you're a novice videographer or a seasoned pro, leveraging your camcorder's capabilities on your PC can significantly enhance your video editing and sharing experience.
By following the instructions outlined in this guide, you'll be able to connect your Andeer camcorder to your PC, install the necessary drivers, utilize the Andeer camcorder software, and efficiently transfer and edit your videos. These steps will empower you to unleash the full potential of your Andeer camcorder, providing you with the tools to capture, edit, and share your memorable moments with ease.
So, without further ado, let's dive into the intricacies of using your Andeer camcorder on your PC, and unlock the boundless possibilities that await you. Whether you're looking to create captivating vlogs, preserve cherished memories, or produce professional-quality videos, this guide will equip you with the knowledge and skills to make the most of your Andeer camcorder.
Step 1: Connecting the Andeer Camcorder to Your PC
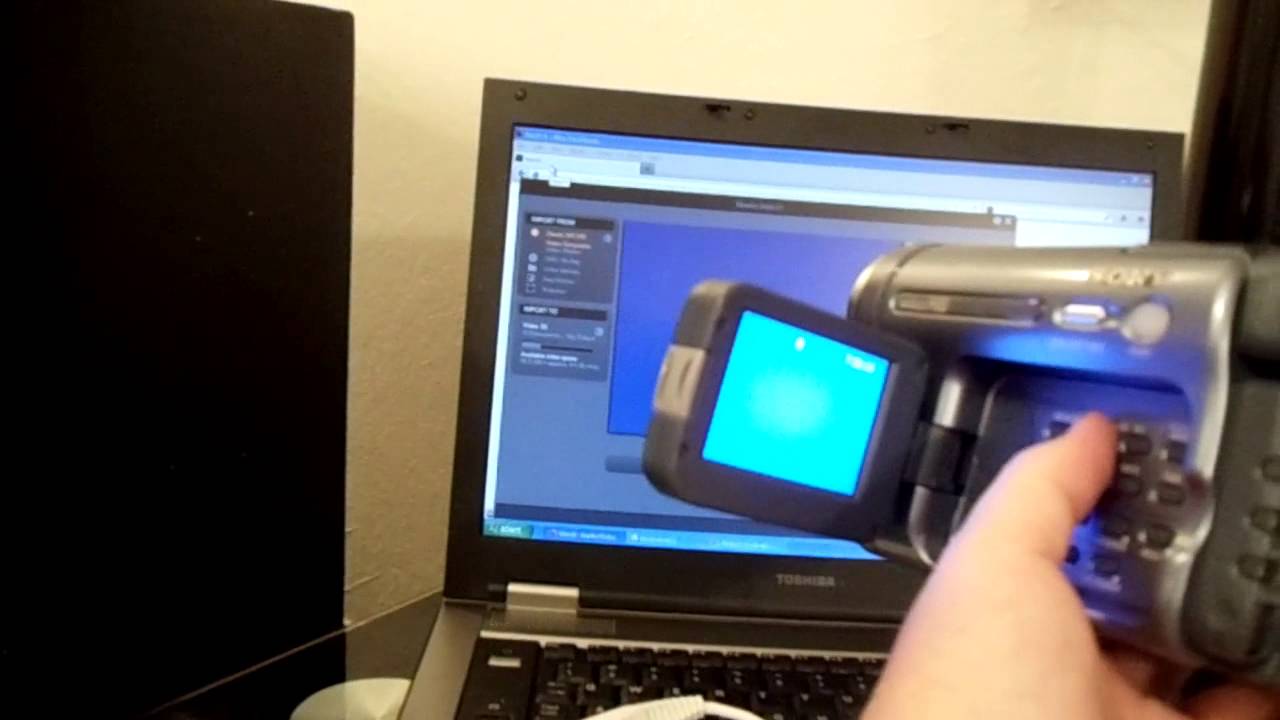
Before delving into the intricacies of using your Andeer camcorder on your PC, the first crucial step is to establish a seamless connection between the two devices. Follow these steps to ensure a hassle-free connection:
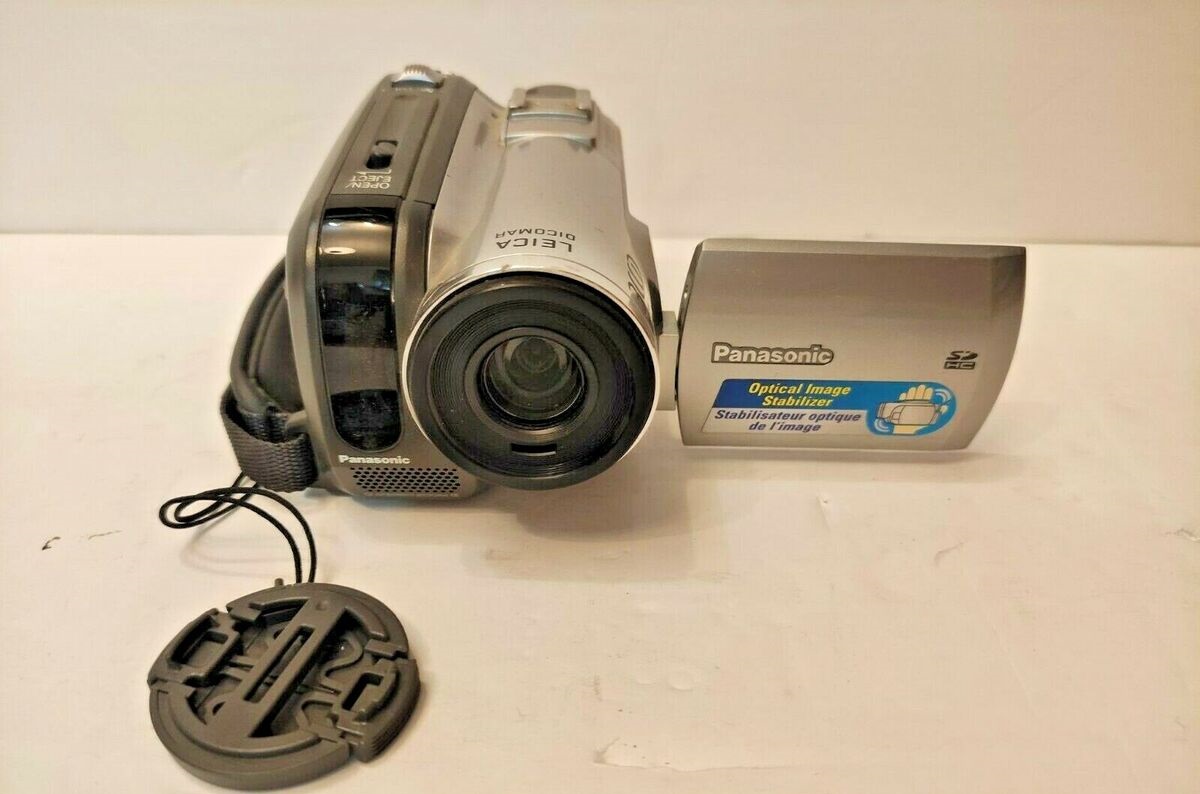
- Check the Compatibility: Begin by verifying the compatibility of your Andeer camcorder with your PC. Ensure that your computer meets the necessary system requirements to support the connection and transfer of data from the camcorder.
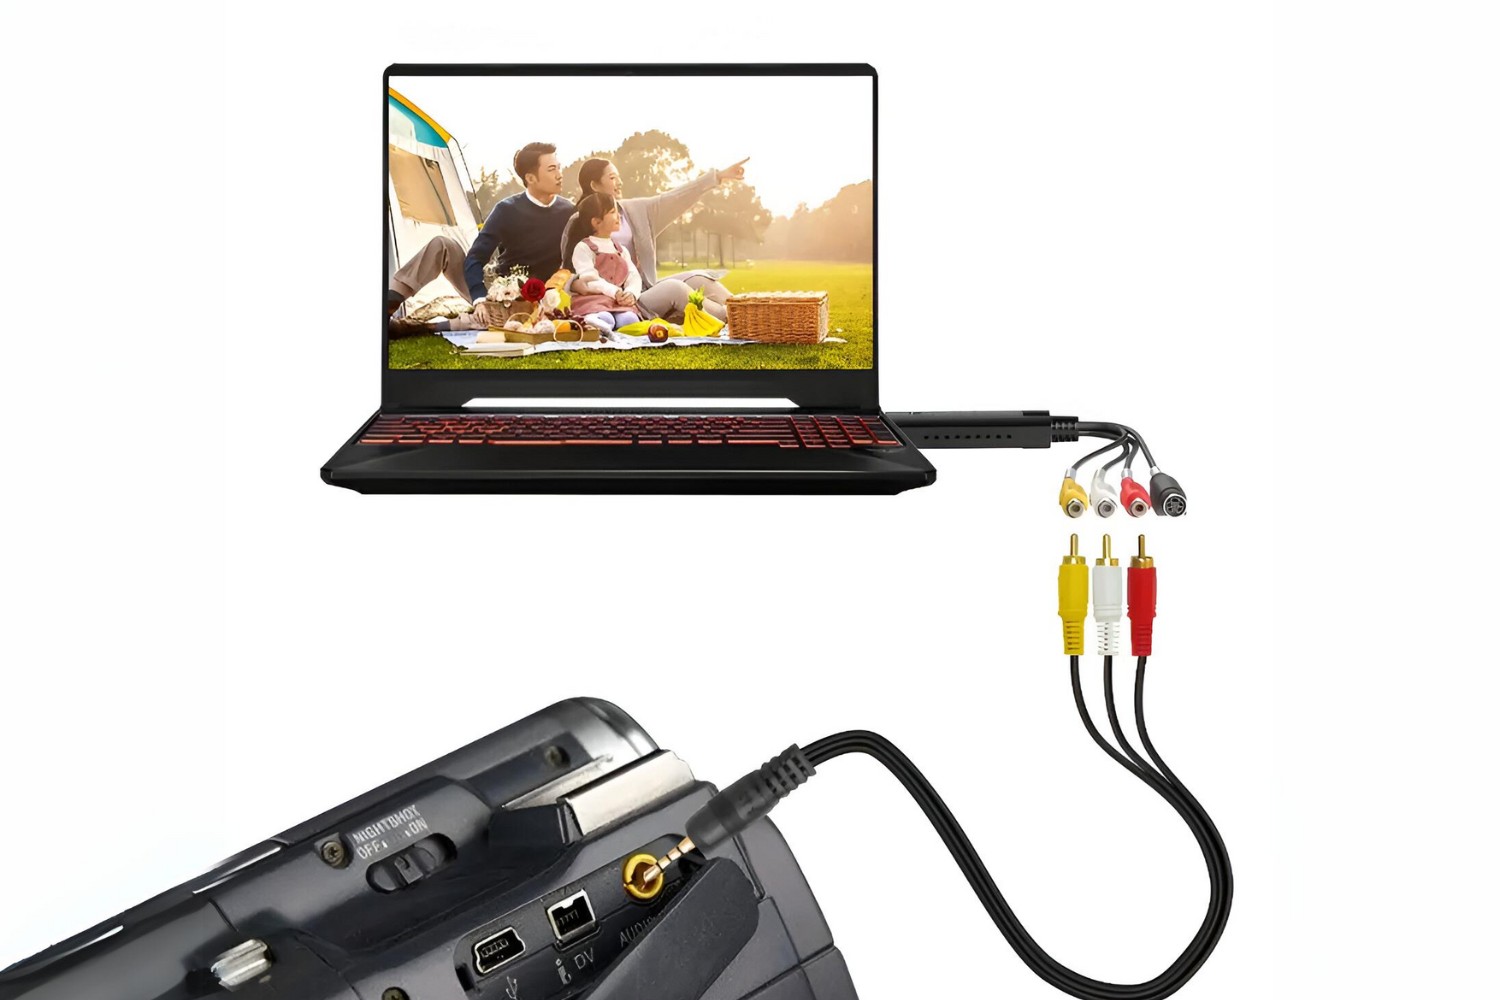
- USB Connection: Locate the USB cable that came with your Andeer camcorder. Connect one end of the cable to the USB port on your camcorder and the other end to a vacant USB port on your PC. This establishes a physical connection between the two devices, allowing for seamless data transfer.
- Power On Your Camcorder: Power on your Andeer camcorder to initiate the connection process. Some camcorders may require you to switch to a specific mode, such as “PC Connect” or “Data Transfer,” to enable the transfer of data to your computer.
- Driver Installation: In some cases, your PC may automatically install the necessary drivers for the Andeer camcorder upon connection. However, if this doesn’t occur, you may need to manually install the drivers to ensure proper device recognition and functionality.
By successfully establishing a connection between your Andeer camcorder and your PC, you’ve laid the foundation for harnessing the full potential of your camcorder’s capabilities on your computer. With this pivotal step completed, you’re now ready to proceed to the next phase of the process, which involves installing the essential drivers to facilitate seamless communication between the devices.
Step 2: Installing the Necessary Drivers
Once you’ve successfully connected your Andeer camcorder to your PC, the next critical step is to ensure that the essential drivers are installed to facilitate seamless communication and data transfer between the two devices. Follow these steps to install the necessary drivers:
- Automatic Driver Installation: In many instances, upon connecting your Andeer camcorder to your PC, the operating system will automatically detect the new device and proceed to install the required drivers. This automated process simplifies the setup and allows for swift integration of the camcorder with your computer.
- Manual Driver Installation: If the automatic driver installation does not occur, you may need to manually install the drivers provided with your Andeer camcorder. These drivers are typically included in the packaging or can be downloaded from the official Andeer website. Follow the instructions provided to install the drivers on your PC, ensuring that the installation process is executed accurately.
- Driver Verification: Once the drivers are installed, it’s essential to verify their successful integration with your operating system. Navigate to the Device Manager on your PC and ensure that the Andeer camcorder is recognized without any exclamation marks or error indicators. This verification step confirms that the drivers are functioning correctly and that the camcorder is ready for use.
By meticulously installing the necessary drivers for your Andeer camcorder, you’ve paved the way for seamless communication and data transfer between your camcorder and your PC. This crucial step ensures that your computer recognizes and interfaces with the camcorder, enabling you to harness its full potential for video editing, playback, and data transfer.
Step 3: Using the Andeer Camcorder Software on Your PC
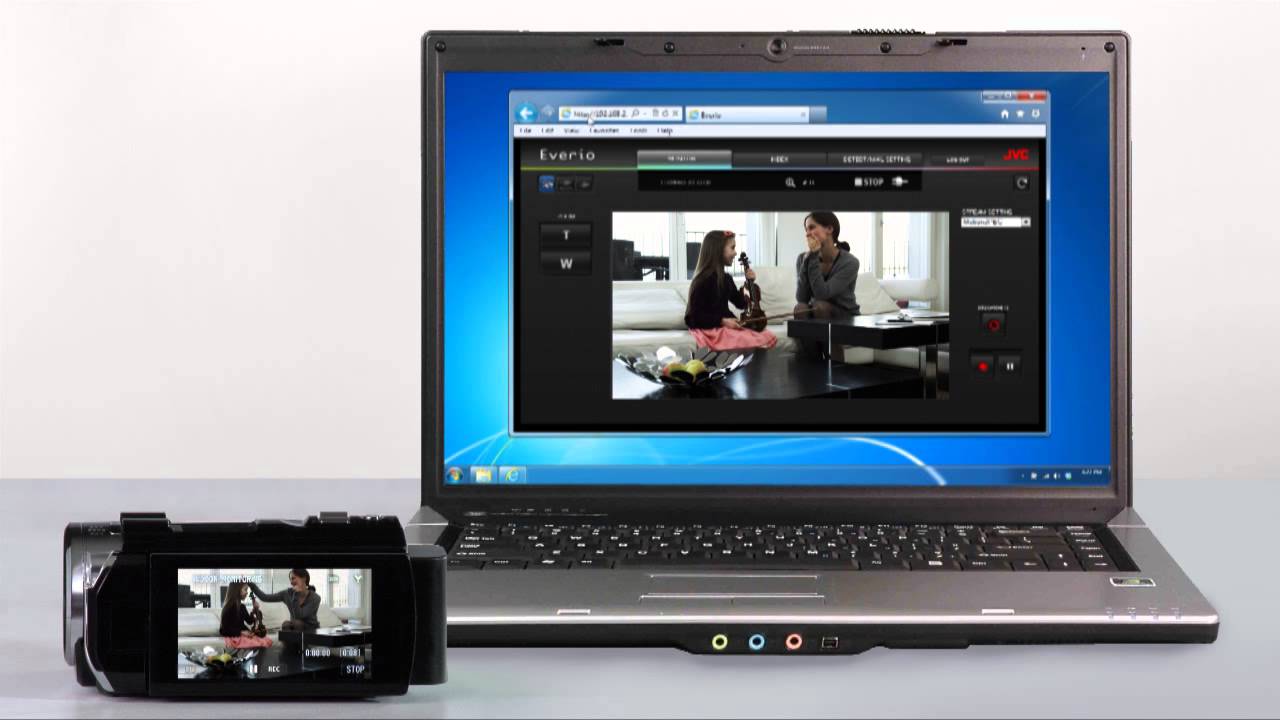
With the Andeer camcorder successfully connected to your PC and the necessary drivers installed, you’re now poised to explore the dedicated software that accompanies your camcorder. This software provides a host of features and functionalities to enhance your video editing and management experience. Follow these steps to utilize the Andeer camcorder software on your PC:
- Software Installation: Begin by installing the Andeer camcorder software on your PC. This software may be included in the packaging or available for download from the official Andeer website. Follow the installation instructions to set up the software on your computer, ensuring that it is seamlessly integrated and ready for use.
- Interface Familiarization: Upon launching the Andeer camcorder software, take the time to familiarize yourself with its interface and features. Explore the various functionalities offered, such as video playback, editing tools, file management, and settings customization. Understanding the software’s capabilities will empower you to make the most of your video editing and management tasks.
- Data Transfer and Organization: Utilize the software to transfer videos and other media files from your Andeer camcorder to your PC. The software provides a streamlined interface for managing and organizing your video library, allowing you to categorize, label, and store your footage efficiently.
- Editing and Enhancement: Leverage the editing tools within the Andeer camcorder software to enhance your videos with effects, transitions, and audio adjustments. This feature-rich software empowers you to unleash your creativity and elevate the quality of your video content with intuitive editing capabilities.
By embracing the Andeer camcorder software on your PC, you gain access to a suite of tools designed to streamline your video editing workflow and elevate the quality of your content. This step equips you with the means to efficiently manage, edit, and enhance your videos, ensuring that your Andeer camcorder becomes an indispensable asset in your creative endeavors.
Step 4: Transferring and Editing Videos on Your PC
With your Andeer camcorder seamlessly integrated with your PC and the requisite software in place, you’re now ready to embark on the exhilarating journey of transferring and editing your videos. This pivotal step empowers you to harness the full potential of your camcorder’s footage, enabling you to unleash your creativity and produce captivating visual content. Here’s how to efficiently transfer and edit videos on your PC:
- Effortless Data Transfer: Utilize the Andeer camcorder software to transfer videos from your camcorder to your PC effortlessly. Whether you’re archiving footage for future projects or preparing to embark on a video editing endeavor, the software streamlines the transfer process, ensuring that your videos are readily accessible on your computer.
- Organized Video Library: Upon transferring your videos to your PC, leverage the software’s organizational features to categorize and label your footage effectively. Creating a well-structured video library enhances your editing workflow, allowing you to locate and access specific clips with ease as you embark on the editing process.
- Creative Editing Capabilities: Dive into the editing tools provided by the Andeer camcorder software to enhance your videos with captivating effects, seamless transitions, and audio adjustments. Whether you’re refining the visual aesthetics of your footage or fine-tuning the audio elements, the software empowers you to elevate the quality of your videos with intuitive editing features.
- Export and Sharing: Once your editing endeavors are complete, utilize the software to export your finalized videos in your desired format. Whether you’re preparing your content for online sharing, archiving, or showcasing, the software provides versatile export options to ensure that your videos are optimized for your intended audience and platform.
By seamlessly transferring and editing your videos on your PC, you unlock the potential to transform raw footage into captivating visual narratives. This transformative step empowers you to infuse your videos with creativity, polish, and a professional touch, ensuring that your Andeer camcorder becomes a powerful tool for expressing your unique vision and storytelling prowess.