Introduction
Are you eager to showcase your stunning DSLR camera photos on Instagram? While Instagram is primarily a mobile platform, it's still possible to share your high-quality DSLR images with your followers. In this comprehensive guide, we'll walk you through the process of uploading your DSLR camera pictures to Instagram. By following these simple steps, you can maintain the exceptional quality of your photos and captivate your audience with breathtaking visuals.
Whether you're a photography enthusiast, a professional photographer, or simply someone who loves capturing life's precious moments, Instagram provides a powerful platform to share your creativity with the world. With the tips and techniques outlined in this guide, you'll be able to seamlessly transfer your DSLR photos to your mobile device and upload them to Instagram without compromising their original quality.
From transferring your photos to your computer to editing them to perfection and finally sharing them on Instagram, each step is crucial in ensuring that your images retain their visual appeal and impact. Let's dive into the details and make your Instagram feed a gallery of extraordinary DSLR photography.
Step 1: Transfer Photos to Your Computer
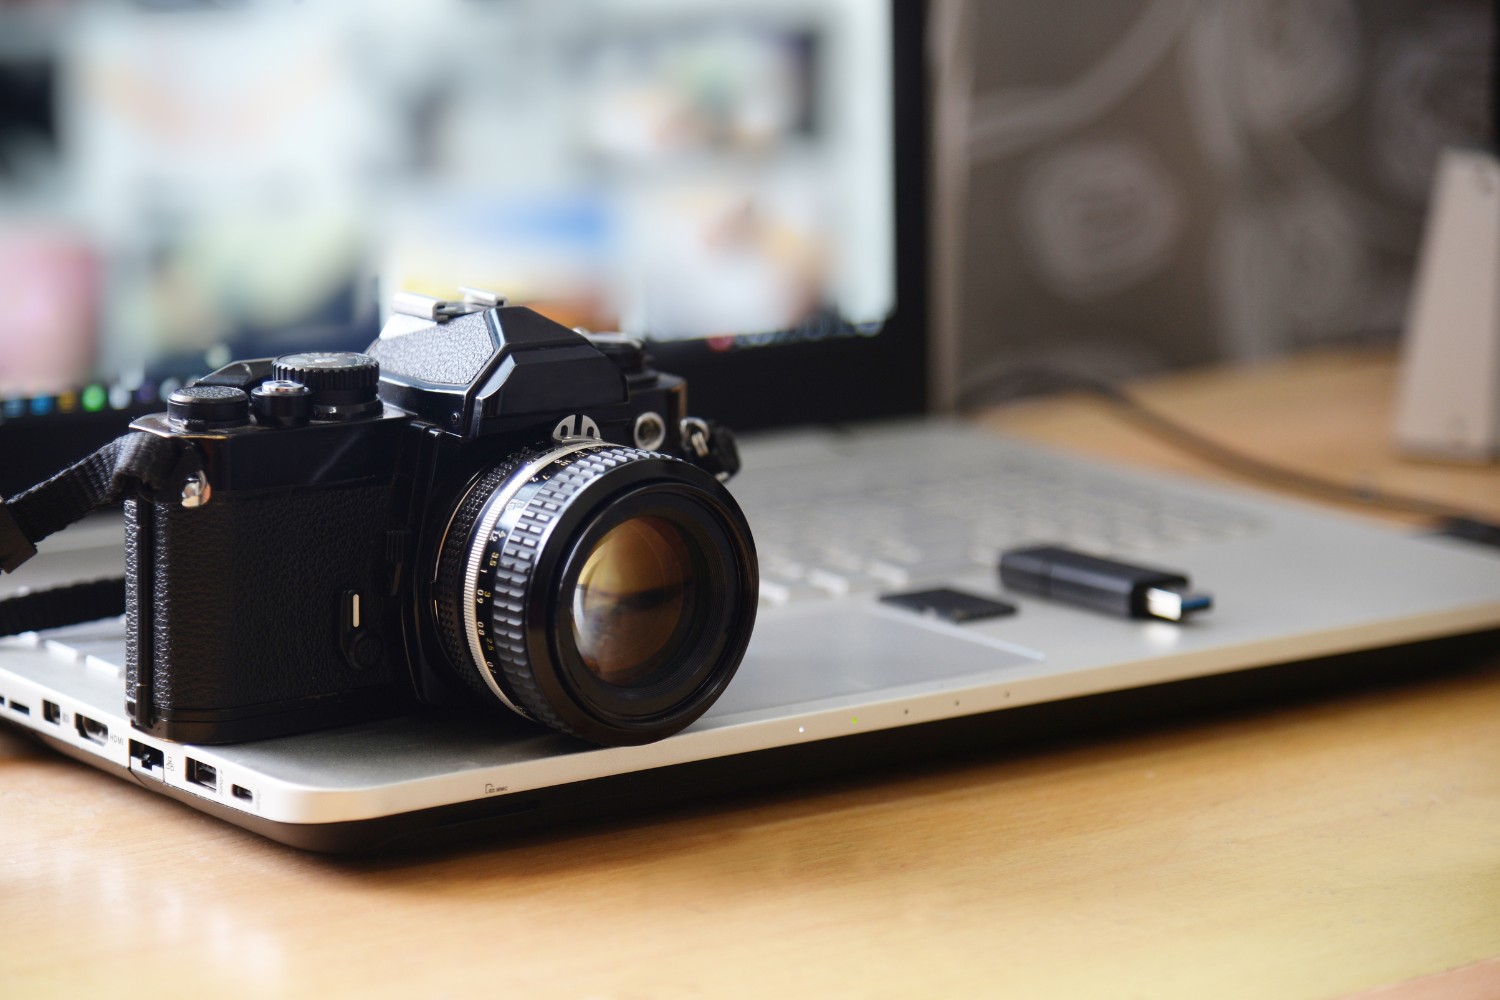
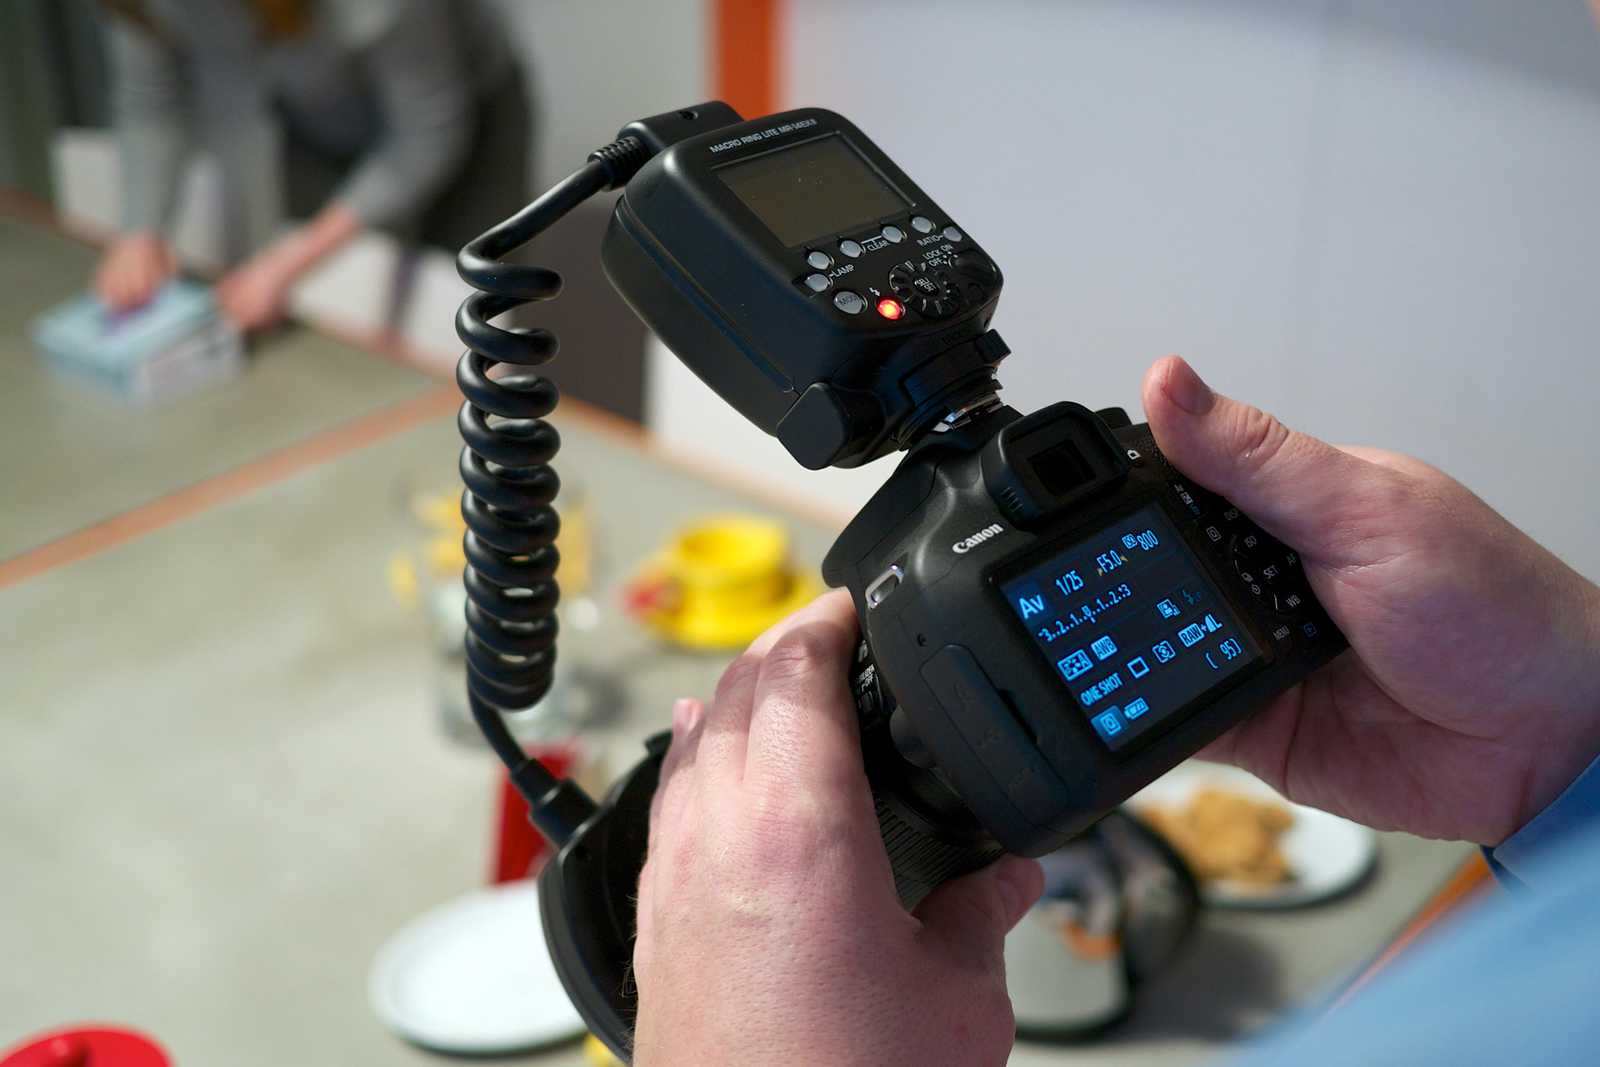
The first step in sharing your DSLR camera pictures on Instagram is to transfer them to your computer. This process allows you to access your high-resolution images and prepare them for editing and eventual upload to the Instagram platform. To begin, connect your DSLR camera to your computer using a USB cable or remove the memory card and insert it into your computer’s card reader.
Once your camera or memory card is connected, navigate to the folder or location where your photos are stored. Copy the image files from your camera or memory card to a dedicated folder on your computer. Organizing your photos in a specific folder will make it easier to locate and edit them later.
If you prefer a wireless transfer method, you can utilize cloud storage services or wireless transfer apps to move your photos from your camera to your computer. These options provide convenience and flexibility, especially if you’re working with a large volume of images.
It’s essential to ensure that your photos are transferred in their original quality to preserve the intricate details and clarity captured by your DSLR camera. By transferring your photos to your computer, you gain greater control over the editing process and can unleash the full potential of your images before sharing them with your Instagram audience.
Step 2: Edit Your Photos
Once your DSLR camera photos are safely transferred to your computer, it’s time to enhance them through the editing process. Editing plays a crucial role in refining the visual impact of your images and ensuring that they align with your creative vision. There are numerous software options available for editing DSLR photos, ranging from professional-grade applications to user-friendly, intuitive platforms.
When choosing an editing tool, consider the specific adjustments and enhancements you want to make to your photos. Whether it’s adjusting exposure, color correction, sharpening, or adding creative filters, the right editing software will provide you with the necessary tools to elevate your images.
One popular choice among photographers is Adobe Lightroom, which offers a comprehensive suite of editing features tailored for DSLR photography. With Lightroom, you can fine-tune every aspect of your photos, from exposure and contrast to clarity and vibrance. Additionally, the software allows you to create presets, enabling you to maintain a consistent aesthetic across your Instagram feed.
For those seeking a more user-friendly editing experience, mobile apps such as Snapseed and VSCO provide powerful editing capabilities directly on your smartphone. These apps offer a wide range of tools for adjusting color, tone, and sharpness, making it convenient to edit your DSLR photos on the go.
During the editing process, aim to enhance the visual appeal of your photos while preserving their authenticity. Strive for a balance between artistic expression and the natural beauty captured by your DSLR camera. By carefully editing your photos, you can ensure that they stand out on Instagram and captivate your audience with their stunning quality.
Step 3: Transfer Edited Photos to Your Phone
With your DSLR photos expertly edited on your computer, the next step is to transfer them to your smartphone for seamless uploading to Instagram. Transferring the edited photos to your phone allows you to leverage the Instagram app’s features and filters while maintaining the exceptional quality of your images.
There are several methods for transferring edited photos to your phone. One commonly used approach is to utilize cloud storage services such as Google Drive, Dropbox, or iCloud. By uploading your edited photos to a cloud storage platform from your computer and then accessing them from your phone, you can effortlessly download the images and save them to your device’s camera roll.
Another convenient method is to connect your phone to your computer using a USB cable and transfer the edited photos directly. This approach provides a direct and secure way to move your high-resolution images to your smartphone, ensuring that they retain their original quality.
If you prefer wireless transfer options, applications like AirDrop (for iOS devices) or File Transfer (for Android devices) enable quick and efficient transfer of files between your computer and phone. These wireless transfer methods eliminate the need for cables and offer a seamless way to access your edited DSLR photos on your mobile device.
Once your edited photos are successfully transferred to your phone, they will be ready for uploading to Instagram. By following this essential step, you can maintain the integrity of your meticulously edited DSLR images and effortlessly share them with your Instagram followers.
Step 4: Upload to Instagram
After transferring your edited DSLR photos to your phone, it’s time to showcase your captivating images on Instagram. The platform offers a user-friendly interface for uploading and sharing your carefully crafted visuals with your followers. By following a few simple steps, you can ensure that your DSLR photos maintain their exceptional quality when displayed on your Instagram feed.
To begin, open the Instagram app on your smartphone and tap the “+” icon at the bottom of the screen to create a new post. Select the edited DSLR photo you wish to upload from your camera roll. Instagram allows you to crop and adjust the orientation of your photo before proceeding to the next step.
Once you’ve selected your photo and made any necessary adjustments, you can apply Instagram’s built-in filters and editing tools to further enhance your image. While your DSLR photos are already expertly edited, these additional Instagram features provide creative options to refine the visual presentation of your photo and maintain a cohesive aesthetic across your feed.
After finalizing the editing process within the Instagram app, you can add a compelling caption to accompany your DSLR photo. Share the story behind the image, provide context, or engage your audience with a thought-provoking caption that complements the visual narrative of your photo.
Before posting, consider utilizing relevant hashtags to increase the discoverability of your DSLR photo within the Instagram community. Strategic use of hashtags can expand the reach of your post and connect you with individuals who share a passion for photography and visual storytelling.
Once you’ve crafted the perfect caption and added any desired hashtags, tap “Share” to upload your edited DSLR photo to your Instagram feed. Your stunning image will now be showcased to your followers, allowing them to appreciate the artistry and detail captured by your DSLR camera.
By following these steps, you can seamlessly integrate your high-quality DSLR photos into your Instagram profile, captivating your audience with breathtaking visuals that reflect your unique perspective and creative talent.


