Introduction
Photographing a monitor screen with a DSLR camera can be a challenging yet rewarding task. Whether you are capturing your digital artwork, documenting a software interface, or showcasing your gaming achievements, taking high-quality pictures of your monitor can elevate your content to a professional level. However, this process requires careful consideration of equipment, camera settings, lighting, and composition to ensure that the resulting images accurately represent the on-screen content without distortion or glare.
By following the guidelines and techniques outlined in this article, you will learn how to effectively photograph a monitor screen with a DSLR camera, allowing you to showcase your digital creations or capture memorable moments from your screen-based activities. From setting up your monitor and camera to refining the composition and post-processing the images, this comprehensive guide will equip you with the knowledge and skills needed to produce stunning photographs of your monitor screen.
So, whether you are a digital artist, a software developer, a gamer, or simply someone who wants to capture the essence of their digital world, this article will provide you with the essential know-how to master the art of photographing a monitor screen with a DSLR camera.
Equipment Needed
Before embarking on the journey of photographing a monitor screen with a DSLR camera, it’s crucial to gather the necessary equipment to ensure optimal results. Here’s a breakdown of the essential items you’ll need:
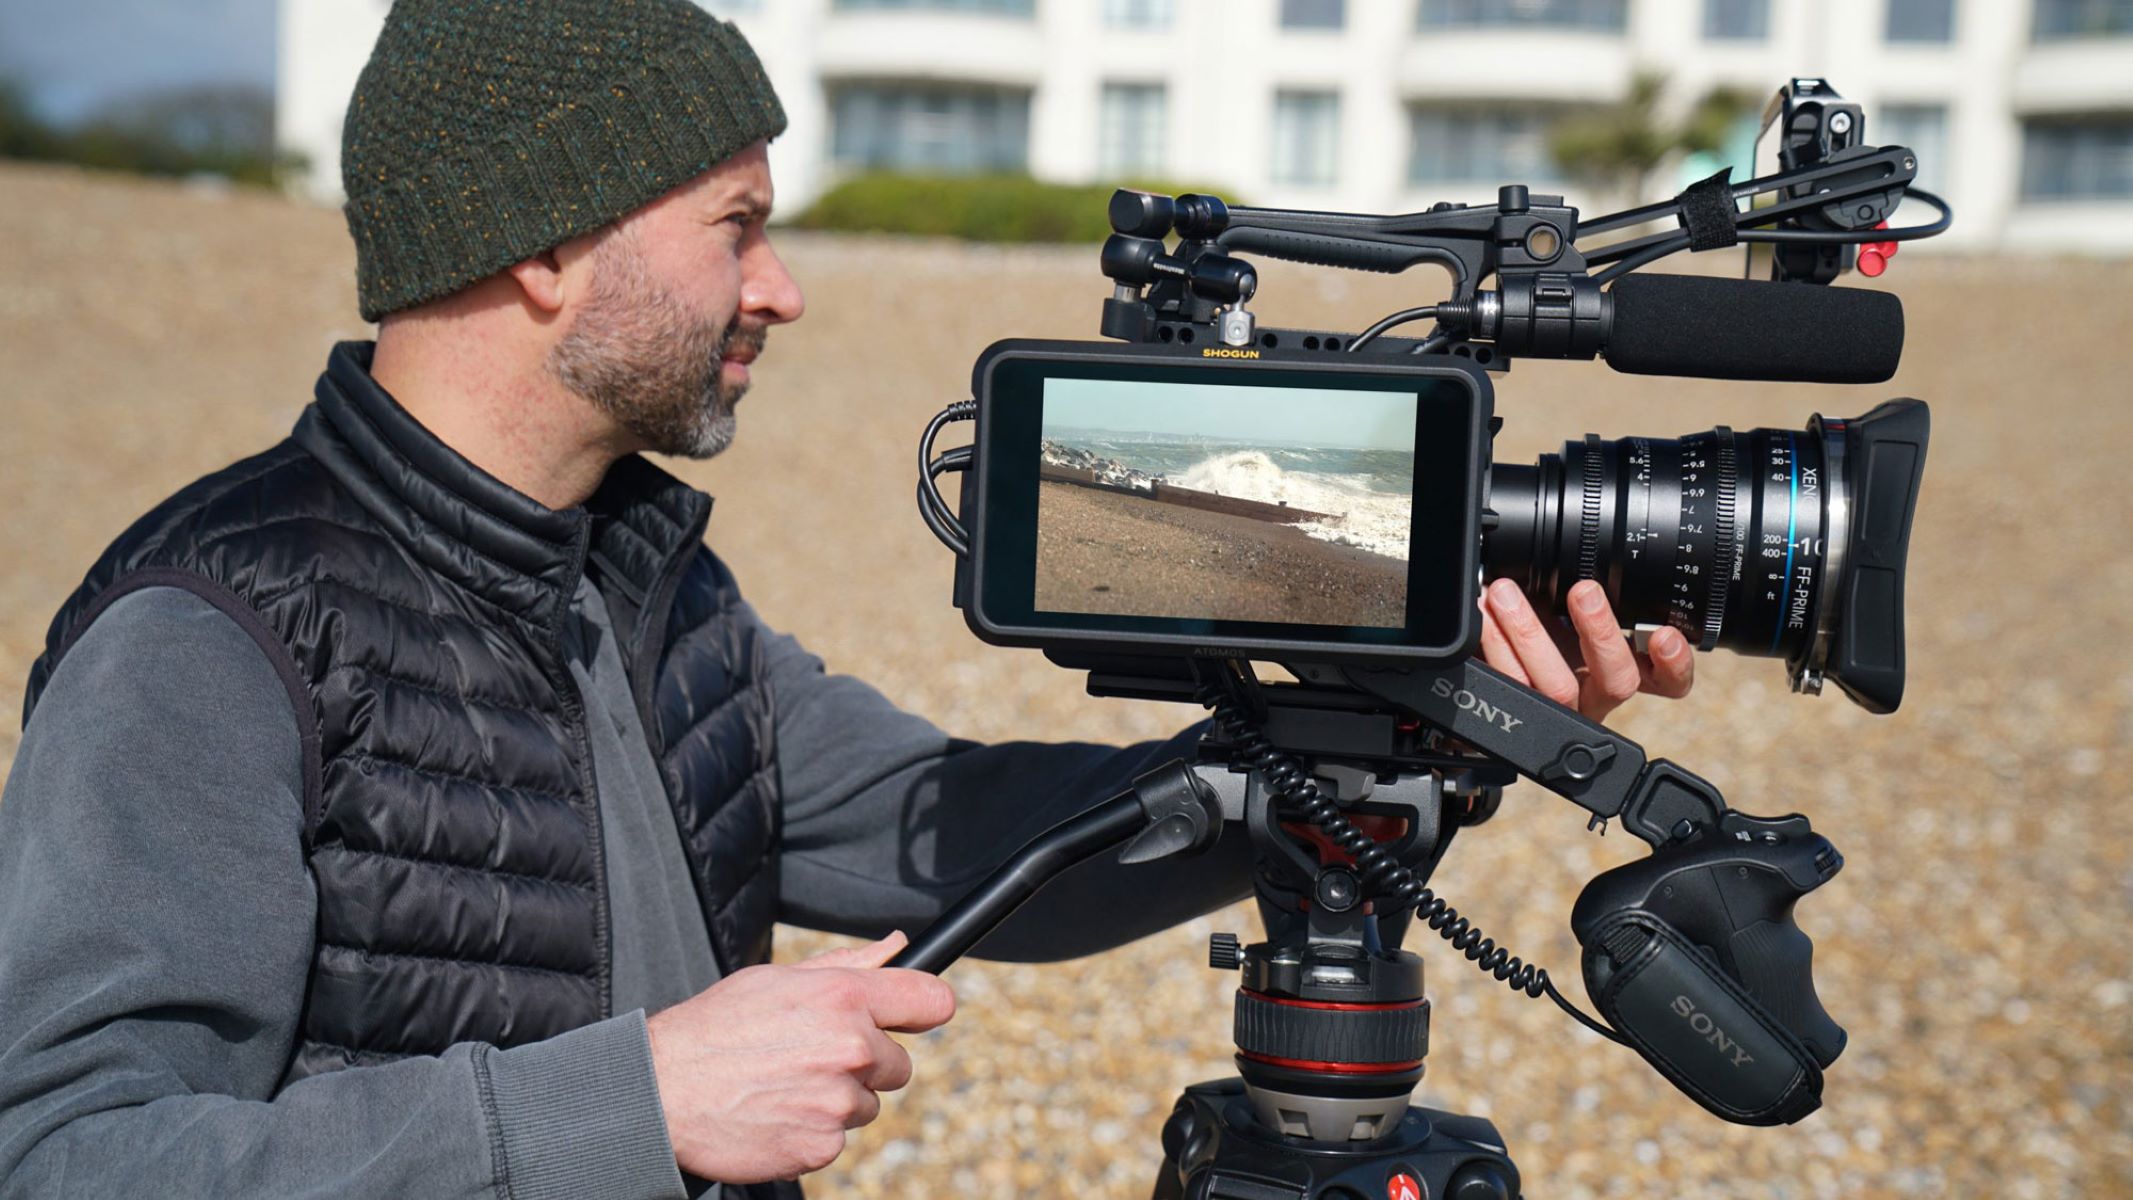
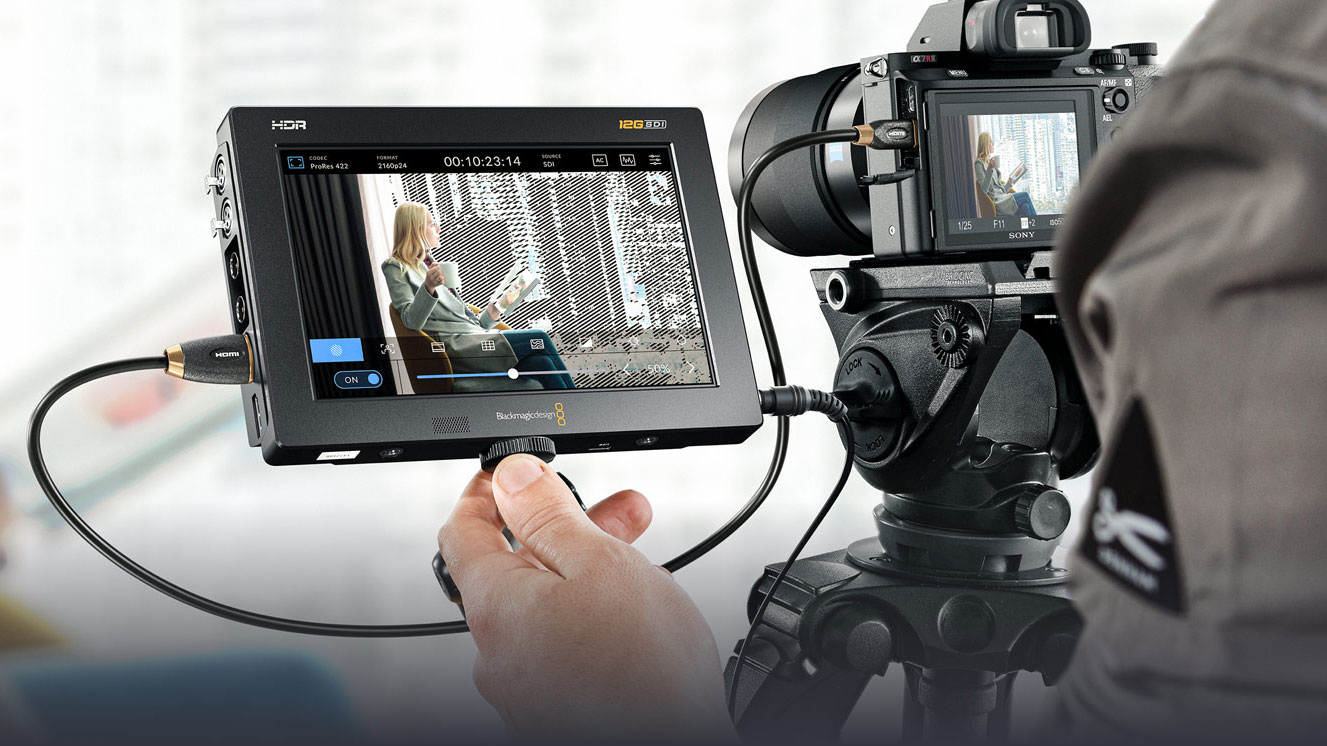
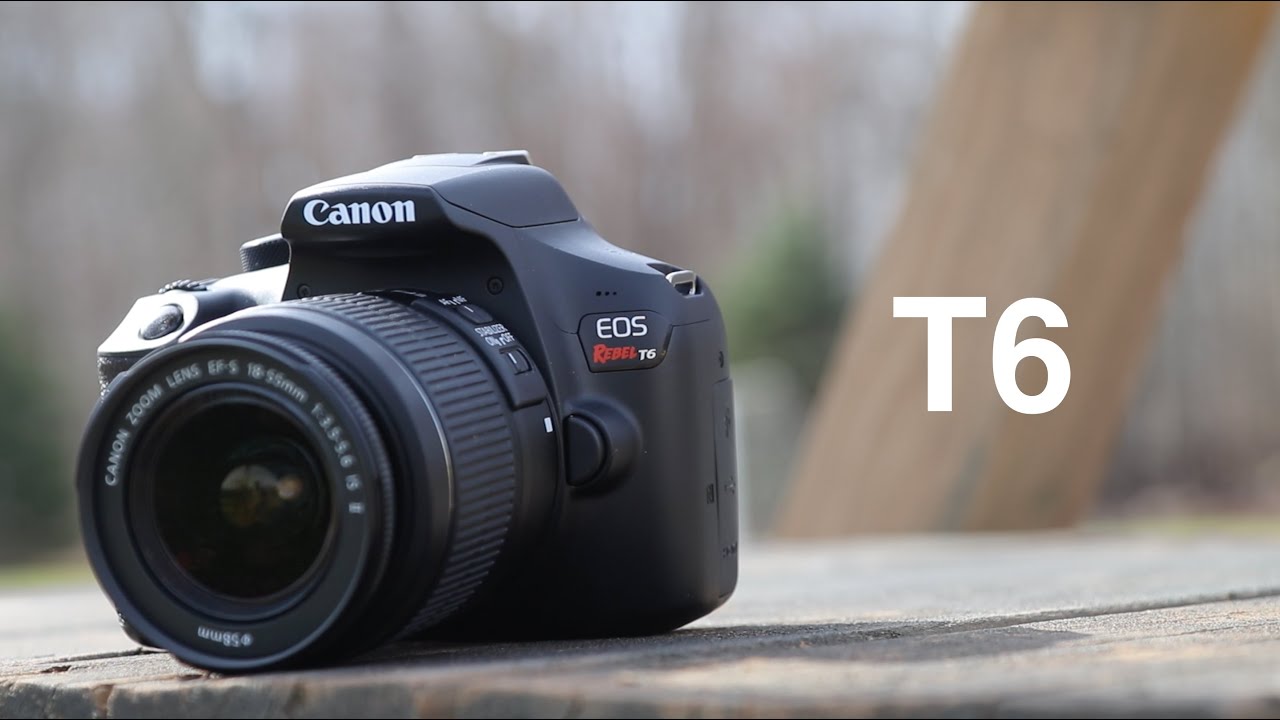
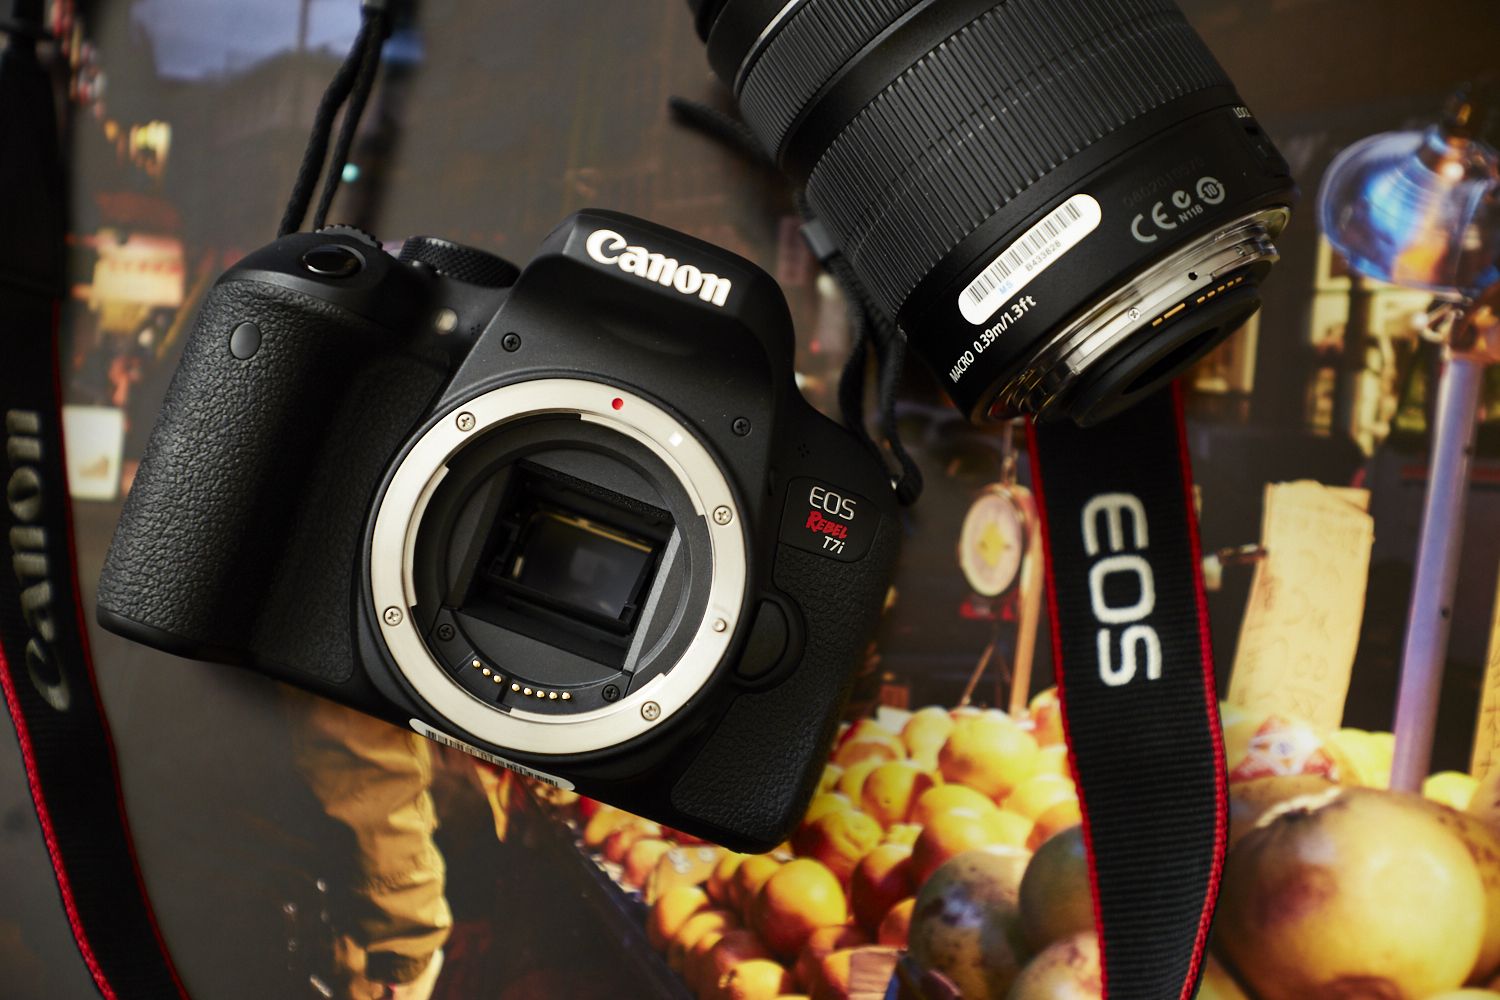
- DSLR Camera: A high-quality digital single-lens reflex (DSLR) camera is the cornerstone of this process. It should have manual settings for aperture, shutter speed, and ISO to provide full control over the image capture.
- Lens: A prime lens with a focal length that suits your shooting environment is recommended. A lens with a wide aperture, such as f/1.8 or f/2.8, can help achieve a shallow depth of field, resulting in sharp on-screen content and a pleasing background blur.
- Tripod: Stability is crucial to prevent camera shake and ensure sharp, clear images. A sturdy tripod with adjustable height and angle capabilities will provide the necessary support for your camera.
- Monitor Calibration Tool: To accurately capture the colors and details displayed on your monitor, consider using a monitor calibration device to ensure color accuracy and consistency.
- Remote Shutter Release: Using a remote shutter release or the camera’s self-timer function can eliminate the risk of camera shake when triggering the shutter.
- Microfiber Cloth: Keeping your monitor clean and free from dust and smudges is essential for capturing clear, high-quality images.
- Backdrop or Diffuser: Depending on your specific requirements, a neutral backdrop or a diffuser can help minimize glare and reflections on the monitor screen.
By ensuring you have these essential pieces of equipment at your disposal, you’ll be well-prepared to embark on the process of photographing your monitor screen with a DSLR camera, setting the stage for capturing stunning, true-to-life images of your digital content.
Setting Up Your Monitor
Before capturing images of your monitor screen, it’s important to ensure that your monitor is properly set up to display your content accurately and vividly. Here are the key steps to consider when preparing your monitor for photography:
- Calibration: Use a monitor calibration tool to ensure that the colors and brightness levels on your screen are accurately represented. Proper calibration is essential for capturing images that faithfully depict the on-screen content.
- Cleanliness: Thoroughly clean your monitor screen with a microfiber cloth to remove any dust, smudges, or fingerprints. A clean screen will result in clearer and more professional-looking images.
- Adjusting Display Settings: Fine-tune the display settings on your monitor to achieve optimal brightness, contrast, and color balance. Adjusting the settings to match your specific photography needs can significantly enhance the quality of the captured images.
- Minimizing Glare: Position your monitor in a way that minimizes glare and reflections. Consider using a neutral backdrop or a diffuser to reduce unwanted reflections on the screen, ensuring that the captured images are free from distracting glare.
- Content Display: Ensure that the content displayed on your monitor accurately represents the final images you wish to capture. Whether it’s digital artwork, software interfaces, or gaming scenes, make sure the content is showcased exactly as you intend to photograph it.
By meticulously setting up your monitor in accordance with these guidelines, you’ll create an optimal environment for capturing high-quality images with your DSLR camera. Taking the time to prepare your monitor will ultimately contribute to the success of your photography endeavor, allowing you to produce images that faithfully represent your on-screen content with clarity and precision.
Camera Settings
Configuring your DSLR camera settings appropriately is crucial for capturing clear, vibrant images of your monitor screen. Here’s a detailed look at the key camera settings to consider:
- Manual Mode: Set your camera to manual mode to have full control over the exposure settings. This allows you to adjust the aperture, shutter speed, and ISO according to the specific requirements of the scene.
- Aperture: Select a wide aperture (low f-stop value) to achieve a shallow depth of field, which can help isolate the on-screen content and create a pleasing background blur. A wider aperture also allows more light to enter the lens, aiding in the capture of clear, detailed images.
- Shutter Speed: Use a relatively fast shutter speed to minimize the risk of capturing any flickering or distortion on the monitor screen. Adjust the shutter speed as needed to achieve a well-exposed image without introducing unwanted artifacts.
- ISO: Keep the ISO as low as possible to reduce digital noise and maintain optimal image quality. Since the monitor screen will provide its own light source, a low ISO setting can help produce clean, noise-free images.
- White Balance: Set the white balance to match the color temperature of the monitor display. This ensures that the captured images accurately represent the true colors of the on-screen content without any unwanted color casts.
- Focusing: Use manual focus to precisely control the focus point and ensure that the on-screen content is sharp and well-defined. Take the time to fine-tune the focus to capture the details with utmost clarity.
- File Format: Opt for shooting in RAW format to retain maximum flexibility during post-processing. RAW files preserve all the image data captured by the camera, allowing for extensive adjustments without compromising image quality.
By carefully configuring these camera settings, you can optimize your DSLR for capturing high-quality images of your monitor screen. The precise control over exposure, focus, and image format will enable you to produce visually striking photographs that faithfully represent the on-screen content with clarity and accuracy.
Lighting
Proper lighting plays a pivotal role in photographing a monitor screen with a DSLR camera, as it directly influences the clarity, color accuracy, and overall visual appeal of the captured images. Consider the following lighting aspects to ensure optimal results:
- Ambient Light Control: Minimize ambient light in the room to reduce glare and reflections on the monitor screen. Controlling the ambient light helps maintain the integrity of the on-screen content and minimizes unwanted distractions in the captured images.
- Soft, Even Lighting: Utilize soft, diffused lighting to evenly illuminate the monitor screen. Avoid harsh, direct light sources that can cause hotspots or uneven lighting, potentially affecting the accuracy of the captured colors and details.
- Color Temperature: Ensure that the color temperature of the lighting matches the display settings of your monitor. Consistent color temperature between the ambient light and the monitor display helps preserve the true colors and tonality of the on-screen content in the captured images.
- Adjustable Lighting Setup: Consider using adjustable light sources to fine-tune the illumination of the monitor screen. This flexibility allows you to achieve the desired level of brightness and contrast while minimizing any potential overexposure or underexposure in the images.
- Directional Lighting: Position the light sources to minimize glare and reflections while evenly illuminating the monitor screen. Thoughtful placement of the lights can help enhance the visibility of the on-screen content without introducing unwanted shadows or highlights.
By paying close attention to the lighting environment and implementing these strategies, you can create an optimal lighting setup for photographing your monitor screen. The careful control of ambient light, the use of soft, even lighting, and the consideration of color temperature will contribute to the production of visually stunning images that accurately represent the on-screen content with fidelity and precision.
Composition and Framing
Effective composition and framing are essential elements in capturing compelling and visually engaging images of a monitor screen with a DSLR camera. By carefully considering the composition and framing of your shots, you can elevate the impact and storytelling of your photographs. Here are key considerations for achieving strong composition and framing:
- Rule of Thirds: Apply the rule of thirds to position the key elements of the on-screen content at intersecting points or along the grid lines, creating a balanced and visually appealing composition.
- Leading Lines: Utilize any lines, edges, or visual cues within the on-screen content to guide the viewer’s attention and create a sense of depth and movement within the frame.
- Negative Space: Consider incorporating negative space around the on-screen content to emphasize its significance and create a sense of visual balance within the composition.
- Frame Within a Frame: Explore creative framing techniques, such as using surrounding elements or objects to frame the on-screen content, adding depth and context to the composition.
- Perspective and Angle: Experiment with different perspectives and shooting angles to capture the on-screen content from unique vantage points, adding visual interest and depth to the images.
- Consistent Alignment: Ensure that the monitor screen is level and aligned within the frame to maintain a sense of balance and cohesion in the composition.
- Consider the Surroundings: If applicable, take into account the environment surrounding the monitor screen, incorporating relevant elements to provide context and enrich the storytelling aspect of the images.
By applying these compositional techniques and framing considerations, you can infuse your photographs with visual impact and narrative depth, effectively showcasing the on-screen content in a compelling and aesthetically pleasing manner. Thoughtful composition and framing will elevate the overall quality of your monitor screen photographs, capturing the viewer’s attention and conveying the intended message with clarity and creativity.
Taking the Picture
When it comes to capturing images of a monitor screen with a DSLR camera, the process of taking the picture itself requires attention to detail and precision. Here’s a step-by-step guide to effectively photographing your monitor screen:
- Positioning: Set up your camera on a stable tripod and position it directly in front of the monitor, ensuring that the lens is parallel to the screen for accurate representation of the on-screen content.
- Focus and Composition: Use manual focus to precisely adjust the focus on the on-screen content, aligning it with the desired composition and framing. Ensure that the key elements are sharp and well-defined within the frame.
- Exposure Settings: Configure the camera settings, such as aperture, shutter speed, and ISO, based on the specific requirements of the on-screen content and the desired visual outcome. Fine-tune the exposure parameters to achieve optimal image quality.
- Remote Trigger: If possible, use a remote shutter release or the camera’s self-timer function to trigger the shutter, minimizing the risk of camera shake and ensuring sharp, clear images.
- Monitor Display: Ensure that the monitor accurately displays the content you intend to photograph, adjusting any settings or elements as needed to achieve the desired visual representation.
- Capture Multiple Shots: Take multiple photographs with slight variations in composition, framing, or exposure settings to provide flexibility during the selection process and increase the likelihood of capturing the perfect shot.
- Review and Refine: Review the captured images on the camera’s display to assess the composition, focus, and overall quality. Make any necessary adjustments and capture additional shots if needed to refine the results.
By following these steps and approaching the process of taking the picture with precision and attention to detail, you can ensure that each photograph effectively captures the on-screen content with clarity, accuracy, and visual impact. Taking the time to meticulously execute each step will ultimately contribute to the production of high-quality images that faithfully represent your monitor screen in all its detail and vibrancy.
Editing and Post-Processing
After capturing images of your monitor screen with a DSLR camera, the editing and post-processing stage is crucial for refining the visual impact and ensuring the accurate representation of the on-screen content. Here’s a comprehensive guide to effectively editing and post-processing your monitor screen photographs:
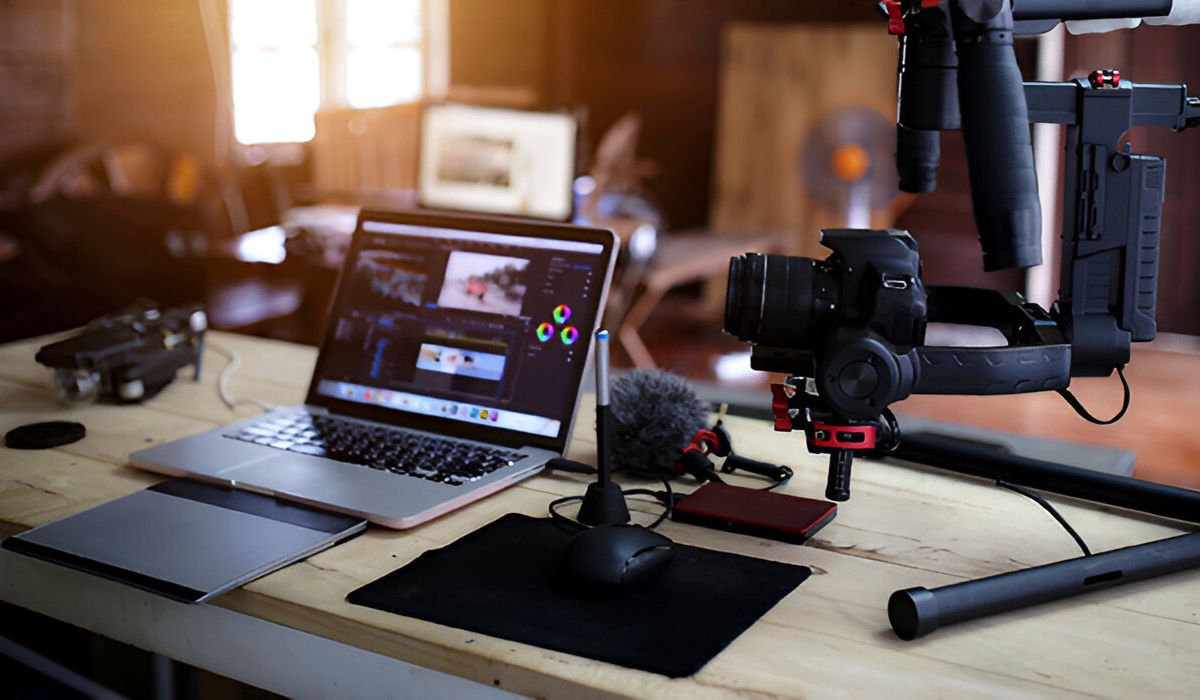
- Importing and Organizing: Transfer the captured images to your computer and organize them in a dedicated folder, facilitating an efficient workflow during the editing process.
- Color Correction: Adjust the color balance, saturation, and contrast to accurately reproduce the colors and tonality of the on-screen content. Pay careful attention to preserving the integrity of the original colors while enhancing visual appeal.
- Sharpening and Clarity: Apply appropriate sharpening and clarity adjustments to enhance the details and crispness of the on-screen elements, ensuring that the images maintain a high level of clarity and definition.
- Exposure and Contrast: Fine-tune the exposure and contrast to achieve a balanced and visually pleasing representation of the on-screen content, ensuring that the images exhibit optimal brightness and tonal range.
- Cropping and Composition: Refine the composition and framing of the images through selective cropping and alignment adjustments, optimizing the visual flow and impact of the photographs.
- Noise Reduction: Address any digital noise or artifacts that may have been introduced during the image capture process, applying noise reduction techniques to ensure clean, professional-looking results.
- File Format Conversion: If necessary, convert the images to the appropriate file format for their intended use, ensuring compatibility and optimal quality for various platforms and applications.
- Metadata and Tagging: Embed relevant metadata and tags into the images to provide context, copyright information, and searchability, enhancing the organization and accessibility of your monitor screen photographs.
- Quality Assurance: Thoroughly review the edited images to confirm that they accurately represent the on-screen content, maintaining fidelity and visual appeal while adhering to your intended artistic or technical objectives.
By meticulously executing these editing and post-processing steps, you can elevate the quality and visual impact of your monitor screen photographs, ensuring that they effectively convey the intended message and resonate with viewers. The careful application of editing techniques will result in polished, professional images that faithfully represent the on-screen content with precision and artistry.
Conclusion
Photographing a monitor screen with a DSLR camera presents a unique set of challenges and creative opportunities. Through the careful selection of equipment, meticulous attention to monitor setup, precise camera settings, thoughtful lighting considerations, and strategic composition and framing, you can capture stunning images that faithfully represent the on-screen content with clarity and visual impact.
By following the comprehensive process outlined in this guide, you have gained the knowledge and skills necessary to master the art of photographing a monitor screen with a DSLR camera. From the initial setup and preparation to the final editing and post-processing stages, each step contributes to the production of high-quality images that showcase your digital creations, software interfaces, or gaming experiences with professionalism and artistry.
Remember that practice and experimentation are key to refining your photography skills in this specialized area. As you continue to explore the nuances of capturing monitor screen images, you will develop a keen eye for composition, lighting, and technical precision, allowing you to consistently produce captivating photographs that captivate and inspire your audience.
Whether you are a digital artist seeking to showcase your work, a software developer documenting user interfaces, or a gamer capturing memorable moments, the ability to photograph a monitor screen with skill and creativity will undoubtedly enhance your visual storytelling and elevate the impact of your digital content.
Embrace the knowledge and techniques presented in this guide, and embark on your photographic journey with confidence, knowing that you possess the expertise to produce exceptional images of your monitor screen with a DSLR camera.


