Introduction
So, you've got your hands on the Sharper Image Camera Drone and you're ready to capture stunning aerial footage. Whether you're a beginner or an experienced drone pilot, recording video with the Sharper Image Camera Drone can be an exhilarating experience. This high-tech gadget allows you to explore the world from a whole new perspective and create captivating videos from the sky.
In this guide, we'll walk you through the process of recording video with the Sharper Image Camera Drone, covering everything from setting up the camera to capturing the best footage. By the end of this article, you'll be equipped with the knowledge and skills to unleash your creativity and produce impressive aerial videos that will leave your audience in awe.
So, buckle up and get ready to elevate your videography game with the Sharper Image Camera Drone. Whether you're planning to document your outdoor adventures, film stunning landscapes, or simply capture unique perspectives, this guide will help you make the most of your drone's video recording capabilities. Let's dive into the exciting world of aerial videography and unlock the full potential of your Sharper Image Camera Drone.
Getting Started with the Sharper Image Camera Drone
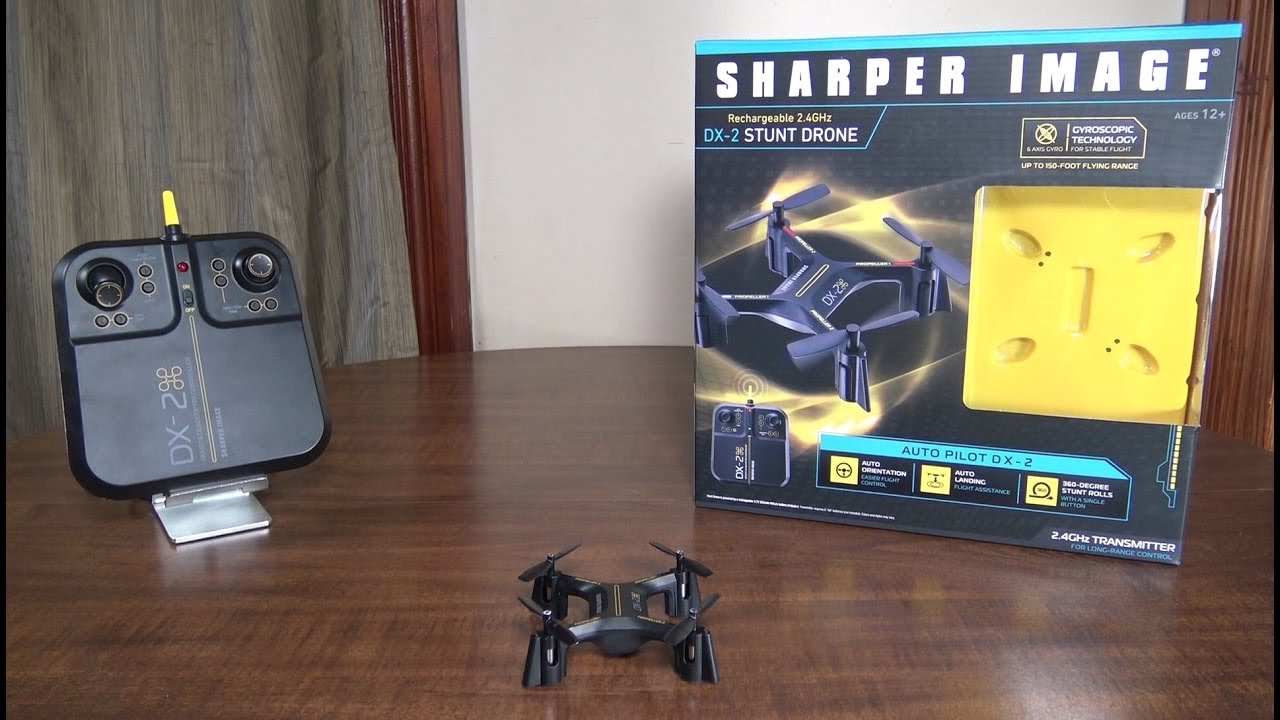
Before you embark on your aerial videography journey, it’s crucial to familiarize yourself with the basics of operating the Sharper Image Camera Drone. Start by carefully unpacking the drone and its components, ensuring that all the necessary parts are present and in good condition. The package typically includes the drone itself, a remote controller, a rechargeable battery, propeller guards, and a user manual.
Next, it’s essential to charge the drone’s battery fully before your first flight. This ensures an uninterrupted and enjoyable flying experience. While the battery is charging, take the time to read the user manual thoroughly. Understanding the drone’s features, controls, and safety guidelines is paramount for a smooth and safe flying experience.
Once the battery is fully charged, power up the drone and the remote controller. Establish a secure connection between the drone and the controller by following the pairing instructions provided in the manual. Familiarize yourself with the controller’s buttons and functions, including the takeoff and landing controls, altitude adjustment, and emergency shutoff procedures.
Before taking to the skies, it’s advisable to conduct a pre-flight inspection of the drone. Ensure that the propellers are securely attached, the camera is functioning correctly, and all components are free from any damage or debris. Additionally, verify that the GPS signal is strong and that the drone is calibrated for stable flight.
Lastly, find a suitable location for your maiden flight. Choose an open area with minimal obstructions and away from crowded spaces. Ideal locations include parks, open fields, or spacious backyards. Once you’ve found the perfect spot, perform a test flight to familiarize yourself with the drone’s controls and responsiveness.
By following these initial steps, you’ll lay a solid foundation for your drone piloting experience and set the stage for capturing breathtaking aerial videos with the Sharper Image Camera Drone.
Setting Up the Camera
Once you’ve successfully familiarized yourself with the basics of operating the Sharper Image Camera Drone, it’s time to focus on setting up the camera for optimal video recording. The camera plays a pivotal role in capturing stunning aerial footage, and understanding its features and settings is essential for achieving professional-quality results.
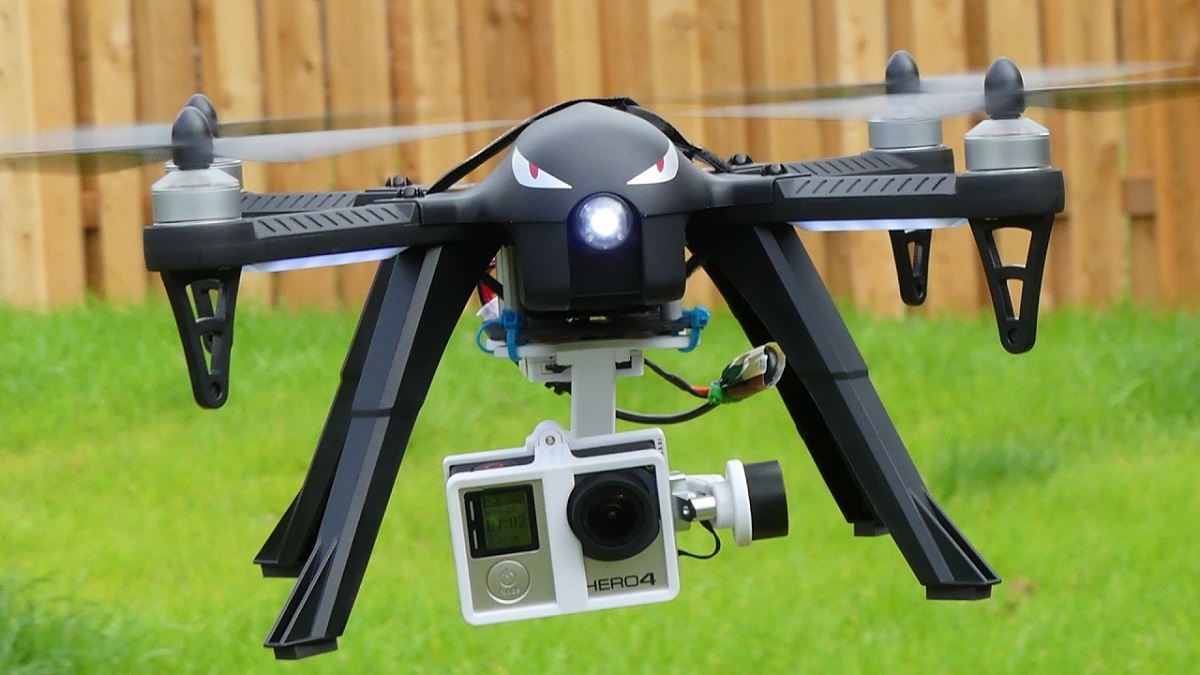
Begin by ensuring that the camera is securely attached to the drone and that the lens is free from any smudges or obstructions. Clean the lens with a microfiber cloth to guarantee crystal-clear footage. Familiarize yourself with the camera’s tilt and pan functions, as these capabilities allow you to adjust the camera angle during flight, capturing diverse perspectives and dynamic shots.
Before taking off, it’s crucial to adjust the camera settings to suit your recording preferences. The Sharper Image Camera Drone typically offers various recording resolutions and frame rate options. Selecting a higher resolution, such as 4K or 1080p, coupled with a higher frame rate, ensures sharp, detailed footage and smooth motion sequences.
Furthermore, consider enabling any additional features that enhance video quality, such as image stabilization or HDR (High Dynamic Range) mode. These features contribute to steady, balanced footage and improved exposure in challenging lighting conditions, resulting in visually striking videos.
When setting up the camera, it’s important to consider the composition of your shots. Aim to frame your subjects thoughtfully, utilizing the rule of thirds to create visually appealing and balanced compositions. Experiment with different camera angles and movements to add depth and dynamism to your footage, elevating the overall visual impact of your videos.
Prior to each flight, double-check the camera’s settings and ensure that the memory card has sufficient storage capacity to accommodate the video recordings. Additionally, consider investing in high-quality, high-capacity memory cards to capture extended footage without interruptions.
By mastering the art of setting up the camera, you’ll be well-equipped to unleash your creativity and capture mesmerizing aerial videos that showcase the world from a breathtaking perspective.
Recording Video with the Sharper Image Camera Drone
Now that you’ve mastered the setup of the Sharper Image Camera Drone and its camera, it’s time to delve into the exhilarating process of recording stunning aerial videos. Whether you’re documenting scenic landscapes, capturing action-packed sequences, or simply exploring the world from above, understanding the art of video recording with your drone is essential for producing captivating footage.
Prior to takeoff, ensure that the camera is powered on and the video recording mode is activated. Most drones offer a dedicated button or control on the remote controller to initiate video recording effortlessly. Once recording is initiated, the drone will start capturing high-definition footage, preserving your aerial adventures in vivid detail.
As you soar through the skies, it’s crucial to maintain a steady and controlled flight to achieve smooth, cinematic footage. Avoid abrupt movements and sudden changes in direction, as these can result in shaky or unstable video recordings. Practice gentle and fluid maneuvers, allowing the drone to glide gracefully through the air, capturing seamless and visually pleasing footage.
Experiment with different camera angles and perspectives to add depth and variety to your videos. Tilt and pan the camera to capture sweeping panoramic views, dynamic aerial tracking shots, and immersive flyover sequences. By exploring the full range of the camera’s capabilities, you can craft compelling narratives and visually engaging content that captivates your audience.
Additionally, consider incorporating creative aerial techniques into your videography, such as revealing shots, where the camera gradually unveils breathtaking landscapes or points of interest, or orbiting maneuvers that encircle captivating subjects, adding a mesmerizing dynamic to your footage.
As you record video with the Sharper Image Camera Drone, keep an eye on the drone’s battery life and storage capacity. Plan your flights strategically, ensuring that you have sufficient power and memory to capture your desired footage. Utilize the drone’s return-to-home feature when necessary to conserve battery and safely conclude your recording sessions.
By honing your skills in recording video with the Sharper Image Camera Drone, you’ll unlock the potential to create awe-inspiring aerial videos that showcase the world from a breathtaking and unique perspective.
Tips for Getting the Best Video Footage
Creating compelling and visually stunning video footage with the Sharper Image Camera Drone requires a blend of technical expertise, creative vision, and strategic planning. By incorporating the following tips into your aerial videography endeavors, you can elevate the quality of your footage and craft captivating visual narratives that leave a lasting impression.
- Plan Your Shots: Before taking flight, envision the types of shots you aim to capture. Consider the narrative you want to convey and plan your flight path and camera movements accordingly. Visualizing your shots in advance allows you to maximize your time in the air and ensures that you capture the most compelling footage.
- Utilize Natural Lighting: Capitalize on the golden hours of sunrise and sunset, when the natural light is soft and warm, to capture breathtaking aerial scenes. Be mindful of the sun’s position and leverage its directional light to add depth and dimension to your videos, enhancing the overall visual impact.
- Experiment with Camera Settings: Familiarize yourself with the camera’s settings and explore different shooting modes, such as time-lapse or slow-motion, to add variety and creativity to your footage. Adjust the exposure settings to ensure balanced and well-lit scenes, especially when transitioning between different lighting conditions.
- Embrace Dynamic Movements: Incorporate dynamic and purposeful movements into your footage, such as ascending and descending maneuvers, circular orbits, and dramatic flyovers. These movements add a sense of dynamism and energy to your videos, captivating viewers and immersing them in the aerial experience.
- Focus on Composition: Apply the principles of composition, such as leading lines, symmetry, and the rule of thirds, to frame your shots thoughtfully. By composing your scenes with precision and intention, you can create visually engaging and harmonious footage that resonates with your audience.
- Edit with Precision: Once you’ve captured your aerial footage, leverage video editing software to refine and enhance your videos. Trim unnecessary segments, apply color correction and stabilization, and add music or sound effects to elevate the overall production value of your content.
By integrating these tips into your aerial videography practices, you can harness the full potential of the Sharper Image Camera Drone and produce captivating video footage that captivates and inspires viewers. Embrace creativity, technical finesse, and a keen eye for storytelling to craft visually stunning aerial videos that showcase the world from a breathtaking perspective.
Conclusion
Congratulations! You’ve embarked on an exhilarating journey into the world of aerial videography with the Sharper Image Camera Drone. Throughout this guide, you’ve gained valuable insights into the process of capturing breathtaking aerial footage, from setting up the drone and its camera to mastering the art of recording compelling videos.
As you continue to explore the boundless possibilities of aerial videography, remember to approach each flight with a blend of technical precision and creative vision. Embrace the natural beauty of the world from above, and leverage the advanced capabilities of the Sharper Image Camera Drone to craft visually stunning narratives that resonate with your audience.
By planning your shots thoughtfully, experimenting with camera settings, and embracing dynamic movements, you can elevate the quality of your aerial footage and create immersive visual experiences that transport viewers to new heights. Additionally, the post-production process offers an opportunity to refine and enhance your videos, adding a layer of polish and finesse to your aerial productions.
As you continue to hone your skills and expand your creative horizons, remember that aerial videography is a dynamic and ever-evolving art form. Embrace experimentation, push the boundaries of conventional storytelling, and seek inspiration from the world around you. Whether you’re capturing majestic landscapes, documenting adventurous expeditions, or simply exploring the beauty of your surroundings, the Sharper Image Camera Drone empowers you to showcase the world from a breathtaking and unique perspective.
So, as you prepare for your next flight, armed with the knowledge and expertise gleaned from this guide, soar with confidence and creativity. Unleash the full potential of the Sharper Image Camera Drone, and let your aerial videos inspire, captivate, and transport audiences to new realms of visual storytelling. The sky’s the limit, and your journey as an aerial videographer has only just begun.


