Introduction
Mounting a DSLR camera is an essential skill for any photographer. Whether you are a beginner or a seasoned professional, knowing how to mount a DSLR camera properly is crucial for capturing high-quality images. The process may seem daunting at first, but with the right guidance, it can become second nature. In this comprehensive guide, you will learn the step-by-step process of mounting a DSLR camera with ease and precision.
Properly mounting a DSLR camera involves several key steps, from gathering the necessary equipment to securely attaching the lens. Each step plays a vital role in ensuring that your camera is ready to capture stunning photographs. By following this guide, you will gain the confidence and expertise needed to mount your DSLR camera flawlessly every time.
So, let's dive into the intricacies of mounting a DSLR camera and embark on a journey to elevate your photography skills. Whether you are preparing to capture breathtaking landscapes or precious moments with loved ones, mastering the art of mounting your DSLR camera will set the stage for unforgettable photographic experiences.
Step 1: Gather Necessary Equipment
Before embarking on the process of mounting your DSLR camera, it is essential to gather the necessary equipment. Having the right tools at your disposal will streamline the mounting process and ensure that everything is in place for seamless operation. Here are the essential items you will need:
- DSLR Camera: Ensure that your camera is powered off before proceeding with the mounting process.
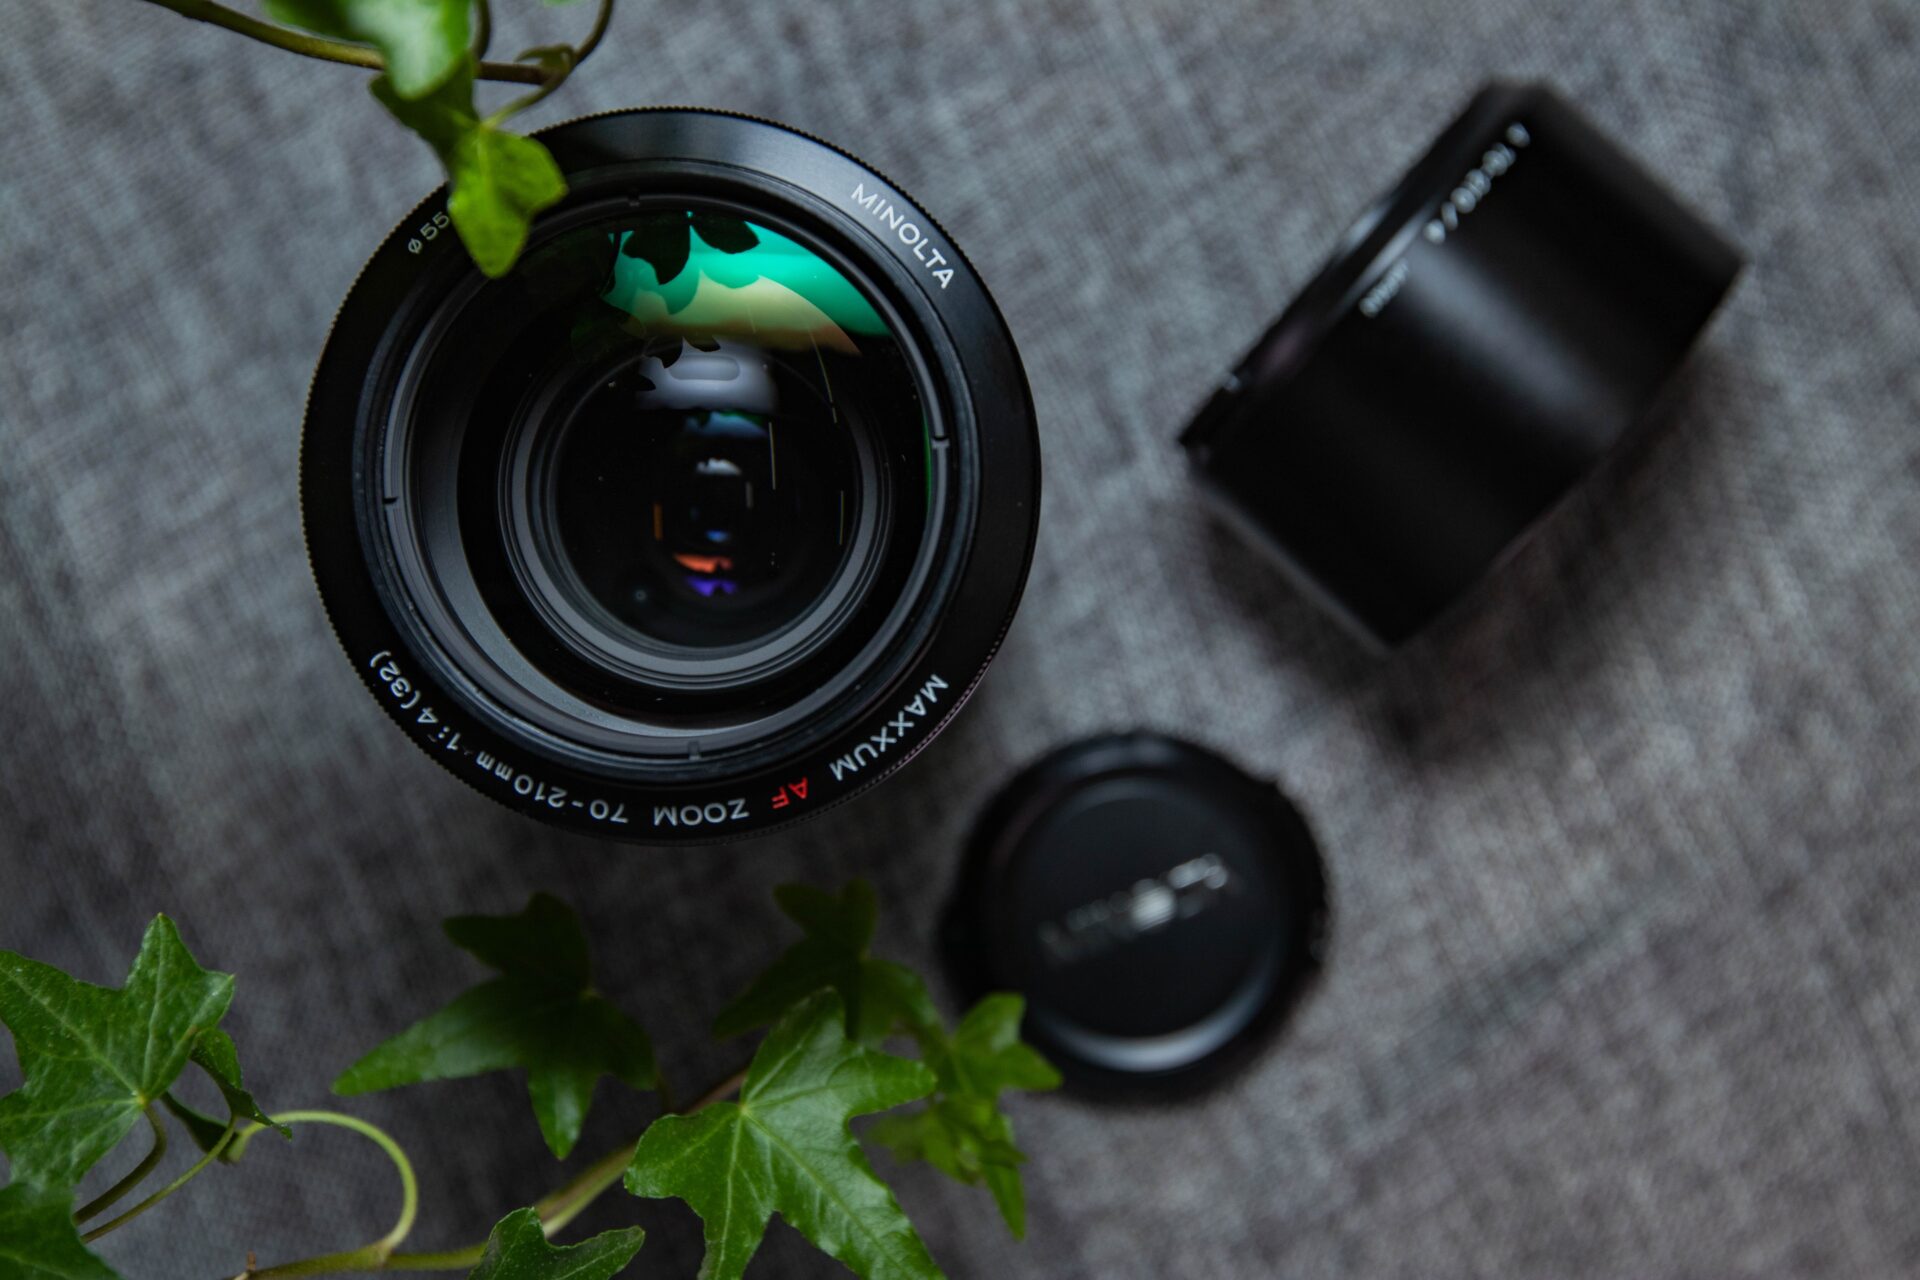
- Lens: Select the appropriate lens for your photography needs, whether it’s a wide-angle lens for expansive landscapes or a prime lens for portrait shots.
- Body Cap: This cap protects the camera’s image sensor when a lens is not attached. It must be removed before mounting the lens.
- Clean Cloth: Use a microfiber cloth to wipe any dust or debris from the lens and camera mount, ensuring a clean and secure connection.
- Stable Surface: Place your camera on a stable surface to prevent accidental drops or damage during the mounting process.
By having these essential items within reach, you can proceed with confidence, knowing that you are fully equipped to mount your DSLR camera effectively. With the right equipment at hand, you are ready to move on to the next step in the mounting process.
Step 2: Turn Off the Camera
Before proceeding with mounting the DSLR camera, it is crucial to ensure that the camera is powered off. This simple yet vital step serves to prevent any accidental activation of the camera during the lens attachment process, safeguarding both the equipment and the photographer from potential mishaps.
Turning off the camera involves a few straightforward actions:
- Power Switch: Locate the power switch on your DSLR camera and toggle it to the “off” position. This step is essential to prevent any automatic focusing or image stabilization functions from engaging while you attach the lens.
- Viewfinder Cover (Optional): If your camera is equipped with a viewfinder cover, ensure that it is closed to block any stray light from entering the camera during the lens mounting process.
By taking the time to power off your camera and implement these precautionary measures, you are laying the foundation for a smooth and secure lens mounting experience. This simple act of powering off the camera sets the stage for the subsequent steps in the mounting process, allowing you to proceed with confidence and precision.
Step 3: Remove the Body Cap
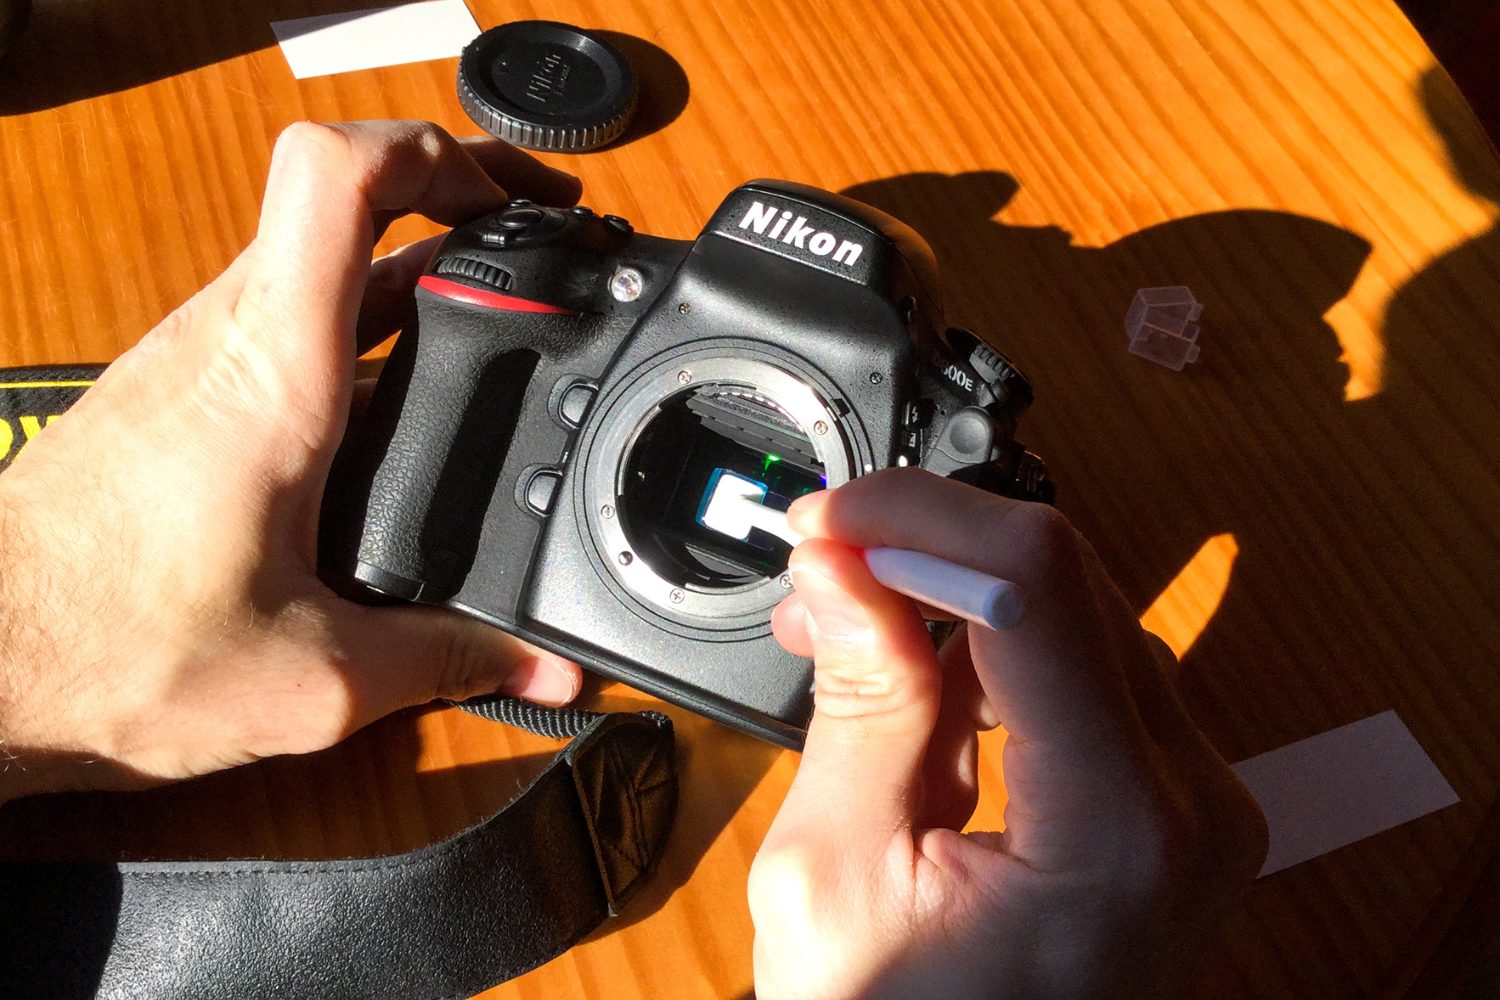
With the camera powered off, the next step in mounting your DSLR camera involves removing the body cap. The body cap serves as a protective cover for the camera’s image sensor and internal components when a lens is not attached. By carefully removing the body cap, you pave the way for seamlessly attaching the lens to the camera.
Here’s how to remove the body cap:
- Locate the Body Cap: Identify the body cap, which is typically situated at the front of the camera where the lens is attached.
- Twist and Unscrew: To remove the body cap, gently twist it counterclockwise until it disengages from the camera mount. Exercise caution to avoid applying excessive force, as the body cap should detach smoothly.
- Set Aside the Body Cap: Once the body cap is removed, place it in a secure location, such as a dedicated compartment in your camera bag, to prevent misplacement or damage.
By carefully removing the body cap, you prepare the camera for the subsequent step of aligning and attaching the lens. This simple yet crucial action sets the stage for a seamless transition to the lens mounting process, ensuring that the camera’s internal components are ready to interface with the selected lens effectively.
Step 4: Align the Lens Mount
Aligning the lens mount is a pivotal step in the process of mounting a DSLR camera. This crucial step ensures that the lens is positioned correctly for seamless attachment to the camera body, facilitating optimal functionality and image quality. Proper alignment sets the stage for a secure and precise connection between the lens and the camera.
Here’s how to align the lens mount:
- Inspect the Lens Mount: Examine the lens mount on the camera body to ensure that it is free from any debris or obstructions that may hinder the mounting process.
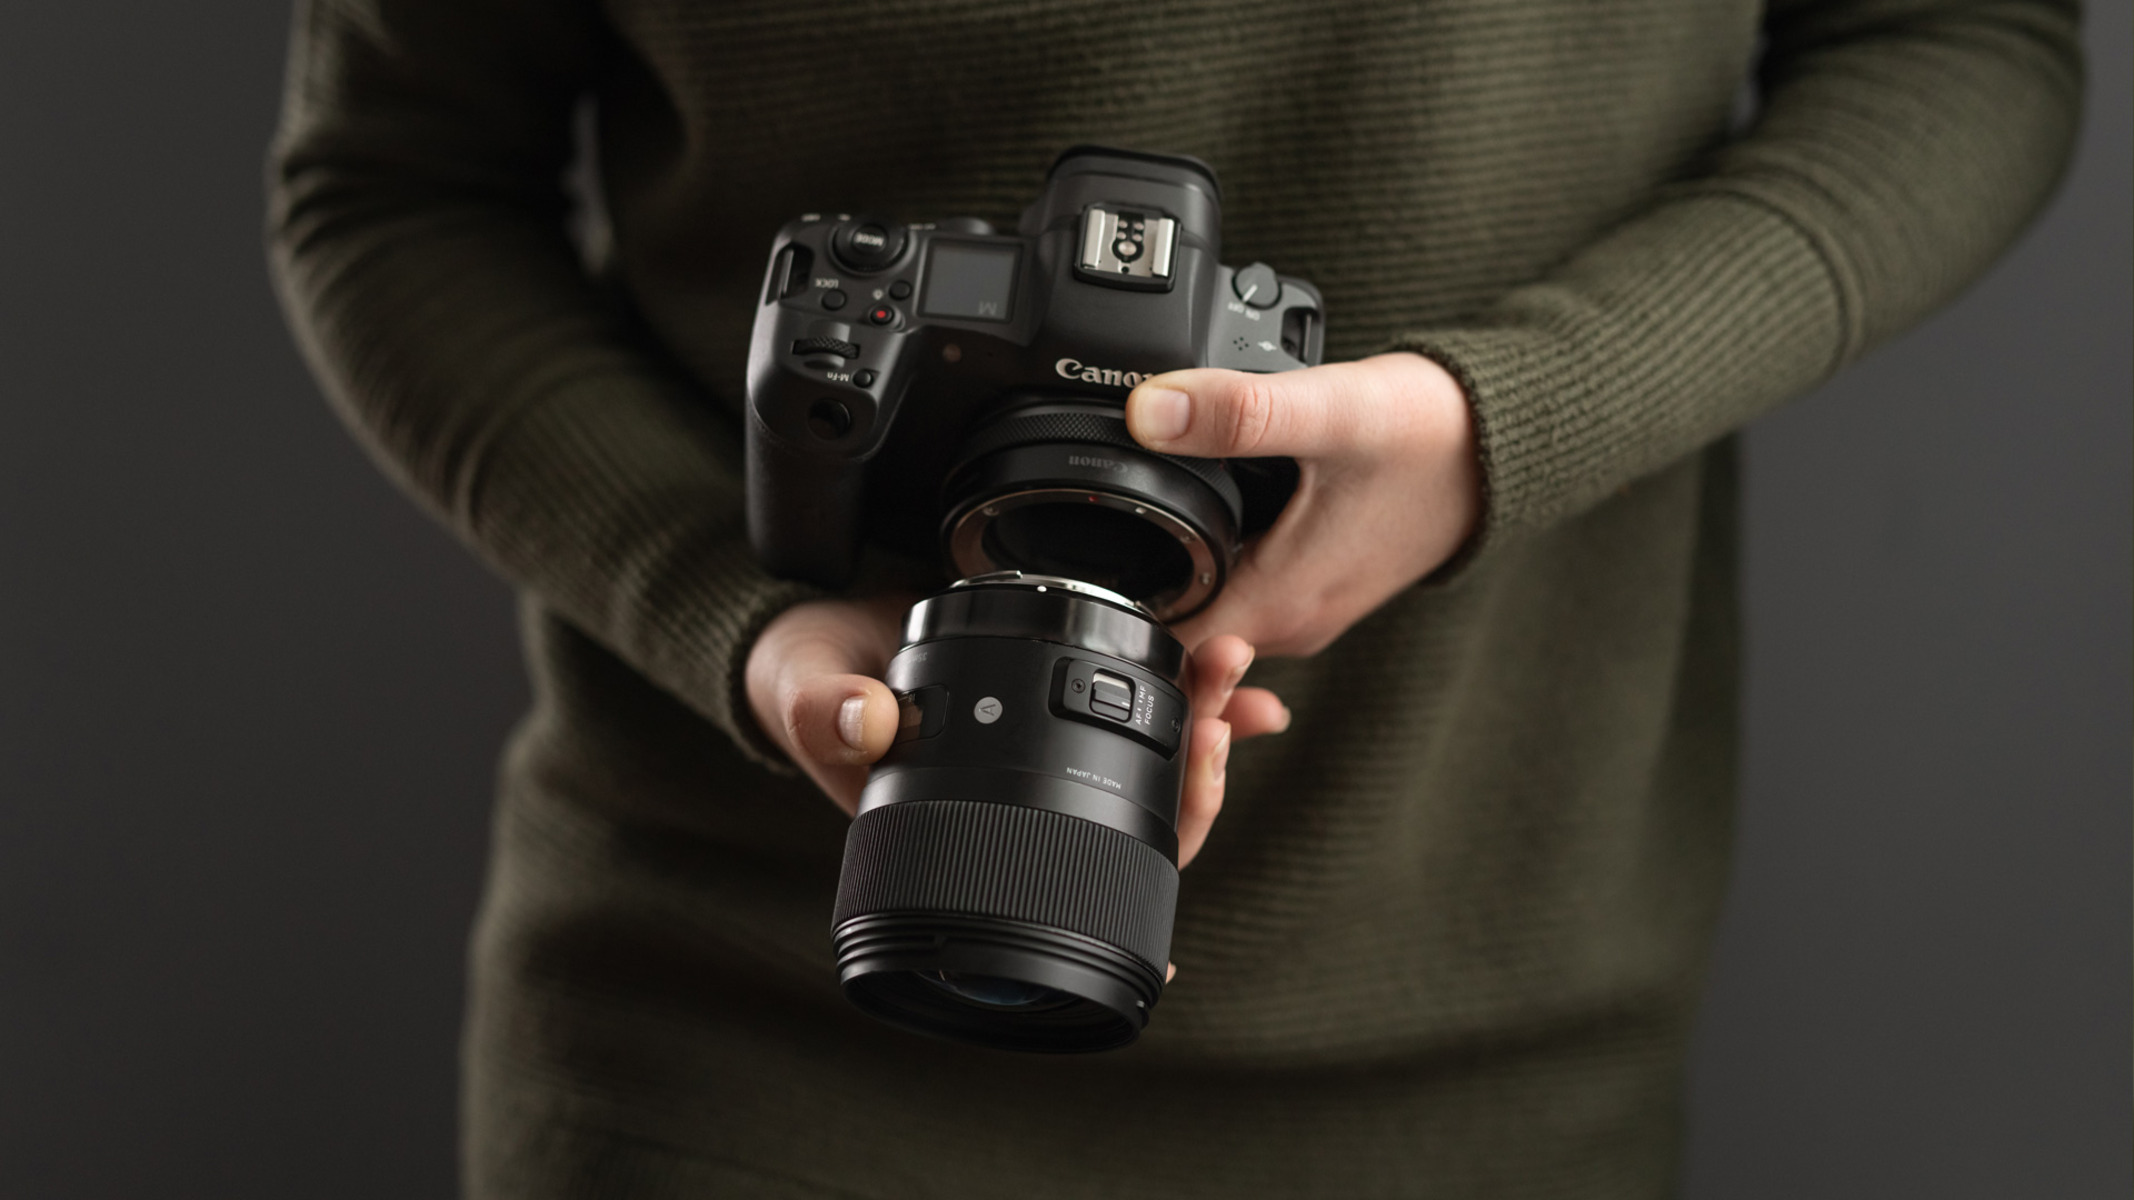
- Align the Lens Indexes: On the lens, locate the alignment indexes, typically denoted by specific markings or indicators. Align these indexes with the corresponding markers on the camera’s lens mount, ensuring a proper match for the attachment.
- Position the Lens: Carefully position the lens in front of the camera’s lens mount, aligning it with the mount’s orientation. Exercise caution to avoid applying excessive pressure during this alignment process.
By meticulously aligning the lens mount, you lay the groundwork for a seamless and secure attachment of the lens to the camera. This step is instrumental in preparing the camera for the next phase of the mounting process, setting the stage for the precise and stable connection between the lens and the DSLR camera body.
Step 5: Attach the Lens
Attaching the lens to your DSLR camera is a pivotal moment in the mounting process, marking the transition to preparing the camera for capturing stunning images. This step requires precision and care to ensure that the lens is securely and accurately connected to the camera body, setting the stage for optimal performance and image quality.
Here’s how to attach the lens to your DSLR camera:
- Position the Lens: With the lens properly aligned with the camera’s lens mount, gently position it against the mount, ensuring that the alignment indexes are correctly matched.
- Rotate the Lens: Once the lens is positioned against the mount, rotate it clockwise to engage the lens with the camera body. This rotational movement should be smooth and deliberate, allowing the lens to securely lock into place.
- Confirm the Attachment: After rotating the lens, listen for a reassuring click or indication that the lens is securely attached to the camera. Additionally, visually inspect the connection to ensure that the lens is flush with the camera body.
By following these steps, you ensure that the lens is seamlessly attached to your DSLR camera, setting the stage for a seamless transition to the final step of securing the lens in place. Attaching the lens with precision and attention to detail is essential for preparing the camera to capture breathtaking images with clarity and precision.
Step 6: Secure the Lens in Place
Securing the lens in place is the final critical step in the process of mounting your DSLR camera. This pivotal action ensures that the lens is firmly and securely attached to the camera body, setting the stage for optimal performance and image capture. Properly securing the lens not only enhances the stability of the camera setup but also contributes to the overall quality of the photographic results.
Here’s how to secure the lens in place:
- Confirm the Alignment: Before proceeding, double-check the alignment of the lens with the camera’s lens mount to ensure that it is correctly positioned for secure attachment.
- Rotate to Lock: With the lens aligned, rotate it further in a clockwise direction to lock it securely in place. This rotational movement should be smooth and deliberate, indicating a secure connection between the lens and the camera body.
- Test the Stability: Gently grasp the lens and ensure that it is stable and firmly attached to the camera. A securely mounted lens should exhibit minimal movement or play when handled, indicating a reliable connection.
By meticulously securing the lens in place, you finalize the mounting process, ensuring that the camera is ready to capture stunning images with precision and stability. This step culminates in a seamlessly mounted DSLR camera, setting the stage for an array of photographic opportunities and creative endeavors.
Step 7: Test the Mounting
After completing the process of mounting your DSLR camera, it is essential to conduct a thorough assessment to ensure that the lens is securely attached and the camera is ready for optimal performance. Testing the mounting not only validates the successful completion of the mounting process but also provides the opportunity to confirm the stability and functionality of the camera setup before proceeding with photography.
Here’s how to test the mounting of your DSLR camera:
- Power On the Camera: Toggle the power switch to turn on the camera and activate the display or viewfinder to confirm that the camera responds appropriately to the power-up sequence.
- Check Lens Functionality: Test the functionality of the attached lens, such as autofocus and image stabilization, to ensure that it operates smoothly and responsively.
- Inspect the Mounting: Visually inspect the connection between the lens and the camera body to confirm that the attachment is secure, with no signs of looseness or instability.
- Capture Test Images: Take a few test shots to evaluate the performance of the mounted camera setup, assessing the image quality and overall functionality of the lens and camera combination.
By meticulously testing the mounting of your DSLR camera, you can confidently proceed with your photographic endeavors, knowing that your camera setup is primed for exceptional performance. This comprehensive assessment ensures that the mounting process has been executed successfully, setting the stage for seamless and rewarding photography experiences.


