Introduction
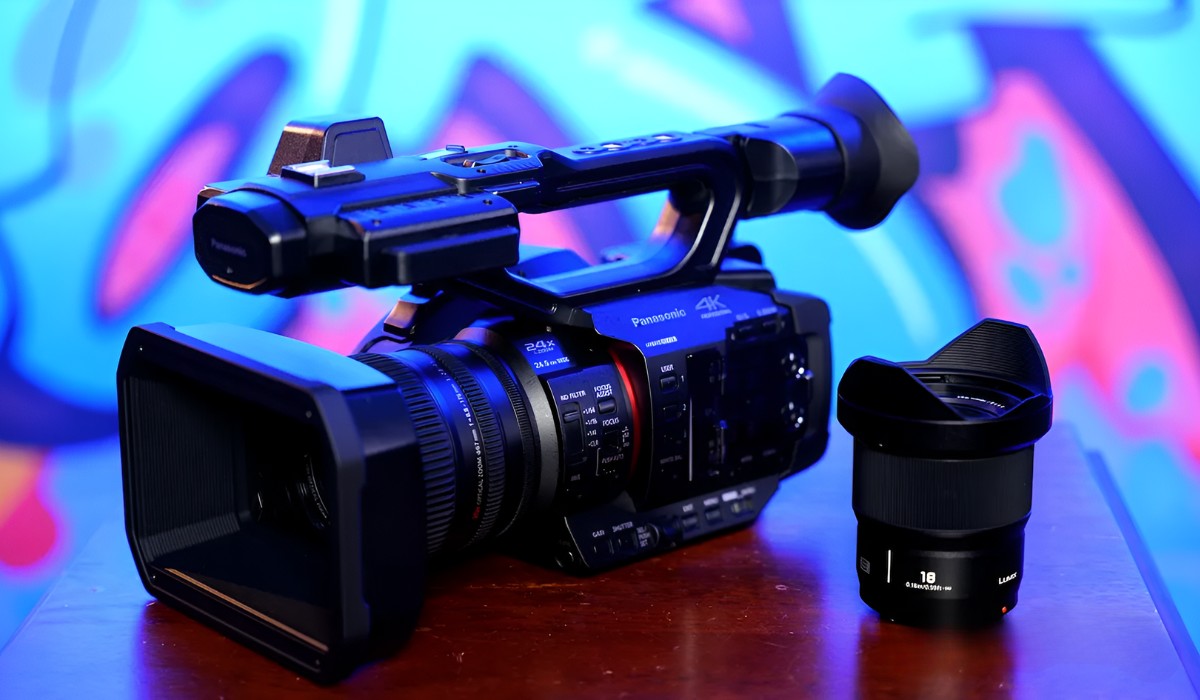
So, you've captured some fantastic moments on your camcorder and now you want to transfer them to your laptop for editing, sharing, or safekeeping. Connecting your camcorder to your laptop can unlock a world of possibilities, from creating memorable home videos to preserving cherished memories. Whether you're a budding filmmaker or simply want to digitize old family recordings, this guide will walk you through the process, making it as smooth and straightforward as possible.
In the following steps, you'll learn how to check your camcorder and laptop for compatibility, connect the two devices, set up your camcorder for transfer, and transfer the video to your laptop. Additionally, you'll discover how to edit and save the video on your laptop, ensuring that your precious footage is ready to be enjoyed and shared. By the end of this guide, you'll be equipped with the knowledge and skills to seamlessly hook up your camcorder to your laptop, opening up a world of creative possibilities.
Whether you're a seasoned tech enthusiast or a complete novice, this guide is designed to be accessible to all. So, grab your camcorder, dust off your laptop, and let's get started on this exciting journey of connecting two powerful devices to unleash your creativity and preserve your most treasured memories.
Step 1: Check your camcorder and laptop
Before diving into the process of connecting your camcorder to your laptop, it’s essential to ensure that both devices are equipped to facilitate the transfer of video content. Here’s a step-by-step guide to help you verify the compatibility of your camcorder and laptop:
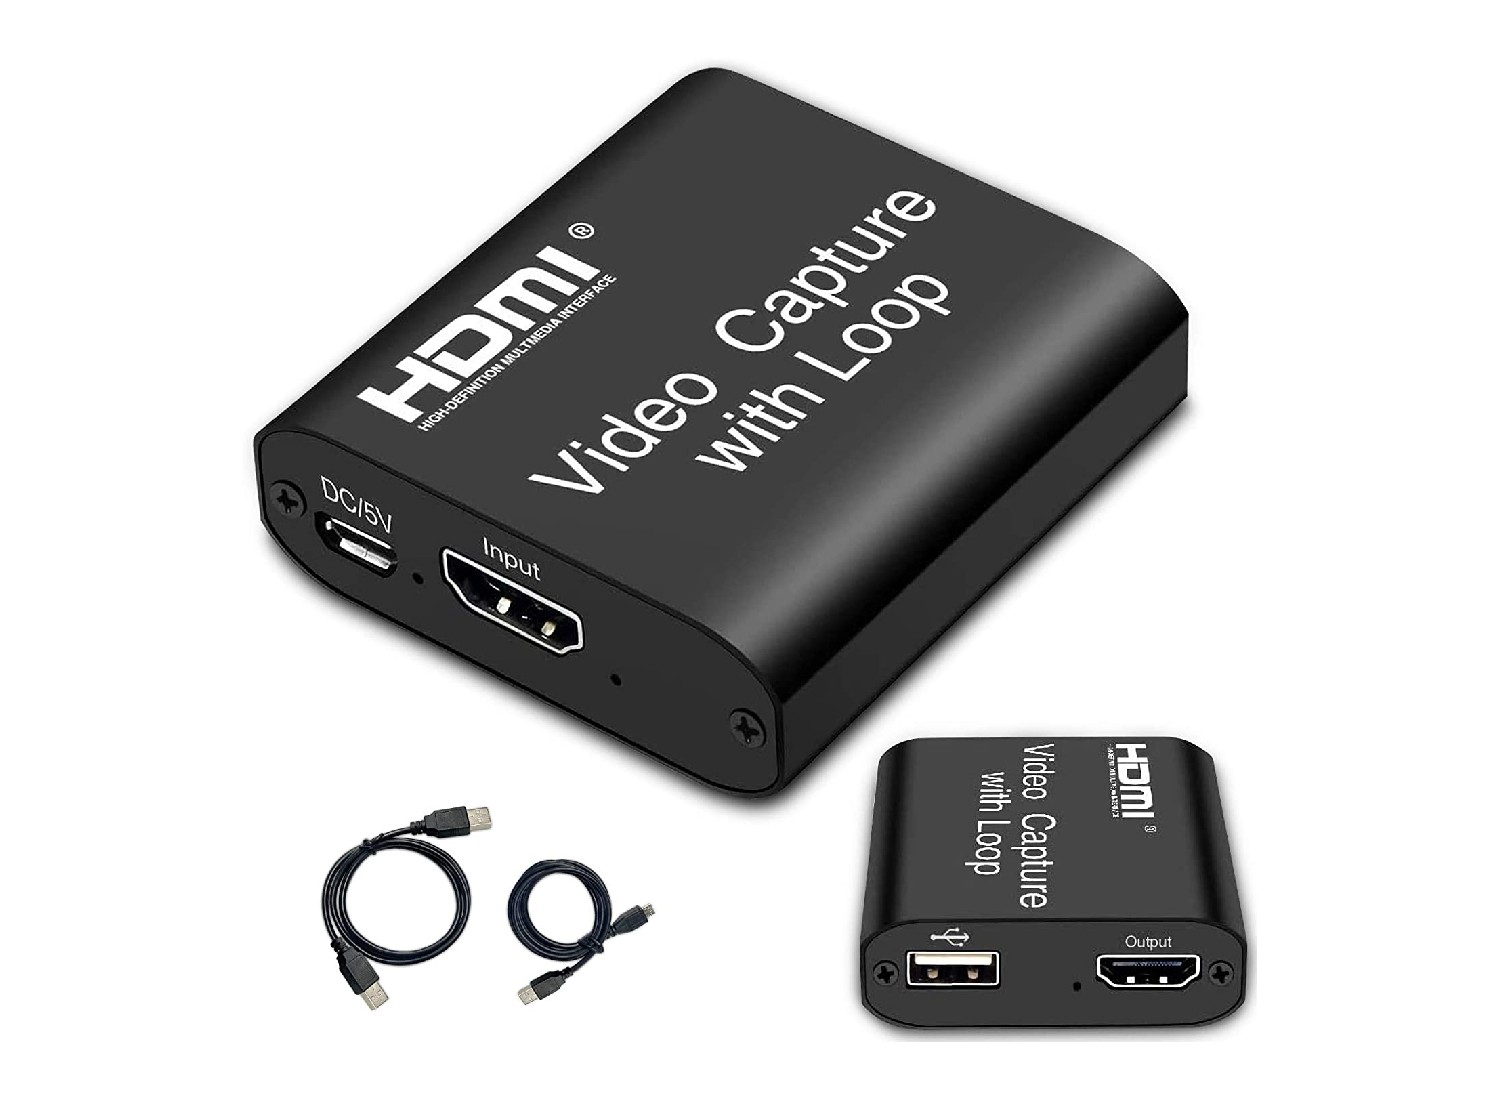
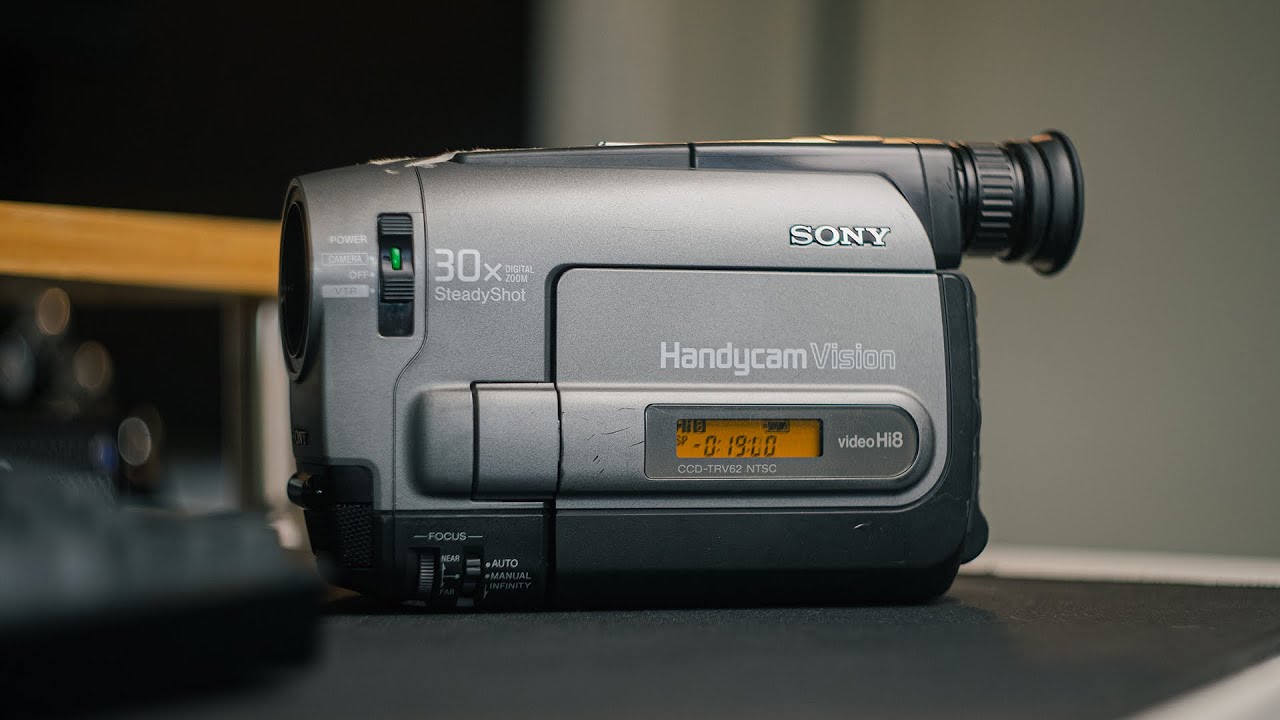
- Check the ports: Inspect your camcorder and laptop for compatible ports. Most modern camcorders feature an HDMI or USB port for connecting to external devices, while laptops typically include USB, HDMI, or Thunderbolt ports. Take note of the specific port types on both devices to determine the required cables for the connection.
- Review the camcorder’s manual: Refer to the user manual or specifications of your camcorder to identify the supported connectivity options. Some camcorders may offer wireless transfer capabilities, while others rely on physical connections via cables.
- Check the laptop’s hardware: Ensure that your laptop meets the necessary hardware requirements to handle video transfer and editing. Verify that the available storage space, processing power, and software compatibility are sufficient for managing video files from your camcorder.
- Inspect the operating systems: Confirm that the operating system of your laptop supports the file format used by your camcorder. Compatibility issues can arise if the camcorder records videos in a format that is not natively supported by your laptop’s operating system.
By carefully examining the ports, specifications, hardware capabilities, and operating system compatibility of your camcorder and laptop, you can preemptively address any potential obstacles that may hinder the seamless connection and transfer of video content. Once you’ve confirmed the compatibility of both devices, you’re ready to proceed to the next step of connecting your camcorder to your laptop.
Step 2: Connect the camcorder to the laptop
Now that you’ve verified the compatibility of your camcorder and laptop, it’s time to establish a physical connection between the two devices. Follow these steps to ensure a secure and reliable connection:
- Choose the appropriate cable: Select the cable that matches the ports of your camcorder and laptop. For example, if your camcorder and laptop both have USB ports, use a USB cable for the connection. Alternatively, if your camcorder features an HDMI port, you may need an HDMI-to-USB adapter to connect it to your laptop.
- Power off the devices: Before connecting the camcorder to your laptop, power off both devices to prevent any potential electrical issues or data transfer interruptions.
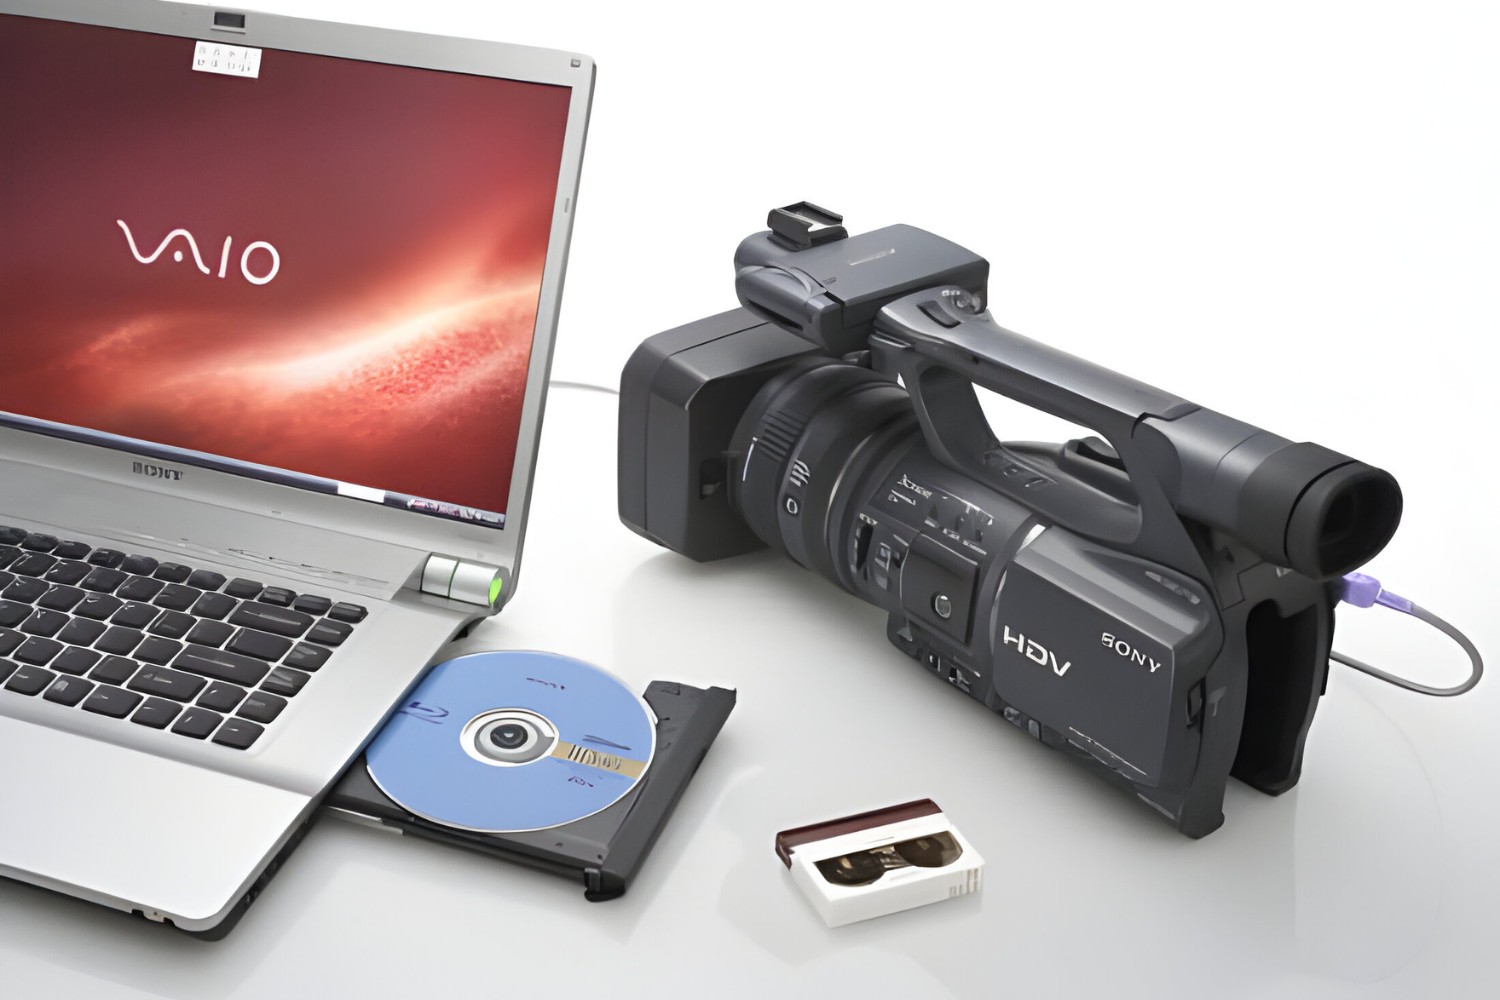
- Connect the cable: Plug one end of the cable into the appropriate port on your camcorder and the other end into a corresponding port on your laptop. Ensure that the connection is secure to prevent accidental disconnection during the data transfer process.
- Turn on the devices: Once the cable is securely in place, power on your camcorder and laptop. Your laptop should recognize the connected camcorder as a new external device, prompting the appropriate actions for data transfer.
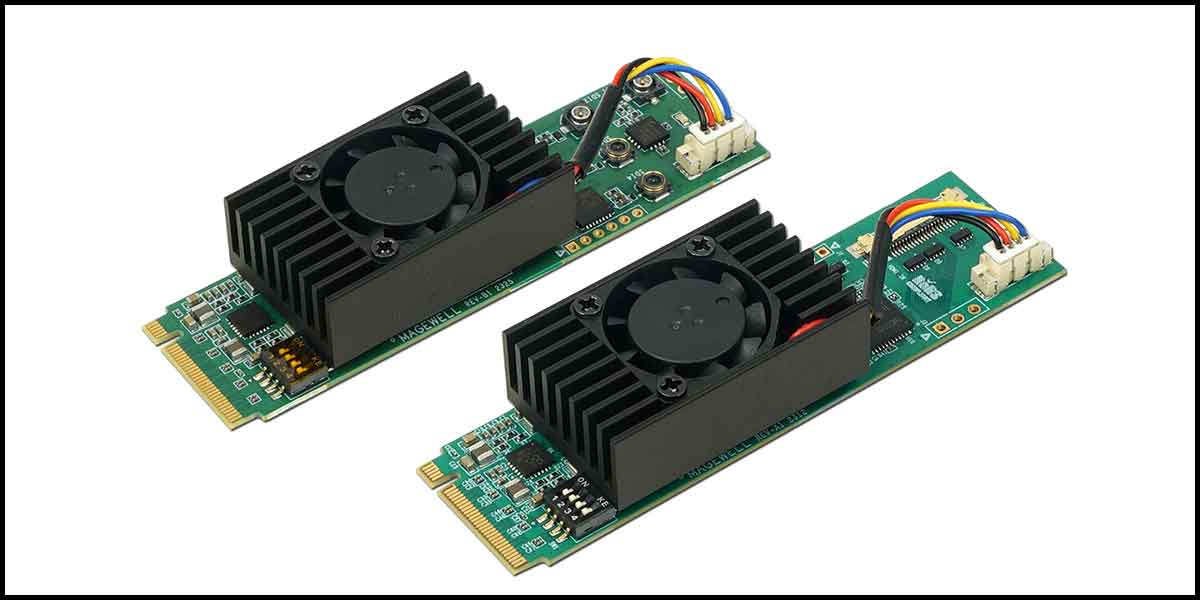
- Install drivers if necessary: In some cases, your laptop may require specific drivers to recognize and communicate with the camcorder effectively. If prompted, follow the on-screen instructions to install the necessary drivers for seamless connectivity.
By carefully selecting the correct cable, powering off the devices before making the connection, and ensuring the secure attachment of the cable, you can establish a reliable link between your camcorder and laptop. With the physical connection in place, you’re now ready to proceed to the next step of setting up your camcorder for video transfer.
Step 3: Set up the camcorder for transfer
With the physical connection between your camcorder and laptop established, it’s time to prepare the camcorder for transferring the video content. Follow these essential steps to ensure that your camcorder is ready for seamless data transfer:
- Select the transfer mode: Access the menu or settings on your camcorder to choose the appropriate transfer mode. Depending on the model of your camcorder, you may have options such as “PC Connect,” “USB Mode,” or “Data Transfer.” Select the mode that enables the camcorder to communicate with your laptop for file transfer.
- Enable data transfer: Once you’ve selected the transfer mode, ensure that the camcorder is ready to transmit data to your laptop. Some camcorders may require you to authorize the transfer process by confirming the connection on the device’s display or interface.
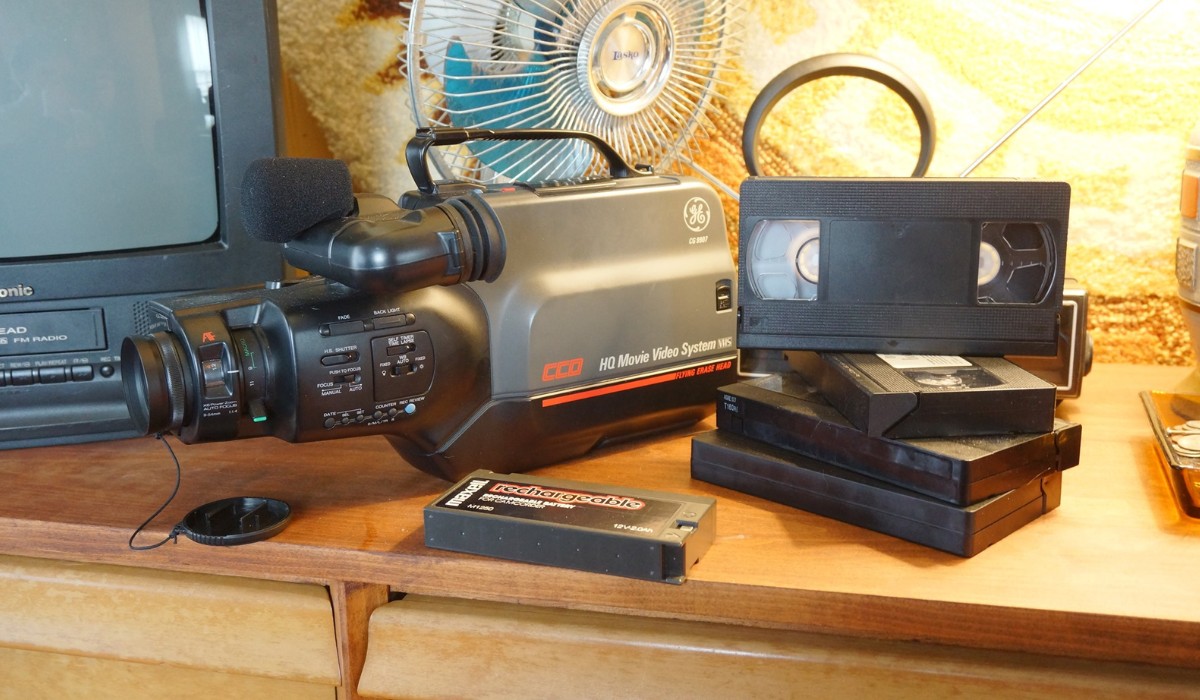
- Check for compatibility: Verify that the video files on your camcorder are in a format supported by your laptop’s operating system and video editing software. If necessary, consult the user manual of your camcorder to understand the compatible file formats and make any required adjustments to the recording settings.
- Prepare the video content: Organize the video content on your camcorder, ensuring that the files you intend to transfer are easily accessible and appropriately labeled. This step streamlines the transfer process and simplifies the subsequent editing and saving of the video on your laptop.
By selecting the transfer mode, enabling data transfer, confirming file format compatibility, and organizing the video content on your camcorder, you can ensure that the device is primed for seamless data transmission to your laptop. With the camcorder set up for transfer, you’re now ready to proceed to the next step of transferring the video content to your laptop.
Step 4: Transfer the video to your laptop
With your camcorder and laptop connected and the camcorder prepared for data transfer, it’s time to initiate the transfer process. Follow these steps to seamlessly transfer the video content from your camcorder to your laptop:
- Access the video transfer interface: On your laptop, navigate to the designated location where external devices are recognized, such as the “File Explorer” on Windows or “Finder” on macOS. Your connected camcorder should appear as an external device or storage drive.
- Locate the video files: Within the interface, locate the video files stored on your camcorder. Depending on the organization of your camcorder’s file system, the videos may be located within specific folders or directories.
- Copy or transfer the video files: Select the desired video files and copy them to a location on your laptop’s storage. You can create a new folder or select an existing location to store the transferred video content, ensuring that it is easily accessible for editing and viewing.
- Monitor the transfer progress: During the transfer process, keep an eye on the progress indicator to ensure that the video files are successfully copied to your laptop. Depending on the file sizes and transfer speeds, the process may take some time to complete.
- Verify the transferred content: Once the transfer is finished, verify that the video files are securely stored on your laptop. Open the destination folder to confirm that the transferred content is intact and ready for editing or viewing.
By accessing the video transfer interface, locating the video files, initiating the copy or transfer process, monitoring the progress, and verifying the transferred content, you can seamlessly transfer the video from your camcorder to your laptop. With the video content securely stored on your laptop, you’re now prepared to embark on the final step of editing and saving the videos as desired.
Step 5: Edit and save the video on your laptop
Now that the video content from your camcorder is safely transferred to your laptop, it’s time to unleash your creativity by editing and saving the videos. Follow these steps to begin the editing process and ensure that your edited videos are securely saved on your laptop:
- Choose video editing software: Select a suitable video editing software or application on your laptop. Depending on your preferences and the complexity of your editing needs, options range from basic built-in editing tools to advanced third-party software.
- Import the video files: Within the chosen editing software, import the transferred video files from your camcorder. This step allows you to access and manipulate the video content, including trimming, adding effects, and incorporating audio enhancements.
- Edit the videos: Utilize the features and tools within the editing software to enhance and refine your videos. This may involve cutting unnecessary footage, adjusting the color balance, applying transitions, and integrating audio elements to create a captivating final product.
- Preview and fine-tune: After making initial edits, preview the videos to assess the overall quality and coherence. Make any necessary adjustments to ensure that the edited videos align with your creative vision and storytelling objectives.
- Save the edited videos: Once you’re satisfied with the edits, save the videos in your preferred file format and resolution on your laptop. Choose a location and file name that is easily recognizable for future access and sharing.
By selecting appropriate editing software, importing the video files, engaging in the editing process, previewing and fine-tuning the content, and securely saving the edited videos on your laptop, you can transform raw footage from your camcorder into polished, memorable creations. With the videos edited and saved, you’ve successfully completed the process of connecting your camcorder to your laptop, unlocking a world of creative possibilities and ensuring that your cherished memories are preserved and ready to be shared.