Introduction
Do you have old home videos stored on a camcorder that you’d love to watch on your TV? While technology has advanced over the years, it’s still possible to connect your old camcorder to a modern television and relive those cherished memories. Whether it’s footage of family gatherings, childhood milestones, or special events, being able to view these videos on a larger screen can bring a wave of nostalgia and joy.
In this guide, we’ll walk you through the process of hooking up an old camcorder to a TV, allowing you to reminisce about the past and share those precious moments with family and friends. With a few simple steps and the right equipment, you can breathe new life into your old camcorder footage and enjoy it in the comfort of your living room.
So, dust off that camcorder, gather the necessary cables and adapters, and get ready to embark on a journey down memory lane as we bring your old videos to the big screen.
Step 1: Gather the necessary cables and adapters
Before you can connect your old camcorder to your TV, you’ll need to gather the appropriate cables and adapters to facilitate the connection. The specific cables required will depend on the type of outputs available on your camcorder and the inputs on your TV. Here’s what you’ll need:
- Camcorder Manual: If you still have the manual for your camcorder, it can be a valuable resource for identifying the type of output ports it has and the compatible cables.
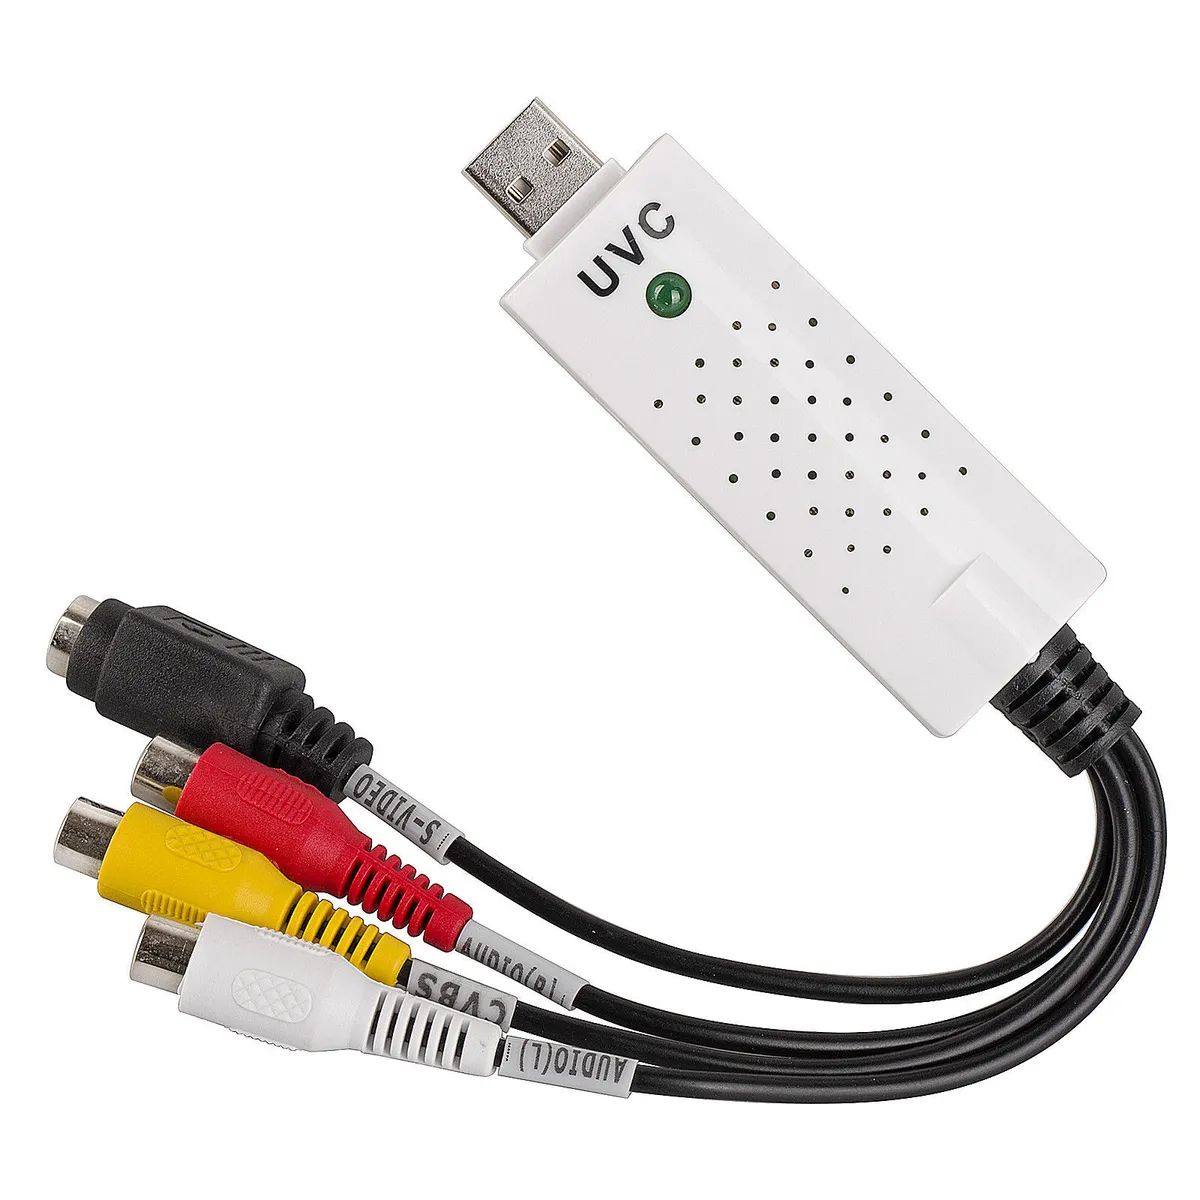
- Audio/Video Cables: Most older camcorders utilize composite video cables, which consist of three color-coded connectors (yellow for video, white for left audio, and red for right audio). These cables may have RCA connectors on one end and a different connector on the other end, depending on the input options on your TV.
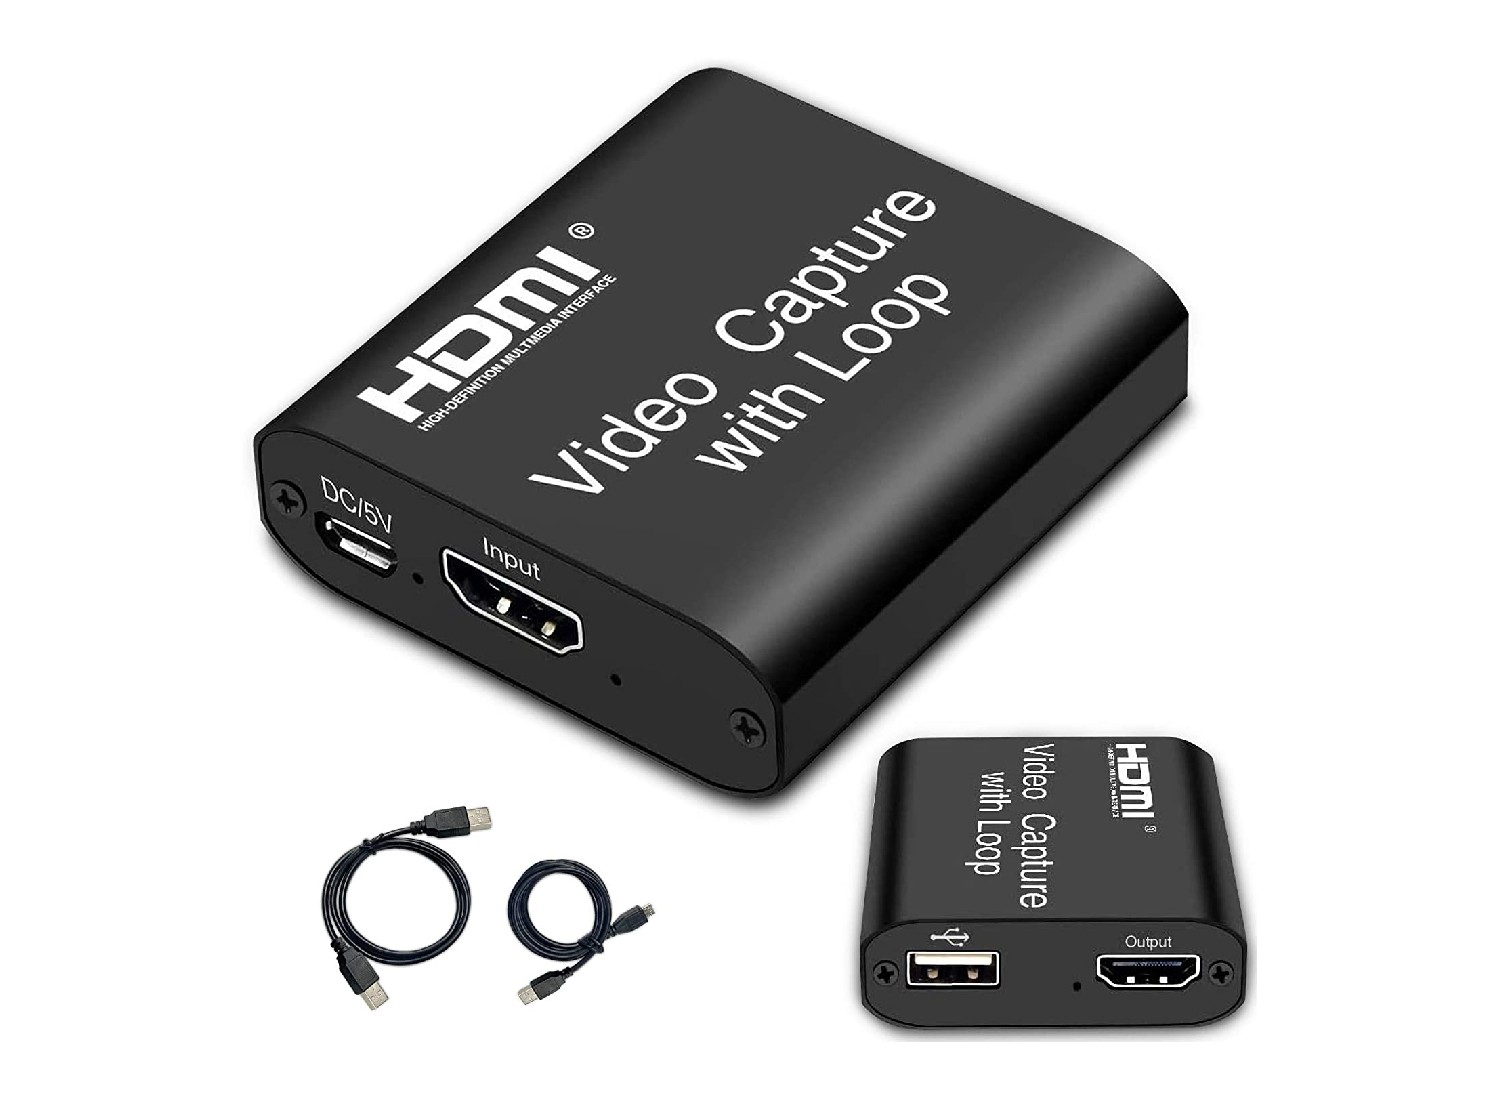
- Adapters: Depending on the connections available on your TV, you may need adapters to convert the camcorder’s output to a format compatible with your TV’s inputs. Common adapters include RCA to HDMI or RCA to USB converters.
- Power Supply: Ensure that your camcorder is powered and operational. If it relies on batteries, make sure they are fully charged or have fresh replacements on hand.
By gathering these essential components, you’ll be well-prepared to move on to the next step of connecting your old camcorder to your TV and reliving those cherished memories.
Step 2: Connect the camcorder to the TV
Once you have assembled the necessary cables and adapters, it’s time to establish the physical connection between your old camcorder and your TV. Follow these steps to ensure a successful connection:
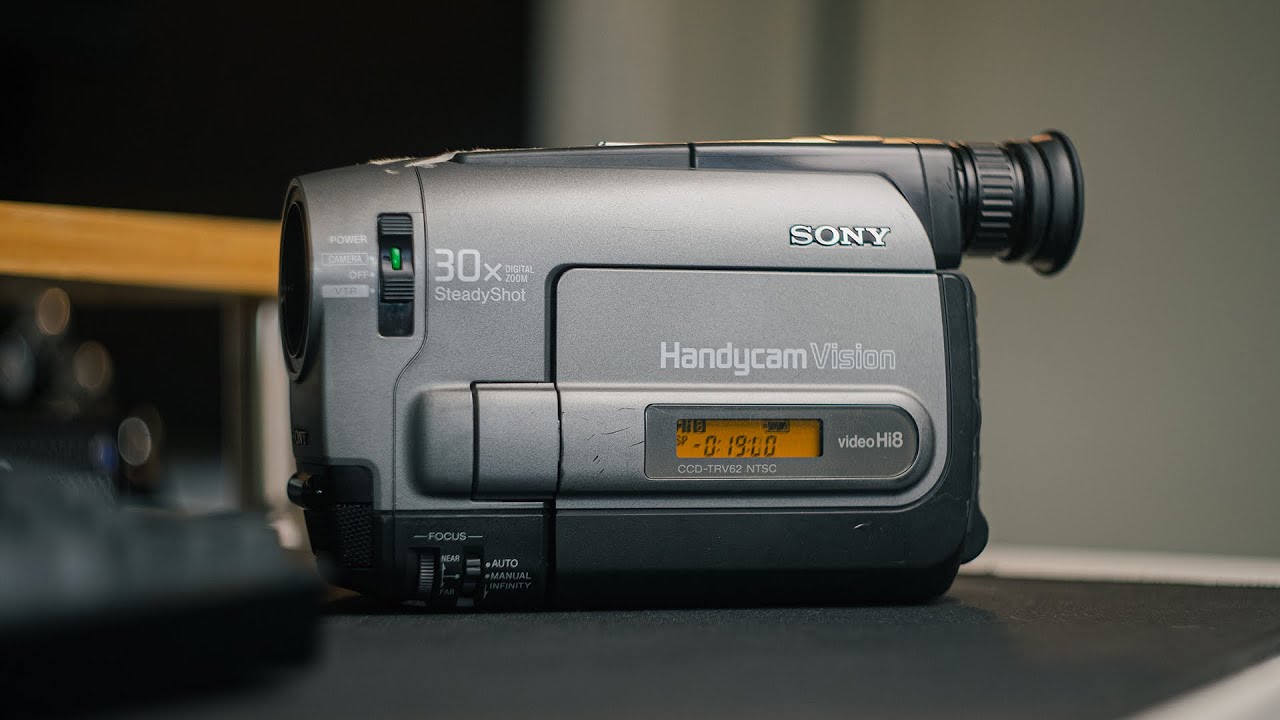
- Identify the Outputs on the Camcorder: Locate the output ports on your camcorder, typically situated on the side or back of the device. Common output options include composite video (yellow), and audio (white and red) connectors. Some camcorders may also have S-Video or component video outputs.
- Identify the Inputs on the TV: Familiarize yourself with the input ports on your TV. Most modern TVs feature HDMI inputs, but they may also include RCA (composite) inputs, component inputs, or even S-Video inputs. Identify which input option is compatible with the output ports on your camcorder.
- Connect the Cables: Using the appropriate cables and adapters, connect the output ports of your camcorder to the corresponding input ports on your TV. For example, if your camcorder utilizes composite video and audio cables, plug the yellow, white, and red connectors into the matching input ports on your TV. If you’re using an adapter, ensure it is securely connected to both the camcorder and the TV.
- Power On and Set the Camcorder: Power on your camcorder and set it to playback mode. This may involve switching a mode dial or pressing a specific button to activate the playback function. Ensure that the camcorder is ready to transmit the video and audio signals to the TV.
- Power On the TV and Select the Correct Input: Turn on your TV and use the remote or on-screen menu to select the input to which the camcorder is connected. If you’re unsure which input to choose, consult your TV’s manual for guidance.
- Verify the Connection: Once the correct input is selected, you should see the playback from your camcorder on the TV screen. If the connection is successful, you’re ready to enjoy your old camcorder footage on the larger display.
By following these steps, you can establish a direct connection between your old camcorder and your TV, allowing you to relive and share those precious moments with ease.
Step 3: Set up the TV input
Once the physical connection between your old camcorder and your TV is established, it’s essential to ensure that the TV is properly configured to receive and display the signal from the camcorder. Follow these steps to set up the TV input for optimal viewing:
- Access the TV Input Settings: Using the TV remote or on-screen menu, navigate to the input settings. This may be labeled as “Input,” “Source,” or “Input Select” on the remote control or in the TV’s menu.
- Select the Correct Input Source: Choose the input source that corresponds to the port to which your camcorder is connected. If you used the composite video and audio cables, select the appropriate input source (e.g., Video 1, AV, Composite, etc.). If you used an adapter to convert the signal to HDMI, select the corresponding HDMI input.
- Adjust Picture and Sound Settings: Once the correct input is selected, you may need to adjust the picture and sound settings on the TV to optimize the viewing experience. This can include adjusting the aspect ratio, brightness, contrast, and volume to suit your preferences.
- Explore Additional Settings: Depending on your TV model, there may be additional settings that can enhance the viewing of external devices. These settings might include color adjustments, noise reduction, or picture enhancement features. Experiment with these settings to achieve the best possible playback quality.
- Save the Input Configuration: Once you have adjusted the settings to your satisfaction, save the input configuration on your TV. This will ensure that the TV remembers the settings for the camcorder input, making it convenient for future use.
By setting up the TV input correctly, you can optimize the display of your old camcorder footage, bringing your cherished memories to life on the big screen with clarity and vibrancy.
Step 4: Play and enjoy your old camcorder footage on the TV
With the physical connection established and the TV input set up, it’s time to relive and enjoy your old camcorder footage on the TV. Here’s how to make the most of this nostalgic experience:
- Press Play on the Camcorder: If your camcorder has a playback function, press the appropriate button to start playing the desired footage. Whether it’s a family vacation, a birthday celebration, or a special event, watching these moments on the TV can evoke a sense of nostalgia and warmth.
- Adjust TV Settings as Needed: While the footage is playing, you can make additional adjustments to the TV settings to enhance the viewing experience. Experiment with the color, brightness, and sound settings to achieve the desired look and audio quality.
- Share the Memories: Gather your family and friends to share in the experience of watching the old camcorder footage on the TV. Reminisce about the moments captured in the videos and create new memories as you relive the past together.
- Capture the Moments Digitally: Consider using a digital camcorder or smartphone to record the footage as it plays on the TV. This allows you to preserve the old videos in a digital format, making it easier to share and revisit in the future.
- Preserve Your Tapes: If your old camcorder footage is stored on physical tapes, consider digitizing the content to ensure its long-term preservation. There are services available that can transfer analog tapes to digital formats, allowing you to safeguard these precious memories for years to come.
By following these steps, you can fully immerse yourself in the nostalgia of watching your old camcorder footage on the TV, creating an opportunity to reconnect with the past and share cherished moments with loved ones.