Introduction
Introduction
Welcome to the world of vintage technology! If you're looking to relive the memories captured on your old camcorder, you may be wondering how to connect it to your modern TV. While it may seem like a daunting task at first, with the right information and a bit of patience, you'll be able to enjoy your cherished recordings on the big screen in no time.
In this guide, we'll walk you through the process of connecting your old camcorder to your TV, providing you with a step-by-step approach to ensure a seamless setup. Whether you're a tech enthusiast or simply looking to reminisce about the good old days, we've got you covered.
It's important to note that technology has come a long way since the heyday of camcorders, so compatibility may be a concern. However, fear not, as we'll delve into the various methods and potential hurdles you might encounter along the way. By the end of this guide, you'll have the knowledge and confidence to breathe new life into your old camcorder and relive those precious moments with friends and family.
So, dust off that vintage camcorder and get ready to embark on a journey down memory lane. Let's dive into the fascinating world of connecting your old camcorder to your TV!
Understanding Your Old Camcorder
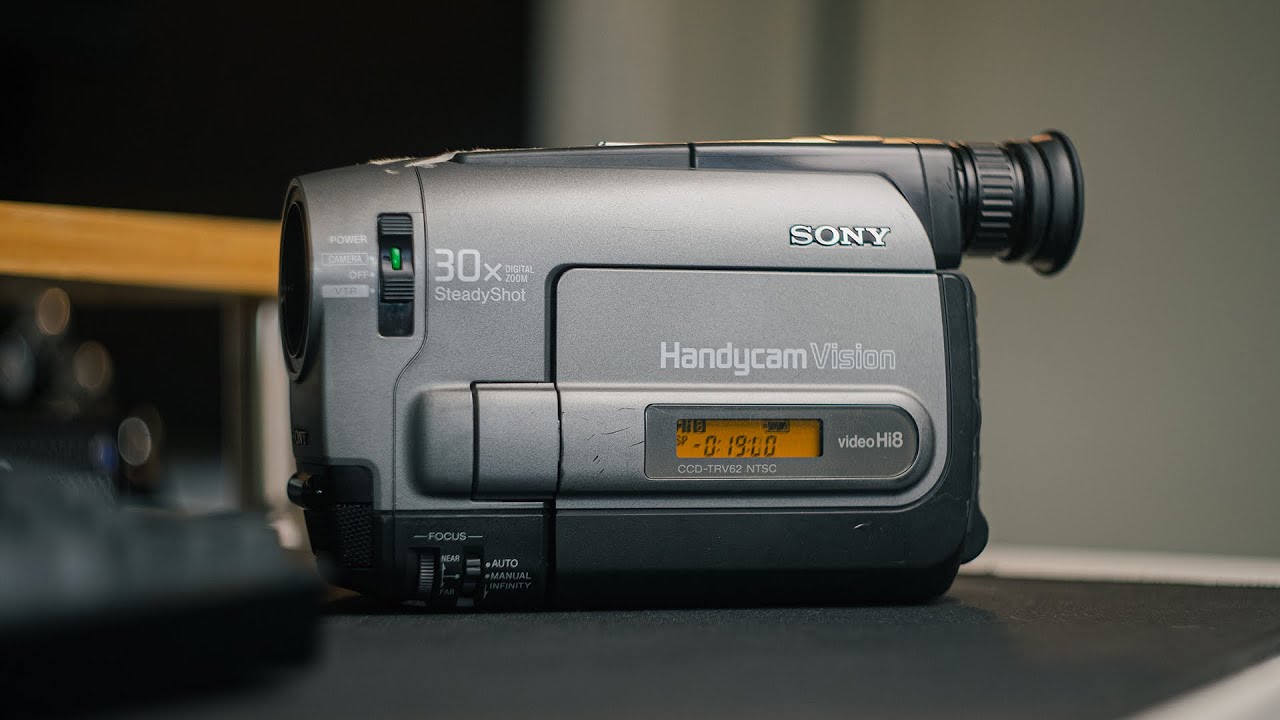
Before diving into the process of connecting your old camcorder to your TV, it’s essential to familiarize yourself with the key components and functionalities of your vintage device. While modern camcorders and cameras have evolved significantly, the principles of capturing and storing memories remain consistent.
First and foremost, identify the type of output your old camcorder supports. Most older camcorders feature analog outputs, such as composite or S-video connections. Understanding the specific output options available on your camcorder is crucial, as it will dictate the type of cables and adapters you’ll need to connect it to your TV.
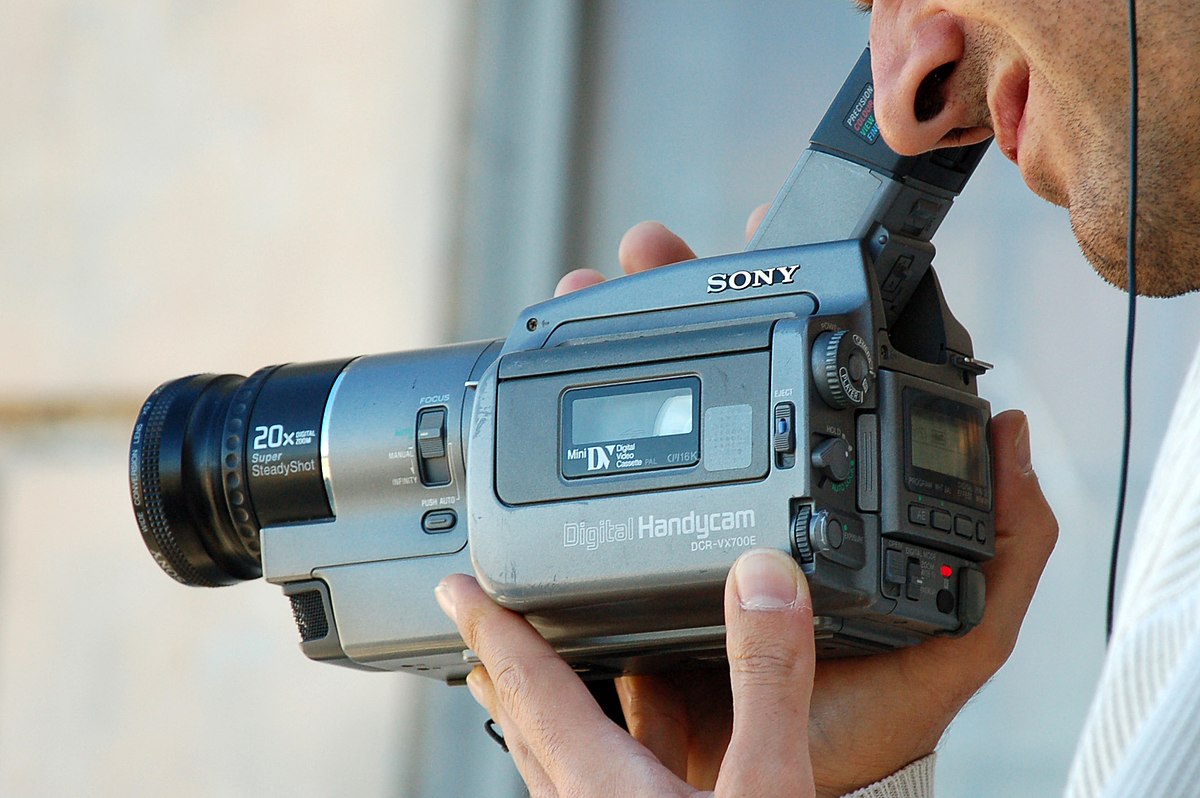
Furthermore, take note of the recording format used by your camcorder. Whether it’s VHS, Hi8, or another format, knowing the recording medium will inform your approach to playback and connectivity. Additionally, consider the playback controls and settings on your camcorder, as these may influence the playback experience on your TV.
It’s also important to assess the condition of your old camcorder. Check for any signs of wear and tear, such as damaged cables, corroded connectors, or malfunctioning playback mechanisms. Addressing these issues proactively can prevent potential hiccups when connecting the camcorder to your TV.
Lastly, familiarize yourself with the playback features and playback modes offered by your camcorder. Understanding how to navigate through recorded footage, pause, rewind, and play back recordings will enhance your overall experience when viewing the content on your TV.
By gaining a comprehensive understanding of your old camcorder, including its output options, recording format, condition, and playback features, you’ll be better equipped to proceed with the connection process. Now that you’re well-versed in the intricacies of your vintage device, let’s move on to the exciting task of connecting it to your TV.
Connecting Your Camcorder to Your TV
Now that you have a firm grasp of your old camcorder’s specifications, it’s time to embark on the exciting journey of connecting it to your TV. Depending on the output options of your camcorder and the input ports available on your TV, there are several methods to achieve this connection. Let’s explore the most common approaches:
- Composite Video Connection: If your old camcorder features a composite video output (typically denoted by yellow RCA connectors), you can connect it to your TV using a composite video cable. Locate the corresponding composite video input on your TV, usually labeled “Video In” or “AV In,” and connect the cable accordingly. Ensure that the colors of the connectors match for a proper connection.
- S-Video Connection: Some older camcorders are equipped with S-video outputs, which offer improved video quality compared to composite connections. If your TV supports S-video input, use an S-video cable to establish the connection. This method is ideal for enhancing the playback quality of your vintage recordings.
- RF Connection: For camcorders that lack direct video outputs, an RF modulator can be utilized to convert the analog signal to a radio frequency that can be received by your TV’s antenna input. This method may require additional setup and tuning to ensure optimal playback.
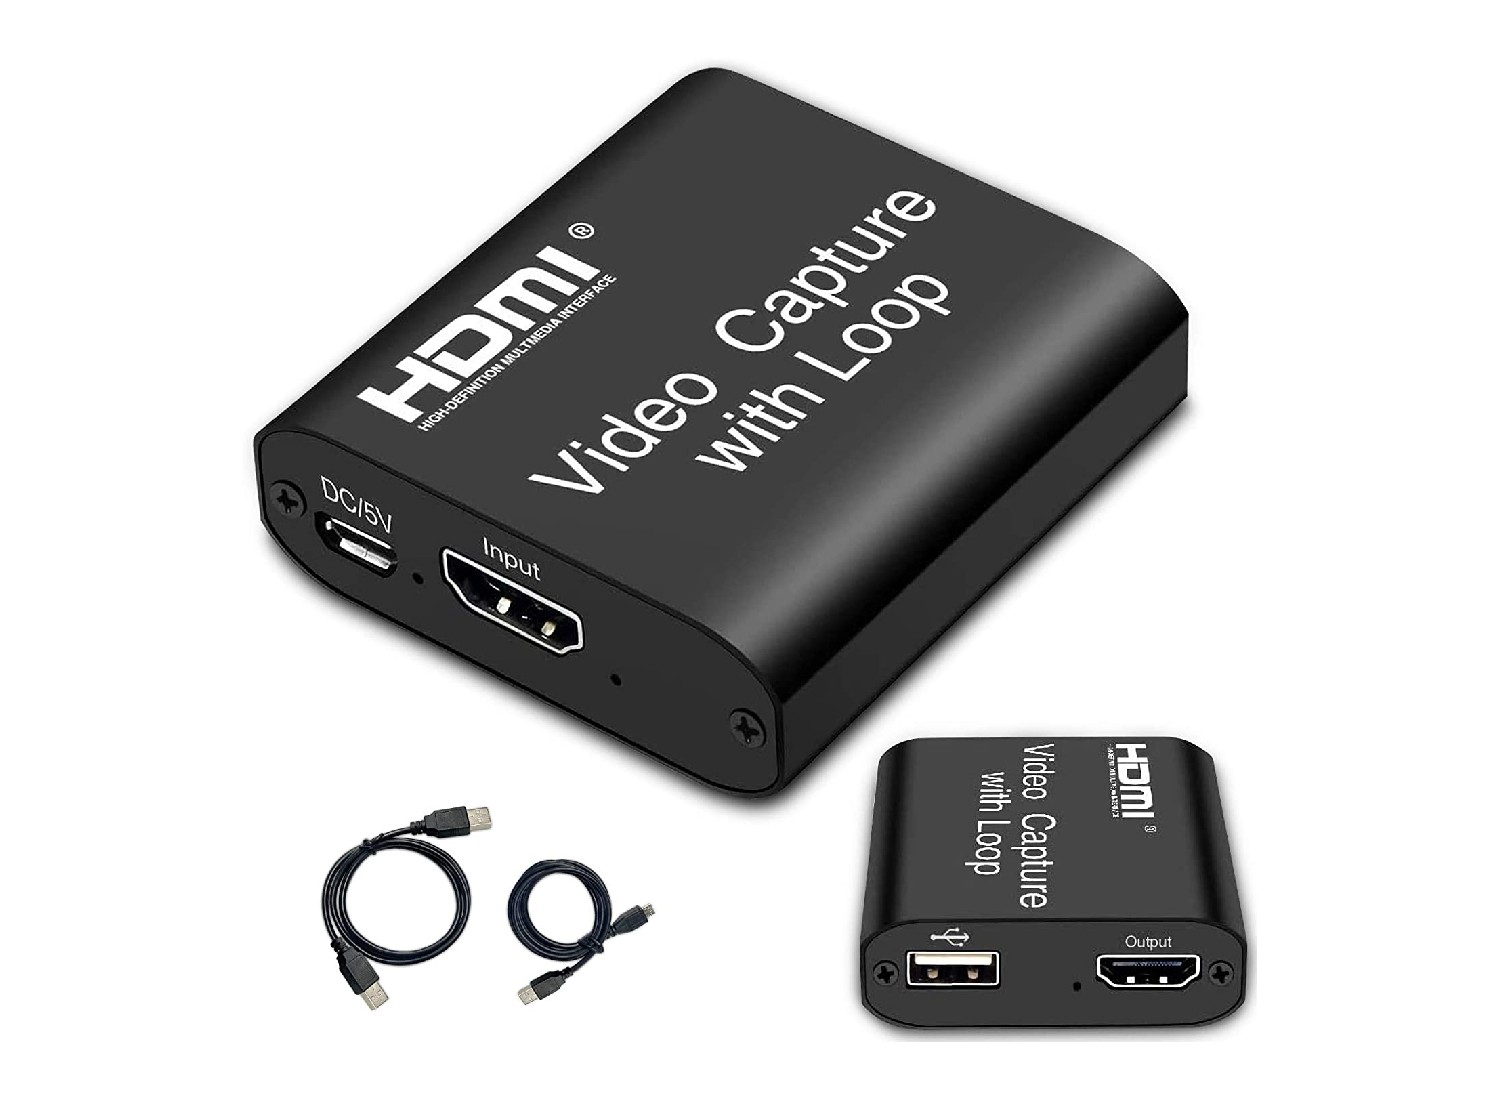
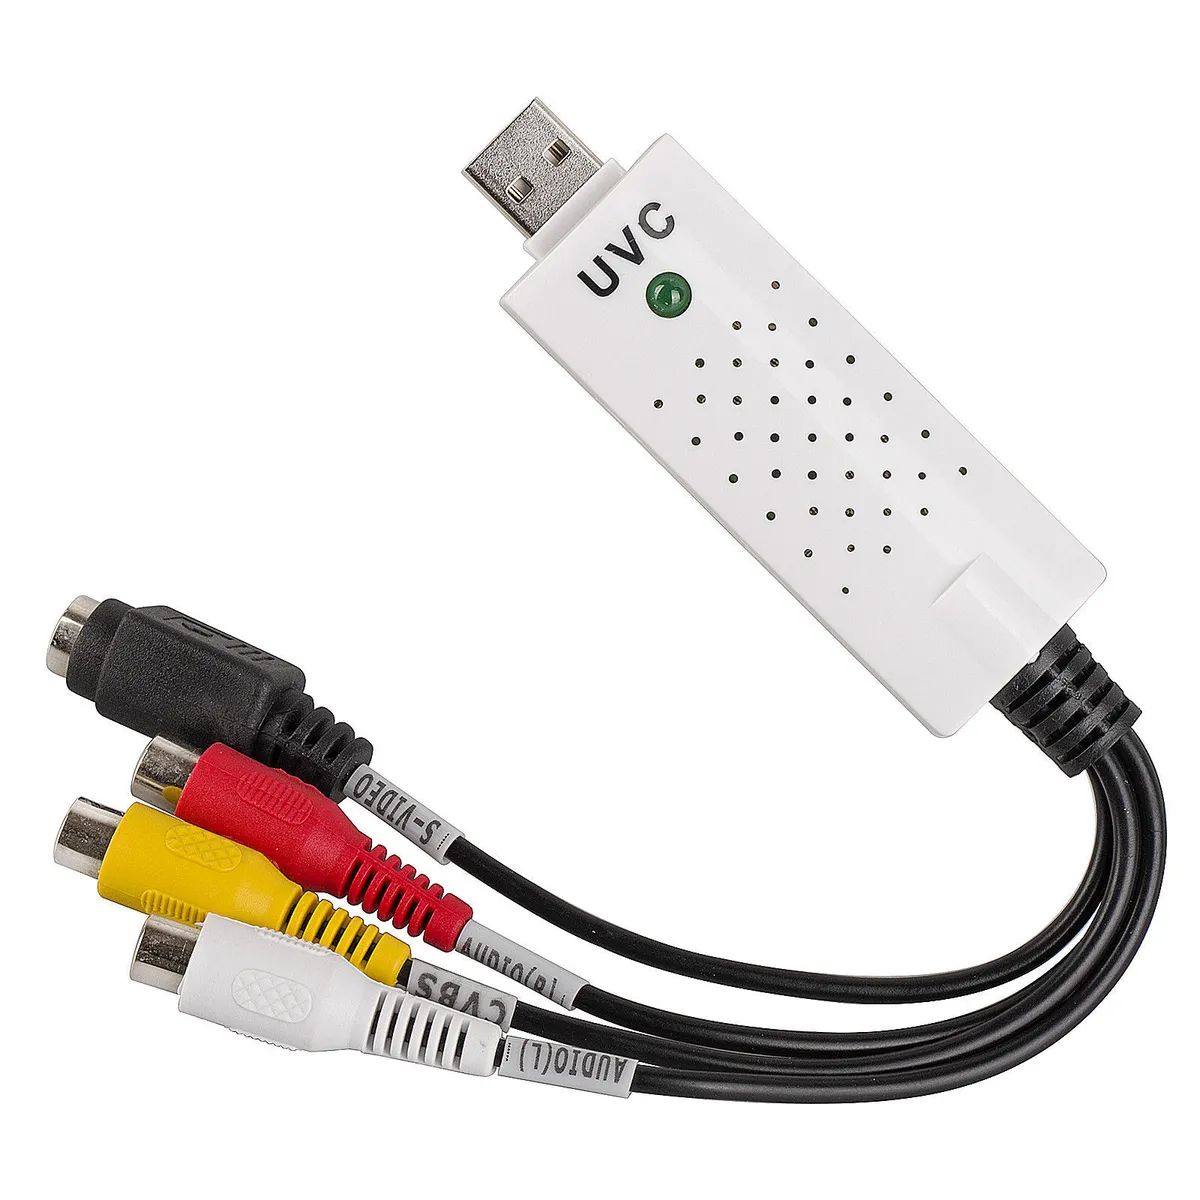
- External Converter/Adapter: In cases where your TV lacks analog input options, consider using an external converter or adapter to bridge the gap between your old camcorder and modern TV. These devices can convert analog signals to digital formats compatible with HDMI or USB inputs, offering a seamless integration with your TV.
Once the physical connection is established, switch on your old camcorder and select the appropriate playback mode. On your TV, navigate to the corresponding input source using the remote control or on-screen menu. You should now be able to view the playback from your camcorder on the TV screen, allowing you to relive those cherished moments with clarity and nostalgia.
It’s important to note that the specific steps for connecting your camcorder to your TV may vary based on the make and model of your devices. Always refer to the user manuals for detailed instructions tailored to your equipment.
With the connection successfully established, you’re now ready to enjoy the timeless recordings captured by your old camcorder on the modern canvas of your TV screen. Let’s address any potential challenges that may arise during this process in the next section.
Troubleshooting Common Issues
While connecting your old camcorder to your TV can be a rewarding endeavor, it’s not uncommon to encounter a few bumps along the way. Understanding and addressing these common issues will ensure a smoother and more enjoyable playback experience. Let’s explore some potential challenges and their solutions:
- Poor Video Quality: If you notice degraded video quality or distortion on your TV screen, ensure that the connections are secure and free from interference. Check the cables for any signs of damage or loose connections, and consider using high-quality shielded cables to minimize signal degradation.
- No Audio Output: In the absence of audio during playback, verify that the audio cables are properly connected and that the volume settings on both the camcorder and TV are adjusted accordingly. Additionally, test the audio output using alternative playback sources to isolate the issue.
- Compatibility Issues: Some older camcorders may exhibit compatibility issues with modern TVs, particularly regarding aspect ratio and resolution. Access the camcorder’s settings to adjust the output format and ensure compatibility with your TV’s specifications. Additionally, consult the TV manual for guidance on handling non-standard video signals.
- Intermittent Playback: If the playback is sporadic or intermittent, inspect the playback heads and tape mechanism of your camcorder for any debris or wear. Cleaning the playback heads with a specialized cleaning cassette can improve playback consistency and minimize interruptions.
- Signal Interference: External sources of electromagnetic interference, such as other electronic devices or fluorescent lighting, can disrupt the playback signal. Position the camcorder and TV away from potential sources of interference and consider using ferrite cores or filters on the cables to reduce electromagnetic interference.
If you encounter persistent issues that cannot be resolved through basic troubleshooting, consider consulting a professional technician or availing yourself of specialized audio-visual services. These experts can diagnose and address more complex technical issues, ensuring optimal playback quality and compatibility between your old camcorder and TV.
By familiarizing yourself with these common issues and their respective solutions, you’ll be well-equipped to overcome any challenges that may arise during the process of connecting and playing back content from your old camcorder on your TV. With these troubleshooting insights in mind, you’re ready to embark on a seamless and gratifying journey through your cherished recordings.
Conclusion
As you conclude your foray into connecting your old camcorder to your TV, it’s evident that the journey is not merely about merging vintage technology with modern displays, but about reviving cherished memories and embracing the nostalgia encapsulated in those recordings.
By understanding the intricacies of your old camcorder, including its output options, recording format, and playback features, you’ve gained a deeper appreciation for the vintage device and its role in preserving moments from the past. Navigating through the various connection methods, such as composite, S-video, RF, and external converters, has empowered you to bridge the technological gap and bring your old camcorder’s content to life on your TV screen.
Furthermore, by familiarizing yourself with common troubleshooting techniques, you’ve equipped yourself with the knowledge to address potential challenges that may arise during the connection and playback process. This proactive approach ensures a smoother and more gratifying experience, allowing you to relive those treasured moments with clarity and authenticity.
As you embark on this journey, remember that the process of connecting your old camcorder to your TV is not just about the technical aspects; it’s a celebration of the enduring value of memories and the joy of sharing them with loved ones. Whether it’s a milestone celebration, a family vacation, or everyday moments captured on your vintage recordings, the ability to bring these memories to the forefront enriches your connection to the past and strengthens the bonds with those who shared those moments with you.
So, as you sit back and press play, watching the flickering images from your old camcorder illuminate the modern canvas of your TV screen, take a moment to immerse yourself in the stories and emotions woven into each frame. Let the laughter, the tears, and the joyous occasions transport you to a time when every fleeting moment was worth capturing and cherishing.
With the knowledge and insights gained from this guide, you’re now poised to embark on a journey through time, courtesy of your old camcorder and the seamless connection to your TV. Embrace the nostalgia, celebrate the memories, and revel in the timeless allure of vintage technology meeting modern convenience.