Introduction
So, you have some precious memories captured on your trusty Hi8 camcorder and you want to bring them into the digital age by transferring them to your laptop. This process may seem daunting at first, but fear not, as I'm here to guide you through the steps to make this transition smooth and hassle-free.
Connecting your Hi8 camcorder to your laptop is a great way to preserve those cherished moments and share them with friends and family. Whether it's a family vacation, a child's first steps, or a milestone celebration, these memories deserve to be safeguarded and enjoyed for years to come. By following the steps outlined in this guide, you'll be able to relive these special moments and share them with others in the digital realm.
In the following sections, I'll walk you through the process of connecting your Hi8 camcorder to your laptop and transferring the video files. Before we dive into the technical details, it's essential to gather the necessary equipment and familiarize yourself with the connections on your Hi8 camcorder. Once you have everything you need and understand the setup, you'll be well-prepared to embark on this journey of preserving and digitizing your cherished memories.
Let's get started on this exciting and meaningful endeavor of bringing your Hi8 camcorder footage to life on your laptop. With a little patience and the right guidance, you'll soon be enjoying your vintage videos in the digital realm.
Step 1: Gather the Necessary Equipment
Before you begin the process of connecting your Hi8 camcorder to your laptop, it’s crucial to gather the essential equipment. Having the right tools at your disposal will ensure a smooth and successful transfer of your video files. Here’s what you’ll need:
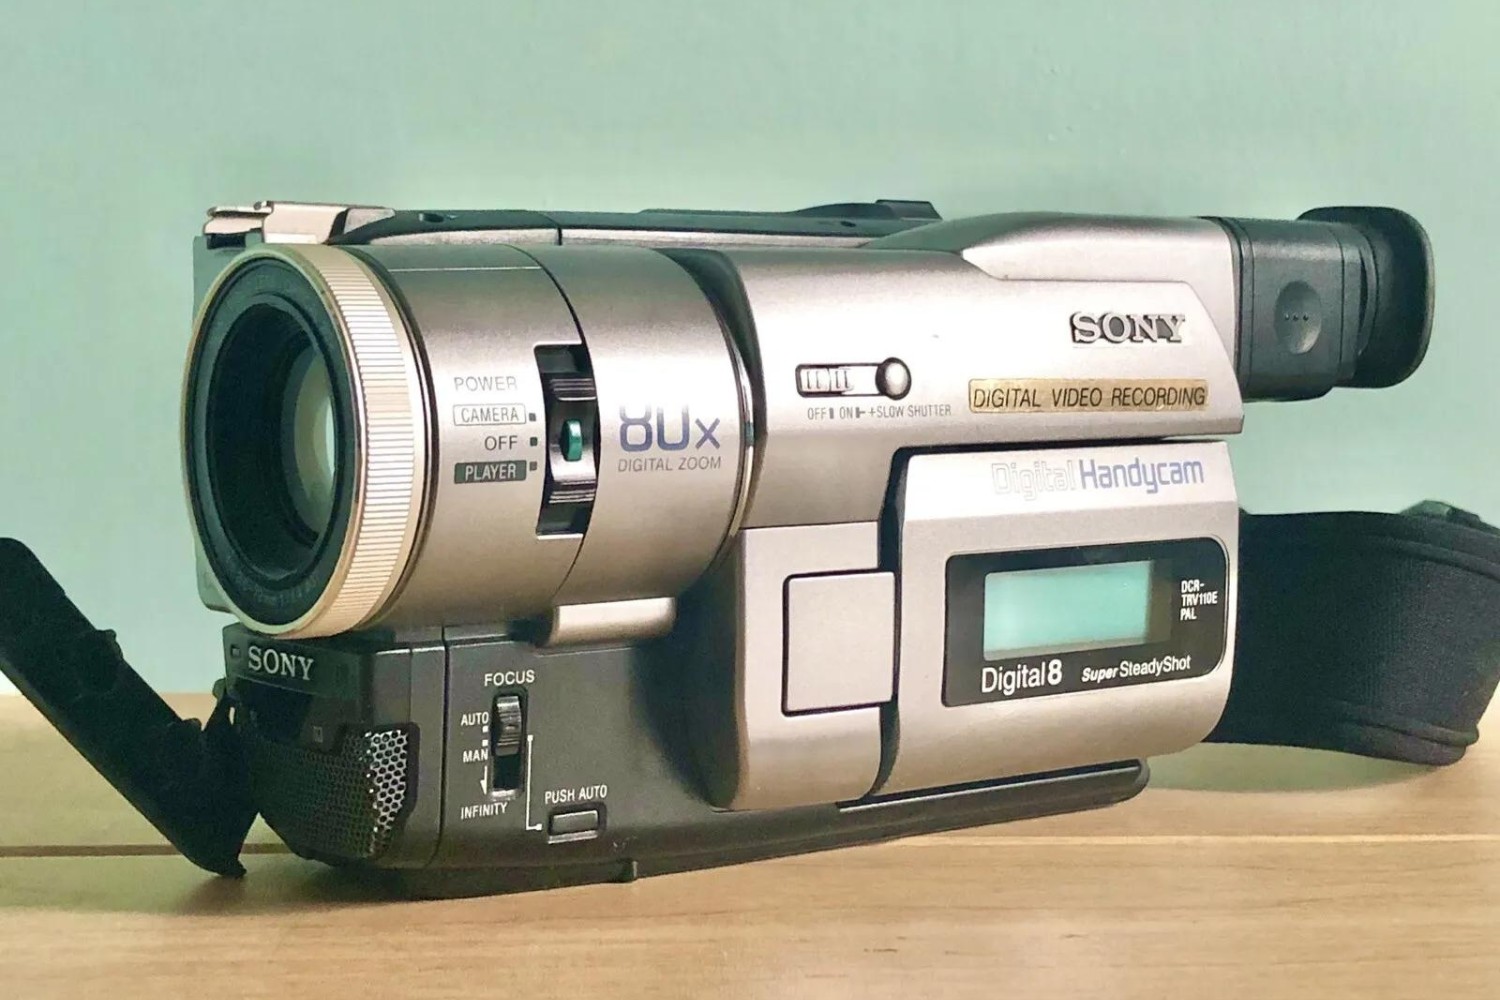
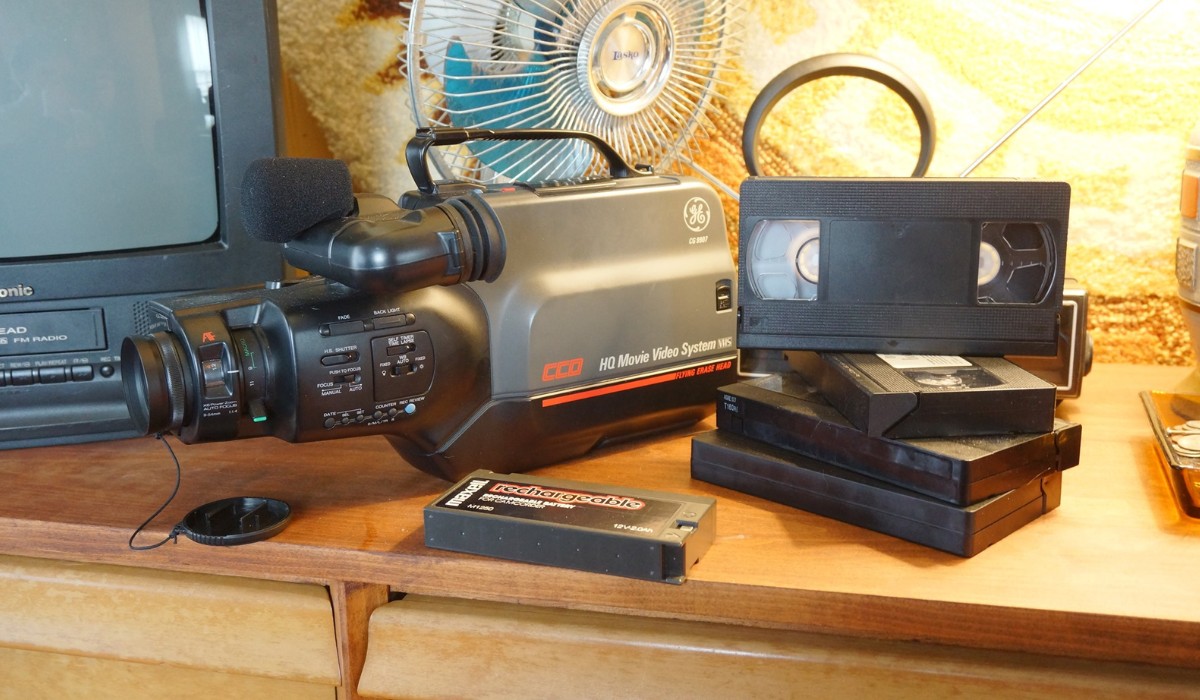
- Hi8 Camcorder: The heart of this operation is, of course, your Hi8 camcorder. Ensure that it’s in good working condition and that the tapes you wish to transfer are accessible.
- Laptop: You’ll need a laptop with an available USB port or FireWire (IEEE 1394) port, depending on the type of connection your Hi8 camcorder supports. Make sure your laptop is fully charged or plugged in during the transfer process to avoid any interruptions.
- USB Cable or FireWire Cable: Depending on the connections available on your Hi8 camcorder and laptop, you’ll need the appropriate cable to establish a physical connection between the two devices. If your Hi8 camcorder supports USB, ensure you have a compatible USB cable. If it uses FireWire, you’ll need a FireWire cable.
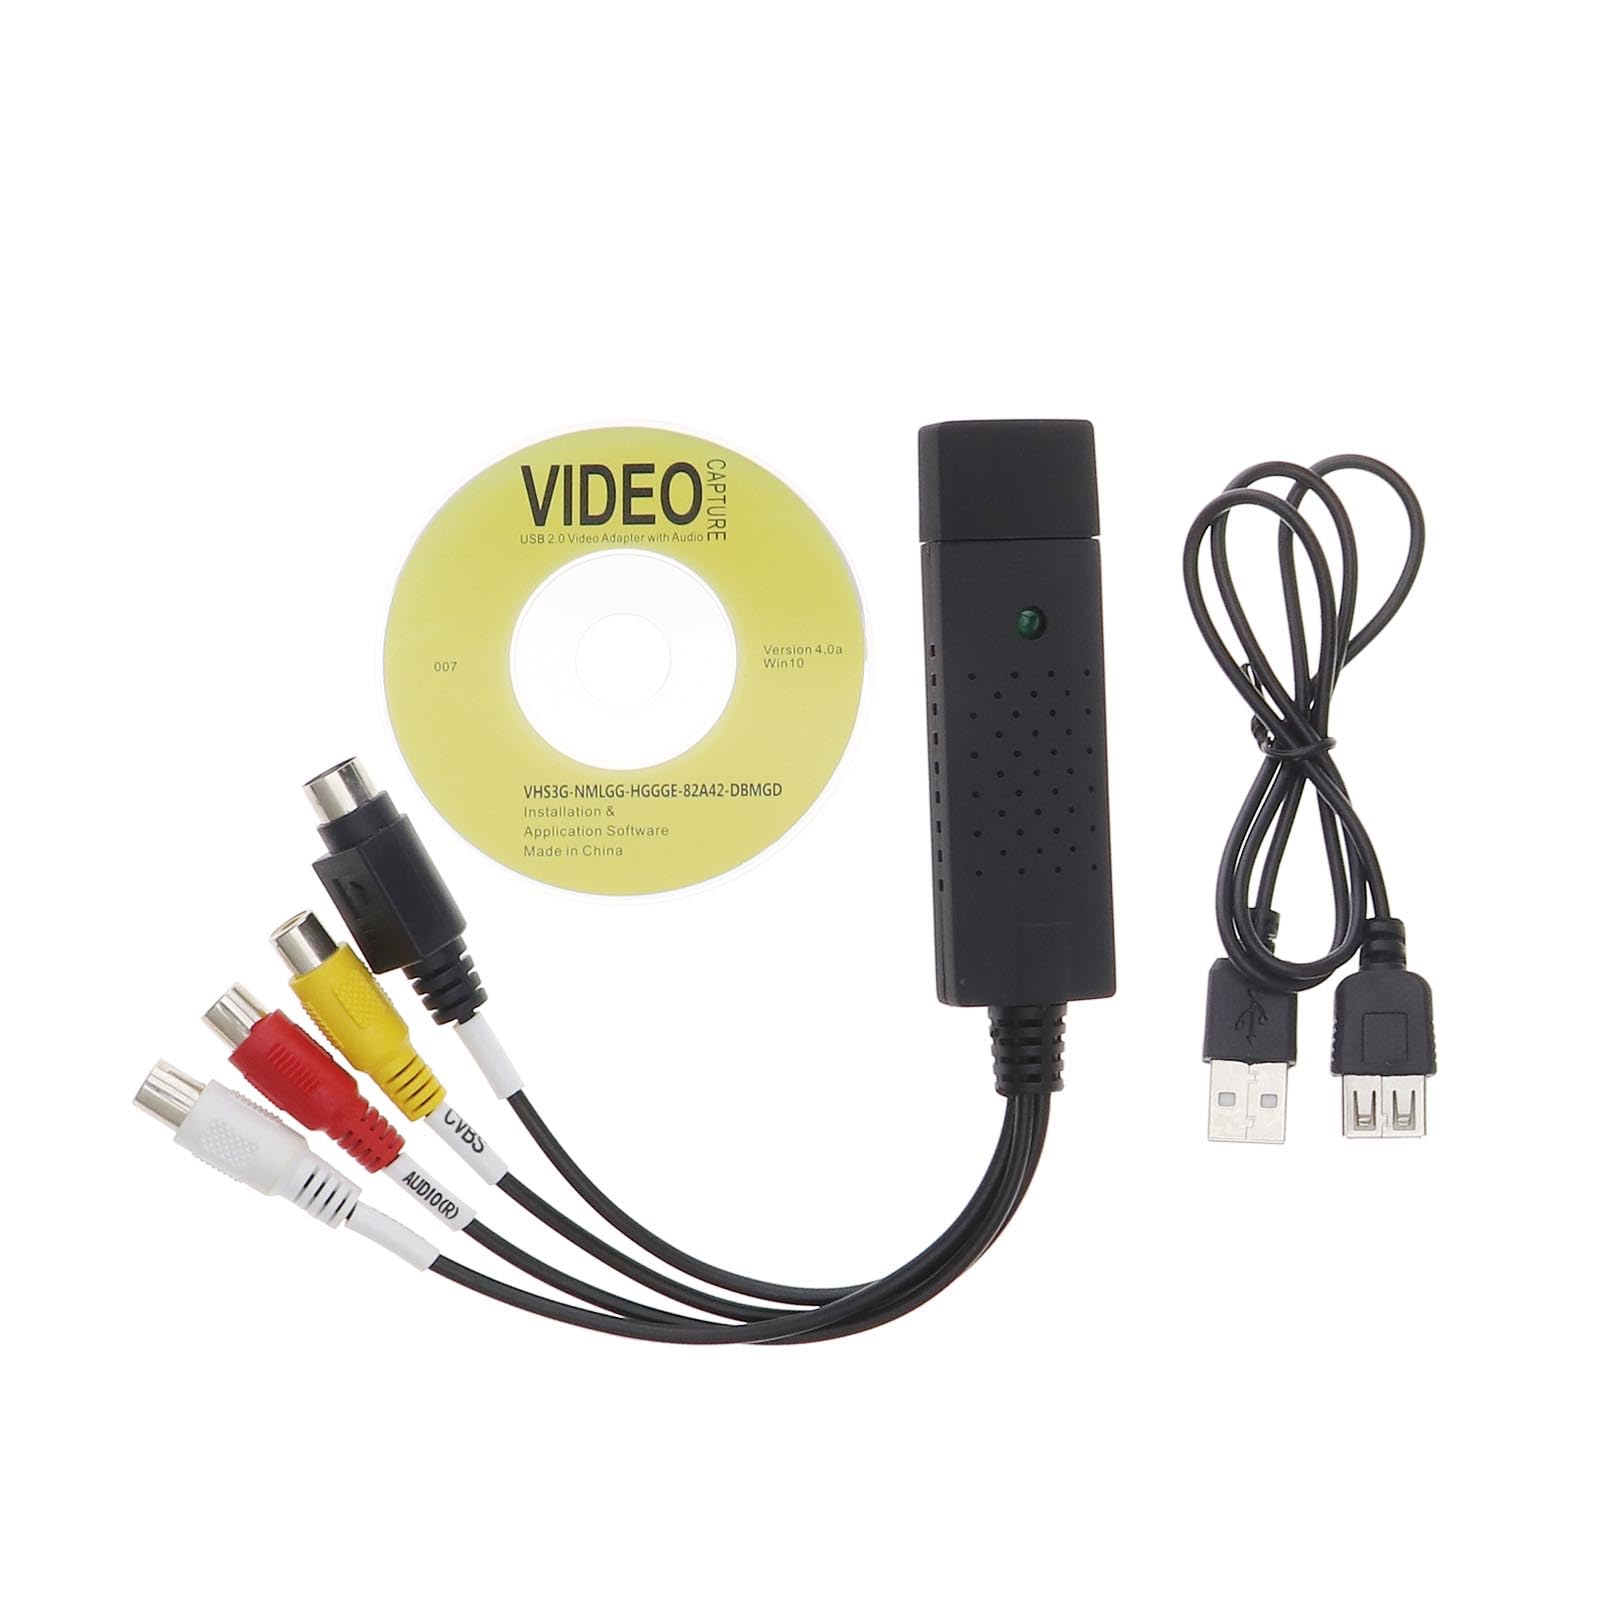
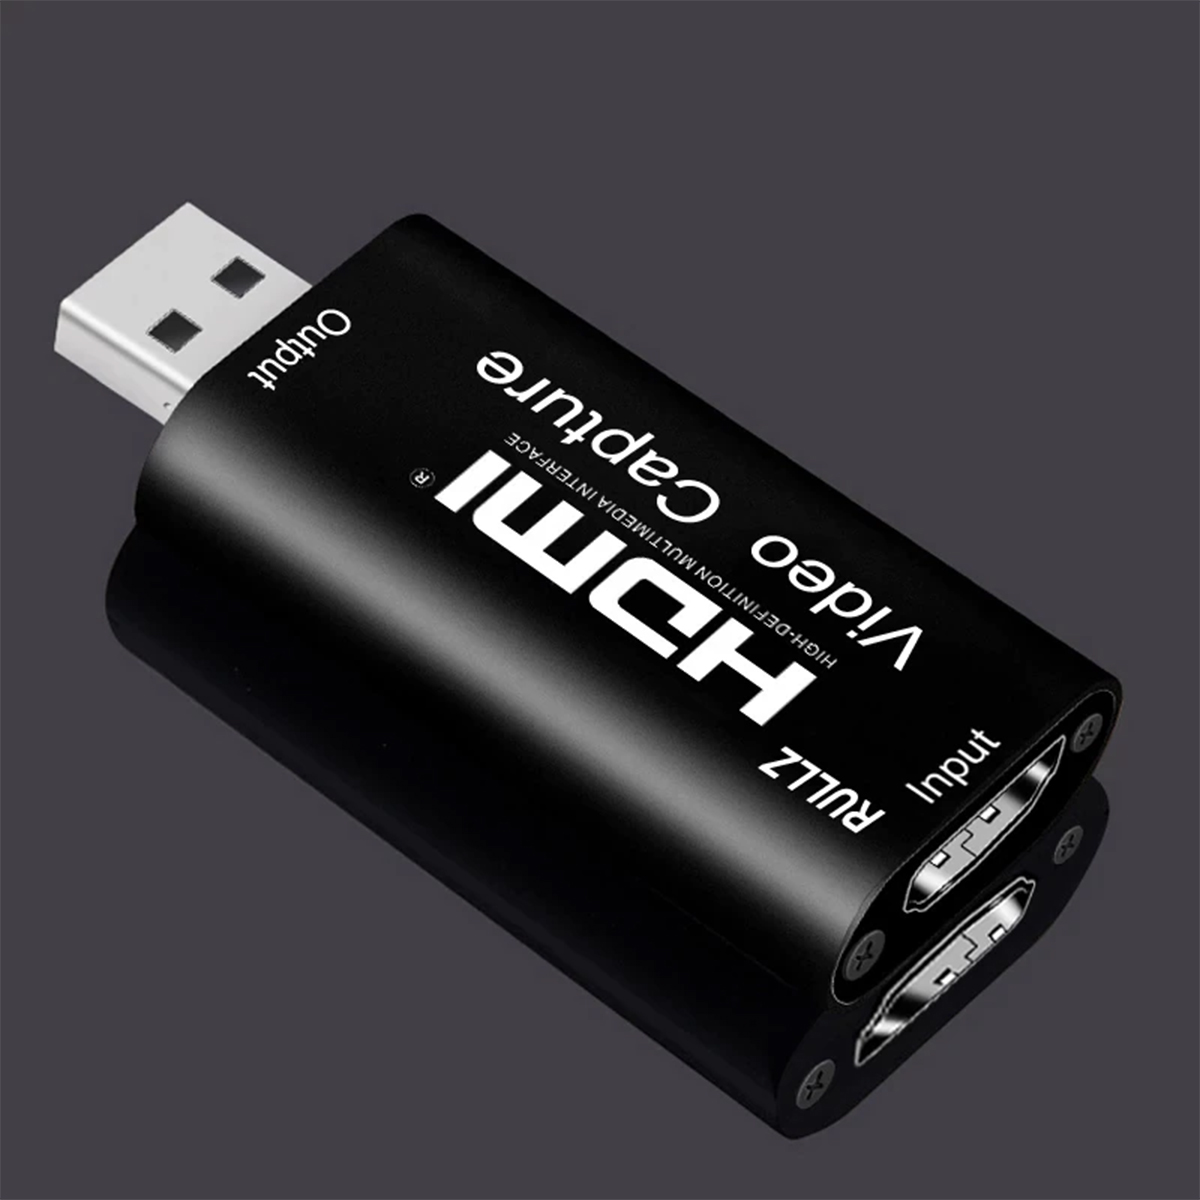
- Video Capture Device (Optional): If your laptop doesn’t have a built-in capture card or FireWire port, you may need an external video capture device. This device acts as an intermediary between your Hi8 camcorder and laptop, facilitating the transfer of video signals to your computer.
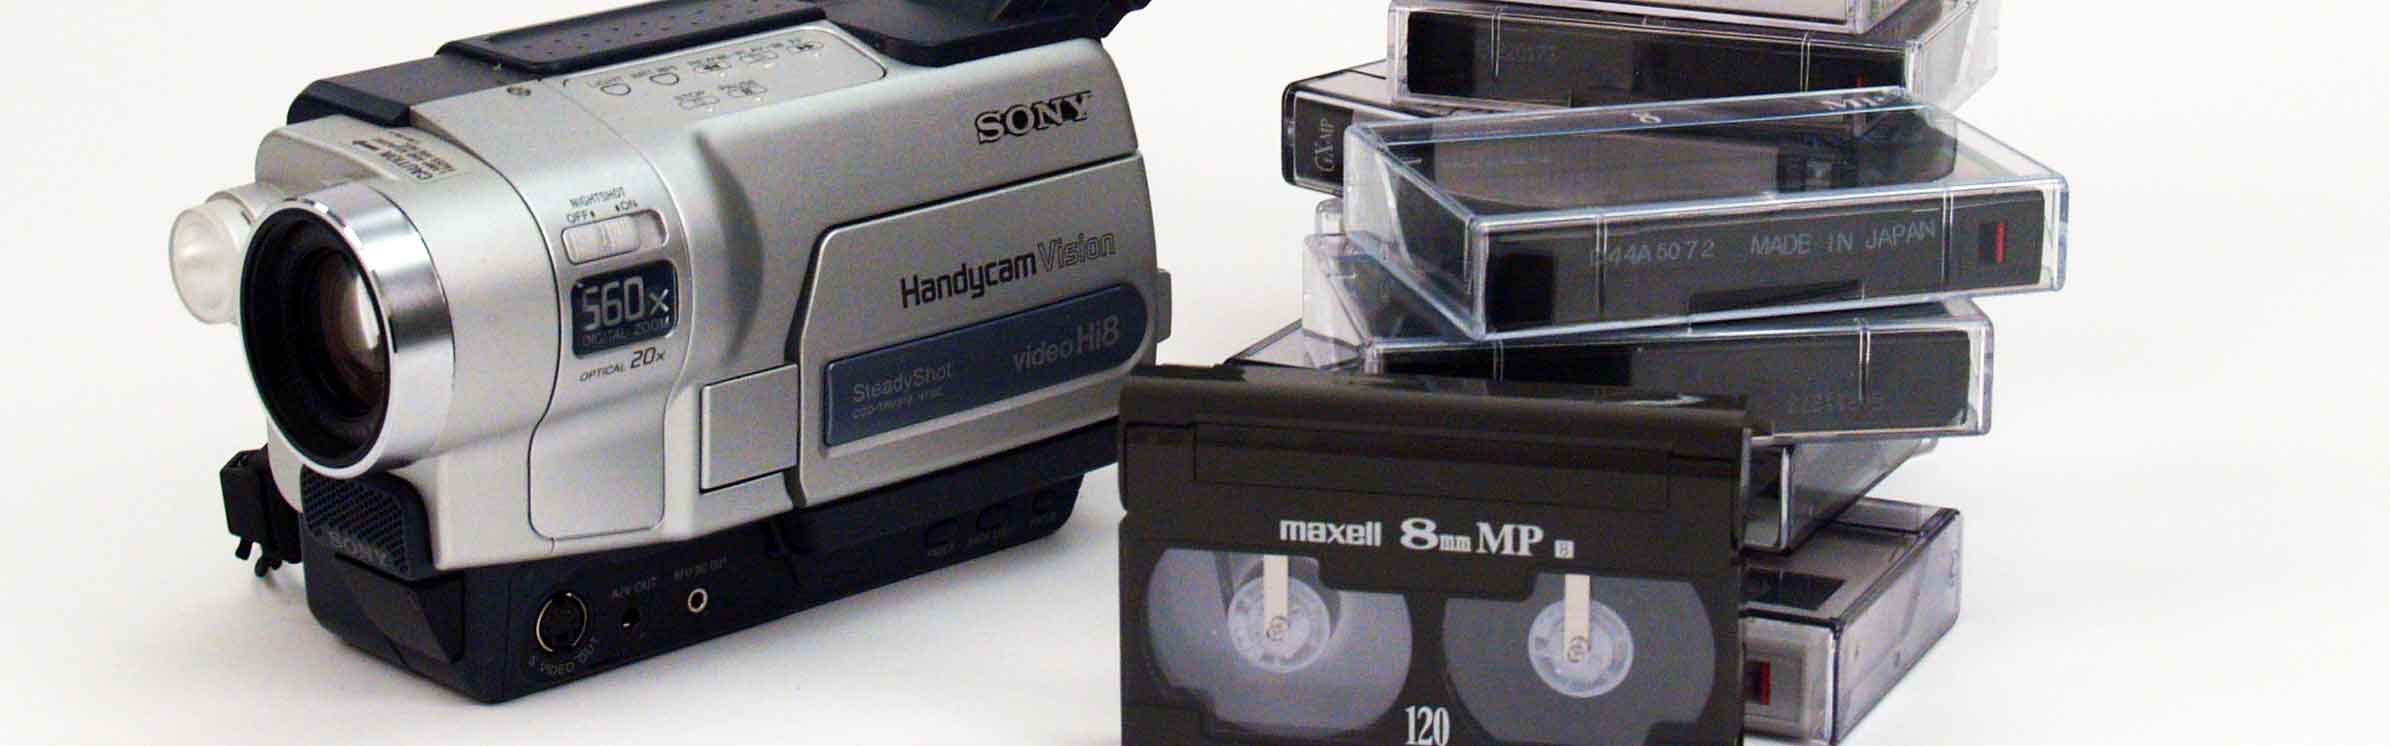
- Hi8 Tapes: Of course, don’t forget the Hi8 tapes containing the precious footage you want to transfer. Ensure they’re in good condition and free from any damage that could impede the transfer process.
- External Hard Drive (Optional): If you have a large amount of footage to transfer, having an external hard drive with ample storage space can be beneficial. This will prevent your laptop’s storage from becoming overwhelmed and ensure that you have enough room for all your transferred video files.
By gathering these essential pieces of equipment, you’ll be well-prepared to commence the process of connecting your Hi8 camcorder to your laptop and transferring your cherished video files. With everything in place, you can proceed with confidence, knowing that you have the necessary tools to complete the task at hand.
Step 2: Check the Connections on Your Hi8 Camcorder
Before proceeding with the connection process, it’s essential to familiarize yourself with the connections available on your Hi8 camcorder. Depending on the make and model, Hi8 camcorders may feature different types of output ports for transferring video to external devices such as laptops. Here are the key connections to look for:
- AV Output: Many Hi8 camcorders are equipped with an Audio-Video (AV) output, typically using RCA connectors. This allows for the transfer of analog audio and video signals to external devices such as TVs and computers. Check if your Hi8 camcorder has these red, white, and yellow AV output ports.
- S-Video Output: Some Hi8 camcorders feature an S-Video output, which provides a higher-quality video signal compared to standard composite connections. The S-Video port is recognizable by its unique circular shape with multiple pins inside. If your camcorder has this output, it can be used to achieve better video quality during the transfer process.
- FireWire (IEEE 1394) Output: Newer Hi8 camcorders may offer a FireWire (IEEE 1394) output, which enables high-speed digital data transfer. This port is commonly found on digital camcorders and allows for direct digital-to-digital transfers, preserving the original quality of the footage.
- USB Output: Some modern Hi8 camcorders may feature a USB output for connecting to computers and transferring video files. This is a convenient option for users with laptops that lack FireWire ports or video capture devices.
Once you’ve identified the available connections on your Hi8 camcorder, it’s important to take note of the specific type of output port it utilizes. This information will dictate the type of cable or adapter you’ll need to connect the camcorder to your laptop. Additionally, understanding the available connections will help you determine the optimal method for transferring your video files, whether it involves analog or digital signals.
By familiarizing yourself with the connections on your Hi8 camcorder, you’ll be better equipped to proceed with the next steps of connecting it to your laptop. Understanding the capabilities of your camcorder and its output options is a crucial foundation for a successful and seamless transfer process.
Step 3: Connect the Hi8 Camcorder to Your Laptop
Now that you’ve gathered the necessary equipment and familiarized yourself with the connections on your Hi8 camcorder, it’s time to establish the physical link between the camcorder and your laptop. Depending on the available ports on your camcorder and laptop, the connection process may vary. Here’s a step-by-step guide to help you through the connection phase:
- Identify the Compatible Port: Based on the output options available on your Hi8 camcorder and the input ports on your laptop, determine the most suitable connection method. If your camcorder supports analog outputs (such as AV or S-Video), you may need to use a video capture device to convert the analog signals to a format compatible with your laptop’s USB or FireWire port.
- Select the Appropriate Cable: Choose the correct cable for the connection. If your Hi8 camcorder features analog outputs, you may require an RCA or S-Video cable, along with the necessary adapters to interface with your laptop’s capture device or input ports. For digital connections (such as FireWire or USB), ensure you have the corresponding cable that matches the ports on both devices.
- Power Up Your Devices: Before establishing the physical connection, ensure that both your Hi8 camcorder and laptop are powered on and ready for the transfer process. If your camcorder operates using a power adapter, make sure it’s connected and providing sufficient power for the transfer.
- Establish the Connection: Connect one end of the cable to the output port on your Hi8 camcorder and the other end to the corresponding input port on your laptop. For analog connections, ensure that the red, white, and yellow connectors are plugged into the correct ports to maintain the integrity of the audio and video signals. If using a digital connection, insert the cable securely into the appropriate ports on both devices.
- Configure Your Laptop: Once the physical connection is established, your laptop may require configuration to recognize the connected camcorder. Depending on your operating system, you may need to access the device manager or video capture software to detect the camcorder and initiate the transfer process.
By following these steps, you’ll be able to create a physical connection between your Hi8 camcorder and laptop, setting the stage for the transfer of your cherished video files. With the appropriate cable and a clear understanding of the connection process, you can proceed confidently, knowing that you’ve laid the groundwork for a successful transfer.
Step 4: Transfer the Video Files
With the Hi8 camcorder successfully connected to your laptop, it’s time to initiate the transfer of your valuable video files. Depending on the type of connection and the software available on your laptop, the process of transferring the video files may vary. Here’s a comprehensive guide to help you navigate this crucial phase:
- Access the Video Capture Software: If your laptop is equipped with built-in video capture software or if you’ve installed third-party capture programs, launch the appropriate application to begin the transfer process. This software will facilitate the recognition of your connected Hi8 camcorder and enable the transfer of video files to your laptop’s storage.
- Initiate the Transfer: Within the video capture software, look for options to import or capture video from an external device. Depending on the software interface, you may need to navigate to the input source settings and select the connected Hi8 camcorder as the video source. Once configured, initiate the transfer process to start capturing the video files from your camcorder.
- Monitor the Transfer: During the transfer process, monitor the software interface to ensure that the video files are being captured successfully. Pay attention to the playback on your laptop screen to confirm that the footage is transferring smoothly and without any visual or audio issues. This step is crucial for verifying the integrity of the transferred files.
- Save and Organize the Files: Once the transfer is complete, save the captured video files to a location on your laptop’s storage. Create a dedicated folder for your Hi8 camcorder footage to keep the files organized and easily accessible. Consider naming the folder with a descriptive title to reflect the content of the transferred videos.
- Review and Edit (Optional): After the transfer, you may want to review the captured video files and perform any necessary editing or enhancement. Depending on your preferences, you can use video editing software to trim, enhance, or add effects to the transferred footage, ensuring that it meets your desired quality and presentation standards.
By following these steps, you’ll be able to successfully transfer the video files from your Hi8 camcorder to your laptop, preserving and digitizing your cherished memories for future enjoyment. With the right software and attention to detail, you can ensure that the transfer process is seamless and that your valuable video files are safely stored on your laptop’s storage.
Conclusion
Congratulations! You’ve successfully navigated the process of connecting your Hi8 camcorder to your laptop and transferring your precious video files into the digital realm. By following the steps outlined in this guide, you’ve taken a significant stride in preserving and digitizing your cherished memories, ensuring that they can be enjoyed and shared for years to come.
Through the careful gathering of necessary equipment, understanding the connections on your Hi8 camcorder, and establishing a seamless physical and digital link to your laptop, you’ve transformed analog footage into digital assets. This transition not only safeguards your memories from the aging effects of analog media but also opens up a world of possibilities for sharing and enhancing your videos in the digital domain.
As you review the transferred video files on your laptop, take a moment to appreciate the journey you’ve undertaken to bring these precious moments into the digital age. Whether it’s reliving family vacations, capturing milestone events, or simply revisiting everyday moments, the ability to access and share these memories digitally is a testament to your dedication to preserving the past.
With the digital files now at your fingertips, consider backing them up to external storage or cloud-based platforms to ensure their long-term security. Additionally, explore the creative possibilities of digital video editing, allowing you to enhance, edit, and share your footage with a new level of versatility and impact.
By embracing the process of connecting your Hi8 camcorder to your laptop, you’ve unlocked the potential to breathe new life into your vintage videos, creating a bridge between the past and the present. Your commitment to preserving these memories reflects the enduring value of capturing life’s moments and the timeless joy of sharing them with others.
As you move forward with your digitized video library, may the memories contained within these files continue to bring warmth, nostalgia, and connection to those who experience them. Your dedication to preserving these moments is a gift that transcends time, ensuring that the stories captured by your Hi8 camcorder will endure for generations to come.