Introduction
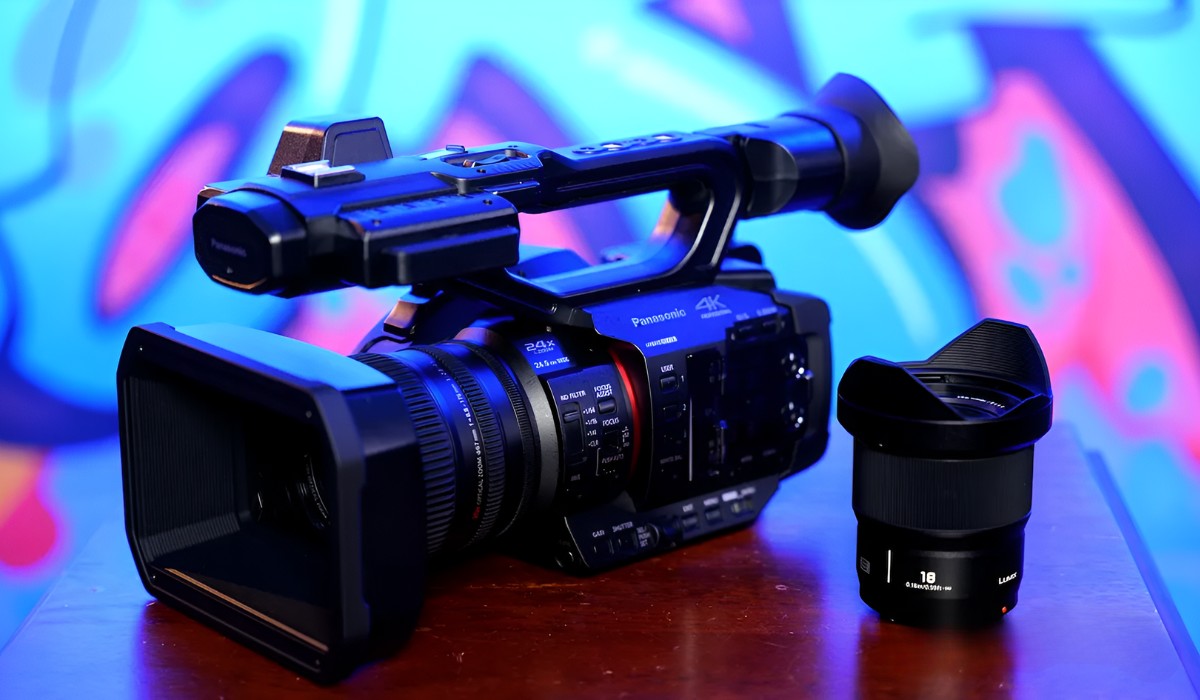
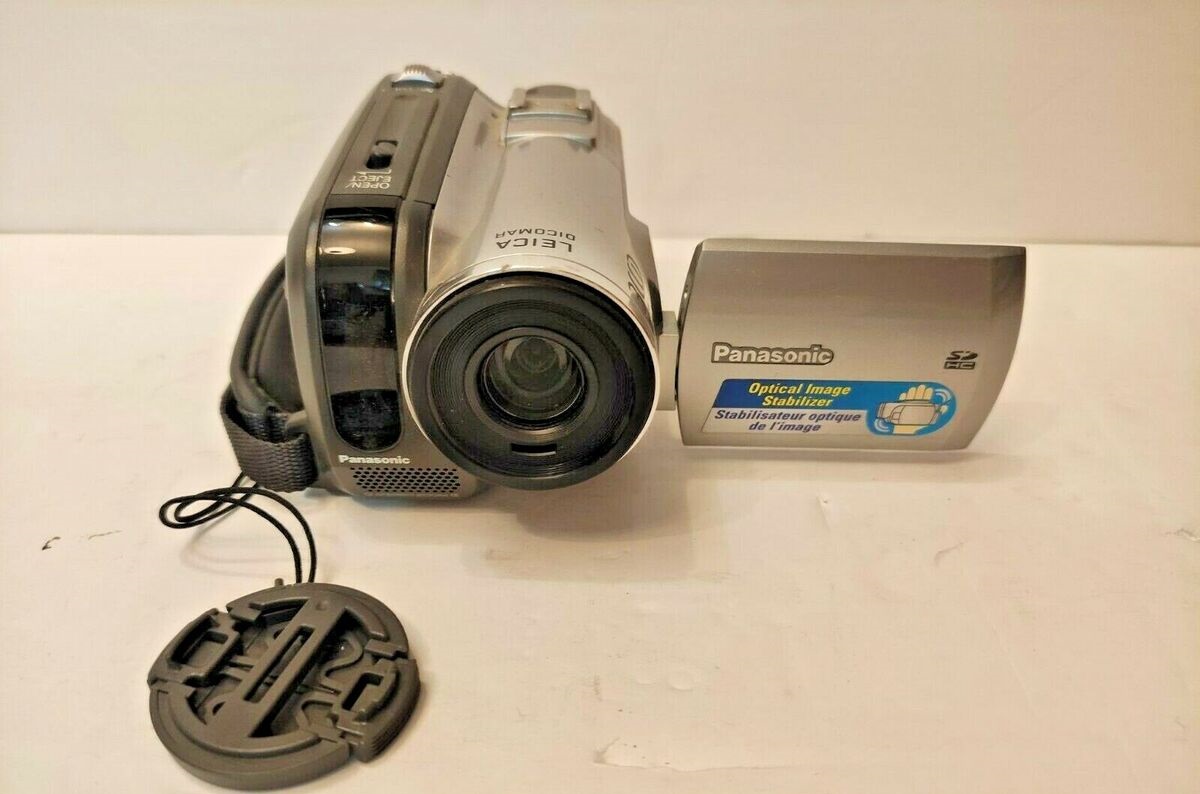
So, you've got your hands on a Panasonic camcorder and you're ready to start capturing life's precious moments. Whether you're a budding filmmaker or simply want to record family events, knowing how to connect your Panasonic camcorder is the first step to unleashing its full potential. In this guide, we'll walk you through the process of connecting your camcorder to various devices, from TVs to computers, so you can view, edit, and share your footage with ease.
Panasonic camcorders are renowned for their high-quality video recording capabilities, making them popular choices for both amateur and professional videographers. With the right connections and a bit of know-how, you can harness the full power of your Panasonic camcorder to create stunning visual content.
In the following steps, we'll cover everything you need to know to connect your Panasonic camcorder effectively. From gathering the necessary cables and equipment to transferring and editing your footage, you'll gain a comprehensive understanding of how to make the most of your camcorder's features. Whether you're a tech enthusiast or a novice user, this guide will equip you with the knowledge to seamlessly integrate your Panasonic camcorder into your multimedia setup.
Now, let's dive into the step-by-step process of connecting your Panasonic camcorder, so you can begin exploring the endless possibilities of capturing and sharing your most cherished memories.
Step 1: Gather Necessary Cables and Equipment
Before you can begin connecting your Panasonic camcorder to other devices, it’s essential to gather the necessary cables and equipment. The specific cables you’ll need may vary depending on the model of your camcorder and the devices you intend to connect it to. Here’s a comprehensive list of the essential items you should have on hand:
- Camcorder: Ensure that your Panasonic camcorder is fully charged or connected to a power source to avoid interruptions during the connection process.
- HDMI Cable: If you plan to connect your camcorder to a TV or monitor, an HDMI cable is often the most straightforward and high-quality option for transmitting both audio and video signals.
- USB Cable: For connecting your camcorder to a computer, a USB cable is typically used to establish a data connection for transferring footage and accessing the camcorder’s storage.
- Power Adapter: If your camcorder requires external power, ensure that you have the appropriate power adapter and cable to keep it powered during the connection process.
- Memory Card: If your camcorder uses removable storage media, such as an SD card, ensure that it’s inserted and contains sufficient space for recording and transferring footage.
- Compatible Editing Software: If you plan to edit your footage on a computer, make sure you have the necessary editing software installed and updated to work with the file formats generated by your Panasonic camcorder.
By gathering these essential cables and equipment, you’ll be well-prepared to seamlessly connect your Panasonic camcorder to a variety of devices, enabling you to view, edit, and share your captured footage with ease. With the groundwork laid out, let’s move on to the next step of powering on the camcorder and preparing it for connection.
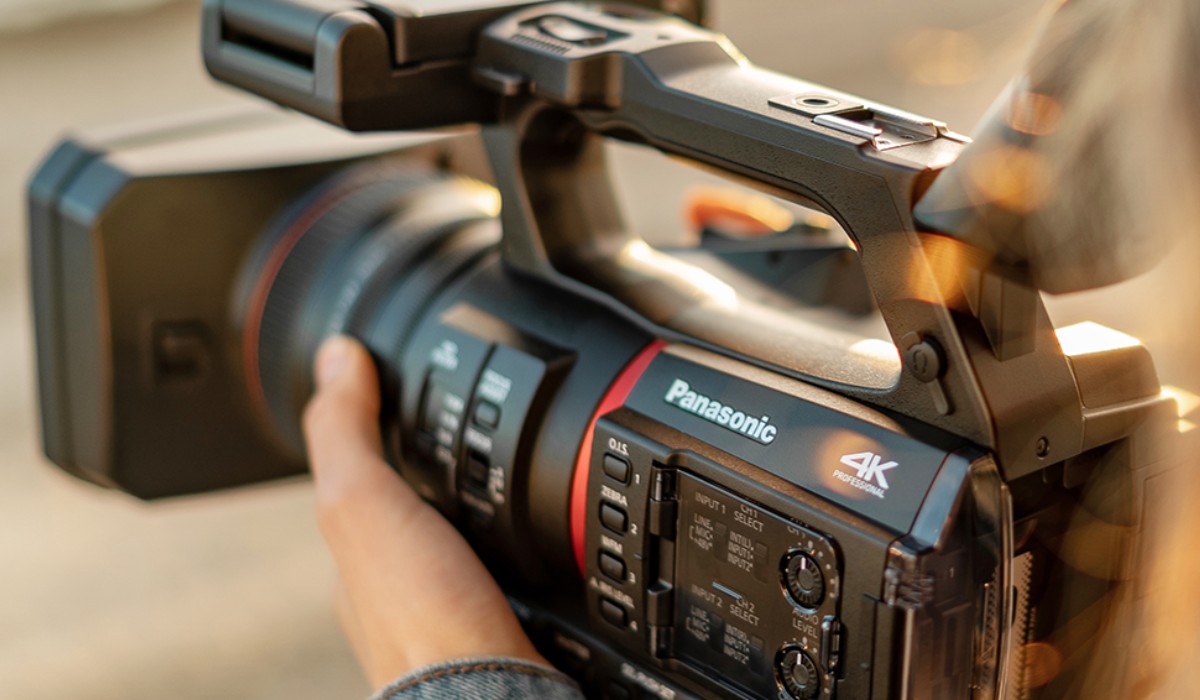
Step 2: Power on the Camcorder
Before you can establish connections with external devices, it’s crucial to ensure that your Panasonic camcorder is powered on and ready for use. Depending on the model of your camcorder, the power-on process may vary, but the fundamental steps generally remain consistent. Here’s how to power on your Panasonic camcorder:
- Check the Battery: If your camcorder is powered by a removable battery, ensure that it’s fully charged or replace it with a charged battery to avoid any interruptions during the connection process. For camcorders with built-in batteries, connect the power adapter to a power source to ensure uninterrupted operation.
- Press the Power Button: Locate the power button on your camcorder, typically situated on the body or near the display screen. Press and hold the power button for a few seconds until the camcorder powers on. Some models may require you to slide a switch or press a specific sequence of buttons to activate the device.
- Monitor the Power Indicator: Once the camcorder is powered on, observe the power indicator light or display screen to confirm that the device is operational. If the camcorder features a flip-out display, it should illuminate, displaying the camera’s status and settings.
- Prepare for Connection: With the camcorder powered on, you’re now ready to proceed with connecting it to your desired devices, such as a TV, monitor, or computer, to begin viewing, transferring, and editing your footage.
By ensuring that your Panasonic camcorder is powered on and in a functional state, you’ll be well-equipped to seamlessly establish connections with external devices, unlocking the full potential of your camcorder’s recording capabilities. With the camcorder powered up and prepared for connection, let’s move on to the next step of connecting it to a TV or monitor to view your captured footage.
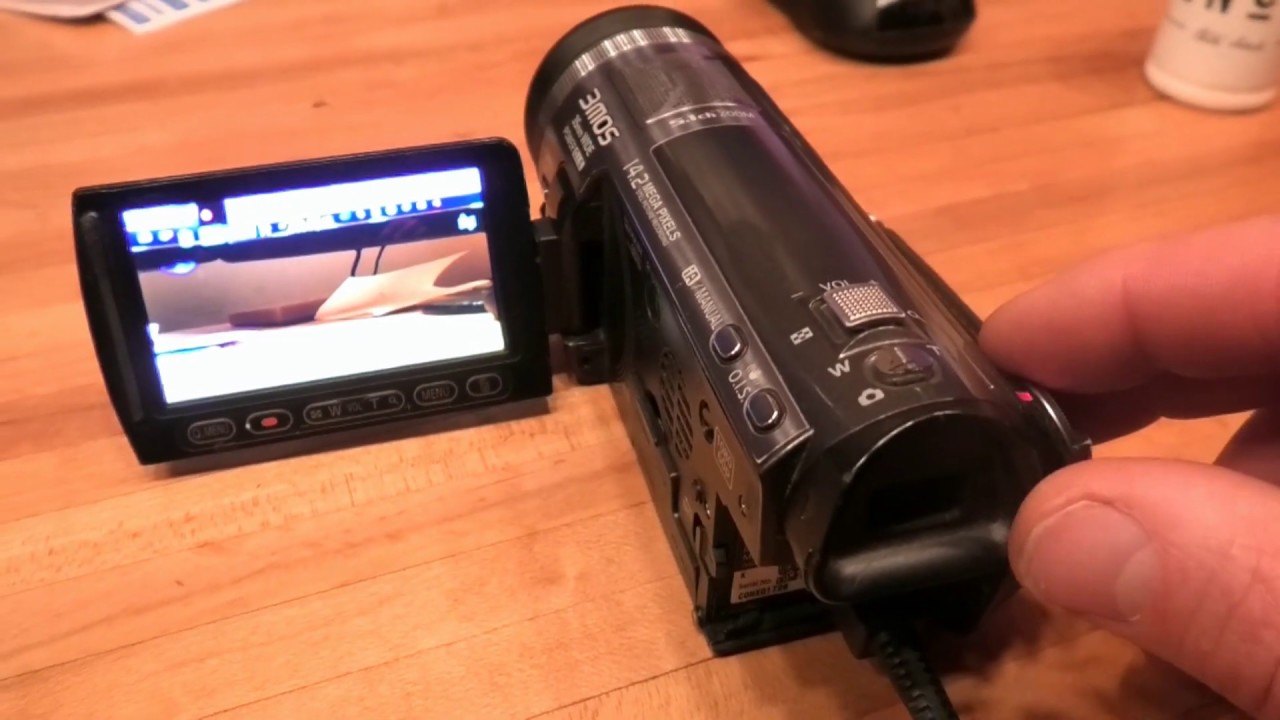
Step 3: Connect the Camcorder to a TV or Monitor
Connecting your Panasonic camcorder to a TV or monitor allows you to view your captured footage on a larger screen, making it easier to share and enjoy your videos with others. Depending on the available ports and features of your camcorder and the display device, you can choose from several connection options to establish a seamless link between the two. Here’s how to connect your camcorder to a TV or monitor:
- Locate the Video Output Port: Identify the video output port on your Panasonic camcorder. Common video output ports include HDMI, composite video (RCA), or component video outputs. Select the appropriate port based on the available inputs on your TV or monitor.
- Choose the Correct Cable: Depending on the video output port on your camcorder, select the corresponding cable to connect to your TV or monitor. For high-definition connections, an HDMI cable is often the preferred choice, providing both audio and video transmission through a single cable. For older displays, composite or component video cables may be used for standard-definition connections.
- Connect the Cable: Plug one end of the selected cable into the video output port on your camcorder and the other end into the corresponding input port on your TV or monitor. Ensure a secure connection to prevent signal loss or interference during playback.
- Power on the TV or Monitor: Turn on your TV or monitor and set it to the correct input source that corresponds to the port you connected your camcorder to. This allows the display device to receive the video signal from the camcorder and show the footage on the screen.
- Play the Footage: On your camcorder, navigate to the playback mode or select the video you wish to view. Once the footage is ready for playback, press the play button on your camcorder, and the video should appear on the connected TV or monitor, ready to be enjoyed on a larger display.
By following these steps, you can successfully connect your Panasonic camcorder to a TV or monitor, expanding the viewing experience beyond the camcorder’s built-in display. Whether you’re sharing your videos with a small group of friends or reviewing footage for editing purposes, connecting to a larger screen provides a more immersive and collaborative viewing experience.
Now that you’ve connected your camcorder to a TV or monitor, let’s explore the next step of connecting it to a computer, enabling you to transfer and edit your captured footage with editing software.
Step 4: Connect the Camcorder to a Computer
Connecting your Panasonic camcorder to a computer opens up a world of possibilities for transferring and editing your captured footage. Whether you’re looking to archive your videos, create professional edits, or share your content online, establishing a connection to your computer is a crucial step. Here’s how to connect your camcorder to a computer:
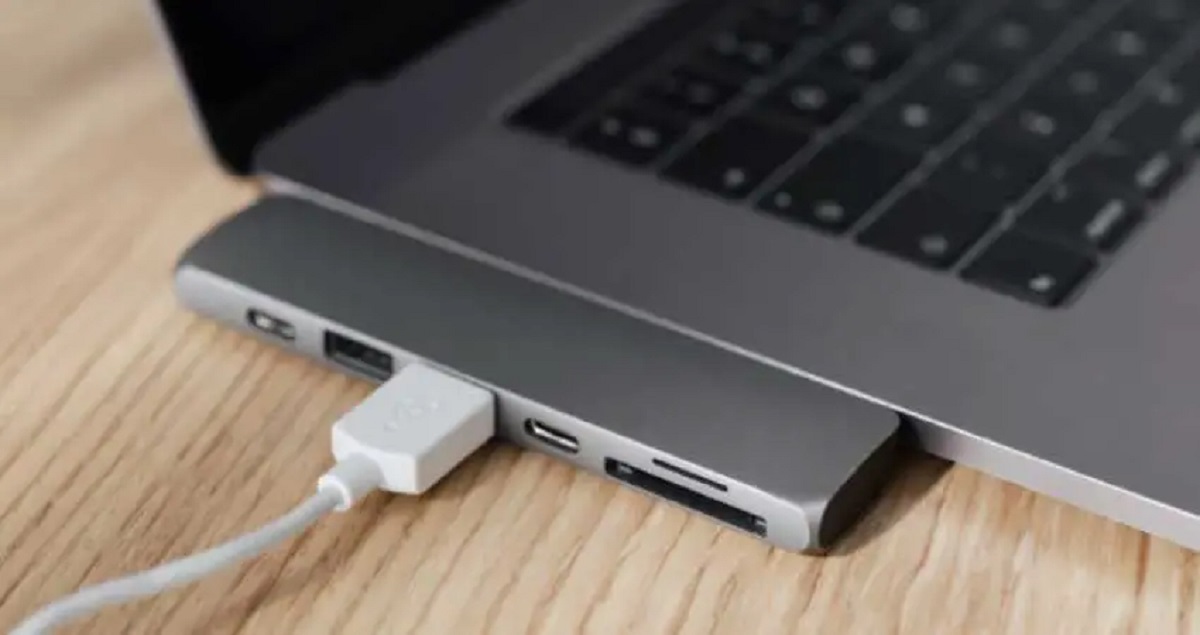
- Locate the USB Port: Identify the USB port on your Panasonic camcorder. This port is typically used for data transfer and establishing a connection with a computer.
- Choose the Correct USB Cable: Select a compatible USB cable that matches the port on your camcorder. Depending on the model, it may require a standard USB-A to mini or micro USB cable, or a USB-C cable for newer models.
- Connect the USB Cable: Plug one end of the USB cable into the USB port on your camcorder and the other end into an available USB port on your computer. Ensure a secure connection to facilitate reliable data transfer between the camcorder and the computer.
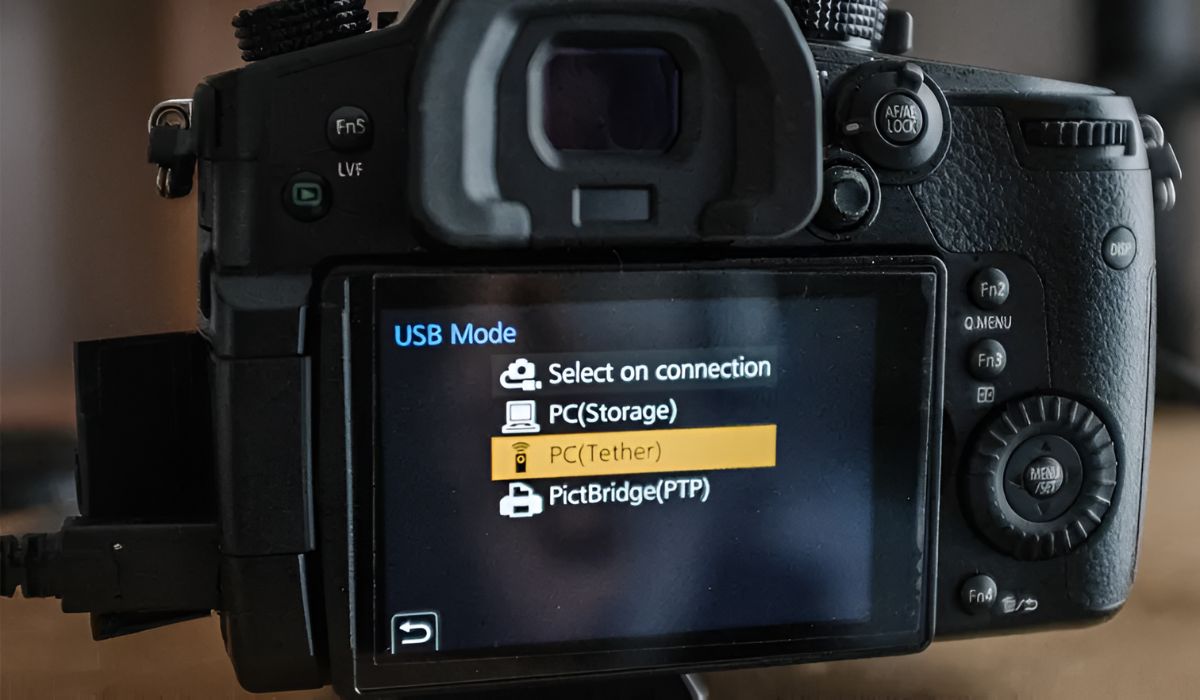
- Power on the Camcorder: Ensure that your Panasonic camcorder is powered on and set to the appropriate mode for data transfer. Some camcorders have a specific mode for connecting to a computer, while others may automatically prompt for the connection type when plugged in.
- Access the Camcorder’s Storage: Once the camcorder is connected to the computer, it should appear as a removable storage device or a recognized device in the file explorer or desktop of your computer. Navigate to the camcorder’s storage to access your recorded footage and transfer it to your computer for storage, editing, or sharing.
By following these steps, you can seamlessly connect your Panasonic camcorder to a computer, enabling you to transfer your recorded footage for further editing and archival purposes. This connection empowers you to harness the full potential of your camcorder’s content and share it with the world.
With your camcorder successfully connected to a computer, you’re now ready to delve into the next step of transferring and editing your footage, allowing you to refine your videos and unleash your creativity through the art of video production.
Step 5: Transfer and Edit Your Footage
Once your Panasonic camcorder is connected to your computer, you can begin the process of transferring and editing your captured footage. This step is pivotal in unleashing your creativity and sharing your videos with the world. Here’s how to transfer and edit your footage:
- Transfer Your Footage: Using the file explorer on your computer, navigate to the connected camcorder’s storage and locate the recorded footage. Copy the video files to your computer’s hard drive or a designated folder for easy access during the editing process.
- Select Editing Software: Choose the editing software that best suits your needs and is compatible with the file formats generated by your Panasonic camcorder. Popular options include Adobe Premiere Pro, Final Cut Pro, or free software like DaVinci Resolve and Shotcut.
- Import Footage into Editing Software: Open your chosen editing software and import the video files from your camcorder into the project timeline. This allows you to begin the editing process, including trimming, adding effects, and enhancing the visual and audio elements of your footage.
- Edit and Enhance Your Footage: Utilize the editing software’s features to craft your footage into a polished video. This may include adding transitions, adjusting color and lighting, incorporating music or voiceovers, and creating a captivating visual story that aligns with your creative vision.
- Export and Share Your Video: Once you’re satisfied with the edits, export the final video from the editing software in a format suitable for your intended use, such as uploading to social media, sharing with friends and family, or archiving for future viewing. Choose the appropriate settings for resolution, file type, and compression to optimize the video for its destination.
By following these steps, you can seamlessly transfer and edit your footage, transforming raw recordings into polished, captivating videos that reflect your unique style and storytelling prowess. Whether you’re creating vlogs, family montages, or professional productions, the ability to edit your footage opens the door to endless creative possibilities.
With your footage successfully transferred and edited, you’ve harnessed the full potential of your Panasonic camcorder, turning your recordings into compelling visual narratives ready to be shared with the world.
Conclusion
Congratulations! You’ve successfully navigated the process of connecting, transferring, and editing your footage with your Panasonic camcorder. By following the steps outlined in this guide, you’ve gained the knowledge and skills to seamlessly integrate your camcorder into your multimedia setup, unlocking its full potential for capturing and sharing life’s precious moments.
From gathering the necessary cables and equipment to connecting your camcorder to a TV, monitor, and computer, you’ve established versatile links that allow you to view, transfer, and edit your recorded footage with ease. Whether you’re a hobbyist videographer, a family documentarian, or a content creator, the ability to connect and edit your footage empowers you to craft compelling visual stories that resonate with your audience.
As you’ve discovered, the process of connecting your Panasonic camcorder is not only a technical endeavor but also a creative journey. Each connection opens up new possibilities for sharing your unique perspective and experiences with the world. Whether you’re capturing a milestone event, documenting a travel adventure, or expressing your artistic vision, your Panasonic camcorder serves as a powerful tool for preserving and sharing cherished memories.
By mastering the art of connecting, transferring, and editing your footage, you’ve embarked on a path of visual storytelling that transcends mere recordings. Your videos now possess the potential to evoke emotions, preserve cherished moments, and inspire others through the power of visual communication.
As you continue to explore the capabilities of your Panasonic camcorder, remember that the connections you’ve established are gateways to creativity and expression. Embrace the process of capturing life’s fleeting moments and transforming them into enduring visual narratives, each imbued with your unique perspective and passion for storytelling.
With your newfound expertise in connecting and editing your footage, you’re poised to embark on a journey of visual storytelling that transcends boundaries and resonates with audiences far and wide. Your Panasonic camcorder is not just a recording device—it’s a conduit for sharing your world, one frame at a time.