Introduction
Choosing the right microphone is crucial for capturing high-quality audio, whether for professional recordings, podcasts, live performances, or video calls. Among the various types of microphones available, the cardioid condenser microphone stands out for its versatility and exceptional sound-capturing capabilities. In this guide, we will explore the ins and outs of using a cardioid condenser microphone, with a specific focus on the renowned Audio-Technica brand.
Cardioid condenser microphones are favored by many audio enthusiasts and professionals due to their ability to capture sound with remarkable clarity and precision. Whether you are a musician, podcaster, content creator, or simply someone who values top-notch audio, understanding how to utilize this type of microphone can significantly enhance the quality of your recordings and performances.
In this comprehensive guide, we will delve into the fundamentals of cardioid condenser microphones and provide practical tips for setting up and optimizing your Audio-Technica cardioid condenser microphone. From positioning the microphone for optimal sound to troubleshooting common issues, this guide aims to equip you with the knowledge and techniques needed to make the most of your Audio-Technica cardioid condenser microphone.
So, whether you are a seasoned audio professional or a novice enthusiast, join us as we embark on a journey to unlock the full potential of your cardioid condenser microphone. By the end of this guide, you will have a deeper understanding of how to harness the power of this remarkable audio tool, enabling you to elevate your recordings and performances to new heights. Let's dive into the world of cardioid condenser microphones and unleash the true potential of your Audio-Technica microphone.
What is a Cardioid Condenser Microphone?
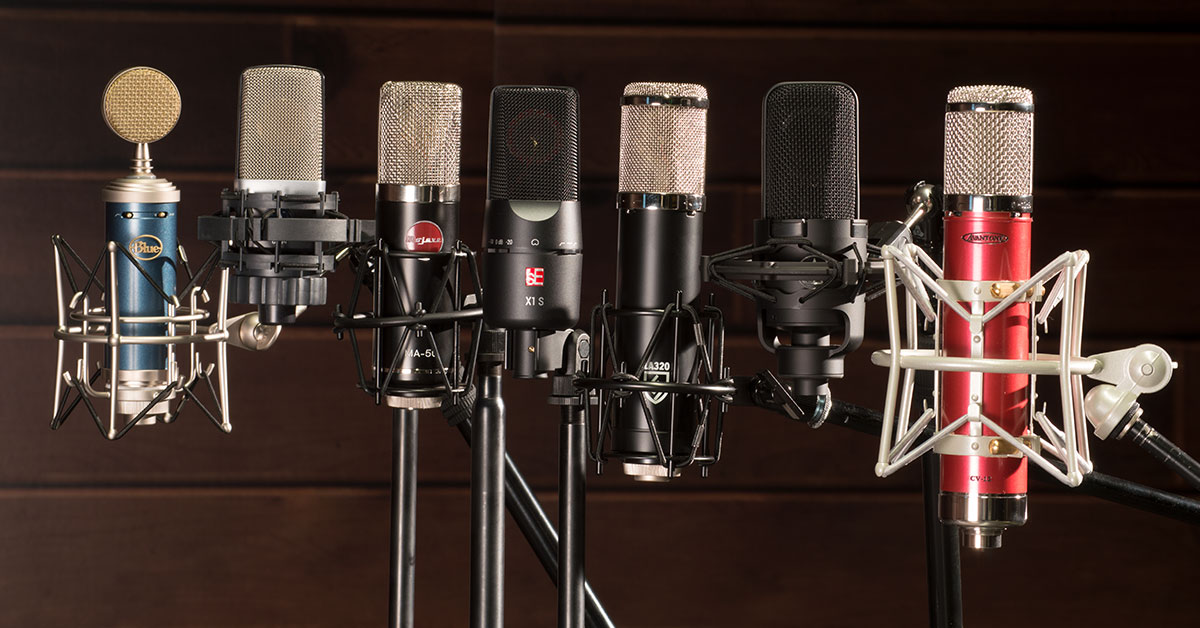
A cardioid condenser microphone is a popular type of microphone known for its exceptional sensitivity and ability to capture sound with precision. The term “cardioid” refers to the heart-shaped pickup pattern exhibited by these microphones, which allows them to primarily pick up sound from the front while minimizing ambient noise from the sides and rear. This directional characteristic makes cardioid condenser microphones well-suited for a wide range of recording applications, including studio vocals, instruments, podcasts, and live performances.
Unlike dynamic microphones, which use electromagnetic induction to generate an audio signal, condenser microphones employ an electrically-charged diaphragm and a backplate to convert sound waves into electrical signals. This design results in a more sensitive and detailed audio capture, making condenser microphones a preferred choice for capturing nuanced performances and subtle nuances in sound.
Audio-Technica, a renowned manufacturer of professional audio equipment, has established itself as a leader in the realm of cardioid condenser microphones. Their meticulous engineering and commitment to sonic excellence have resulted in a diverse range of cardioid condenser microphones that cater to the needs of musicians, content creators, broadcasters, and audio professionals.
One of the standout features of Audio-Technica cardioid condenser microphones is their ability to faithfully reproduce the natural timbre and tonal characteristics of the recorded source. Whether capturing vocals, acoustic instruments, or ambient sounds, these microphones excel in delivering transparent and true-to-life audio reproduction, earning the trust of countless artists and engineers in the music and broadcast industries.
Furthermore, the versatility of cardioid condenser microphones allows them to excel in various recording environments, from controlled studio settings to live sound reinforcement applications. Their ability to isolate the desired sound source while minimizing background noise makes them invaluable tools for achieving professional-grade recordings and live performances.
As we continue to explore the world of cardioid condenser microphones, we will uncover the essential techniques for setting up, positioning, and optimizing your Audio-Technica cardioid condenser microphone to unleash its full potential.
Setting Up Your Cardioid Condenser Microphone
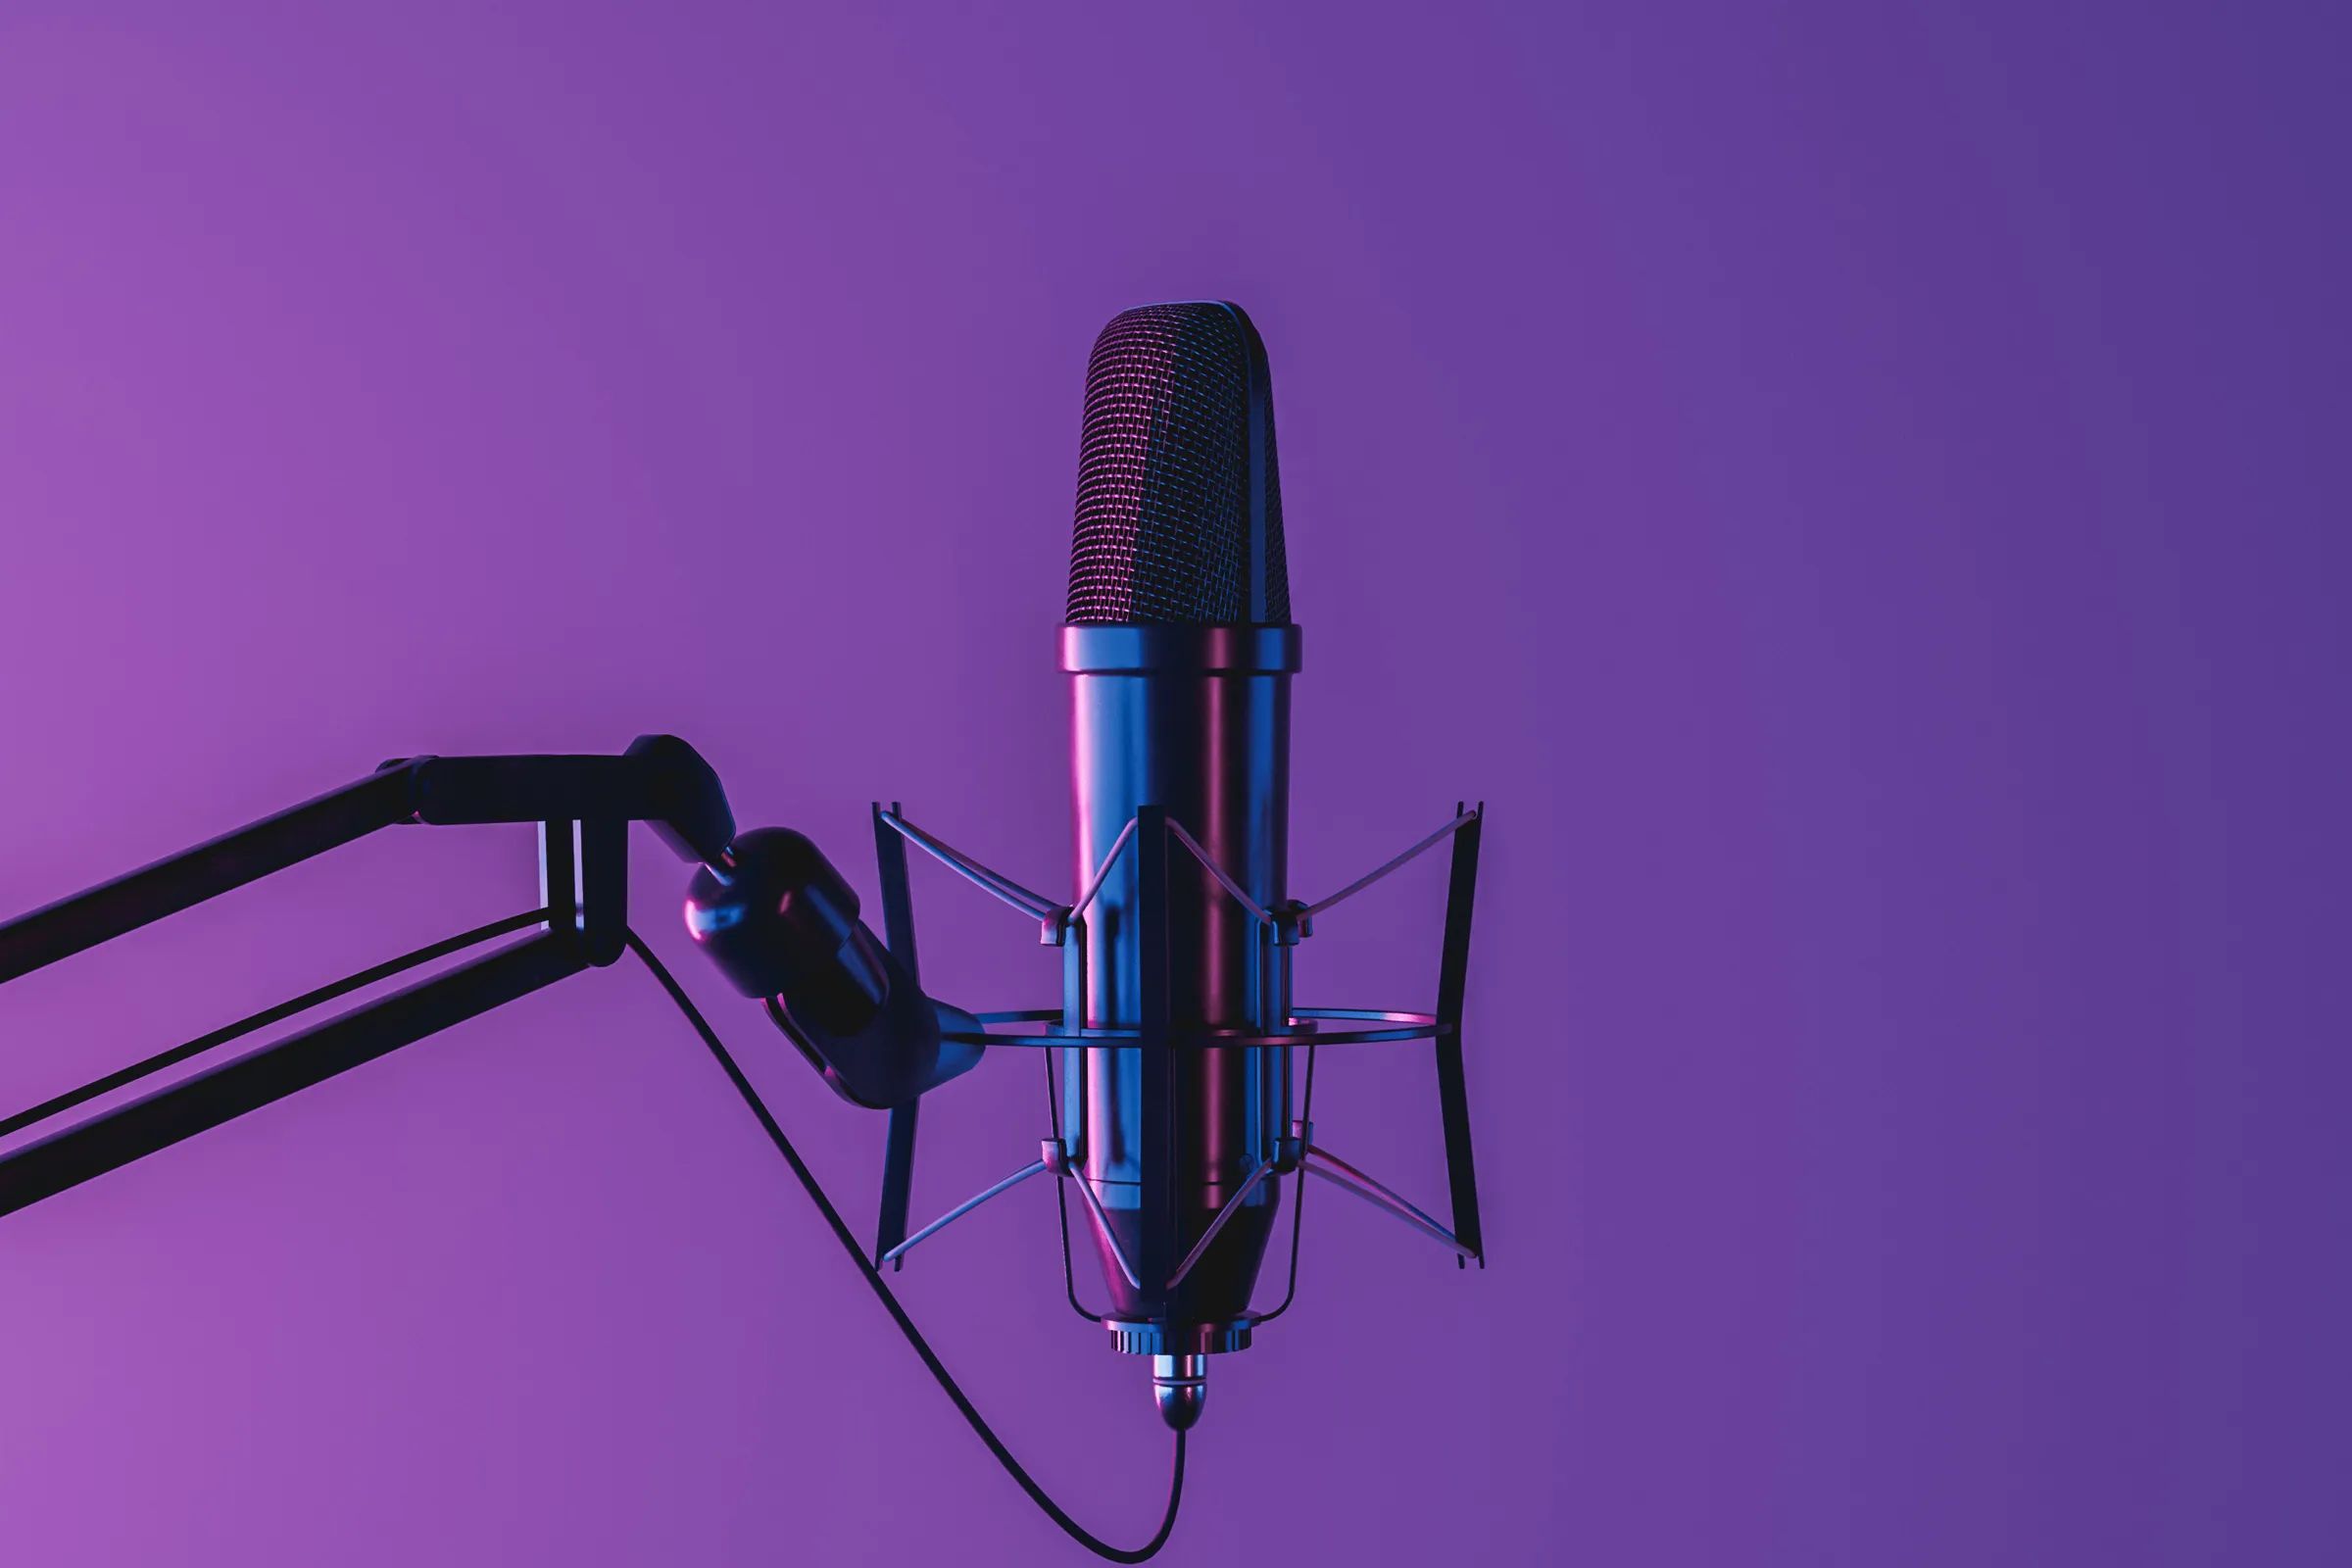
Before diving into the recording process, it is essential to set up your Audio-Technica cardioid condenser microphone correctly to ensure optimal performance and sound quality. The following steps will guide you through the setup process, allowing you to make the most of your microphone:
- Connectivity: Begin by connecting your cardioid condenser microphone to the appropriate audio interface, mixing console, or recording device using an XLR cable. Ensure that the connections are secure to prevent any signal interruptions during recording.
- Phantom Power: Most condenser microphones, including the Audio-Technica models, require phantom power to operate. If you are using an audio interface or mixer with phantom power capabilities, activate this feature to provide the necessary power to the microphone.
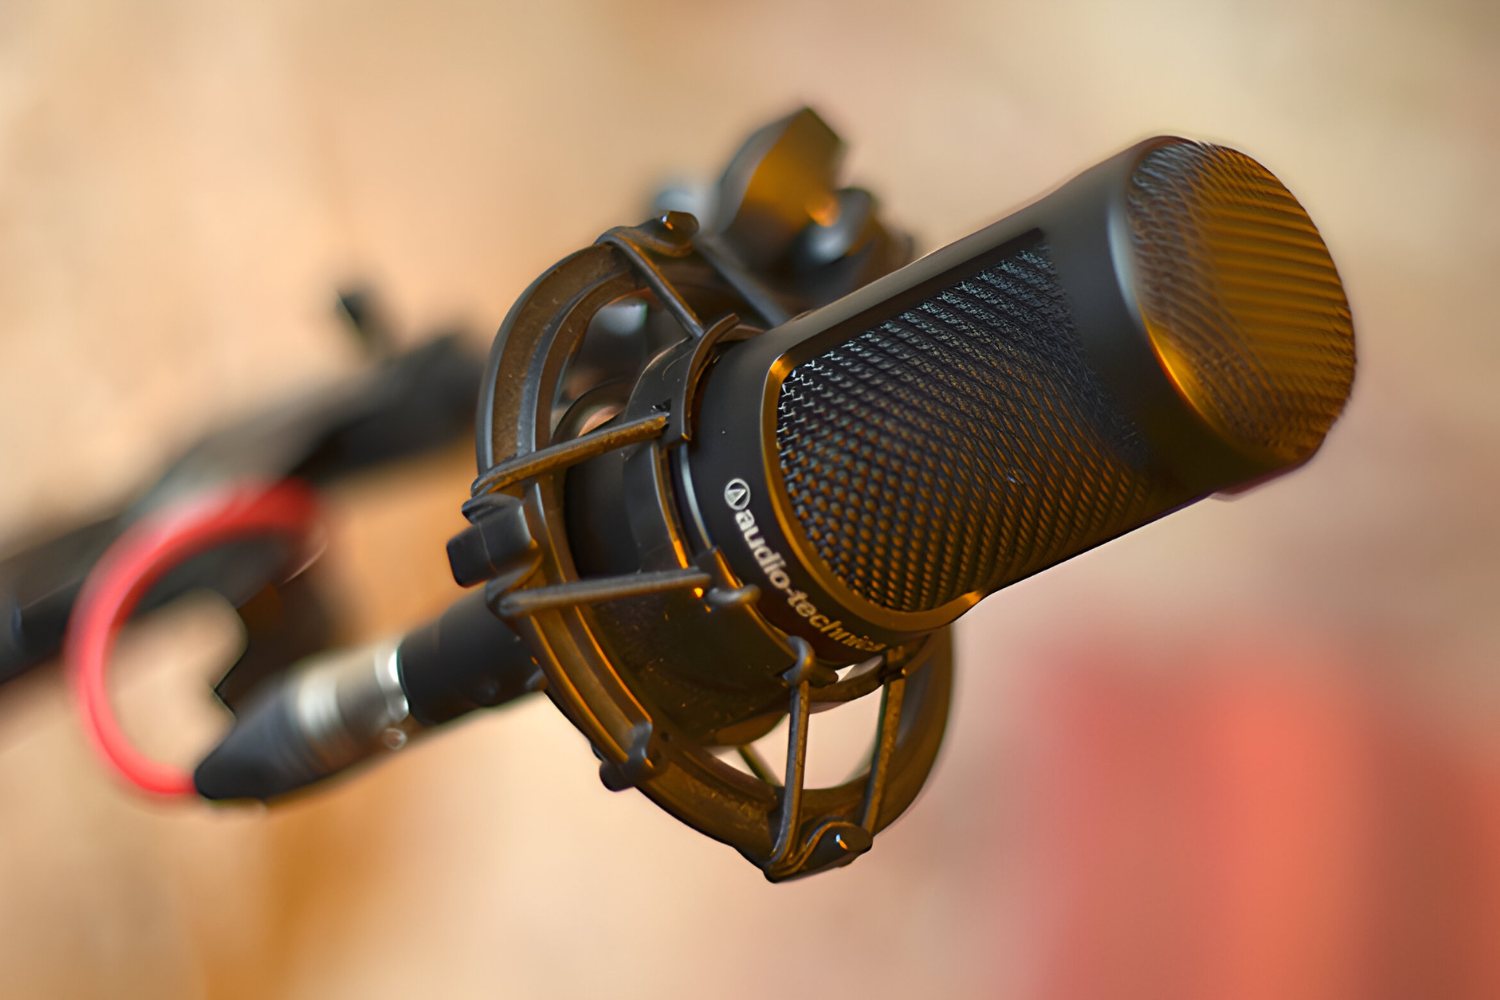
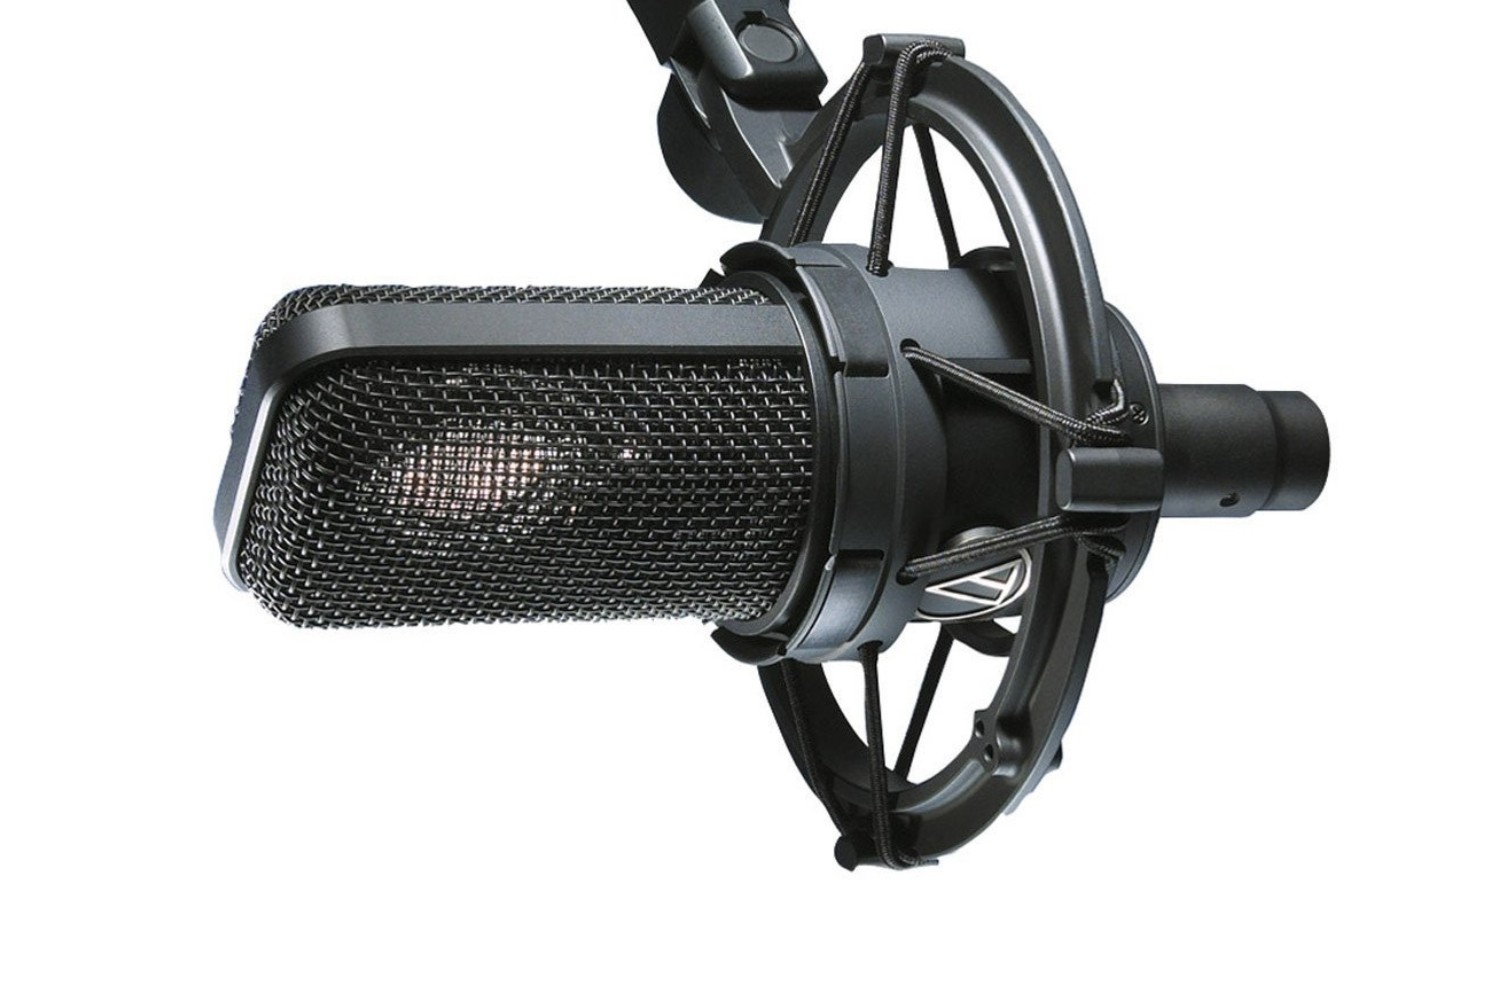
- Mounting: Depending on the specific model of your Audio-Technica cardioid condenser microphone, you may need to mount it on a shock mount or microphone stand. Secure the microphone in place to minimize any handling noise or vibrations that could affect the recording.
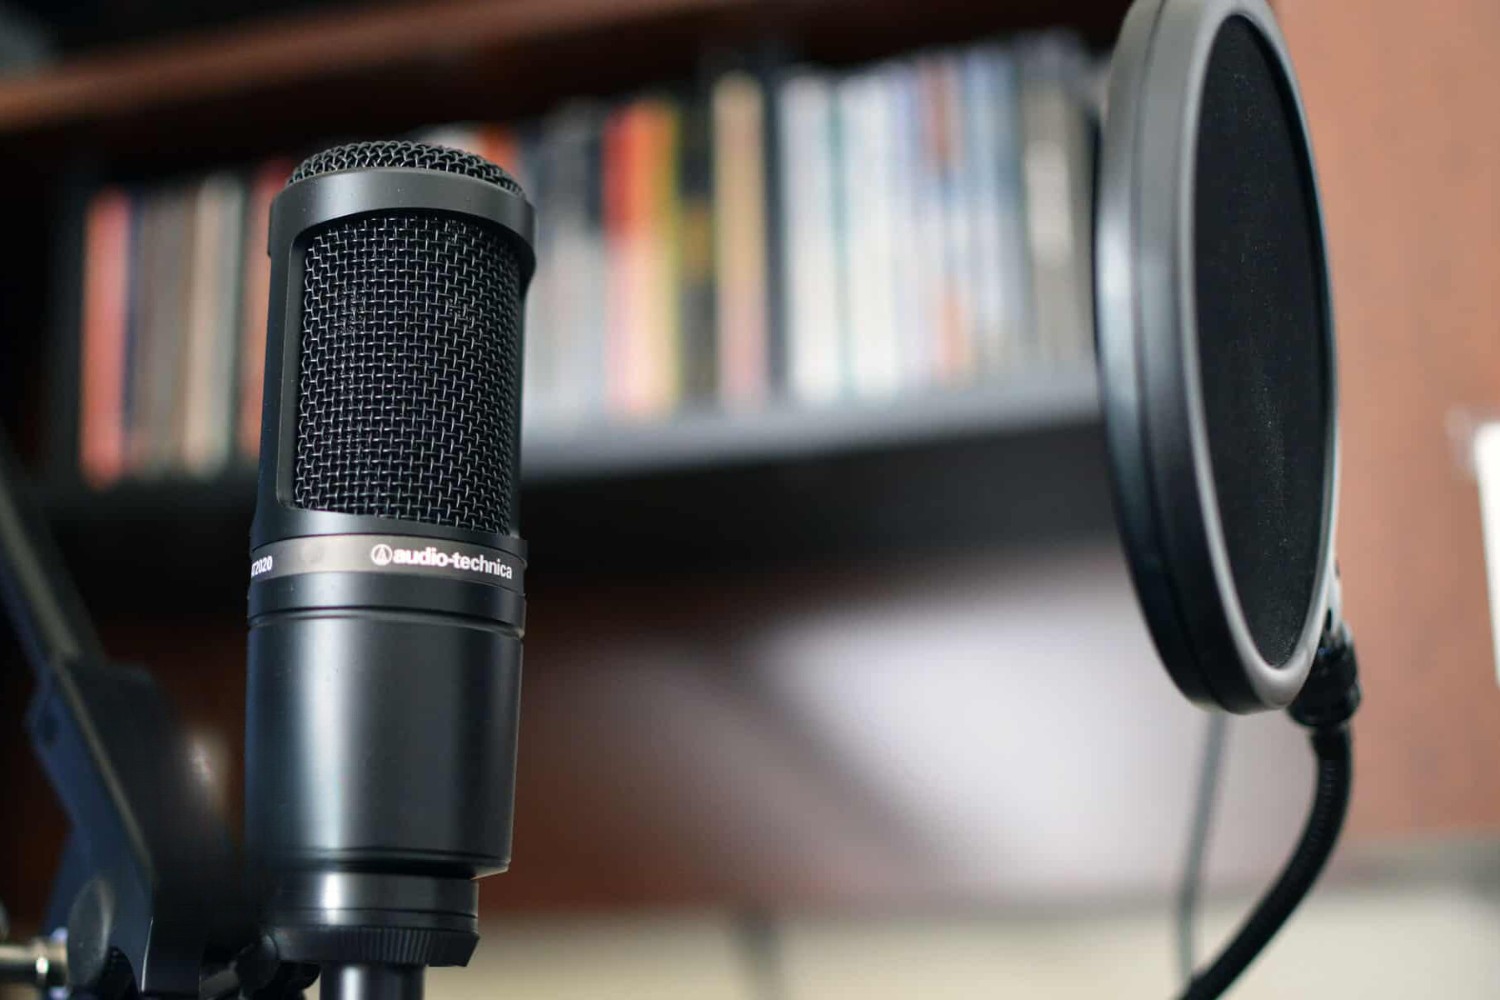
- Pop Filter: Attaching a pop filter to the microphone can help reduce plosive sounds and sibilance, resulting in cleaner vocal recordings. Position the pop filter a few inches away from the microphone to effectively mitigate unwanted breath and wind noise.
- Headphone Monitoring: If your recording setup allows for direct monitoring, connect a pair of headphones to the audio interface or mixer to monitor the microphone input in real time. This enables you to assess the audio quality and make any necessary adjustments during recording.
Once you have completed the setup process, take a moment to familiarize yourself with the microphone’s controls, such as the polar pattern selector and gain adjustments, if available. Understanding these features will empower you to tailor the microphone’s settings according to the recording requirements and the characteristics of the sound source.
With your Audio-Technica cardioid condenser microphone properly set up and ready for action, you are now prepared to delve into the next crucial aspect of achieving exceptional audio recordings: positioning the microphone for optimal sound capture.
Positioning the Microphone for Optimal Sound
Proper microphone placement is a critical factor in capturing high-quality audio with your Audio-Technica cardioid condenser microphone. Whether recording vocals, instruments, or ambient sounds, the microphone’s positioning significantly impacts the clarity, tonal balance, and overall sonic character of the captured audio. Consider the following guidelines for positioning your cardioid condenser microphone to achieve optimal sound capture:
- Vocal Recording: When recording vocals, position the microphone at a slight angle, approximately 6 to 12 inches away from the performer’s mouth. This placement helps minimize plosive sounds and sibilance while capturing the nuances of the vocalist’s performance.
- Instrumental Recording: For recording instruments, such as acoustic guitars or pianos, experiment with microphone placement to find the sweet spot that captures the instrument’s natural tonal characteristics. Placing the microphone closer to the sound source can result in a more intimate and detailed sound, while positioning it farther away can capture a broader, ambient sound.
- Room Acoustics: When capturing ambient sounds or room acoustics, consider the microphone’s distance from reflective surfaces and the overall acoustics of the recording environment. Adjust the microphone’s placement to capture the desired balance of direct sound and room ambience, taking into account the room’s natural reverberation and sonic characteristics.
- Off-Axis Rejection: Leverage the cardioid polar pattern of the microphone to your advantage by positioning it to minimize off-axis sound, such as unwanted room noise or instrument bleed. Orient the microphone so that the sound source of interest is directly in front of the microphone, maximizing its sensitivity while attenuating peripheral noise.
Furthermore, consider the use of multiple cardioid condenser microphones for stereo recording techniques, such as spaced pair or XY stereo, to capture a sense of spaciousness and stereo imaging in your recordings. Experimenting with different microphone placements and stereo techniques can yield diverse sonic textures and spatial depth, enhancing the overall listening experience for your audience.
By carefully positioning your Audio-Technica cardioid condenser microphone according to the specific recording scenario, you can harness its exceptional sound-capturing capabilities to achieve professional-grade audio recordings with clarity, depth, and sonic fidelity.
Tips for Using Your Cardioid Condenser Microphone
Unlocking the full potential of your Audio-Technica cardioid condenser microphone involves more than just technical setup and positioning. Implementing the following tips and techniques will elevate your recording experience and enable you to achieve outstanding results with your microphone:
- Experiment with Polar Patterns: While cardioid is the primary polar pattern of your microphone, explore other available patterns, such as omnidirectional and figure-8, to accommodate different recording scenarios. Omnidirectional mode captures sound from all directions, while figure-8 mode captures sound from the front and rear, offering versatility in capturing diverse sound sources and room ambience.
- Utilize Low-Cut Filters: Many cardioid condenser microphones feature a low-cut filter, also known as a high-pass filter, to attenuate low-frequency rumble and handling noise. Engage the low-cut filter when recording vocals or instruments to enhance clarity and reduce unwanted low-frequency artifacts.
- Monitor with Precision: When monitoring the microphone input, pay attention to the headphone mix and ensure that the levels are balanced and free from clipping. Real-time monitoring allows you to make on-the-fly adjustments to microphone positioning, gain settings, and performance techniques for optimal results.
- Warm Up the Microphone: Allow the microphone to acclimate to the recording environment for a few minutes before capturing critical recordings. This practice ensures that the microphone’s diaphragm reaches a stable operating temperature, resulting in consistent and reliable performance.
- Control Room Acoustics: If recording in a controlled studio environment, consider acoustic treatment and sound isolation to minimize unwanted reflections and external noise. A well-treated recording space contributes to cleaner recordings and facilitates the microphone’s ability to capture the intended sound source accurately.
- Engage in A/B Testing: Experiment with different microphone placements, gain settings, and polar patterns by conducting A/B tests to compare the sonic differences. This empirical approach allows you to make informed decisions about the most suitable microphone configurations for specific recording scenarios.
- Practice Proper Handling: Handle the microphone with care to prevent physical damage and maintain its pristine condition. Minimize handling noise by using a shock mount and handling the microphone with gentle movements during setup and adjustments.
By incorporating these tips into your recording practices, you can harness the full sonic potential of your Audio-Technica cardioid condenser microphone, resulting in captivating and professional-grade audio recordings across various applications.
Troubleshooting Common Issues
While the Audio-Technica cardioid condenser microphone is renowned for its exceptional performance, encountering occasional technical challenges is not uncommon. Understanding how to troubleshoot common issues will empower you to address and resolve potential setbacks effectively. Here are some common issues you may encounter when using your microphone, along with troubleshooting tips:
- Excessive Background Noise: If you notice an unusually high level of background noise in your recordings, check for sources of interference, such as electronic devices, air conditioning units, or noisy appliances. Reposition the microphone and minimize the impact of ambient noise by adjusting the recording environment or using noise reduction techniques during post-production.
- Low Output or Weak Signal: In cases where the microphone signal appears weak or low in volume, verify that the microphone is receiving phantom power if required. Additionally, check the input gain settings on your audio interface or mixer to ensure that the microphone signal is appropriately amplified without introducing noise or distortion.
- Plosive Sounds and Sibilance: When recording vocals, the occurrence of plosive sounds (e.g., “p” and “b” sounds) and sibilance (exaggerated “s” and “sh” sounds) can detract from the overall recording quality. Address these issues by using a pop filter to mitigate plosives and positioning the microphone slightly off-axis to minimize sibilance while maintaining vocal clarity.
- Handling Noise: If handling noise is noticeable during recordings, ensure that the microphone is securely mounted on a shock mount or microphone stand to isolate it from vibrations and physical disturbances. Handle the microphone with care and avoid unnecessary movements during recording sessions to minimize handling noise.
- Intermittent Connectivity: If the microphone intermittently loses connection or exhibits erratic behavior, inspect the XLR cable for any signs of damage or wear. Consider using a different cable to rule out potential connectivity issues and ensure a reliable connection between the microphone and recording device.
By addressing these common issues with practical troubleshooting techniques, you can maintain the optimal performance of your Audio-Technica cardioid condenser microphone and continue to produce professional-quality audio recordings with confidence and consistency.
Conclusion
Congratulations! You have now gained valuable insights into the world of cardioid condenser microphones, with a specific focus on maximizing the potential of your Audio-Technica microphone. By understanding the technical aspects, setup procedures, and best practices for utilizing your microphone, you are well-equipped to embark on a journey of sonic exploration and professional-grade audio production.
Throughout this guide, we have delved into the fundamental principles of cardioid condenser microphones, exploring their unique capabilities in capturing sound with precision, clarity, and sensitivity. The cardioid polar pattern, in particular, plays a pivotal role in isolating the desired sound source while minimizing unwanted ambient noise, making it an invaluable tool for diverse recording applications.
Furthermore, the meticulous setup process, including connectivity, phantom power activation, and microphone positioning, ensures that your Audio-Technica cardioid condenser microphone operates at its full potential, allowing you to capture pristine audio with confidence and ease.
As you continue to hone your recording techniques, remember to leverage the advanced features of your microphone, such as selectable polar patterns, low-cut filters, and optimal gain settings, to tailor the microphone’s response to specific recording scenarios and sonic requirements.
By implementing the tips and troubleshooting techniques provided in this guide, you can navigate potential challenges and optimize the performance of your microphone, ensuring consistent and exceptional results across various recording environments and applications.
Whether you are a musician, content creator, podcaster, or audio professional, the knowledge and skills acquired in this guide will empower you to harness the full sonic potential of your Audio-Technica cardioid condenser microphone, elevating your recordings, performances, and productions to new heights of excellence.
Embrace the art of audio capture, unleash your creativity, and let the captivating sound of your Audio-Technica cardioid condenser microphone inspire and resonate with audiences around the world. Your sonic journey awaits, and your microphone is poised to be your faithful companion in capturing moments of pure, unadulterated sound.