Introduction
Removing pegs from an acoustic guitar may seem like a daunting task, but with the right tools and techniques, it can be a straightforward process. Pegs, also known as bridge pins, hold the strings in place on the bridge of the guitar. Whether you’re looking to replace worn-out pegs or simply need to remove them for maintenance, this guide will walk you through the steps to safely and effectively take pegs out of your acoustic guitar.
One of the important things to keep in mind when removing guitar pegs is to proceed with caution and take your time. Rushing or using excessive force can potentially damage the guitar or its components. By following a few simple steps and using the right tools, you can easily remove the pegs without causing any harm.
In this guide, we’ll outline the necessary tools you’ll need, as well as the step-by-step process to safely remove and replace bridge pins. So grab your guitar, gather your tools, and let’s get started on taking those pegs out!
Tools Needed
Before you begin the process of removing pegs from your acoustic guitar, it’s important to have the right tools on hand. Here are the essential tools you’ll need:
- String Winder: A string winder is a handy tool that speeds up the process of loosening and tightening the strings. It has a built-in peg remover at the handle, making it convenient for removing bridge pins.
- Peg Puller: A peg puller is a specialized tool designed specifically for removing bridge pins. It helps to exert gentle pressure and extract the pegs without causing any damage to the guitar.
- Small Block of Wood: A small block of wood can be used to protect the guitar’s body while applying pressure to remove the bridge pins. This helps prevent any scratches or dents on the guitar’s surface.
- Lubricant: Having a lubricant, such as guitar polish or peg compound, can help ease the removal process by reducing friction between the bridge pins and the wood.
- Cloth or Towel: Keeping a cloth or towel handy is useful for wiping down the guitar and cleaning any debris that may accumulate during the process.
Having these tools readily available will make the process of removing pegs from your acoustic guitar more efficient and prevent any potential damage to the instrument. With the right tools in hand, you’ll now be ready to proceed with the step-by-step process of removing the bridge pins.
Step 1: Loosen the Strings
Before you can begin removing the pegs from your acoustic guitar, you’ll need to loosen the strings. Loosening the strings will relieve tension on the bridge pins and make them easier to remove. Here’s how to do it:
- Prepare your guitar: Find a comfortable and well-lit area to work on your guitar. Ensure that you have a string winder and a small block of wood nearby.
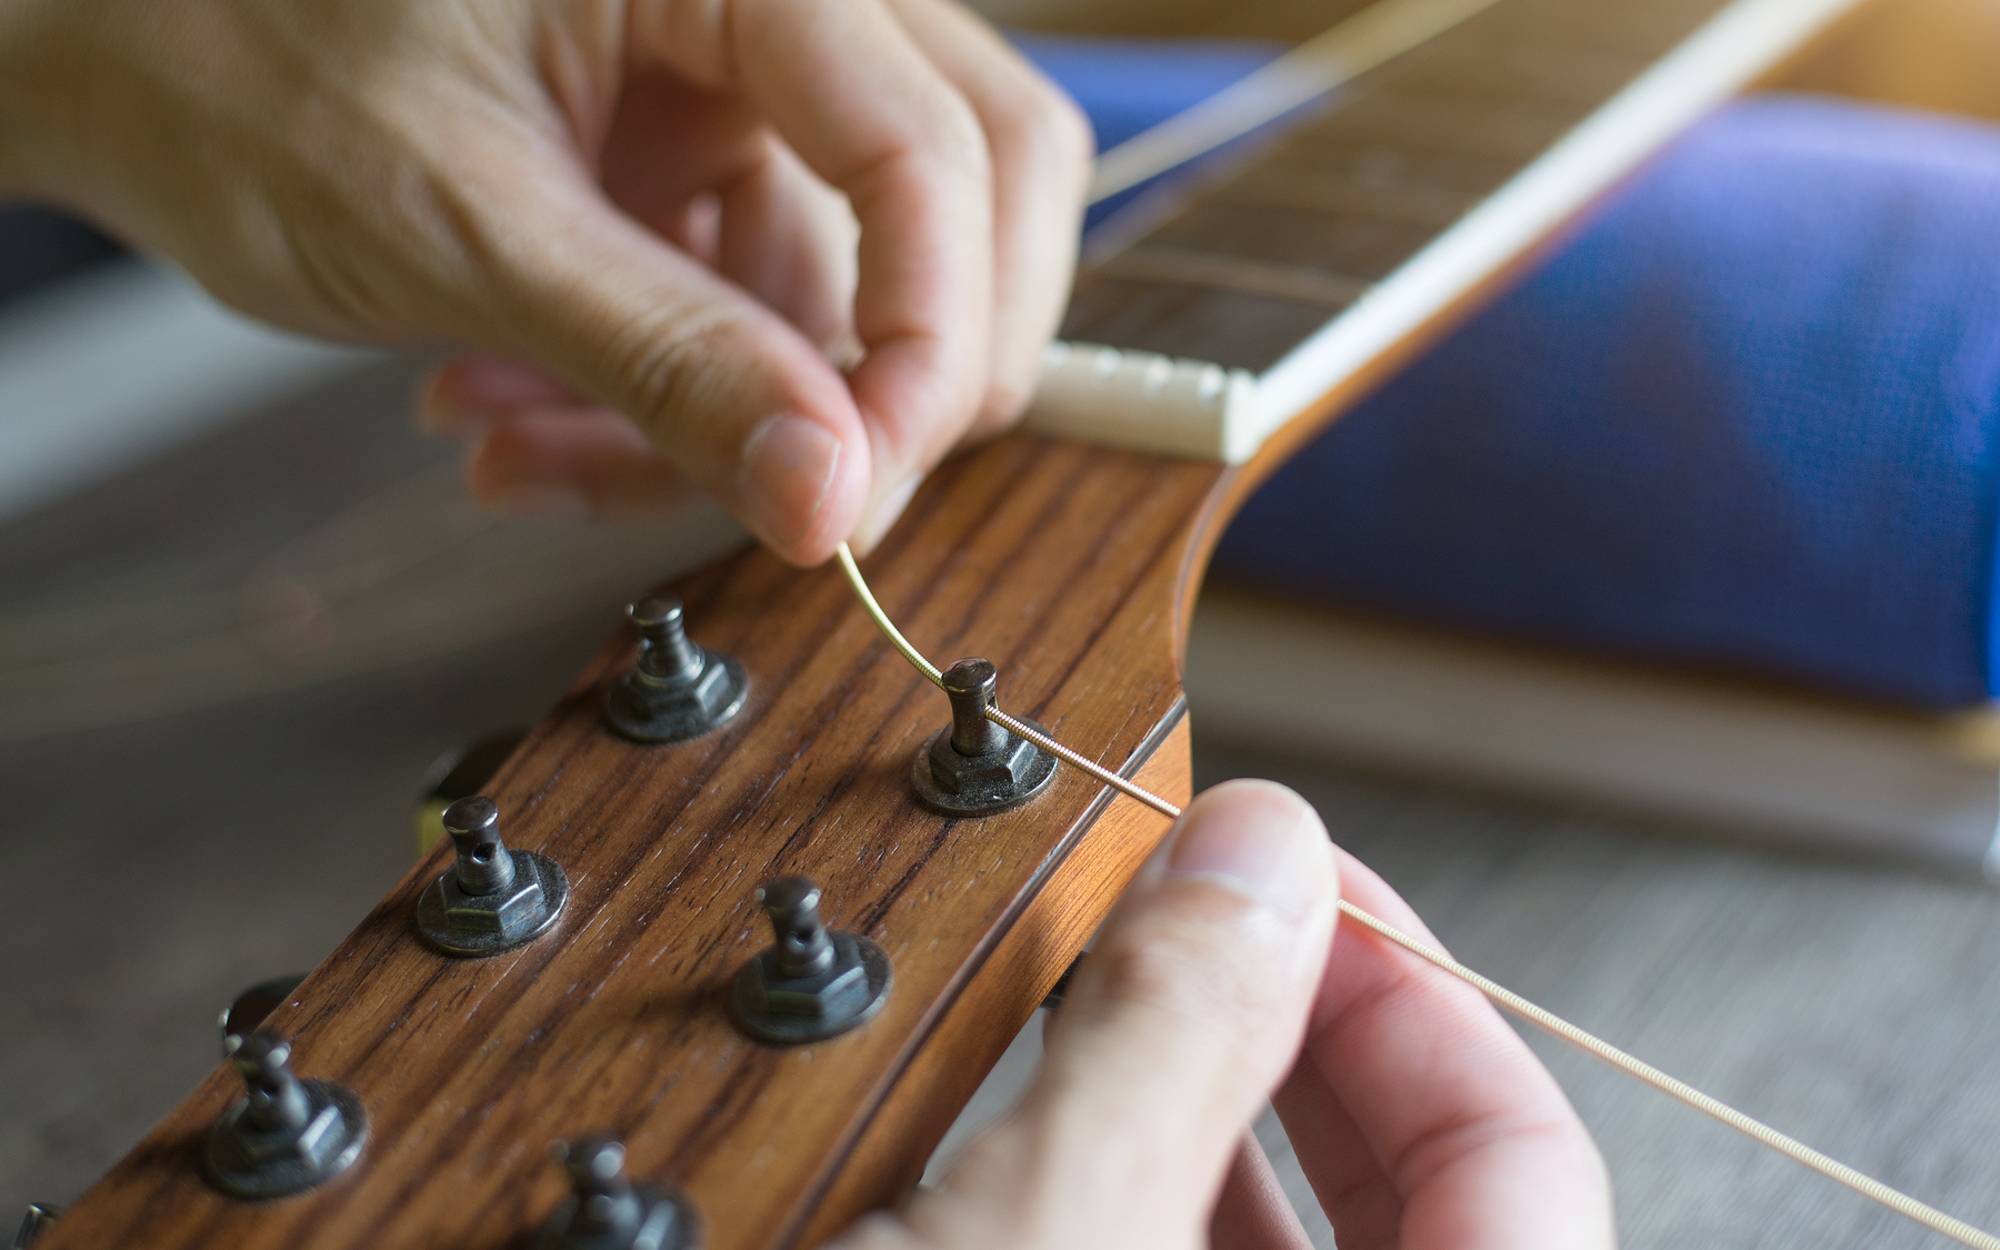
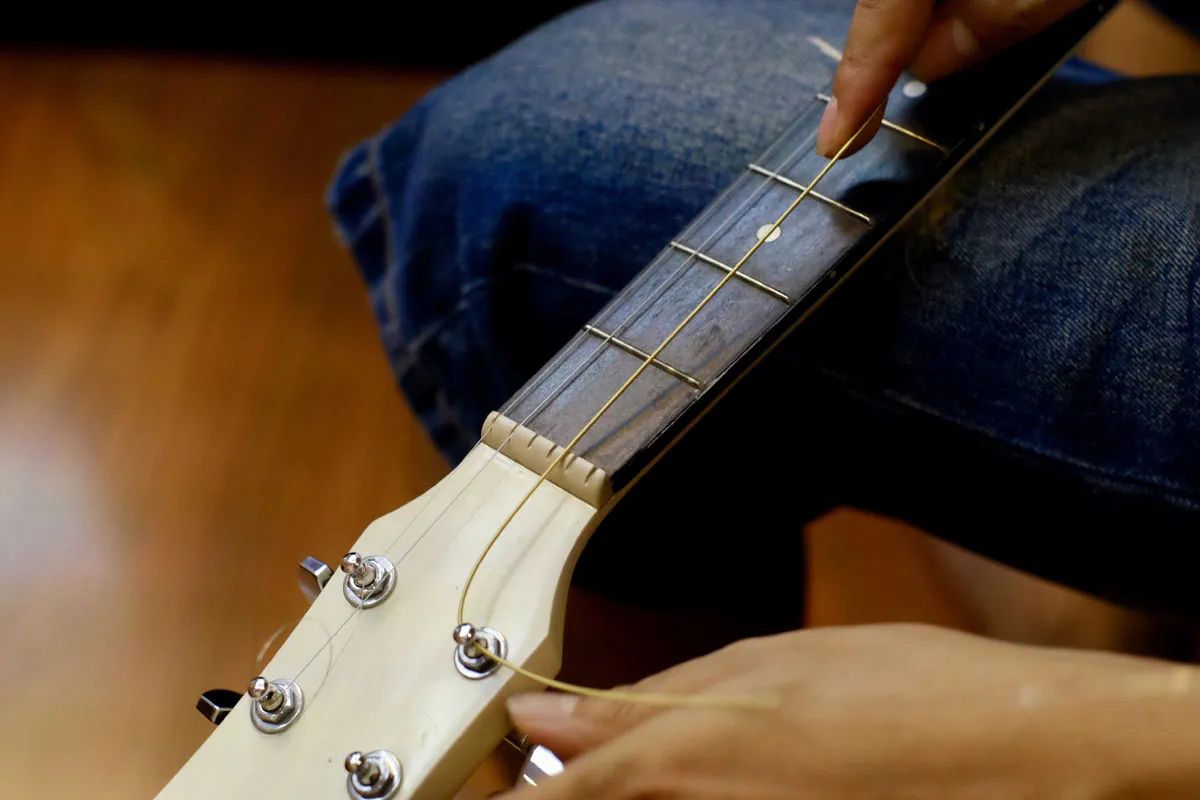
- Start with the low E string: Insert the string winder onto the tuning peg of the low E string. Turn the string winder counterclockwise to loosen the string. Continue turning until the string is noticeably slack.
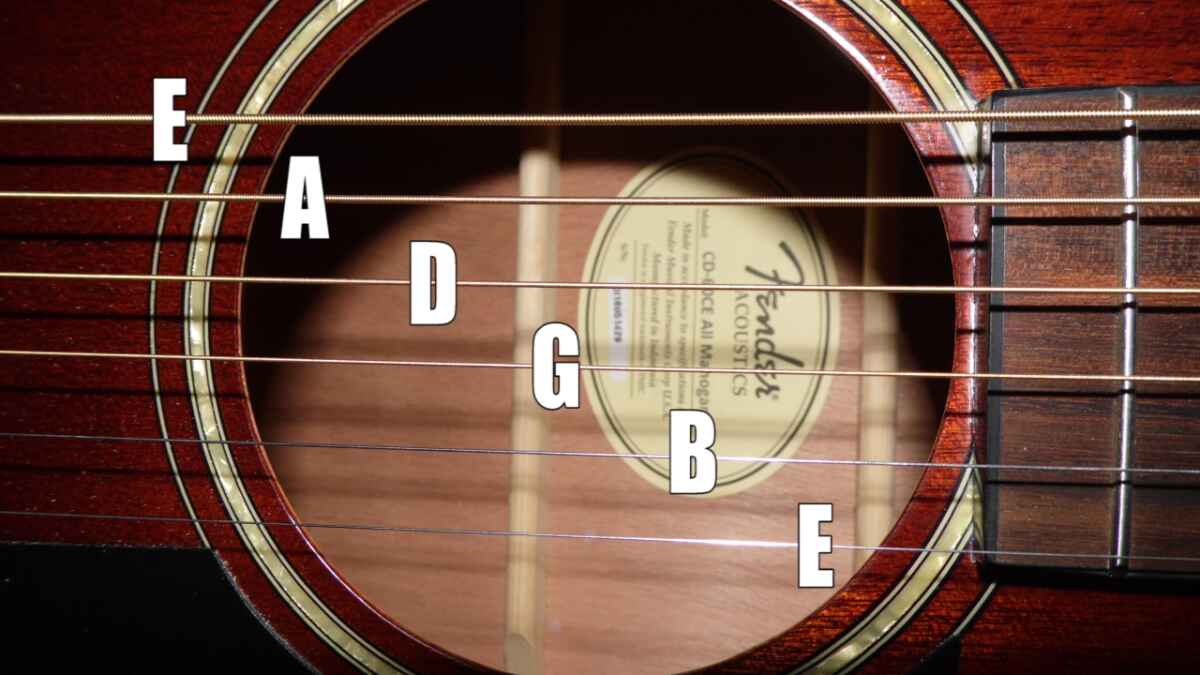
- Repeat for the remaining strings: Moving from the low E string to the A, D, G, B, and high E strings, repeat the process of using the string winder to loosen each string. Take your time and gradually release tension on each string.
- Check string tension: Once you’ve loosened all the strings, gently pluck each one to ensure they are slackened. The strings should produce a lower pitch and have minimal tension.
By loosening the guitar strings, you’ll reduce the pressure on the bridge pins, allowing for easier removal. It’s important to approach this step with care and avoid turning the string winder too quickly or applying excessive force. Take your time to ensure that each string is properly slackened before proceeding to the next step.
Step 2: Remove the Bridge Pins
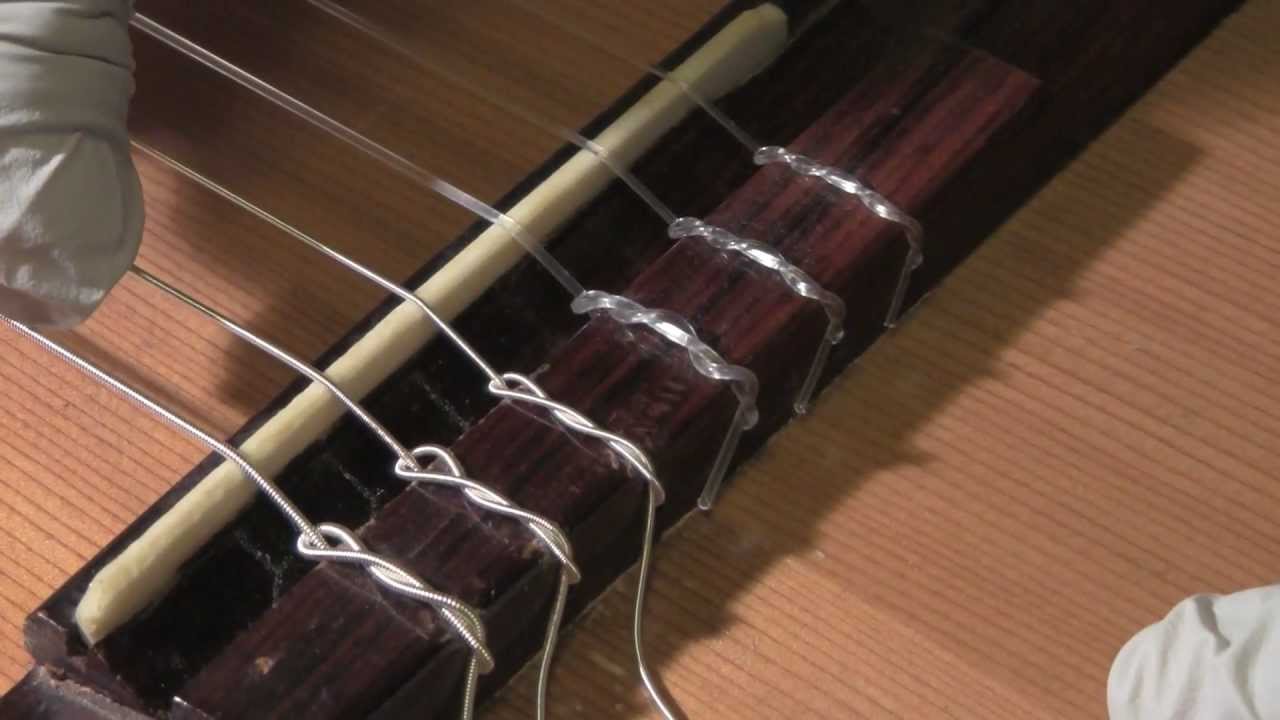
With the strings loosened, you’re now ready to remove the bridge pins. Bridge pins are located on the bridge of the guitar and hold the strings in place. Here’s how you can remove them:
- Position your guitar: Make sure your guitar is stable and positioned flat on a surface. This will prevent any unnecessary movement while removing the bridge pins.
- Use your peg puller: Take your peg puller tool and place the prongs of the tool under the head of the bridge pin. Apply gentle upward pressure to lift the pin. If you don’t have a peg puller, you can use a pair of pliers or even your fingers, but be cautious not to damage the pin or the guitar.
- Rock the pin back and forth: Once you have lifted the bridge pin slightly, gently rock it back and forth using a side-to-side motion. This will help loosen the pin in the bridge.
- Continue to remove the pin: Maintain a firm grip on the pin, and while still rocking it, pull it straight up and out of the bridge. Be patient and gentle, as some pins may be snug and require a bit of effort to remove.
- Repeat for the remaining pins: Follow the same process for each bridge pin, one at a time. Take care to keep track of each pin and set them aside in a safe place.
It’s important to note that not all bridge pins are the same. Some may have a slot on the head, while others may be solid. Regardless of the pin design, the removal process remains the same. With a bit of patience and careful handling, you’ll successfully remove all the bridge pins from your acoustic guitar.
Step 3: Use a Peg Puller
Using a peg puller can make the process of removing bridge pins from your acoustic guitar much easier and safer. A peg puller provides a secure grip on the bridge pin, reducing the risk of slippage and potential damage to the pin or guitar. Here’s how to use a peg puller:
- Select a suitable peg puller: Choose a peg puller that is designed to fit the size and shape of your bridge pins. There are various types available, such as T-handle peg pullers or ergonomic grip peg pullers. Select one that feels comfortable and provides a secure grip.
- Position the peg puller: Place the peg puller’s prongs under the head of the bridge pin. Ensure the prongs are securely positioned and aligned with the pin. This will provide maximum leverage during the removal process.
- Apply upward pressure: With a firm grip on the peg puller, apply gradual upward pressure to lift the bridge pin. The peg puller’s design will help distribute the pressure evenly, reducing the risk of damage to the pin or guitar.
- Rock the pin: Once the bridge pin has been lifted slightly, gently rock it back and forth using a side-to-side motion. This will help loosen the pin and facilitate its removal from the bridge.
- Remove the pin: While still maintaining a firm grip on the pin, pull it straight up and out of the bridge. If the pin feels stubborn, continue rocking it and applying gentle pressure until it releases from the bridge.
- Repeat for the remaining pins: Repeat the process for each bridge pin, using the peg puller to safely and effectively remove them. Take your time and be cautious not to rush or use excessive force.
Using a peg puller can greatly simplify the task of removing bridge pins from your acoustic guitar. The tool’s specialized design and secure grip ensure a smooth and worry-free removal process. By following these steps, you’ll be able to successfully remove all the bridge pins without causing any harm to your instrument.
Step 4: Gentle Tapping
Sometimes, bridge pins can become stuck or lodged tightly in the guitar’s bridge. In such cases, using a gentle tapping technique can help loosen the pins and facilitate their removal. Here’s how to use gentle tapping to remove stubborn bridge pins:
- Prepare your guitar: Ensure your guitar is stable and positioned flat on a surface. This will provide a firm foundation for the tapping process.
- Select a suitable tapping tool: Find a small block of wood, preferably one with a flat surface and a width that can fit between the bridge pins.
- Position the tapping tool: Place the block of wood against the head of the bridge pin you wish to remove. Ensure that the wood is positioned vertically and resting against the pin.
- Gently tap the tool: Using your hand or a small mallet, apply light and controlled taps to the top of the wood, causing it to push against the bridge pin. The tapping motion helps to gradually loosen the pin from its position.
- Continue tapping: Repeat the tapping process, gradually increasing the force of the taps as needed. Be careful not to strike the guitar’s body or bridge with excessive force, as this can cause damage.
- Remove the pin: Once you feel the bridge pin starting to loosen, use your fingers or a peg puller to gently lift and remove it from the bridge. If necessary, continue tapping and exerting light pressure until the pin is completely free.
- Repeat as needed: Repeat the tapping process for any other stubborn bridge pins that require additional assistance for removal.
Gentle tapping is a useful technique when dealing with bridge pins that are tightly secured in the guitar’s bridge. By using controlled taps and gradually increasing the pressure, you can safely and effectively loosen the pins for easy removal. Remember to take your time and apply consistent yet gentle pressure to avoid any unnecessary damage to your guitar.
Step 5: Lubricate the Pegs
Lubricating the pegs of your acoustic guitar can help ensure smooth functionality and prevent any sticking or binding. By reducing friction between the pegs and the guitar’s body, you can make future peg removal and reinsertion easier. Follow these steps to effectively lubricate the pegs:
- Clean the peg holes: Use a dry cloth or towel to clean any debris or dirt from the peg holes. This will provide a clean surface for the lubricant to be applied.
- Choose an appropriate lubricant: Select a suitable guitar lubricant or peg compound. These specialized products are designed to reduce friction and promote smooth movement of the pegs. Avoid using household oils or greases, as they may damage the guitar’s wood.
- Apply the lubricant: Take a small amount of the chosen lubricant and apply it directly to the pegs. Use your fingers or a clean cloth to evenly distribute the lubricant along the length of the pegs. Ensure you cover both the top and sides of each peg.
- Rotate the pegs: After applying the lubricant, gently rotate the pegs back and forth to work the lubricant into the peg holes. This motion will help distribute the lubricant evenly and ensure smooth operation.
- Wipe off any excess: After rotating the pegs, use a clean cloth to wipe off any excess lubricant. This will prevent the lubricant from attracting dust or causing a messy buildup on your guitar.
Lubricating the pegs of your acoustic guitar is an important step in maintaining its functionality and prolonging its lifespan. By following these steps and regularly lubricating your pegs, you can ensure smooth and hassle-free peg removal and reinsertion in the future.
Step 6: Replace the Bridge Pins
After removing the bridge pins and ensuring that they are properly lubricated, it’s time to replace them back into the guitar’s bridge. Here’s how to effectively replace the bridge pins:
- Prepare your guitar: Ensure your guitar is stable and positioned flat on a surface. This will provide a steady base for reinserting the bridge pins.
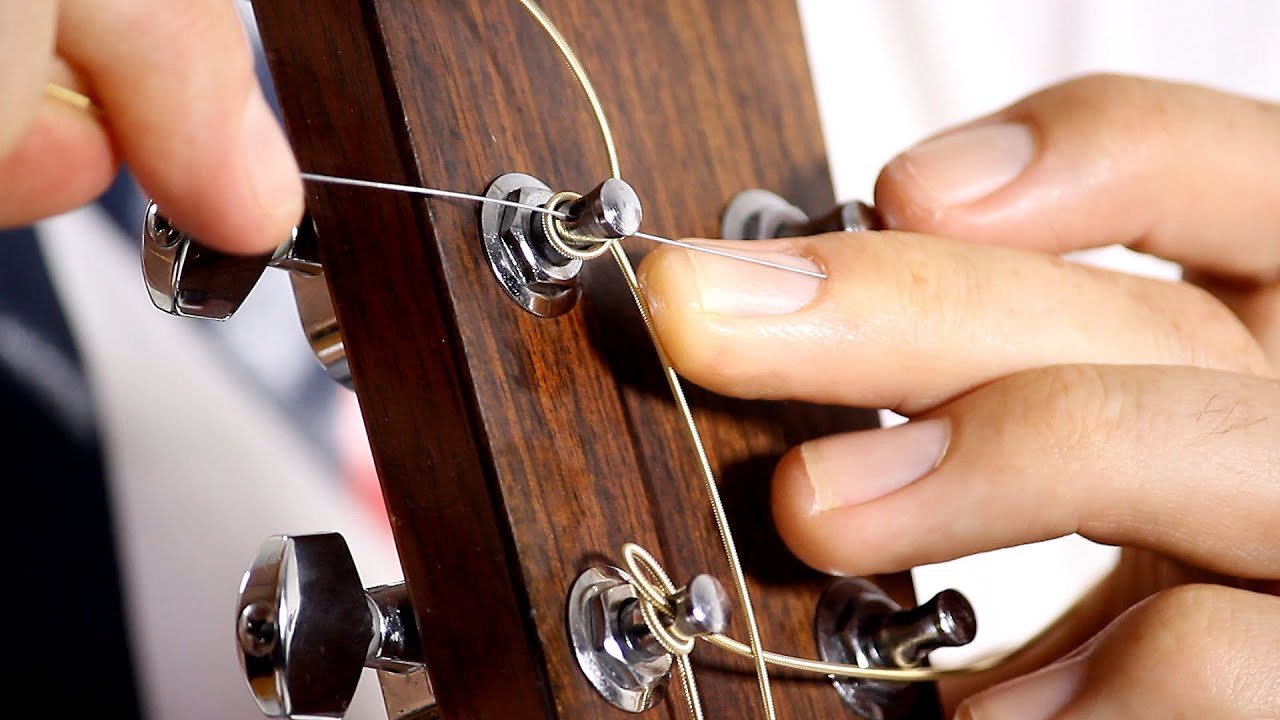
- Align the holes: Take note of the alignment of the bridge pin holes with the corresponding strings. The holes should be aligned in a straight line towards the headstock.
- Hold the bridge pin: Using your fingers or a peg puller, hold one of the bridge pins you want to reinsert into the guitar. Ensure a firm grip on the pin to prevent it from slipping during the process.
- Position the pin in the hole: Place the pointed end of the bridge pin directly into the corresponding hole in the bridge. Ensure that it fits snugly and is seated properly in the hole.
- Apply downward pressure: While keeping the pin aligned with the hole, apply gentle downward pressure to push the pin firmly into place. The pin should feel secure and not wobble or move once inserted.
- Repeat for the other pins: Follow the same process for each additional bridge pin, one at a time. Take care to keep them aligned with their respective holes and firmly push them into place.
- Tune and test: Once all the bridge pins are reinserted, tune your guitar by gradually tightening the strings. Check each string’s pitch and make any necessary adjustments. Test the bridge pins by gently pulling up on each string to ensure they are securely in place.
Replacing the bridge pins is the final step in this process. By following these steps carefully, you can successfully reinsert the bridge pins and ensure that your guitar is ready to be played again.
Conclusion
Removing bridge pins from an acoustic guitar may seem daunting at first, but with the right tools and techniques, it can be a straightforward task. By following the steps outlined in this guide, you can safely and effectively take pegs out of your acoustic guitar.
Remember to always approach the process with caution and take your time. Rushing or using excessive force can potentially damage your guitar or its components. Be sure to have the necessary tools, such as a string winder, peg puller, small block of wood, lubricant, and cloth, readily available before starting.
Loosening the strings, removing the bridge pins using a peg puller or tapping technique, lubricating the pegs, and replacing the bridge pins are the key steps to successfully take pegs out of an acoustic guitar. Following these steps will ensure smooth peg removal, maintenance, and restringing of your instrument.
Now that you have learned how to remove and replace bridge pins from your acoustic guitar, you can confidently perform this task whenever needed. Remember to regularly clean and maintain your guitar to ensure optimal performance and longevity.
With practice and experience, you will become more comfortable with the process, allowing you to easily maintain and care for your acoustic guitar. So grab your tools and start taking those pegs out with confidence!