Introduction
Introduction
When it comes to playing the acoustic guitar, the importance of properly stringing the instrument cannot be overstated. Whether you're a seasoned musician or a novice player, the way you string your guitar can significantly impact its sound, playability, and overall performance. In this comprehensive guide, we will walk you through the essential steps to stringing an acoustic guitar properly, ensuring that you achieve optimal tone and playability.
Properly stringing an acoustic guitar involves more than just replacing old strings with new ones. It's a process that demands attention to detail, precision, and a fundamental understanding of the instrument. By following the steps outlined in this guide, you'll not only prolong the lifespan of your guitar strings but also enhance the overall sound quality of your instrument.
Whether you're gearing up for a live performance, a recording session, or simply practicing at home, having a well-strung acoustic guitar can make a world of difference in your playing experience. From selecting the right strings to tuning and stretching them, each step plays a crucial role in achieving the desired sound and feel.
In the following sections, we'll delve into the intricacies of choosing the right strings for your acoustic guitar, the proper technique for removing the old strings, and the meticulous process of preparing and stringing the new ones. Additionally, we'll cover the critical steps of tuning the guitar, stretching the strings to stabilize their pitch, and making final adjustments to ensure optimal playability.
By the end of this guide, you'll have gained valuable insights into the art of stringing an acoustic guitar, empowering you to maintain your instrument with confidence and elevate your playing to new heights. So, let's embark on this journey to discover the nuances of stringing an acoustic guitar properly, and unlock the full potential of your musical companion.
Choosing the Right Strings
When it comes to selecting the ideal strings for your acoustic guitar, several factors come into play, each contributing to the instrument’s overall tone and playability. The first consideration is the type of music you intend to play, as different genres may benefit from specific string characteristics. For instance, if you’re drawn to bright and crisp tones, phosphor bronze strings are a popular choice, while those seeking a warmer, mellower sound might opt for 80/20 bronze strings.
Another crucial aspect to consider is the gauge of the strings, which refers to their thickness. Lighter gauge strings are generally more comfortable to play and exert less tension on the guitar’s neck, making them suitable for beginners and fingerstyle players. On the other hand, heavier gauge strings offer greater volume and projection, making them well-suited for strumming and alternate tunings.
Furthermore, the coating of the strings can significantly impact their longevity and corrosion resistance. Coated strings, such as those with a polymer or nanoweb coating, are designed to last longer and maintain their tone, making them a preferred choice for performers with regular gig schedules or those living in humid environments.
It’s also essential to consider the scale length of your guitar, as certain string sets are specifically designed for shorter or longer scale instruments. Ensuring that the strings are compatible with your guitar’s scale length will optimize their intonation and overall performance.
Ultimately, the best way to determine the right strings for your acoustic guitar is through experimentation and exploration. Trying out different string materials, gauges, and coatings can provide valuable insights into how each type influences your instrument’s sound and feel. By taking the time to understand the nuances of string selection, you can tailor your acoustic guitar to suit your playing style and sonic preferences, ultimately enhancing your musical expression.
Removing the Old Strings
Before embarking on the process of restringing your acoustic guitar, it’s crucial to remove the old strings with care and precision. This not only ensures a smooth transition to the new strings but also allows for necessary maintenance and inspection of the instrument.
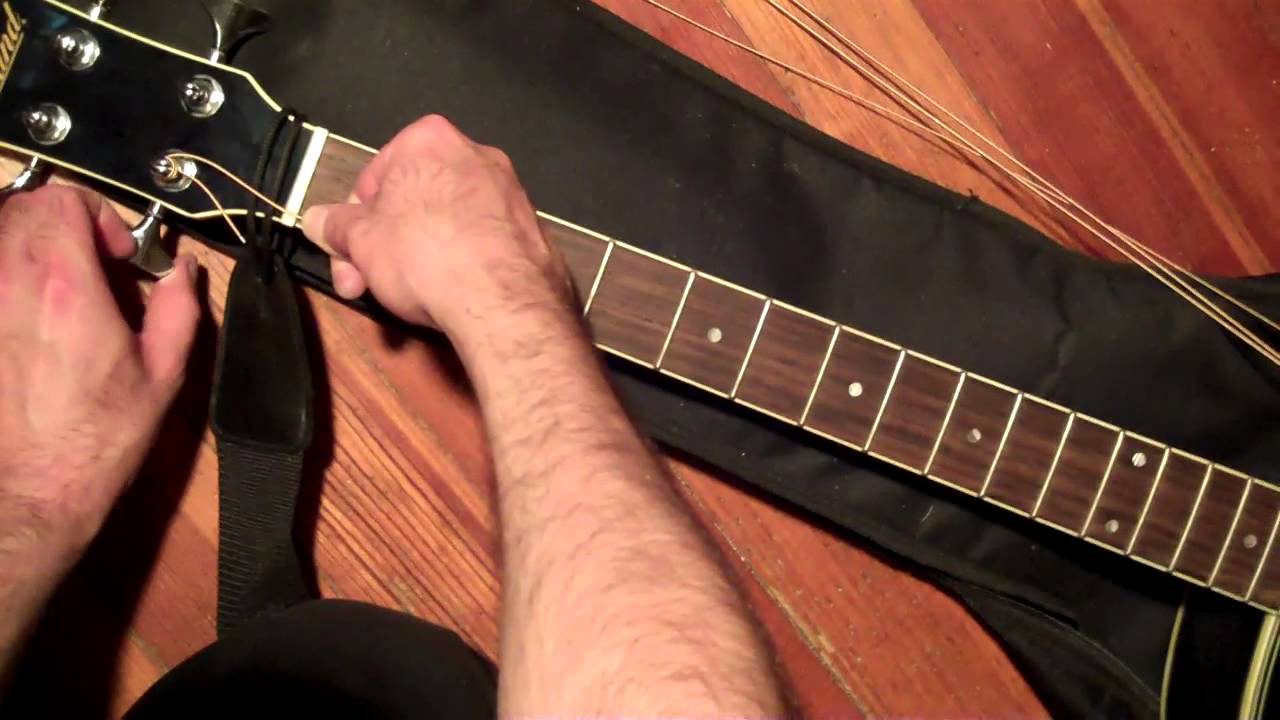
Begin by loosening the tuning pegs for each string, gradually reducing the tension until the strings are slack enough to be unwound from the pegs. As you unwind the strings, be mindful of any accumulated dirt or debris around the tuning pegs and bridge, taking the opportunity to clean these areas with a soft cloth. Once the strings are detached from the pegs, carefully remove them from the bridge, taking note of any bridge pins that may be securing the strings in place.
With the old strings removed, it’s an opportune time to inspect the guitar’s fretboard, nut, and bridge for any signs of wear, buildup, or damage. Cleaning these areas with a lint-free cloth and a small amount of guitar polish can help maintain the instrument’s integrity and playability. Additionally, examining the condition of the bridge pins and considering their replacement if they show signs of wear can contribute to the guitar’s overall stability when restringing.
Once the old strings and any debris have been cleared, take a moment to appreciate the opportunity to refresh your guitar and prepare it for the installation of the new strings. Removing the old strings not only facilitates the maintenance of your instrument but also marks the beginning of the transformative process that will breathe new life into your acoustic guitar.
Preparing the New Strings
As you prepare to install new strings on your acoustic guitar, it’s essential to take certain steps to ensure a smooth and effective stringing process. Properly preparing the new strings can contribute to their stability, longevity, and overall performance, ultimately enhancing your playing experience.
Before installing the new strings, it’s beneficial to uncoil them and straighten any kinks or bends gently. This simple yet crucial step can prevent tuning instability and ensure that the strings settle evenly on the guitar’s tuning pegs and bridge. Additionally, aligning the ball end of each string with the corresponding bridge pin, if applicable, can facilitate a secure and stable connection.
Next, it’s advisable to apply a small amount of lubricant, such as graphite or a specialized nut lubricant, to the nut slots. This minimizes friction and binding, allowing the strings to move freely during tuning and playing, while also promoting tuning stability. Ensuring that the strings move smoothly through the nut slots can prevent pitch inconsistencies and tuning difficulties, particularly when using the guitar’s tremolo or bending strings during play.
When positioning the strings at the tuning pegs, it’s important to maintain a consistent winding technique to secure the strings in place. By winding the strings neatly and evenly around the pegs, you can prevent slippage and maintain stable tension, contributing to tuning accuracy and overall string stability. Additionally, leaving an ample amount of slack in the strings before beginning the winding process can prevent unnecessary tension and facilitate smoother tuning adjustments.
By taking the time to prepare the new strings meticulously, you set the stage for a successful stringing process and optimize the performance and longevity of your acoustic guitar. These preparatory steps not only contribute to the stability and playability of the instrument but also reflect the care and attention you invest in maintaining and enhancing your musical companion.
Stringing the Guitar
Stringing an acoustic guitar is a meticulous process that demands attention to detail and precision to ensure optimal performance and playability. As you embark on this essential step, it’s crucial to approach the task with care, following a systematic approach to achieve stable tuning, proper string tension, and secure connections.
Begin by inserting the plain end of each string into the corresponding bridge pin, ensuring a snug fit that secures the strings in place. If your guitar features bridge pins, align the holes in the bridge with the pins and gently press them into position, ensuring that the strings are seated securely in the bridge.
With the strings anchored at the bridge, guide the opposite end of each string through the appropriate nut slot, taking care to maintain the correct order and orientation of the strings. This step sets the stage for securing the strings at the tuning pegs, a critical aspect of achieving stable tuning and playability.
At the tuning pegs, begin winding each string in a consistent and orderly manner, ensuring that the winds are neat and even to prevent slippage and maintain stable tension. As you wind the strings, be mindful of leaving a sufficient amount of slack to accommodate tuning and adjustments, while avoiding excessive winding that may lead to unnecessary tension and instability.
Once the strings are securely fastened to the tuning pegs, it’s important to stretch them gently to seat the windings and stabilize their pitch. This can be achieved by grasping each string and applying gentle tension, pulling it away from the fretboard and repeating the process along the length of the string. Stretching the strings helps to minimize tuning instability and ensures that they settle into their optimal playing condition.
By methodically stringing your acoustic guitar, you lay the foundation for a stable and responsive instrument that is ready to deliver exceptional tone and playability. The attention to detail and precision applied during the stringing process reflects your dedication to maintaining and optimizing your guitar, setting the stage for an enhanced playing experience and musical expression.
Tuning the Guitar
After successfully stringing your acoustic guitar, the next crucial step is to ensure that the instrument is accurately tuned, setting the stage for optimal sound quality and playability. Tuning your guitar not only ensures that it produces the correct pitches but also contributes to the stability and longevity of the newly installed strings.
Begin by bringing each string to its approximate pitch by turning the tuning pegs, taking care to avoid excessive tension that could lead to string breakage. Utilizing an electronic tuner or a tuning app can provide precise guidance, allowing you to achieve the correct pitch for each string. Starting with the low E string and progressing to the high E string, tune each string to its designated pitch, ensuring that the notes are in harmony with a reference pitch.
Once the strings are tuned to their approximate pitches, it’s beneficial to perform a comprehensive tuning check, ensuring that each string is accurately set to its designated note. This iterative process may involve multiple adjustments for each string, as tuning one string can affect the tension and pitch of the others. By methodically fine-tuning each string, you can achieve a harmonious and stable tuning across the entire instrument.
As you fine-tune the guitar, it’s essential to verify the stability and accuracy of each string’s pitch, listening for any discrepancies or fluctuations that may indicate the need for further adjustments. Additionally, playing open chords and intervals can help identify any tuning inconsistencies, allowing you to refine the pitch and stability of each string to achieve a cohesive and balanced tuning.
After achieving a stable and accurate tuning across all strings, take a moment to appreciate the transformation of your acoustic guitar, now poised to deliver exceptional sound and responsiveness. The meticulous tuning process not only ensures that your instrument is ready for playing but also reflects your commitment to maintaining and optimizing its sonic potential.
Stretching the Strings
Following the initial tuning of your newly installed strings, it’s imperative to address the process of stretching the strings to stabilize their pitch and minimize tuning instability. While the act of tuning brings the strings to their approximate pitches, stretching them is essential to ensure that they settle into a stable and responsive state, allowing for consistent tuning and reliable performance.
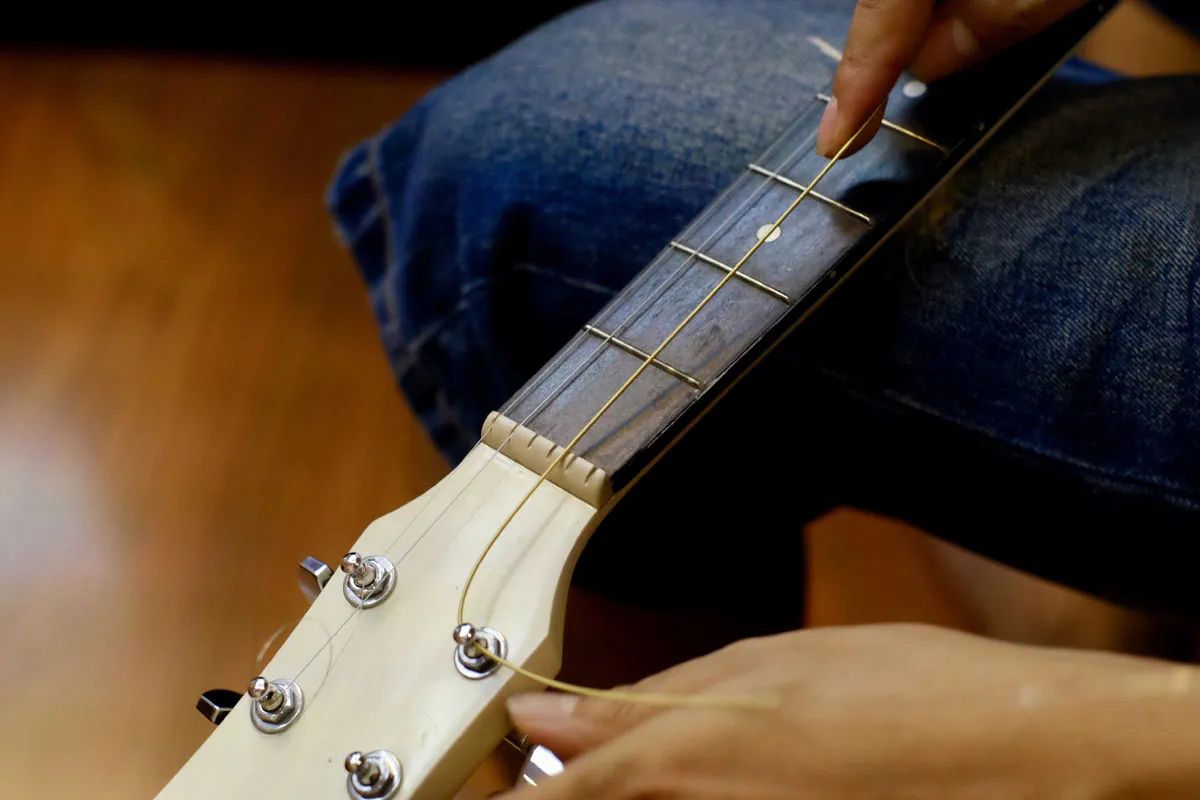
Begin by gently grasping each string and applying light pressure along its length, pulling it away from the fretboard to introduce controlled stretching. This process helps to alleviate any residual slack in the strings and allows them to adjust to the tension and stress of regular playing. As you stretch each string, be mindful of applying uniform pressure to prevent excessive stretching and potential damage to the strings.
Repeatedly stretching each string along its length can expedite the stabilization process, prompting the strings to settle into their optimal playing condition. This step is particularly crucial for new strings, as they are more prone to tuning instability and pitch fluctuations until they have undergone sufficient stretching and adjustment.
Following the initial stretching, it’s advisable to revisit the tuning of the guitar, as the stretching process may have affected the stability and pitch of the strings. By fine-tuning the guitar after stretching the strings, you can ensure that each string is accurately set to its designated pitch, minimizing the need for frequent adjustments during play.
It’s important to note that the stretching process may need to be repeated several times, especially for new strings, as they gradually acclimate to the tension and stress of regular playing. By patiently and systematically stretching the strings, you contribute to the stability and longevity of the strings, ultimately enhancing the playability and responsiveness of your acoustic guitar.
By conscientiously stretching the strings, you set the stage for a stable and reliable instrument that is ready to deliver exceptional tone and playability. This essential step in the stringing process not only contributes to the immediate stability of the guitar but also reflects your dedication to maintaining and optimizing its sonic potential.
Final Adjustments
As you near the completion of the stringing process for your acoustic guitar, it’s essential to address final adjustments to ensure that the instrument is optimized for exceptional playability and sound quality. These meticulous adjustments encompass various aspects of the guitar, ranging from intonation and action to overall comfort and performance.
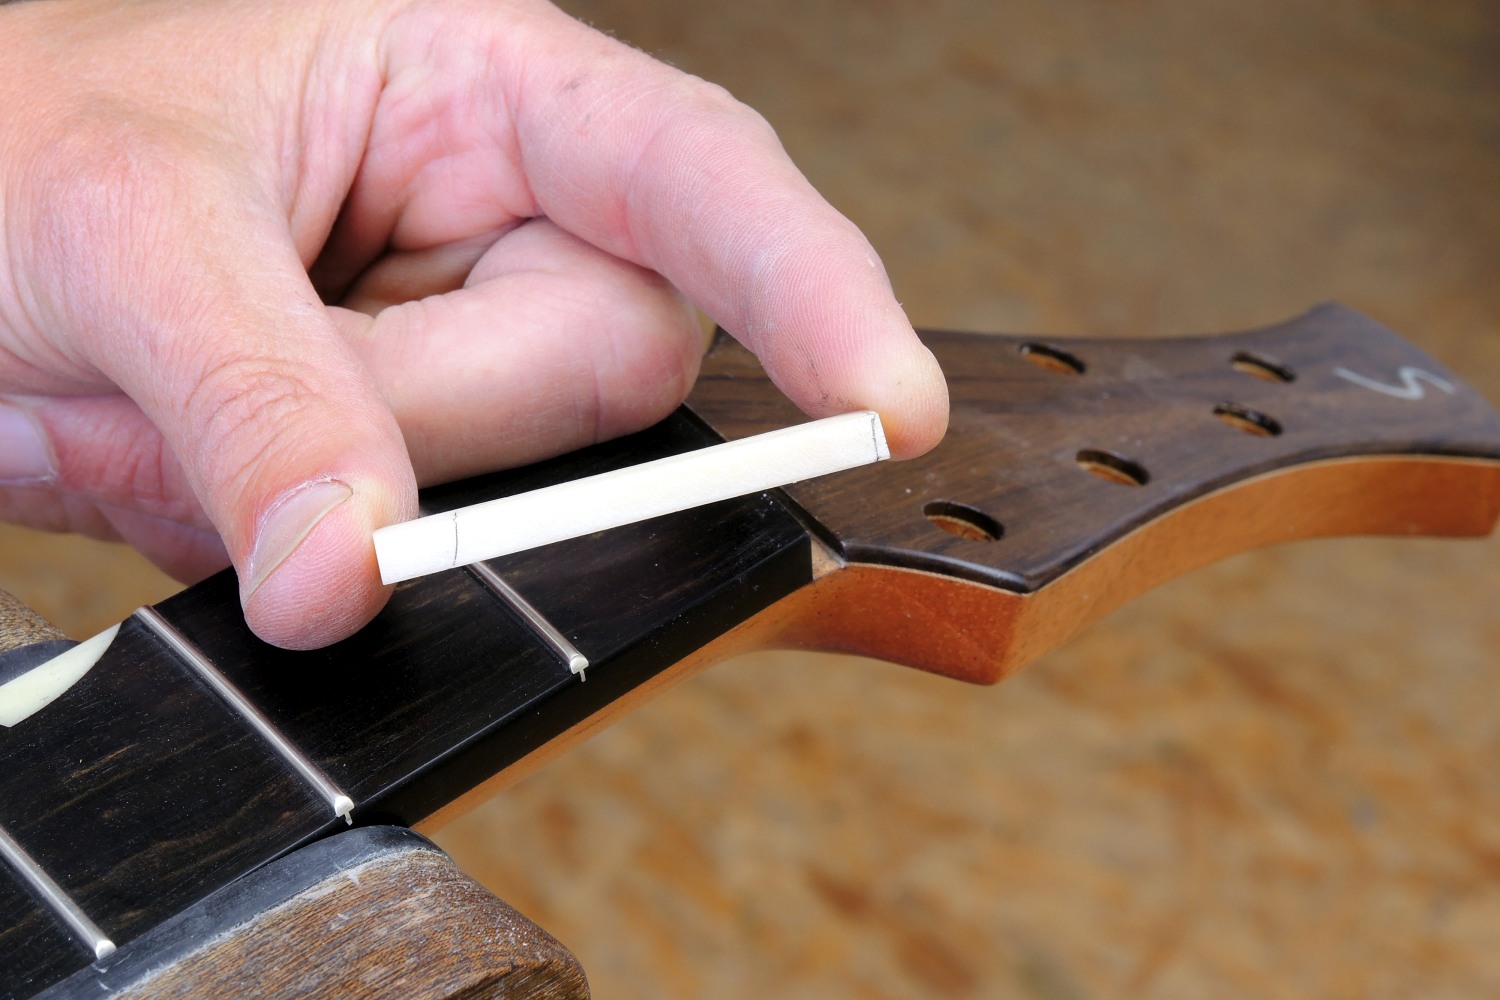
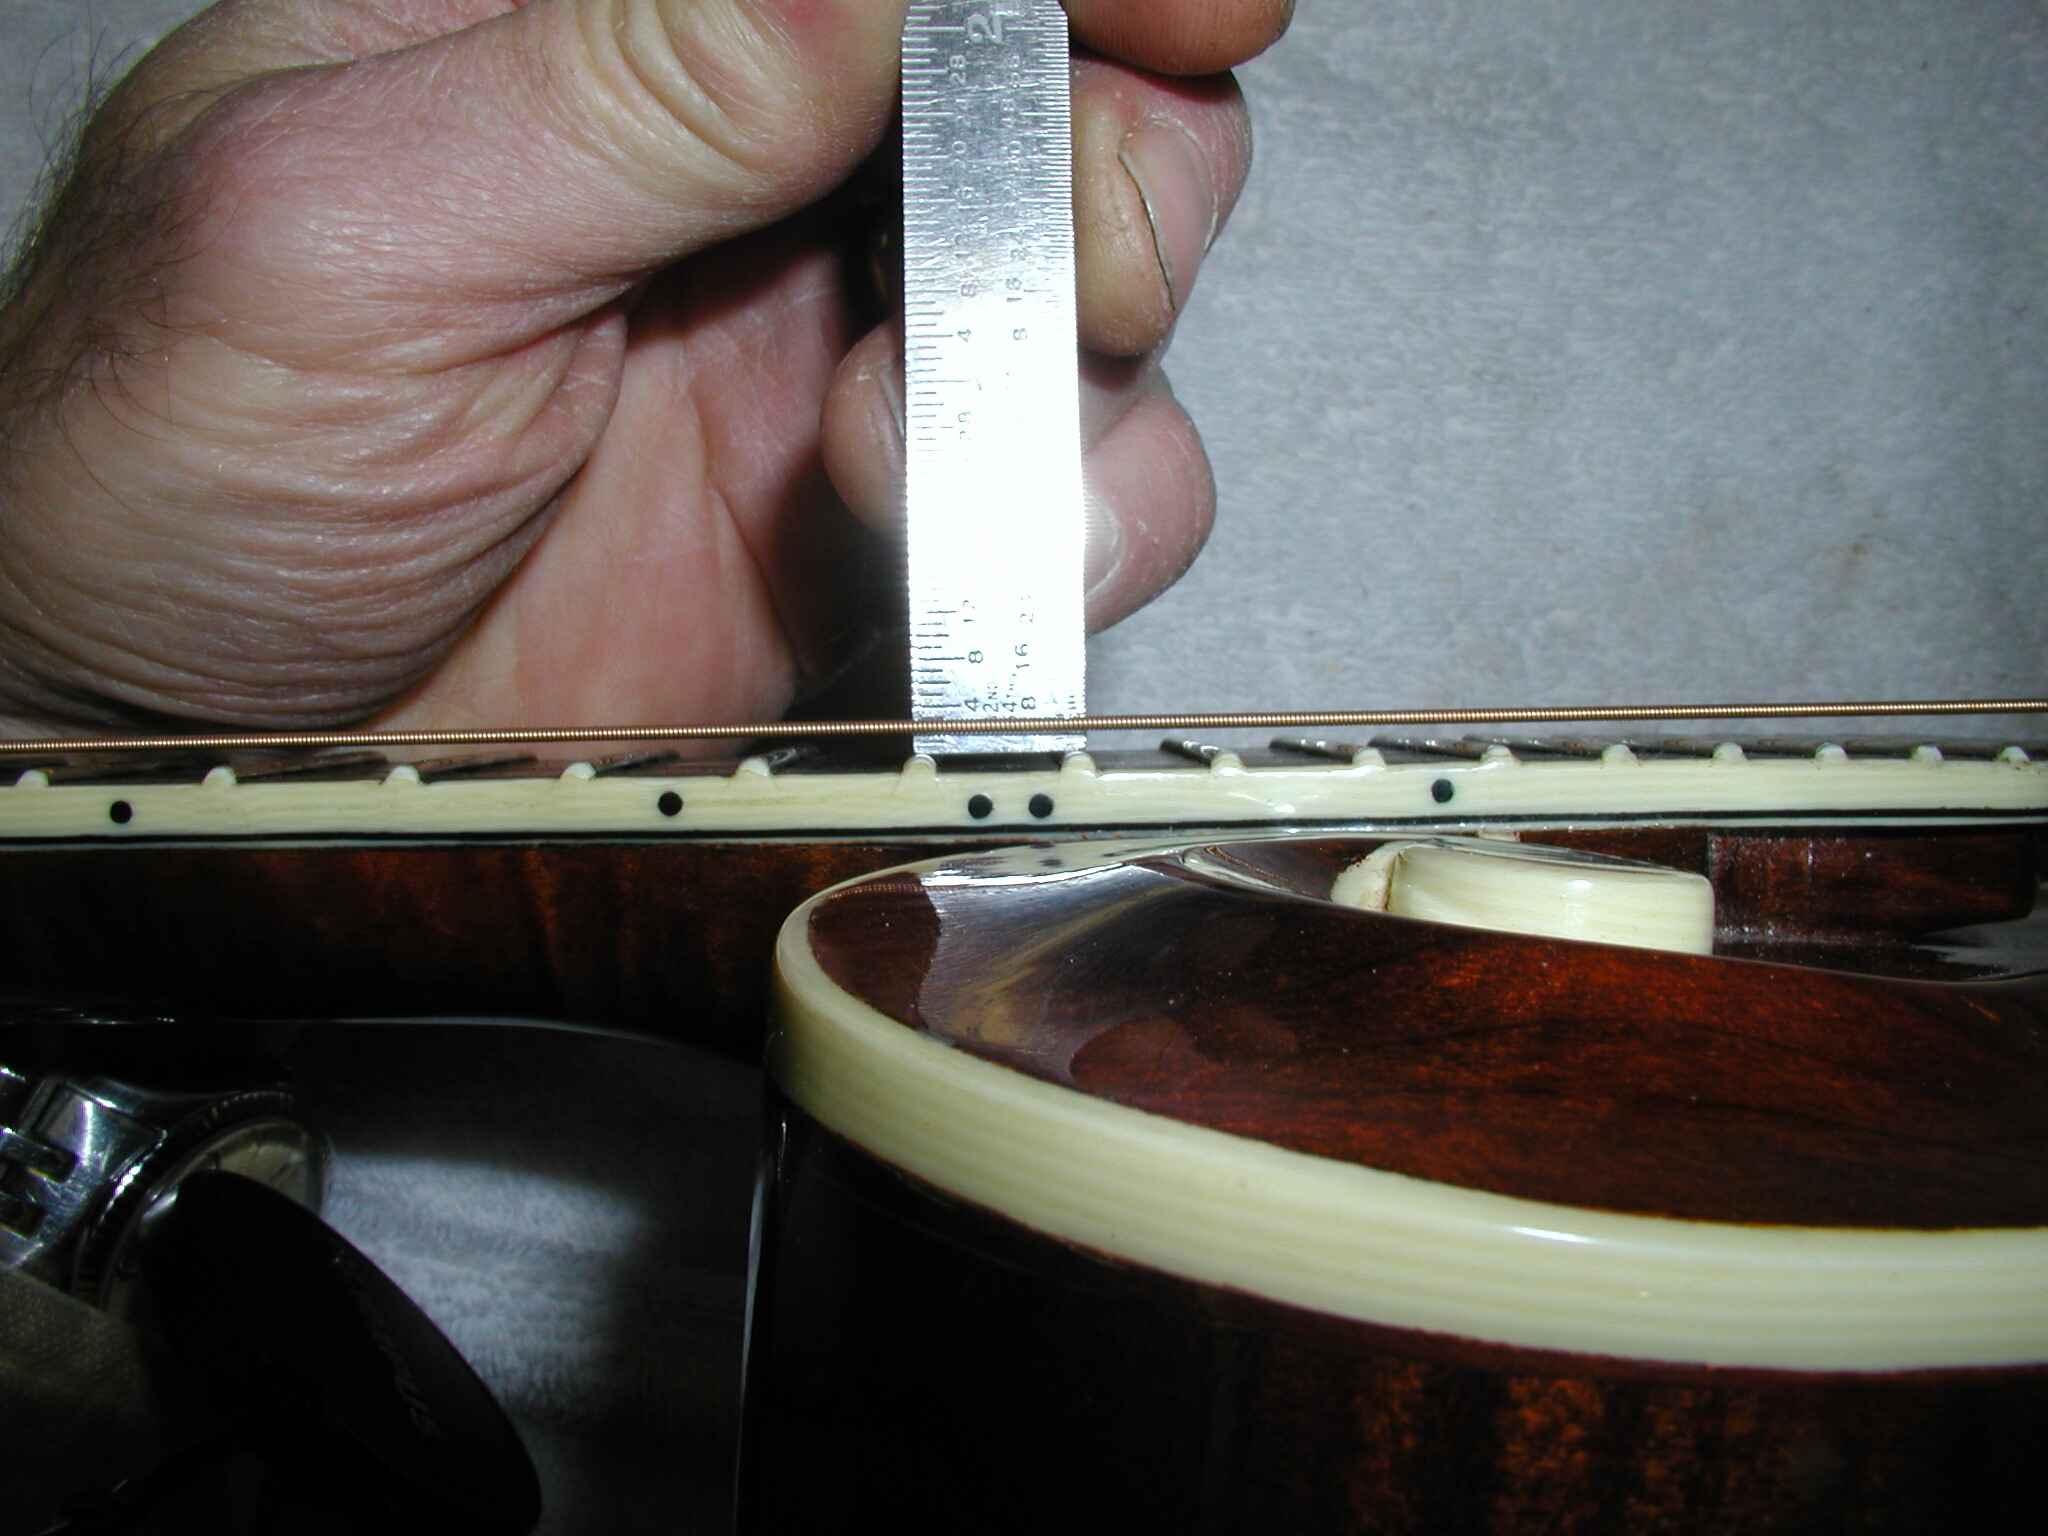
One critical aspect of finalizing the stringing process is evaluating and adjusting the guitar’s intonation. Intonation refers to the accuracy of the instrument’s fretted notes across the entire fretboard. Using an electronic tuner, play each string at the 12th fret and compare the pitch to the open string. If discrepancies are detected, adjustments to the saddle position may be necessary to achieve precise intonation, ensuring that the guitar produces accurate and consistent pitches along the fretboard.
Additionally, assessing the action, or the distance between the strings and the fretboard, is vital for optimizing the guitar’s playability. Balancing the action to suit your playing style and comfort can enhance the instrument’s responsiveness and ease of play, contributing to a more enjoyable and fluid playing experience.
Inspecting the overall condition of the guitar, including the nut, frets, and neck relief, can reveal opportunities for fine-tuning and adjustments to optimize the instrument’s performance. Addressing any potential issues, such as uneven frets or excessive neck relief, can contribute to the guitar’s stability, playability, and tonal characteristics.
Furthermore, evaluating the overall comfort and ergonomics of the guitar, such as strap height and body positioning, can enhance your playing experience and reduce fatigue during extended practice or performance sessions. Making minor adjustments to these ergonomic elements can personalize the guitar to suit your playing preferences and physical requirements.
By meticulously attending to these final adjustments, you not only optimize the playability and performance of your acoustic guitar but also demonstrate a commitment to maintaining and enhancing its sonic potential. These refinements reflect your dedication to achieving the best possible playing experience and ensure that your instrument is poised to deliver exceptional tone and responsiveness.