Introduction
Introduction
Playing the acoustic guitar can be a deeply rewarding experience, but over time, the wear and tear on your instrument may necessitate some maintenance. One common issue that guitarists encounter is the need to replace the tuning pegs. Tuning pegs, also known as machine heads or tuners, play a crucial role in keeping your guitar in tune. If you find that your tuning pegs are slipping or no longer holding tune, it may be time to replace them.
In this guide, we will walk you through the process of replacing tuning pegs on your acoustic guitar. Whether you are a seasoned guitarist or a novice player, this step-by-step tutorial will equip you with the knowledge and confidence to tackle this task with ease. By following these instructions and using the right tools, you can restore your guitar's tuning stability and get back to creating beautiful music.
Replacing tuning pegs is a relatively straightforward process, but it requires careful attention to detail and precision. With the right approach and a bit of patience, you can breathe new life into your instrument and ensure that it stays in tune for years to come. Let's dive into the tools and materials you will need to get started.
Tools and Materials Needed
Tools and Materials Needed
Before embarking on the task of replacing your acoustic guitar’s tuning pegs, it’s essential to gather the necessary tools and materials. Having the right equipment at your disposal will ensure a smooth and efficient process, allowing you to complete the task with precision and confidence. Here’s a comprehensive list of what you’ll need:
- Replacement Tuning Pegs: Select high-quality tuning pegs that are compatible with your acoustic guitar. Consider factors such as the peg ratio and design to ensure a proper fit.
- Phillips Head Screwdriver: Choose a screwdriver that matches the size of the screws on your tuning pegs. This will enable you to remove the old pegs with ease.
- Needlenose Pliers: Pliers will come in handy for gripping and manipulating small components during the replacement process.
- Soft Cloth: Use a soft cloth to protect the guitar’s finish and prevent any scratches or damage while working on the instrument.
- String Winder: A string winder can expedite the process of restringing your guitar once the new tuning pegs are in place.
- Wire Cutters: In some cases, wire cutters may be necessary for trimming excess string length after restringing the guitar.
- Workbench or Stable Surface: Find a flat and stable surface to work on, providing ample space to maneuver and organize your tools and materials.
By ensuring that you have these tools and materials on hand, you’ll be well-prepared to tackle the task of replacing your acoustic guitar’s tuning pegs. With everything in place, you can proceed with confidence, knowing that you have everything you need to complete the job effectively.
Removing the Old Tuning Pegs
Removing the Old Tuning Pegs
Before installing the new tuning pegs, you’ll need to remove the old ones from your acoustic guitar. This process requires precision and care to avoid damaging the instrument. Follow these steps to safely and effectively remove the old tuning pegs:
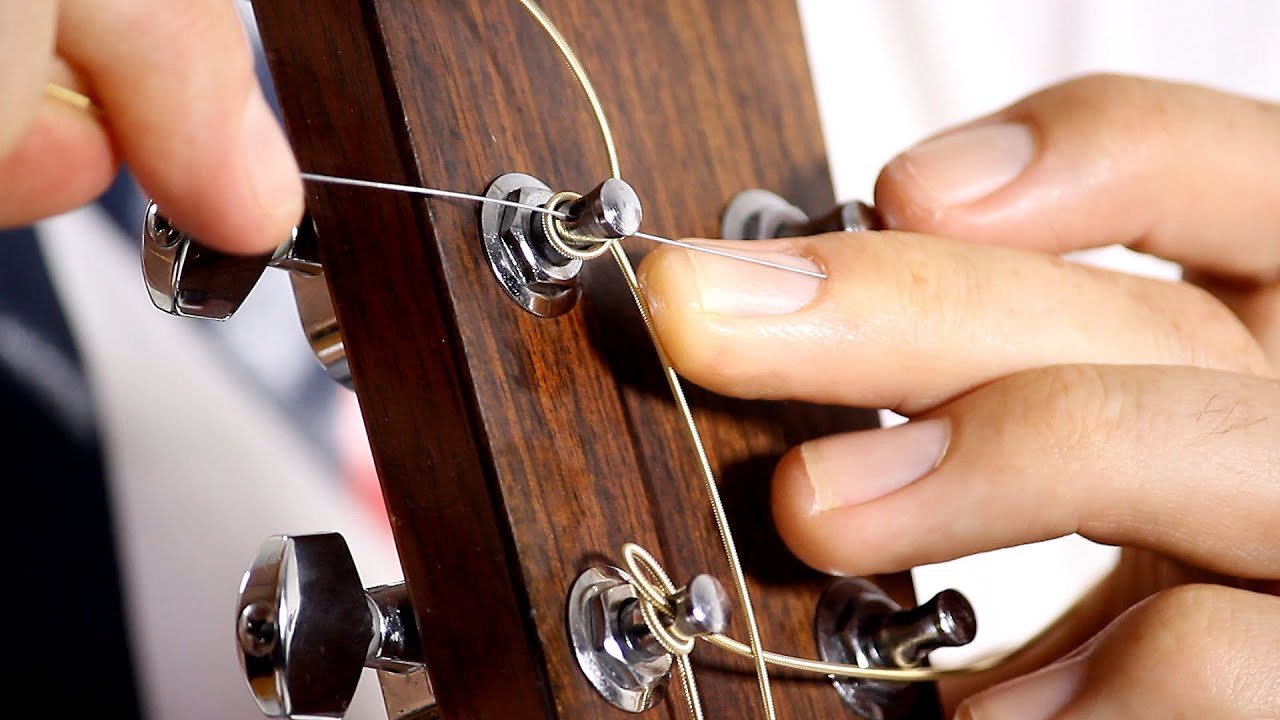
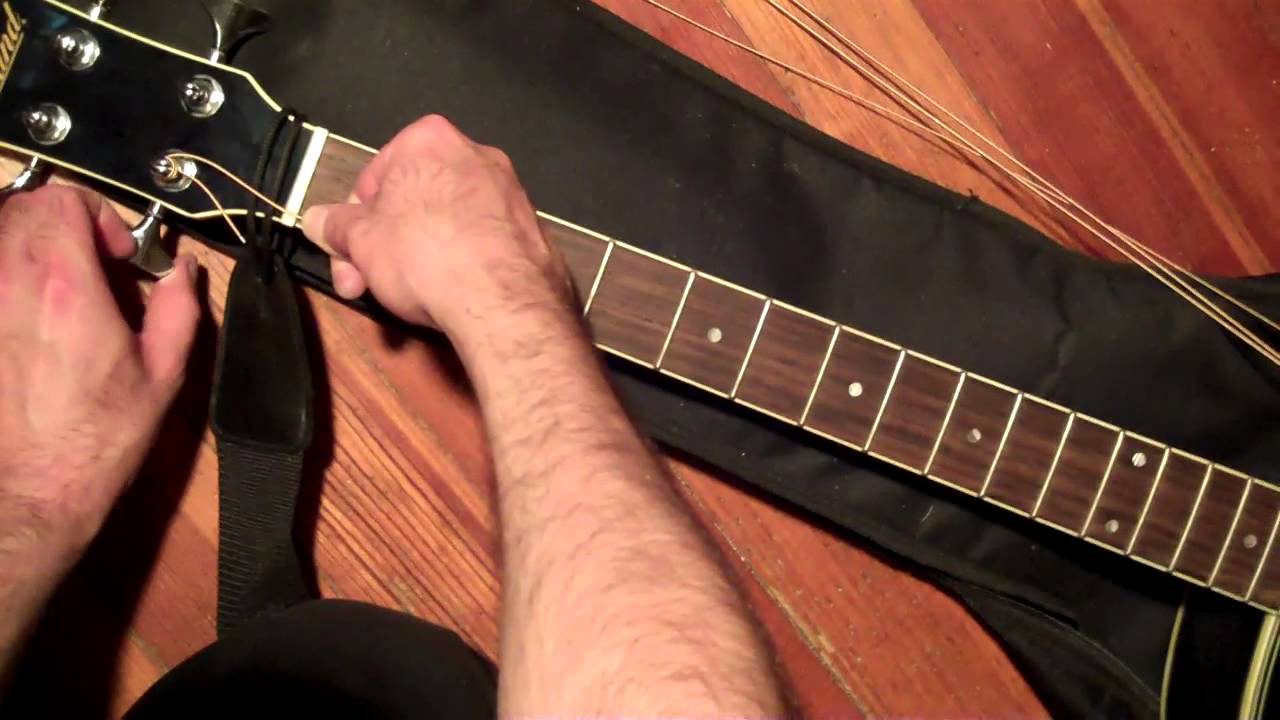
- Loosen the Strings: Begin by loosening the tension of all the strings on your guitar. Use a string winder to unwind the strings from the tuning pegs, ensuring that they are slack and easy to work with.
- Access the Pegs: Locate the screws or bushings that secure the tuning pegs to the guitar’s headstock. In most cases, these will be located on the back of the headstock.
- Remove the Screws: Using a Phillips head screwdriver, carefully remove the screws that hold the tuning pegs in place. Keep the screws in a secure location to prevent loss.
- Extract the Pegs: Once the screws are removed, gently pull the old tuning pegs out of the headstock. Take care to avoid applying excessive force or twisting, as this could cause damage to the wood or finish.
- Clean and Inspect: With the old tuning pegs removed, take the opportunity to clean the headstock and inspect it for any signs of damage or wear. A soft cloth can be used to wipe away any debris or residue left behind by the old pegs.
By following these steps, you can safely remove the old tuning pegs from your acoustic guitar without causing any harm to the instrument. Once the old pegs are out, you’ll be ready to proceed with installing the new tuning pegs, bringing your guitar one step closer to optimal performance and playability.
Installing the New Tuning Pegs
Installing the New Tuning Pegs
With the old tuning pegs successfully removed, you are now ready to install the new ones onto your acoustic guitar. This step is crucial in ensuring that your instrument maintains proper tuning stability and playability. Follow these detailed steps to effectively install the new tuning pegs:
- Prepare the Headstock: Before installing the new pegs, ensure that the headstock is clean and free of any debris or residue from the old pegs. Use a soft cloth to wipe the headstock surface, creating a clean and smooth area for the new pegs.
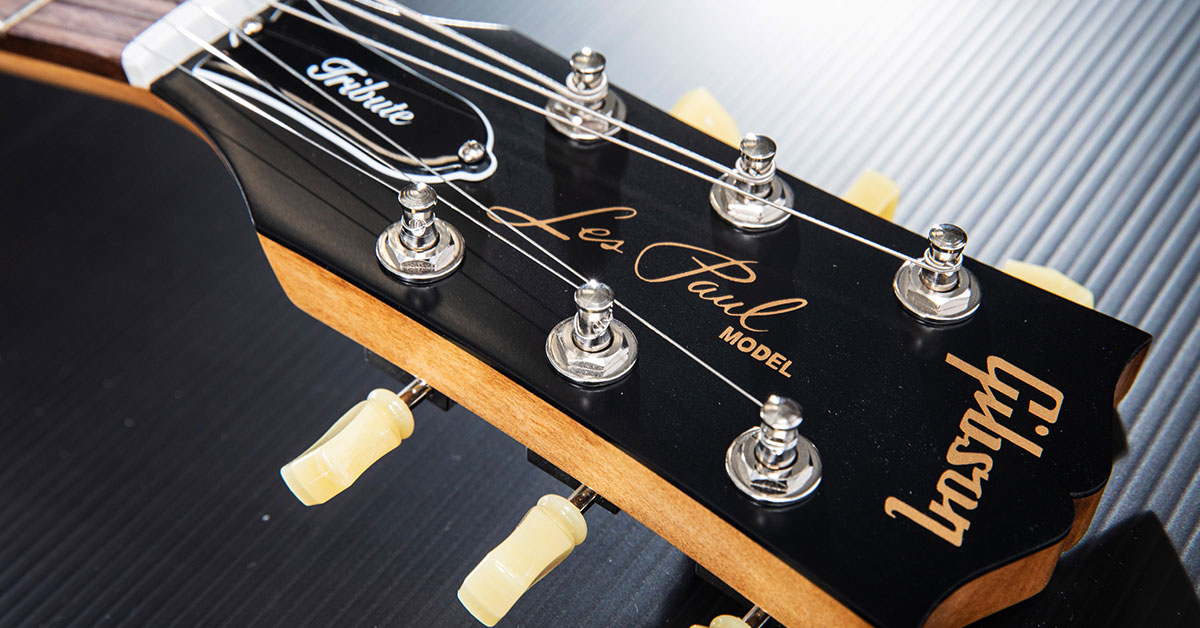
- Insert the New Pegs: Carefully insert the new tuning pegs into the corresponding holes on the headstock. Ensure that they fit securely and align properly with the guitar’s design and string layout.
- Secure the Screws: Once the new pegs are in place, use the screws provided with the replacement pegs to secure them to the headstock. Tighten the screws firmly, but avoid over-tightening, as this could cause damage to the pegs or headstock.
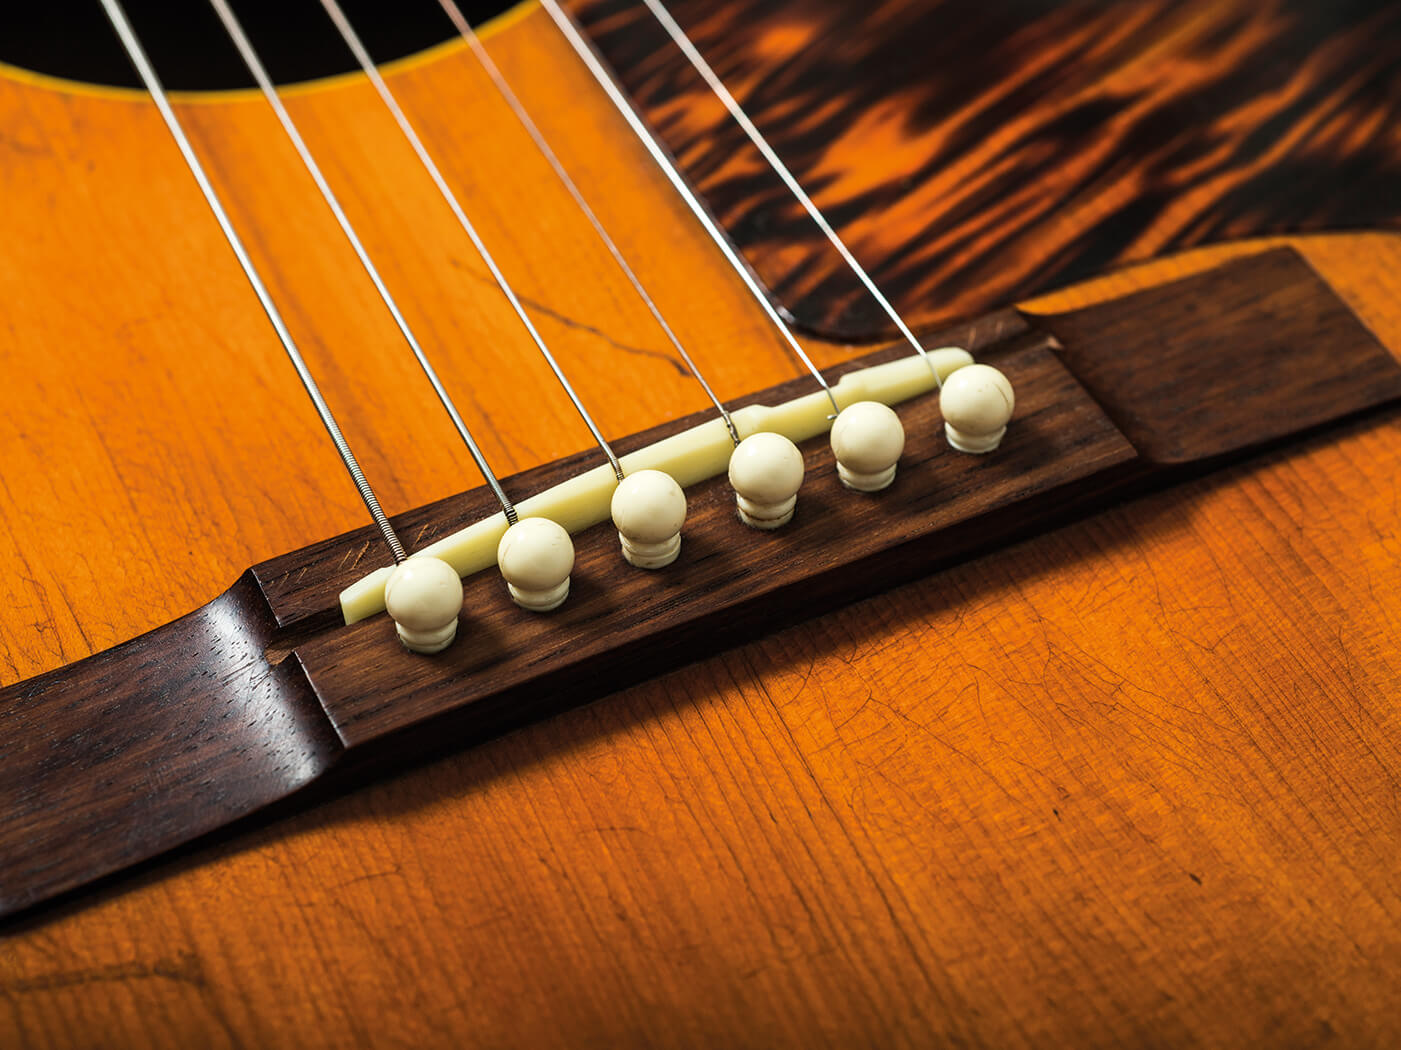
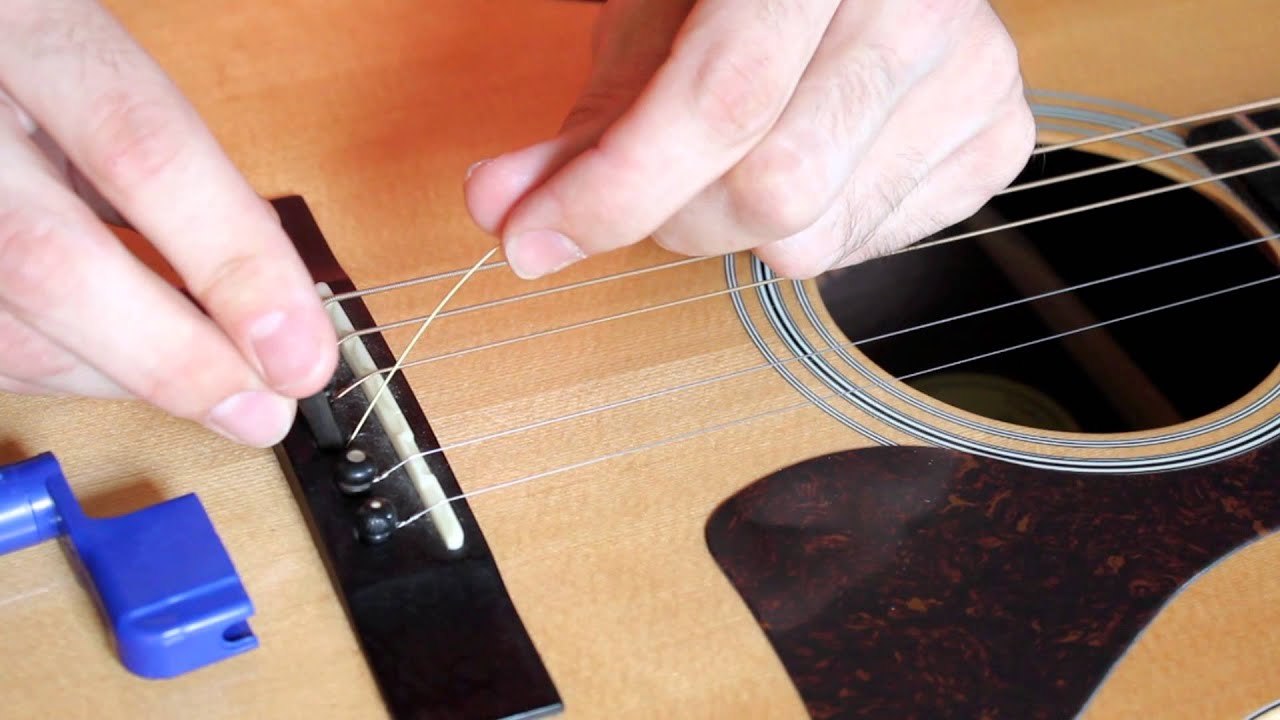
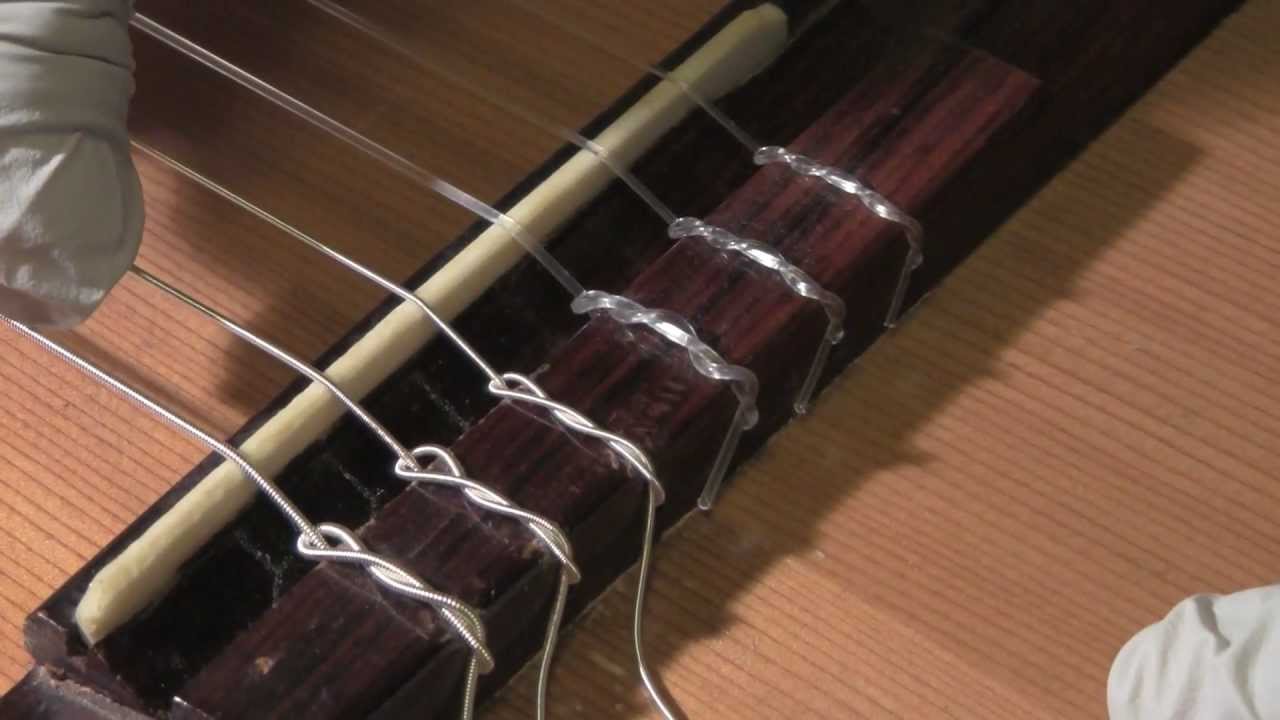
- String Alignment: As you secure the tuning pegs, pay attention to the alignment of the strings. Ensure that they are properly positioned in the nut and bridge, following their natural path to the tuning pegs.
- String Installation: Starting with the low E string, feed each string through the corresponding hole in the tuning peg. Use a string winder to gradually tighten the strings, ensuring that they wrap neatly around the pegs without overlapping or crossing over themselves.
- Tension Adjustment: Once all the strings are installed, use a tuner to gradually bring them up to pitch. Check the tension and tuning of each string, making any necessary adjustments to achieve proper pitch and stability.
By carefully following these steps, you can successfully install the new tuning pegs on your acoustic guitar, setting the stage for improved tuning accuracy and overall performance. With the new pegs in place, your guitar will be ready for the final step: tuning and testing to ensure optimal playability.
Tuning and Testing the New Pegs
Tuning and Testing the New Pegs
After successfully installing the new tuning pegs on your acoustic guitar, the final step involves tuning and testing the instrument to ensure that the new pegs are functioning optimally. This critical phase will determine the effectiveness of the replacement process and the overall playability of your guitar. Follow these steps to fine-tune your instrument:
- Initial Tuning: Begin by using a tuner to bring each string to its proper pitch. Starting with the low E string and progressing to the high E, carefully adjust the tuning pegs to achieve accurate pitch for each string.
- Stability Check: Once the guitar is in tune, test the stability of the tuning by playing chords and individual notes. Listen for any signs of slippage or instability in the tuning, and make adjustments as needed to ensure that the strings hold their pitch.
- Stretching the Strings: New strings and tuning pegs may require some stretching to settle into their optimal tension. Gently tug on each string to help it stretch and stabilize, then re-tune as necessary to maintain proper pitch.
- Playing Test: Strum various chords and play melodies across the fretboard to assess the overall tuning stability and playability of the guitar. Pay attention to any signs of detuning or instability, making further adjustments if needed.
- Fine-Tuning: Use the tuning pegs to make minor adjustments as you continue to play and test the guitar. Fine-tune the strings to ensure that they maintain accurate pitch and stability across different playing styles and techniques.
By meticulously tuning and testing the new tuning pegs, you can verify their effectiveness and ensure that your acoustic guitar is ready for optimal performance. Taking the time to fine-tune the instrument will result in improved playability and a more enjoyable playing experience, allowing you to create beautiful music with confidence and precision.