Introduction
So, you've got yourself an electric guitar and you're ready to rock and roll. But before you can start shredding those power chords and wailing out epic solos, you need to set up your guitar properly. Setting up an electric guitar is crucial for ensuring that it plays and sounds its best. Whether you're a seasoned musician or a beginner, understanding the ins and outs of guitar setup is essential for getting the most out of your instrument.
Setting up an electric guitar involves a series of adjustments and tweaks to ensure that the instrument is comfortable to play, stays in tune, and produces the best possible sound. From choosing the right guitar to fine-tuning the action and intonation, each step in the setup process plays a vital role in shaping the playability and tone of the instrument.
In this guide, we'll walk you through the essential steps to set up your electric guitar, covering everything from selecting the right guitar for your playing style to adjusting the truss rod, setting the action, and intonating the guitar. By the end of this guide, you'll have the knowledge and confidence to set up your electric guitar like a pro, allowing you to unleash your musical creativity with a finely-tuned instrument at your fingertips.
So, grab your guitar, roll up your sleeves, and let's dive into the world of electric guitar setup. Whether you're aiming for crunchy power chords, soulful blues licks, or blistering metal riffs, a well-set-up electric guitar is the foundation for unlocking your full potential as a guitarist. Let's get started!
Choosing the Right Guitar
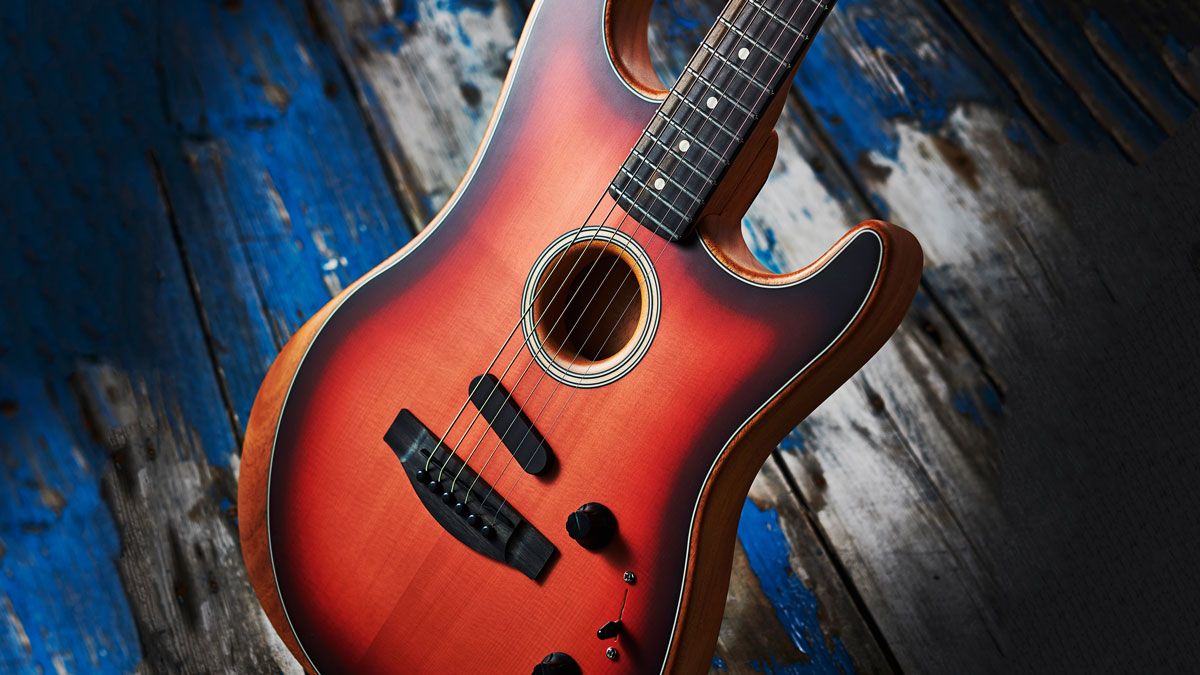
When it comes to setting up an electric guitar, the first step is choosing the right instrument for your playing style and preferences. With a wide array of electric guitars available on the market, each offering its own unique sound and feel, selecting the perfect guitar can significantly impact your playing experience. Here are the key factors to consider when choosing the right electric guitar:
- Body Type: Electric guitars come in various body shapes, such as solid body, semi-hollow, and hollow body. Solid body guitars, like the iconic Fender Stratocaster and Gibson Les Paul, are versatile and well-suited for various music genres. Semi-hollow and hollow body guitars, such as the Gibson ES-335, offer a warmer, more resonant tone and are popular in jazz and blues music.
- Neck Profile: The neck profile determines the shape and thickness of the guitar’s neck. Players with smaller hands may prefer guitars with slimmer neck profiles, while those seeking a more substantial feel may opt for thicker necks.
- Pickups: Pickups play a crucial role in shaping the guitar’s tone. Single-coil pickups, found on guitars like the Fender Telecaster, deliver bright, articulate tones, while humbucker pickups, featured on guitars like the Gibson SG, offer a thicker, more powerful sound.
- Bridge Type: The bridge affects string stability and intonation. Common bridge types include fixed bridges, tremolo bridges, and tune-o-matic bridges, each with its own advantages and considerations.
- Scale Length: The scale length, or the vibrating length of the strings, can influence the guitar’s feel and tension. Shorter scale lengths, such as those found on Gibson guitars, offer a slinkier feel, while longer scale lengths, like those on Fender guitars, provide a tighter, snappier response.
Before making a purchase, it’s essential to try out different guitars to find one that feels comfortable and inspires you to play. Visiting a music store and testing out various models can provide valuable insight into how different guitars sound and feel in your hands. Additionally, researching the specific attributes and reputations of different guitar models can help guide your decision-making process.
By selecting a guitar that resonates with your musical style and preferences, you’ll set the stage for an enjoyable and fulfilling guitar setup experience. The right guitar will serve as the foundation for your sonic journey, inspiring you to explore new musical horizons and embark on countless memorable musical adventures.
Setting Up the Guitar
Setting up an electric guitar involves a series of adjustments and fine-tuning to optimize its playability and tone. Whether you’ve just brought home a new guitar or your current instrument needs some attention, the following steps will guide you through the process of setting up your electric guitar:
- Inspect and Clean: Before diving into adjustments, inspect the guitar for any visible damage, and give it a thorough cleaning. Wipe down the body, neck, and fretboard with a soft cloth to remove any dirt or grime that may have accumulated.
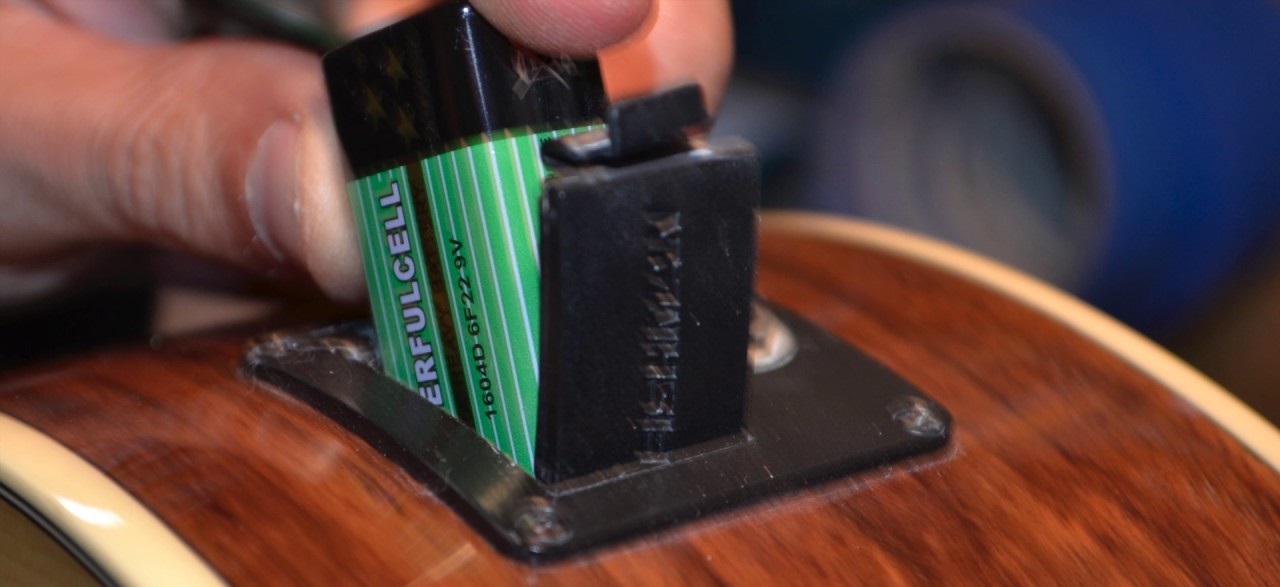
- Check the Hardware: Ensure that all hardware, including tuning machines, bridge, and pickups, is securely fastened. Loose hardware can cause tuning instability and affect the guitar’s overall performance.
- Restring the Guitar: Fresh strings can significantly impact the guitar’s tone and playability. Remove the old strings, clean the fretboard, and install a new set of strings, making sure to stretch them properly to minimize tuning issues.
- Adjust the Truss Rod: The truss rod, located inside the neck, controls its relief or curvature. Using an appropriate tool, such as a hex key, make subtle adjustments to the truss rod to achieve the ideal amount of neck relief.
- Set the Action: The action, or string height, greatly influences the guitar’s playability. Adjust the bridge saddles to achieve the desired action, balancing comfort with optimal string resonance.
- Intonate the Guitar: Intonation ensures that each note rings true along the entire fretboard. By adjusting the string length at the bridge, you can fine-tune the intonation for accurate pitch across all frets.
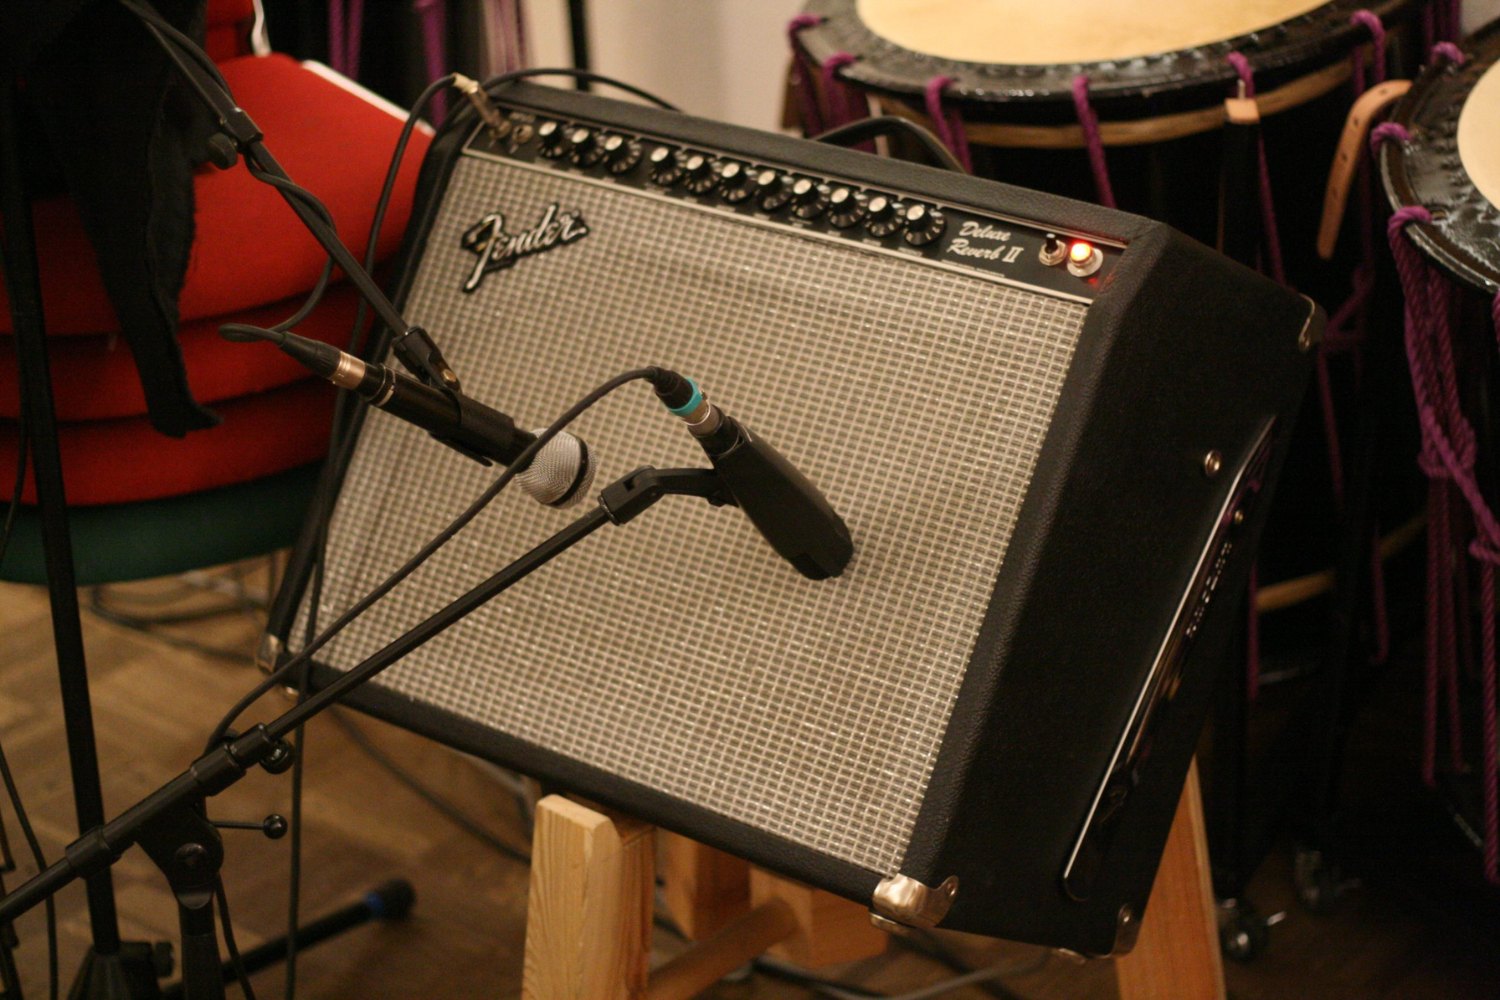
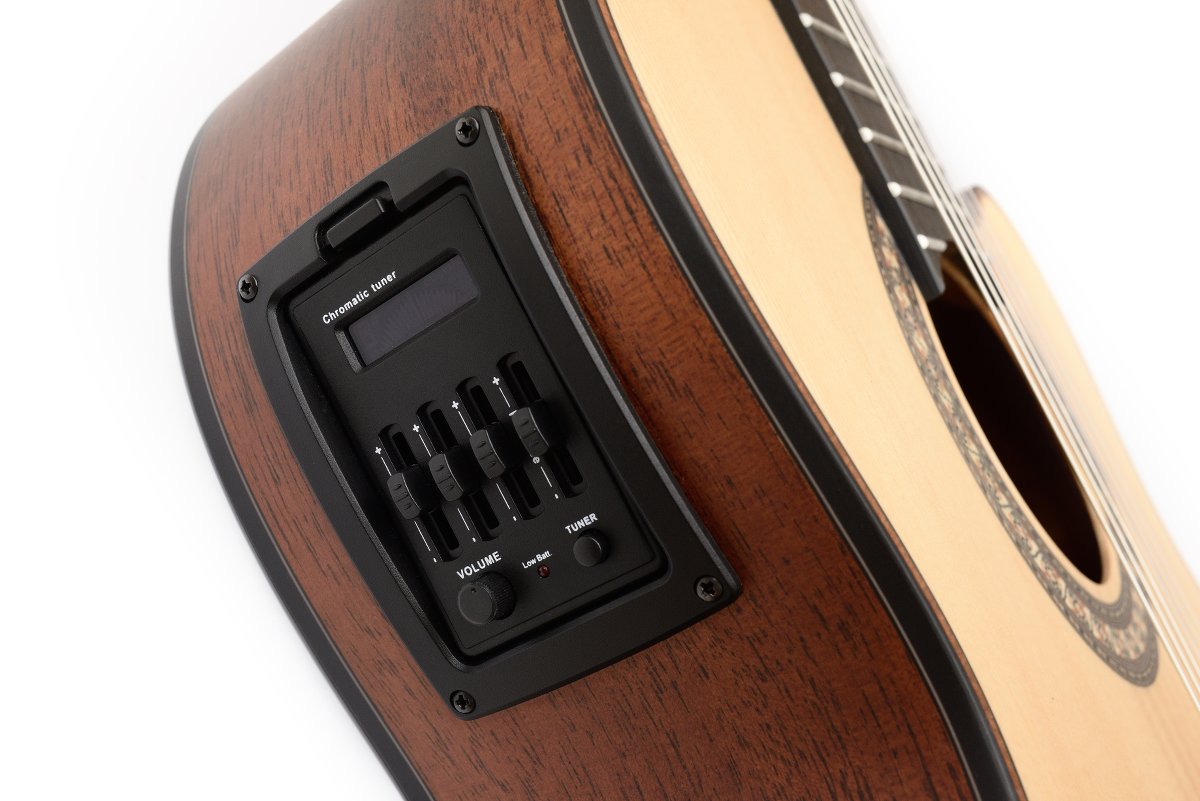
- Check Electronics and Setup: Test the guitar’s electronics, including volume and tone controls, pickup selector switches, and any other features specific to your instrument. Additionally, ensure that the guitar is properly set up for your preferred playing style, whether it’s standard tuning, alternate tunings, or any special requirements.
Throughout the setup process, it’s essential to make incremental adjustments and regularly test the guitar’s playability and sound. Patience and attention to detail are key, as small changes can have a significant impact on the guitar’s performance. While setting up an electric guitar may seem daunting at first, each adjustment contributes to creating a personalized playing experience tailored to your unique preferences and playing style.
By carefully attending to each aspect of the setup process, you’ll not only optimize the playability and tone of your electric guitar but also gain a deeper understanding of your instrument’s mechanics. Embrace the setup process as an opportunity to connect with your guitar on a more intimate level, forging a stronger bond between player and instrument that will enhance your musical journey.
Adjusting the Truss Rod
The truss rod is a crucial component of an electric guitar’s neck, serving to counteract the tension exerted by the strings and maintain the neck’s proper curvature. Understanding how to adjust the truss rod is essential for ensuring the optimal playability and stability of your instrument. Here’s a step-by-step guide to adjusting the truss rod of your electric guitar:
- Assess the Neck Relief: Before making any adjustments, evaluate the neck relief by sighting down the edge of the fretboard. Ideally, there should be a slight but even curvature, allowing for comfortable string action without fret buzz.
- Use the Right Tool: Most truss rods are adjusted using a hex key (also known as an Allen wrench) that fits into a nut at the headstock or the body end of the neck. Ensure that you have the correct size of hex key for your guitar’s truss rod.
- Make Gradual Adjustments: To increase or decrease neck relief, insert the hex key into the truss rod nut and make quarter-turn adjustments. Clockwise turns typically tighten the truss rod, reducing neck relief, while counterclockwise turns loosen the truss rod, increasing neck relief.
- Exercise Caution: When adjusting the truss rod, it’s crucial to make small, incremental changes. Over-tightening the truss rod can lead to a back-bowed neck, while excessive loosening can cause a forward bow, both of which can negatively impact playability and intonation.
- Allow for Settling Time: After making adjustments, allow the neck to settle before reassessing the relief. Changes to the truss rod may take some time to fully manifest, so patience is key in achieving the desired neck curvature.
- Seek Professional Assistance if Needed: If you’re uncertain about adjusting the truss rod or encounter resistance during the process, it’s advisable to seek assistance from a qualified guitar technician. Truss rod adjustments, if done incorrectly, can potentially damage the guitar, so it’s better to err on the side of caution.
Proper truss rod adjustment is crucial for maintaining the playability and structural integrity of an electric guitar. By understanding how to evaluate and fine-tune the neck relief, you can ensure that your instrument performs optimally, with comfortable action and accurate intonation across the fretboard. While adjusting the truss rod may seem intimidating at first, mastering this fundamental aspect of guitar setup empowers you to tailor your instrument to your exact preferences, enhancing your playing experience and musical expression.
Setting the Action
The action of an electric guitar, referring to the height of the strings above the fretboard, significantly influences playability, comfort, and overall performance. Achieving the optimal action involves balancing the string height to ensure ease of play without sacrificing tone and sustain. Here’s how to set the action of your electric guitar:
- Assess the Current Action: Before making any adjustments, evaluate the guitar’s current action by visually inspecting the string height at various points along the fretboard. A comfortable action allows for easy fretting and bending while minimizing fret buzz.
- Choose the Right Tools: Depending on the guitar’s bridge type, you may need specialized tools such as screwdrivers or hex keys to adjust the bridge saddles. Refer to the guitar’s manual or manufacturer’s guidelines for specific instructions.
- Make Incremental Adjustments: To lower or raise the action, adjust the individual bridge saddles using the appropriate tools. Most electric guitars feature adjustable saddles that can be raised or lowered to achieve the desired string height.
- Strive for Balance: When setting the action, aim for a consistent string height across all strings and frets. This ensures uniform playability and prevents uneven string response when playing chords or lead lines.
- Test Playability: After making adjustments, play the guitar to gauge the comfort and playability of the new action. Pay attention to any fret buzz, string resistance, or discomfort, and make further adjustments as needed.
- Consider Playing Style: Your preferred playing style and musical genre can influence the ideal action for your guitar. Players who employ aggressive picking or heavy bending may prefer slightly higher action for added string clearance, while those focused on speed and precision may opt for lower action for effortless fretting.
Setting the action of an electric guitar is a personalized process that takes into account the player’s preferences and playing style. By fine-tuning the string height to achieve a balance between comfort and optimal tone, you can tailor the guitar to suit your individual needs, enhancing your playing experience and musical expression.
Intonating the Guitar
Intonation is a critical aspect of electric guitar setup that ensures accurate pitch and harmonious sound across the entire fretboard. Proper intonation is essential for achieving in-tune chords and melodies, making it a fundamental step in optimizing the instrument’s playability and tonal accuracy. Here’s how to intonate your electric guitar:
- Check the Open String Tuning: Begin by ensuring that the open strings are tuned precisely to their respective pitches. Accurate tuning provides a reliable reference point for assessing the intonation of each string.
- Compare Open String and 12th Fret Pitch: Play each string open and then fret it at the 12th fret. Compare the pitch of the fretted note to the open string. If the fretted note is sharp, the string length needs to be lengthened, while a flat fretted note indicates the need for shortening the string length.
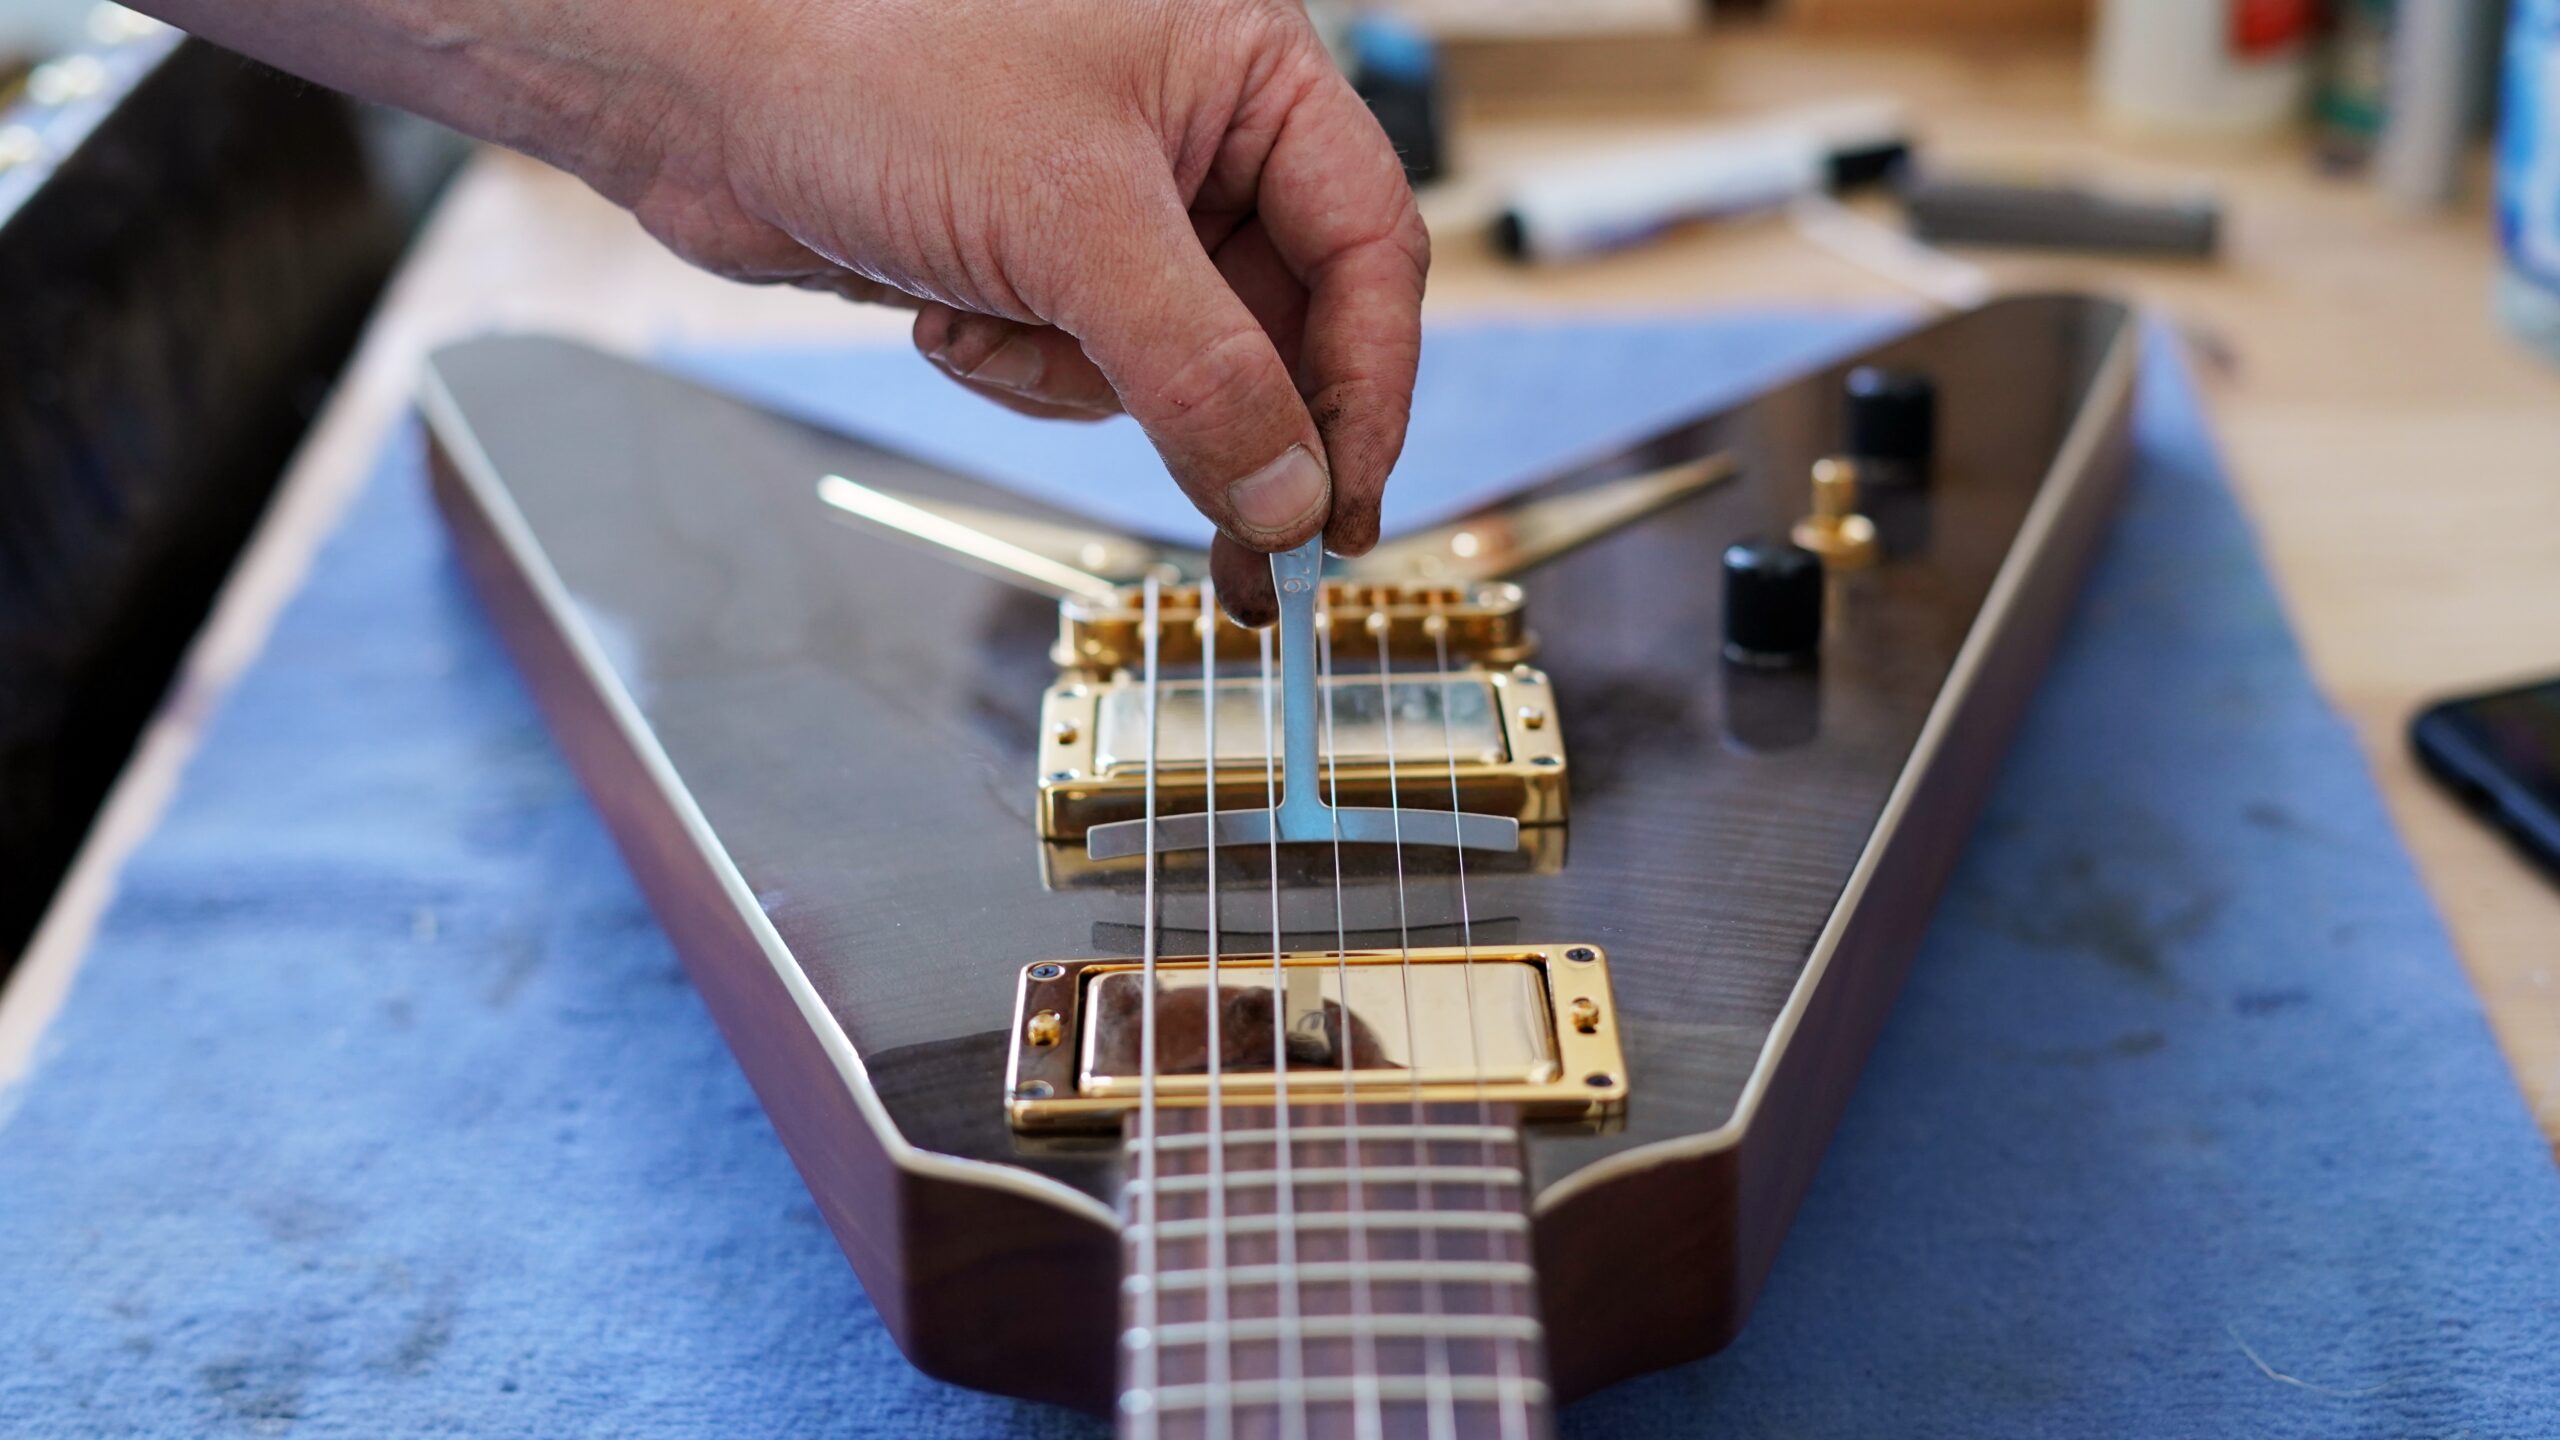
- Adjust the Bridge Saddle: Most electric guitars feature adjustable saddles that allow for individual string intonation adjustment. Using a screwdriver or hex key, make precise adjustments to the saddle position to alter the string length, bringing the fretted note into perfect pitch with the open string.
- Test Across the Fretboard: After making adjustments, play each string at various frets, especially higher up the neck, to verify that the intonation remains accurate across the entire fretboard. Fine-tune the saddle positions as needed to ensure consistent intonation at different fret positions.
- Consider String Gauge and Tuning: Changes in string gauge or tuning can affect the guitar’s intonation. If you frequently switch between standard tuning and alternate tunings or use different string gauges, it’s essential to readjust the intonation to compensate for these variations.
Properly intonating an electric guitar is essential for ensuring that chords and single notes ring true and in tune, regardless of where they are played on the fretboard. By meticulously adjusting the string lengths to achieve accurate intonation, you can unlock the full potential of your instrument, allowing for precise and harmonious musical expression.
Tuning the Guitar
Tuning is the foundational step in preparing an electric guitar for optimal playability and tonal quality. Keeping the instrument in tune is essential for producing harmonious chords and melodies, and it serves as the starting point for any musical endeavor. Here’s a guide to tuning your electric guitar:
- Choose a Tuning Method: Electric guitars can be tuned using various methods, including electronic tuners, tuning apps, pitch pipes, or by ear. Electronic tuners provide precise tuning feedback and are widely used for their accuracy and convenience.
- Tune to Standard Pitch: Standard tuning for a 6-string electric guitar, from the lowest pitch string to the highest, is EADGBE. Use the selected tuning method to bring each string to its correct pitch, ensuring that the strings are in tune with each other.
- Check Tuning Stability: After tuning each string, play a few chords and check for any signs of tuning instability or pitch discrepancies. If necessary, fine-tune the strings to ensure stability and accuracy.
- Consider Alternate Tunings: Depending on your musical preferences, you may explore alternate tunings such as drop D, open G, or DADGAD. Adjust the tuning of the strings to match the desired alternate tuning, using the same method as for standard tuning.
- Regularly Monitor Tuning: Environmental factors, string tension, and playing style can influence the guitar’s tuning stability. Regularly check and adjust the tuning as needed to maintain optimal pitch and tonal integrity.
Accurate tuning is the cornerstone of a well-prepared electric guitar, setting the stage for enjoyable and rewarding playing experiences. By consistently maintaining proper tuning, you ensure that your instrument is ready to deliver the rich, resonant tones and harmonious chords that define your musical expression.