Introduction
Introduction
Setting up a bridge on an electric guitar is a crucial aspect of maintaining its playability and ensuring optimal sound quality. The bridge, located on the body of the guitar, serves as an anchor for the strings and plays a significant role in determining the instrument's intonation and action. Whether you are customizing your guitar or replacing a worn-out bridge, understanding the process of setting up a bridge is essential for any guitarist.
A well-adjusted bridge contributes to the guitar's overall performance, including its ability to stay in tune and produce clear, resonant tones. By mastering the art of setting up a bridge, you can tailor the instrument to your playing style and preferences, ultimately enhancing your musical experience. This guide will walk you through the step-by-step process of setting up a bridge on your electric guitar, empowering you to maintain and customize your instrument with confidence.
From gathering the necessary tools and materials to removing the old bridge, installing the new one, and making precise adjustments, each step is crucial to achieving a harmonious and responsive instrument. By following this comprehensive guide, you will gain the knowledge and skills needed to set up a bridge on your electric guitar, allowing you to unleash its full potential and enjoy a personalized playing experience tailored to your unique musical style.
Setting up a bridge on an electric guitar may seem daunting at first, but with the right guidance and a willingness to learn, you can master this essential aspect of guitar maintenance. Whether you are a seasoned guitarist or a novice enthusiast, the process of setting up a bridge is a valuable skill that empowers you to take control of your instrument's performance and sound. Now, let's dive into the tools and materials needed for this rewarding endeavor.
Tools and Materials Needed
Before embarking on the bridge setup process, it is essential to gather the necessary tools and materials to ensure a smooth and efficient procedure. Here’s a comprehensive list of items you’ll need:
- Allen Wrench Set: This versatile tool is crucial for adjusting the bridge height and intonation screws.
- Screwdrivers: Phillips and flathead screwdrivers are essential for removing the old bridge and installing the new one.
- New Bridge: Depending on your preference and guitar specifications, choose a suitable replacement bridge that aligns with your playing style.
- String Set: While setting up the bridge, you may opt to replace the strings for a fresh, vibrant sound.
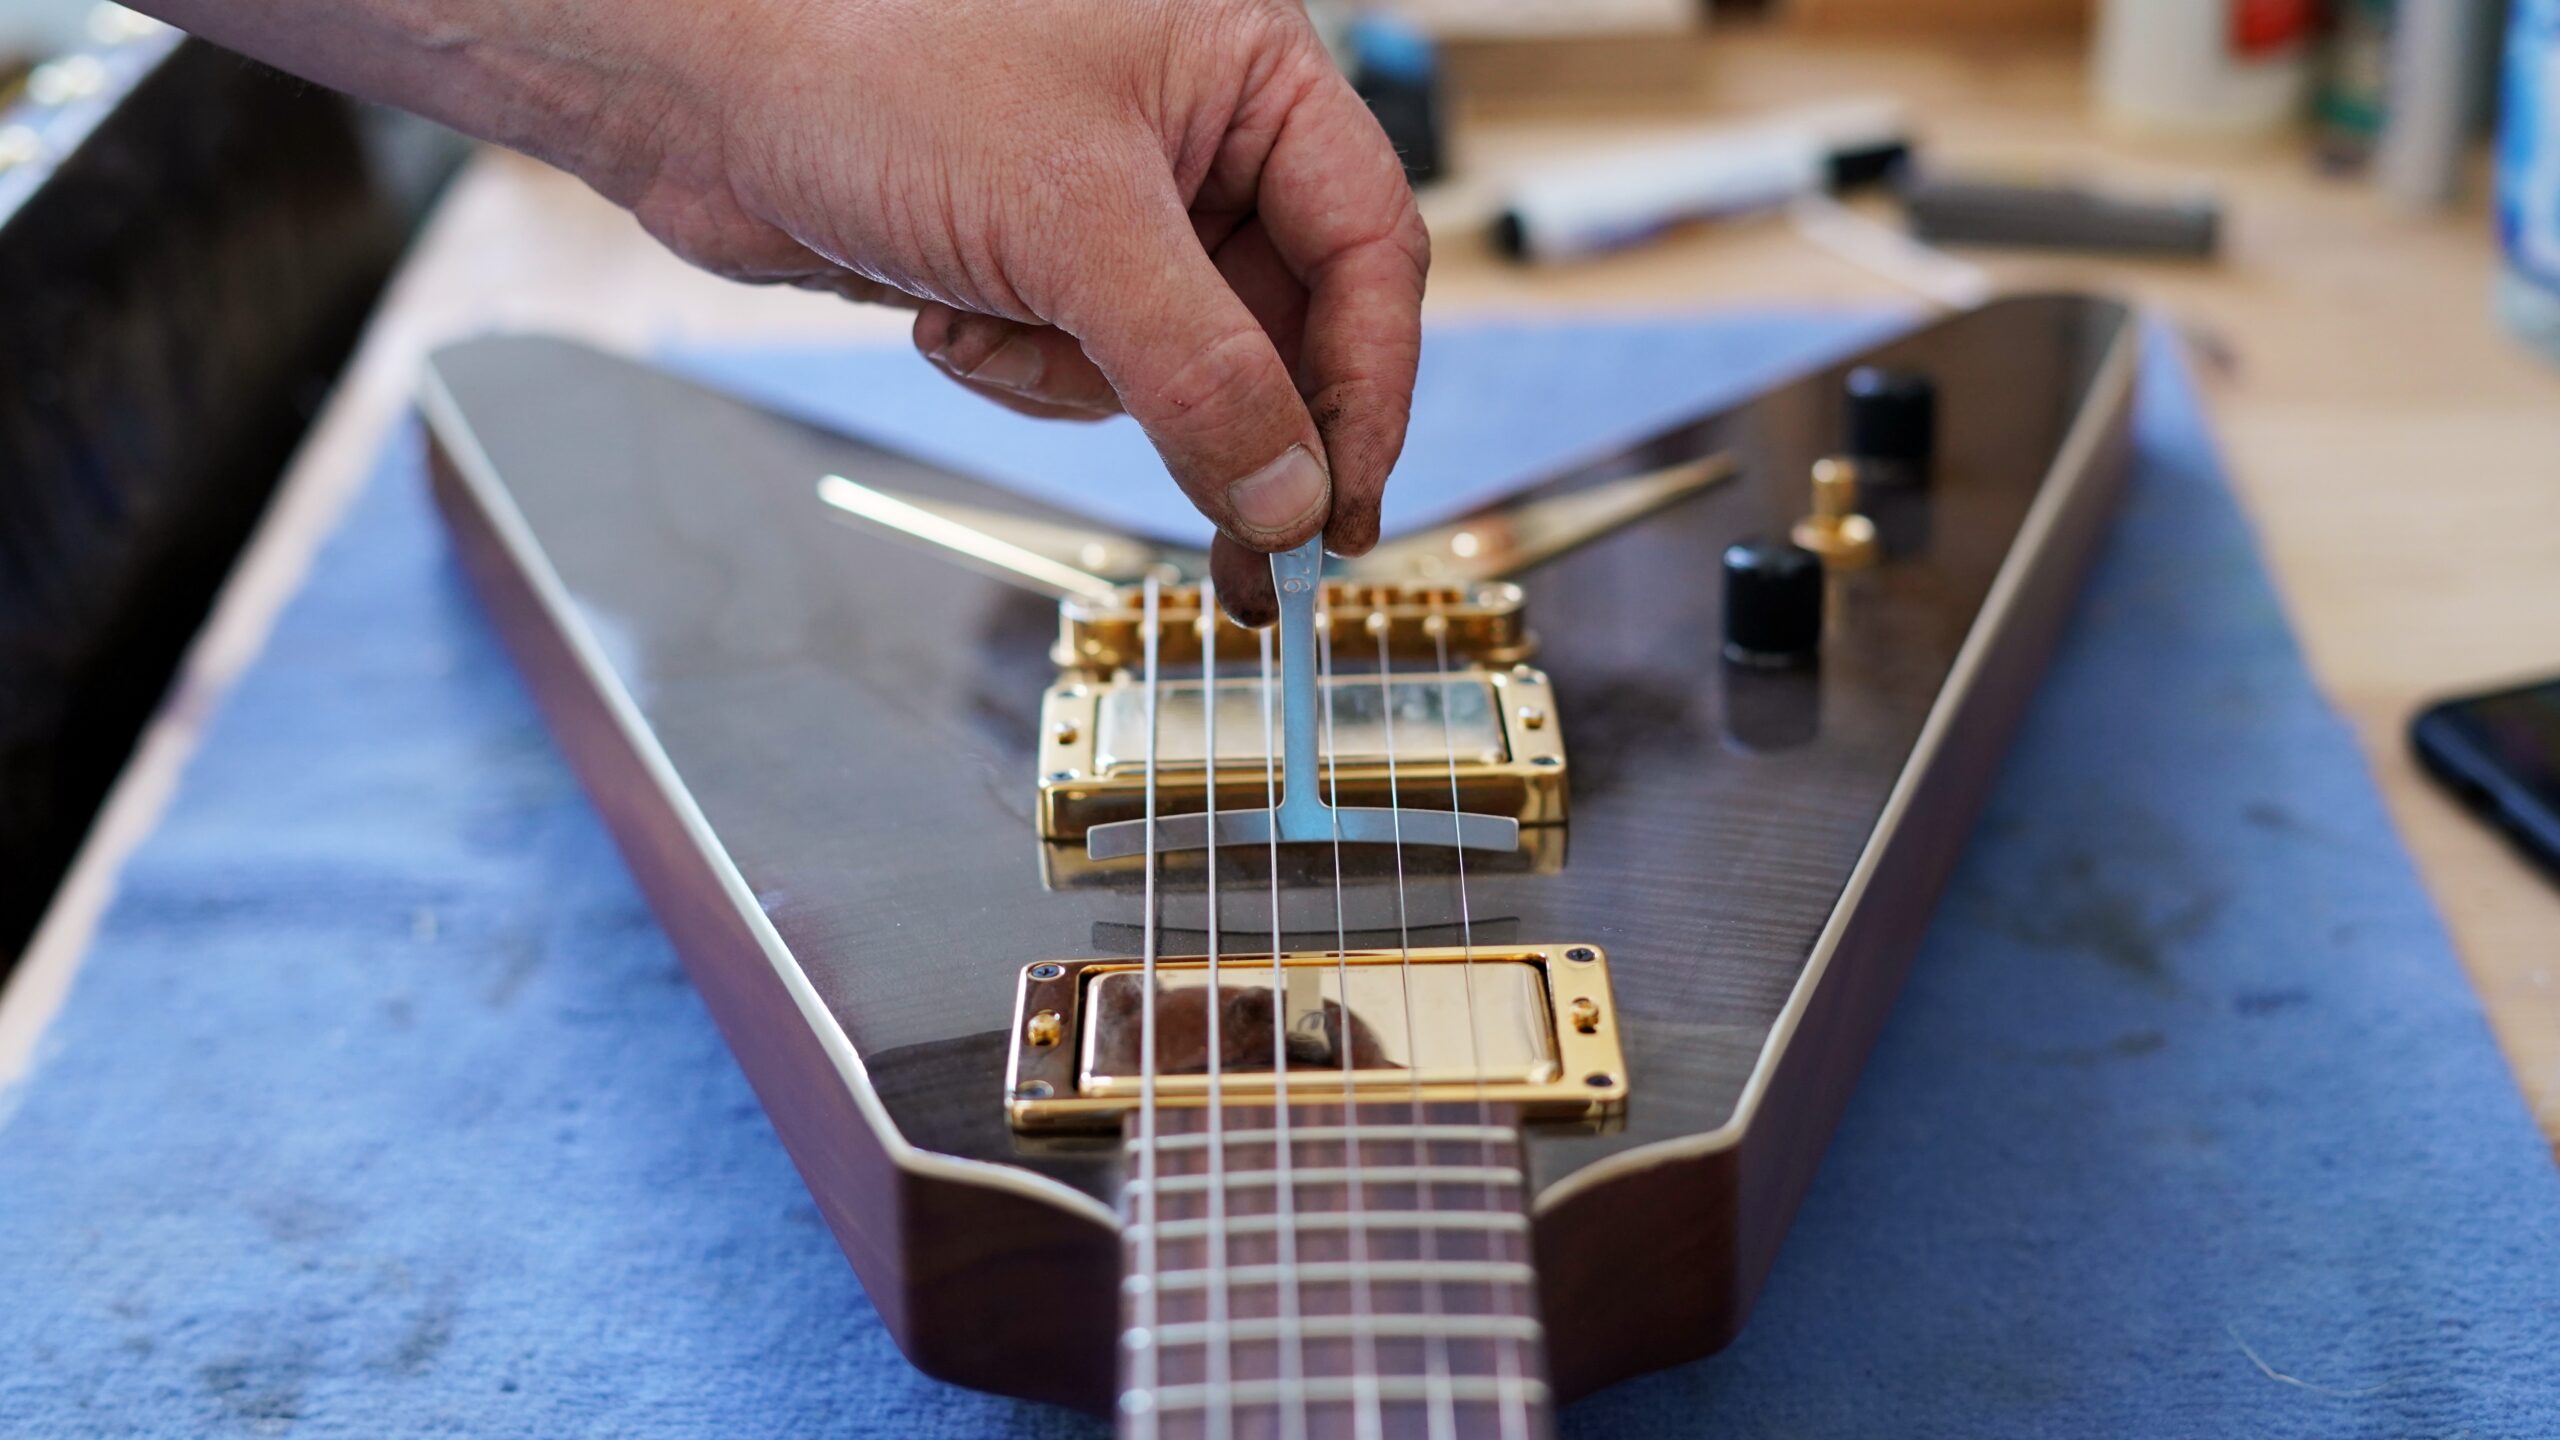
- Ruler or Feeler Gauge: This tool helps ensure precise adjustments to the bridge height and string action.
- Guitar Polish and Cloth: Keeping your guitar clean and polished is essential during the setup process.
- String Cutter and Winder: These tools facilitate the removal of old strings and the installation of new ones.
- Masking Tape: Using masking tape can help protect the guitar’s finish during the setup process.
- Workbench or Stable Surface: A stable and well-lit work area is essential for performing the bridge setup with precision and ease.
By ensuring that you have all the necessary tools and materials at your disposal, you can approach the bridge setup process with confidence and readiness. Now that you’ve gathered the essential items, it’s time to proceed with the removal of the old bridge.
Removing the Old Bridge
Before installing a new bridge on your electric guitar, it is crucial to remove the old bridge carefully. This process requires attention to detail and precision to ensure that the guitar’s body and finish remain unharmed. Here’s a step-by-step guide to removing the old bridge:
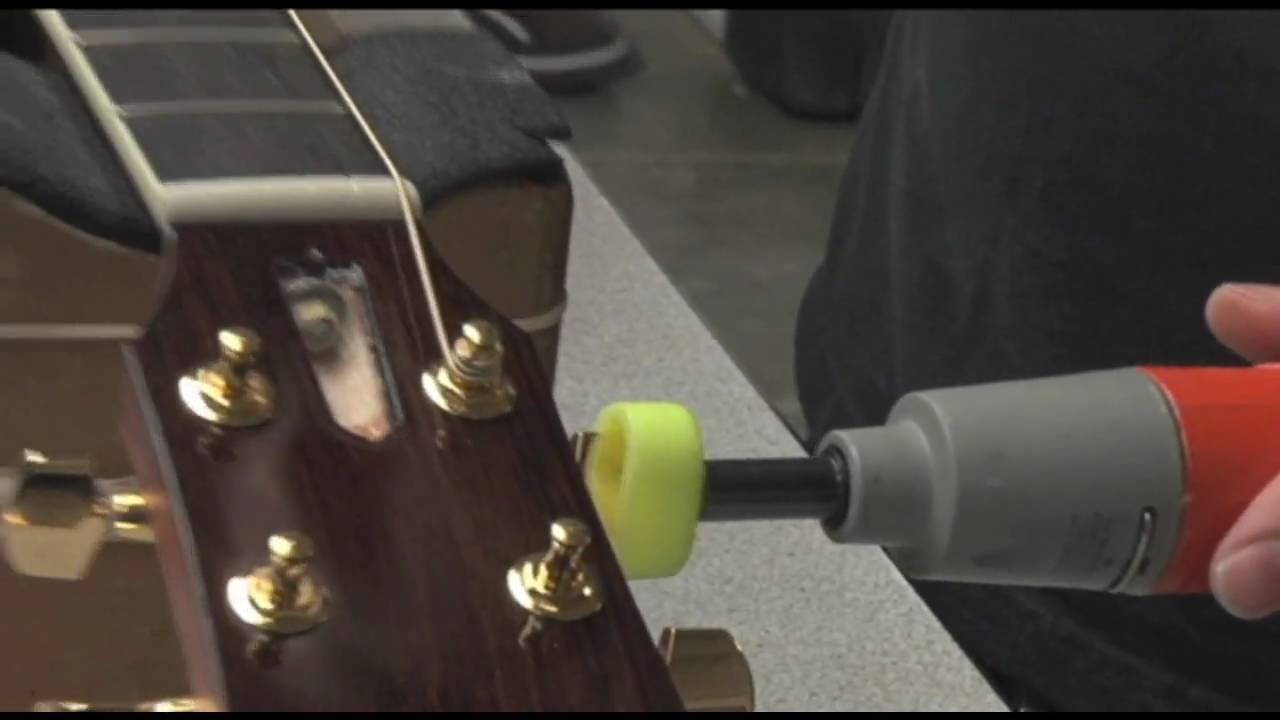
- Loosen the Strings: Begin by loosening the tension of all the strings on the guitar. This can be achieved by turning the tuning pegs to unwind the strings until they are slack.
- Remove the Strings: Once the strings are sufficiently loosened, carefully remove them from the bridge and set them aside. This will allow for easier access to the bridge and prevent the strings from hindering the removal process.
- Unscrew the Bridge: Using the appropriate screwdrivers, carefully unscrew and remove the old bridge from the guitar’s body. Take care to keep track of the screws and any associated components to ensure they can be reused or replaced as needed.
- Clean the Bridge Cavity: With the old bridge removed, take the opportunity to clean the bridge cavity and the surrounding area on the guitar body. This will help ensure a smooth and secure installation of the new bridge.
- Inspect the Guitar Body: While the bridge is removed, inspect the guitar body for any signs of wear, damage, or debris that may have accumulated over time. Address any issues as needed before proceeding with the installation of the new bridge.
By following these steps, you can safely and effectively remove the old bridge from your electric guitar, setting the stage for the installation of a new bridge. With the old bridge removed and the guitar body prepared, you are now ready to proceed with the exciting process of installing the new bridge.
Installing the New Bridge
With the old bridge successfully removed, the next step in setting up a bridge on an electric guitar is the installation of the new bridge. This process requires precision and attention to detail to ensure that the new bridge aligns perfectly with the guitar’s body and functions optimally. Here’s a detailed guide to installing the new bridge:
- Prepare the New Bridge: Before installation, ensure that the new bridge is clean and free of any debris or residue. This will help maintain the integrity of the guitar’s setup and prevent any interference with the strings or bridge components.
- Align the Bridge Screw Holes: Carefully position the new bridge on the guitar body, aligning it with the pre-existing screw holes. Take your time to ensure that the bridge is centered and sits flush against the body, maintaining proper alignment with the fretboard.
- Secure the Bridge: Using the appropriate screws and screwdrivers, gently secure the new bridge in place. Be mindful of the tension applied to the screws, ensuring that the bridge remains level and stable on the guitar body.
- Attach the Ground Wire (if applicable): If your electric guitar features a ground wire connected to the bridge, carefully reattach it to the designated terminal on the new bridge. This step is crucial for maintaining proper grounding and electrical continuity within the instrument.
- Restring the Guitar: With the new bridge securely in place, proceed to restring the guitar with a fresh set of strings. Ensure that the strings are properly seated in the bridge saddles and the tuning pegs, allowing for even tension across the fretboard.
By following these steps, you can effectively install a new bridge on your electric guitar, setting the stage for precise adjustments and fine-tuning to optimize the instrument’s playability and tonal characteristics. With the new bridge installed, the next crucial step is to adjust the bridge height and intonation, ensuring that your guitar delivers exceptional performance and resonance.
Adjusting the Bridge Height and Intonation
After installing the new bridge on your electric guitar, the next critical step is to adjust the bridge height and intonation. These adjustments are essential for ensuring that the instrument delivers optimal playability, accurate tuning, and balanced tonal characteristics across the fretboard. Here’s a detailed guide to adjusting the bridge height and intonation:
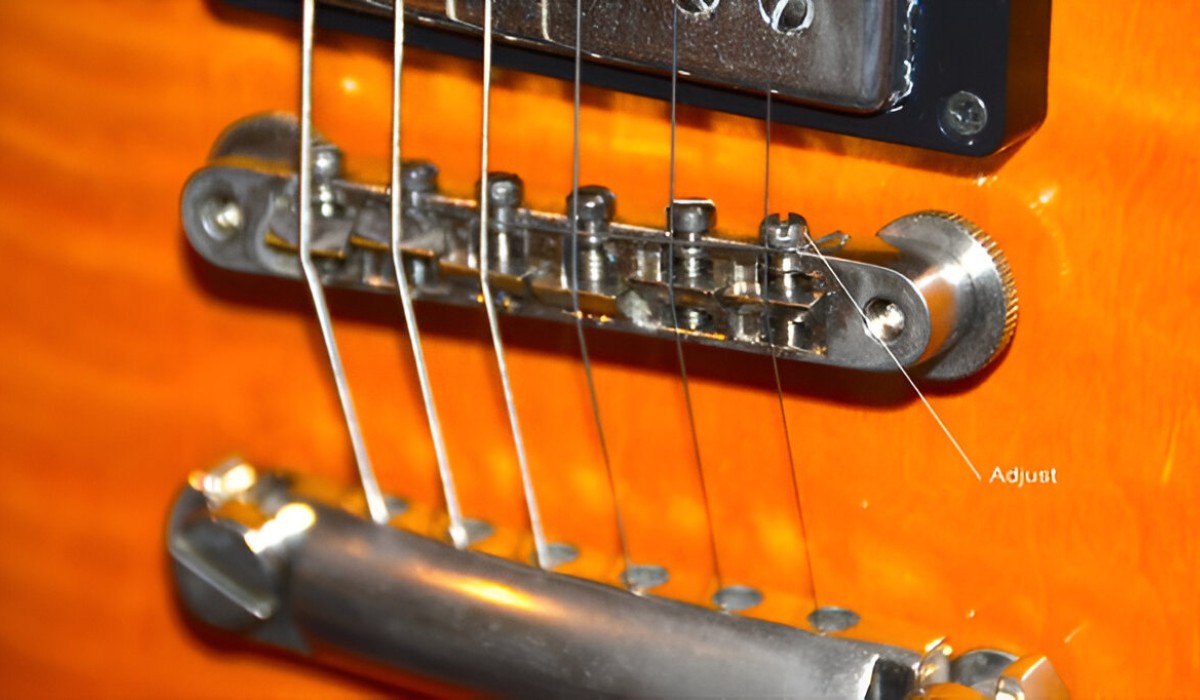
- Set the Bridge Height: Using an Allen wrench, adjust the bridge height screws to achieve the desired string action. This step allows you to customize the playability of the guitar, ensuring comfortable fretting and smooth string bending while minimizing fret buzz.
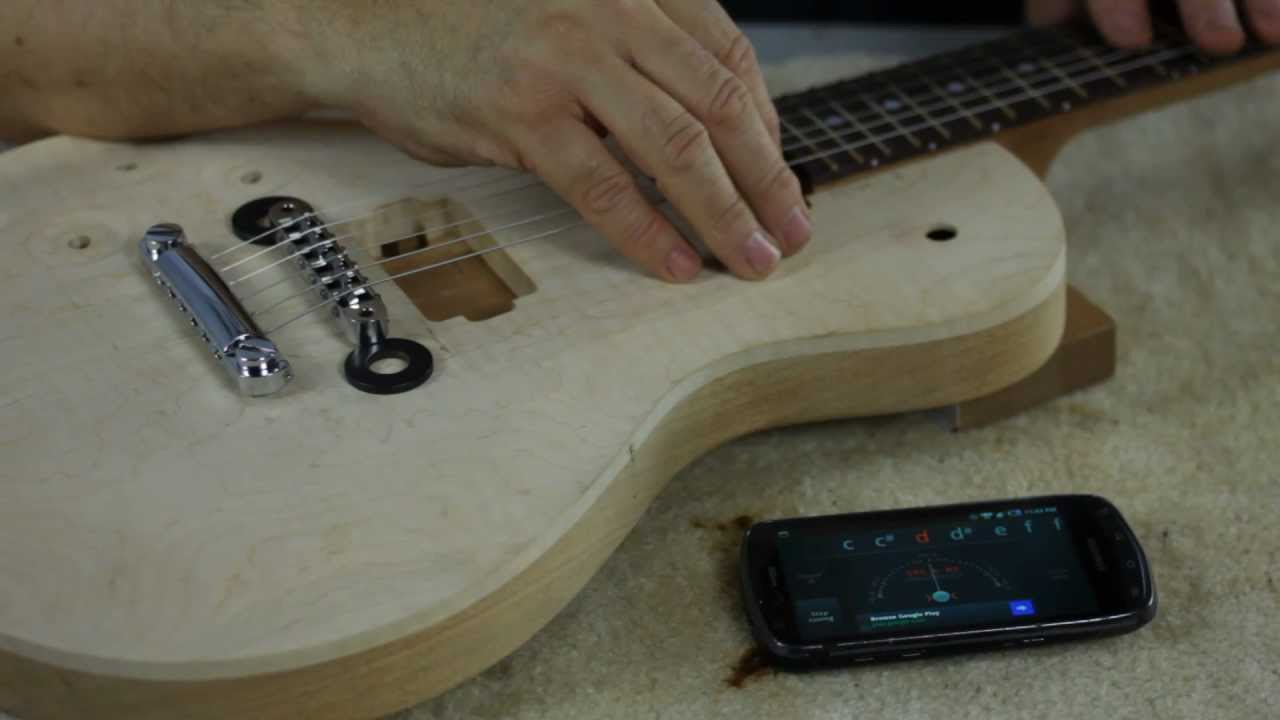
- Check String Intonation: With the guitar properly tuned, play each string at the 12th fret and compare the pitch to the open string. If the 12th fret note is sharp or flat, adjustments to the saddle position are necessary to achieve accurate intonation. Use a tuner to verify the pitch accuracy.
- Intonate Each String: Using the appropriate screwdriver or tool, make precise adjustments to the saddle positions to correct the intonation of each string. This step ensures that the guitar produces harmonically accurate notes across the entire fretboard.
- Verify String Height and Intonation: After making adjustments, double-check the string height and intonation to ensure that each string plays in tune and maintains consistent action across the fretboard. Fine-tune the adjustments as needed to achieve the desired playability and tonal characteristics.
By meticulously adjusting the bridge height and intonation, you can tailor your electric guitar to deliver exceptional playability and tonal precision, allowing you to fully explore your musical expression and creativity. With the bridge height and intonation finely tuned, the final step in setting up a bridge on an electric guitar is to test and tune the instrument, ensuring that it performs at its best.
Testing and Tuning the Guitar
After completing the setup process for the bridge on your electric guitar, it is crucial to thoroughly test and tune the instrument to ensure that it performs optimally across all frets and strings. This final step allows you to verify the precision of your adjustments and fine-tune the guitar to your desired specifications. Here’s a comprehensive guide to testing and tuning the guitar:
- Check String Tension: Verify that the new strings are properly seated and tensioned on the guitar. Ensure that each string is securely anchored at the bridge and the tuning pegs, allowing for stable tuning and consistent string tension.
- Play Across the Fretboard: Test the playability and tonal characteristics of the guitar by playing scales, chords, and melodies across the entire fretboard. Pay attention to the string action, intonation, and overall responsiveness of the instrument.
- Verify Tuning Stability: Tune the guitar to standard pitch and monitor the tuning stability. Check for any signs of string slippage, tuning instability, or unusual string behavior that may require further adjustments or setup refinement.
- Assess Tonality and Resonance: Listen to the guitar’s tonal quality and resonance, evaluating the clarity and sustain of individual notes and chords. Ensure that the instrument delivers a balanced and vibrant sound across different playing styles and techniques.
- Make Fine Adjustments: If necessary, make fine adjustments to the bridge height, intonation, and string tension to address any minor inconsistencies or tonal nuances. These refinements can further enhance the playability and tonal characteristics of the guitar.
By thoroughly testing and tuning the guitar, you can ensure that the setup of the bridge has resulted in a responsive, well-intonated instrument that meets your playing needs and preferences. This final step allows you to experience the full potential of your electric guitar, empowering you to explore a diverse range of musical styles and express your creativity with confidence.


