Introduction
Creating a fake electric guitar can be a fun and rewarding project for music enthusiasts, cosplayers, or anyone looking for a unique decorative piece. While it won't produce the melodic tunes of a genuine electric guitar, a well-crafted replica can be a striking conversation starter or a standout prop for performances and events. Whether you're a hobbyist or a DIY enthusiast, building a fake electric guitar allows you to unleash your creativity and showcase your craftsmanship.
This step-by-step guide will walk you through the process of constructing a convincing fake electric guitar. From gathering the necessary materials to assembling the components and adding the finishing touches, you'll learn how to replicate the iconic silhouette and aesthetic appeal of an electric guitar. While this project won't yield an instrument that can be played, it will provide a hands-on opportunity to delve into the art of guitar making and unleash your artistic flair.
By following this guide, you'll gain valuable insights into the construction of electric guitars, including the intricacies of shaping the body, crafting the neck, and installing the electronics. Additionally, you'll discover techniques for painting and finishing the guitar to achieve a professional appearance. Whether you're aiming to create a lifelike replica of a famous guitar model or invent your own unique design, this guide will equip you with the knowledge and skills to bring your vision to life.
Embark on this creative journey and unleash your imagination as you dive into the world of fake electric guitar construction. With dedication, attention to detail, and a passion for craftsmanship, you can transform basic materials into a stunning imitation of the beloved electric guitar, ready to command attention and admiration. Let's dive into the materials needed for this exciting project!
Materials Needed
Before diving into the construction process, it’s essential to gather the necessary materials and tools to ensure a smooth and efficient workflow. Here’s a comprehensive list of items you’ll need to create your fake electric guitar:
- Wood: Select a suitable type of wood for the body and neck, such as basswood, mahogany, or maple.
- Saw: A saw for cutting and shaping the wood to create the guitar’s body and neck.
- Sandpaper: Various grits of sandpaper for smoothing and refining the wood surfaces.
- Wood Glue: High-quality wood glue for securely joining the guitar’s components.
- Electric Guitar Components: Purchase replica electric guitar hardware, including pickups, knobs, and a bridge.
- Electronics: Acquire electronic components such as potentiometers, capacitors, and wires for wiring the guitar’s electronics.
- Paint and Finish: Choose suitable paint, clear coat, and sanding sealer to achieve a professional-looking finish.
- Drill and Drill Bits: A drill and various drill bits for creating holes for hardware and electronics installation.
- Soldering Iron and Solder: Essential for soldering electronic components and wiring.
- Templates: Printed or digital templates of electric guitar bodies and necks for accurate shaping and cutting.
- Protective Gear: Safety goggles, gloves, and a dust mask for personal protection during woodworking and painting.
- Measuring Tools: Calipers, rulers, and measuring tape for precise measurements and alignments.
- Workbench and Clamps: A sturdy workbench and clamps for securing the guitar components during assembly and finishing.
- Finishing Touches: Optional decorative elements such as decals, inlays, or custom designs for personalizing the guitar’s appearance.
By assembling these materials and tools, you’ll be well-prepared to embark on the exciting journey of constructing a convincing fake electric guitar. With these essentials at your disposal, you can proceed to the next steps of shaping the body and crafting the neck of the guitar.
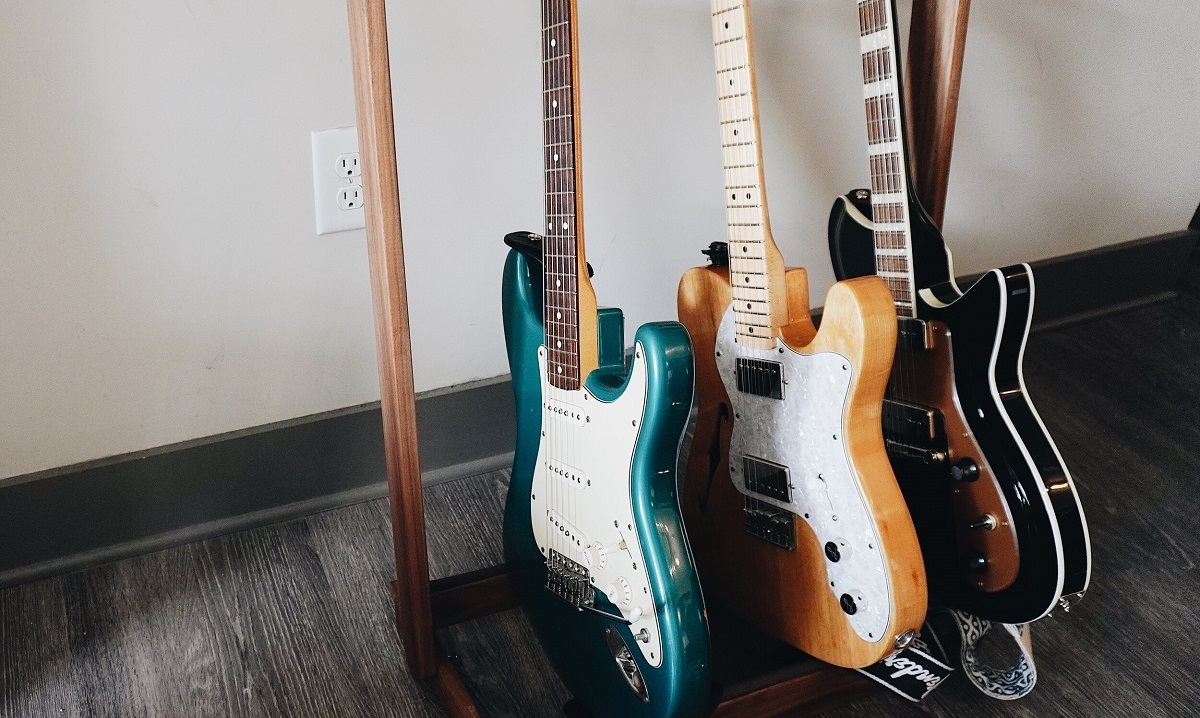
Building the Body
Constructing the body of a fake electric guitar is a crucial step in replicating its iconic appearance. Begin by selecting a suitable piece of wood for the body, ensuring that it aligns with the design and dimensions of your chosen guitar model. Using a printed or digital template as a guide, trace the outline of the guitar body onto the wood and carefully cut out the shape using a saw. It’s essential to exercise precision during this stage to achieve a symmetrical and aesthetically pleasing form.
Once the body shape is cut, use various grits of sandpaper to smooth the edges and refine the contours, ensuring a flawless finish. Pay close attention to the curves and contours, as these details contribute to the overall authenticity of the replica. Next, create cavities for the electronics and hardware using a drill and appropriate drill bits, following the specifications of your chosen guitar model. This meticulous process is essential for seamlessly installing the pickups, controls, and other components later in the construction process.
After the cavities are prepared, assemble the hardware and electronics, ensuring a snug and secure fit within the body. This stage demands careful alignment and meticulous attention to detail to guarantee the functionality and visual appeal of the finished product. Once the components are in place, apply wood glue to join any separate body pieces, such as the top and back, ensuring a strong and durable bond.
With the body taking shape, it’s time to focus on refining its surface and preparing it for painting and finishing. Apply a suitable sanding sealer to the wood, allowing it to penetrate and seal the surface for a smooth and uniform base. This preparatory step is crucial for achieving a flawless paint finish and enhancing the durability of the body. With the body construction complete, it’s time to turn our attention to crafting the neck of the fake electric guitar.
Creating the Neck
The neck of a fake electric guitar plays a pivotal role in replicating the instrument’s iconic design and ensuring a comfortable playing experience. Begin by selecting a suitable piece of wood for the neck, considering factors such as stability, resonance, and aesthetic appeal. Using a template or precise measurements, carefully shape the neck to achieve the desired profile, taking into account the scale length and fretboard dimensions of your chosen guitar model.
Once the basic shape of the neck is formed, focus on carving the fretboard, paying meticulous attention to the fret slots and inlays if applicable. This stage requires precision and patience to ensure that the fretboard aligns perfectly with the neck and provides a smooth playing surface. Whether you opt for traditional dot inlays, custom designs, or intricate fretboard markers, these details contribute to the authenticity and visual allure of the replica.
After shaping the neck and fretboard, carve the headstock to reflect the distinctive silhouette of the chosen guitar model. Pay close attention to the headstock’s contours and dimensions, as these details are characteristic of specific guitar designs and contribute to the overall aesthetic appeal. Additionally, drill holes for the tuning pegs and carefully install them to ensure stability and functionality.
Once the neck is fully shaped and assembled, it’s essential to apply a suitable finish to enhance its durability and aesthetic appeal. Whether you prefer a natural wood finish or a glossy varnish, the chosen finish should complement the overall design of the guitar and provide long-lasting protection. With the neck crafted and finished, it’s time to shift our focus to installing the electronics that will bring the fake electric guitar to life.
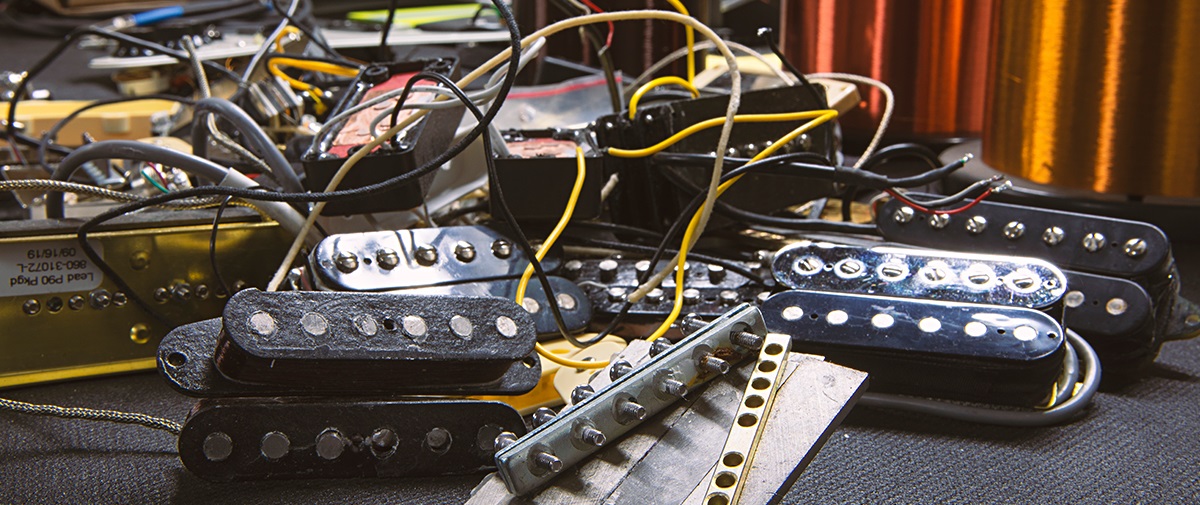
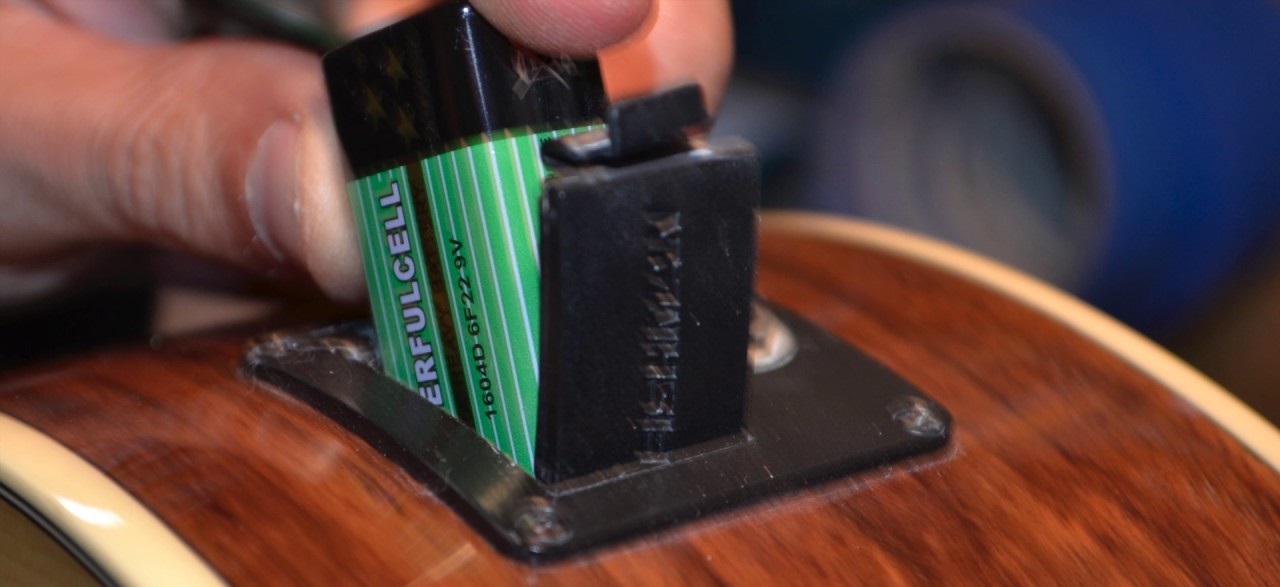
Installing the Electronics
Installing the electronics is a pivotal phase in the construction of a fake electric guitar, as it brings the instrument to life visually and sets the stage for its unmistakable aesthetic appeal. Begin by carefully positioning the pickups within the designated cavities in the guitar body, ensuring optimal alignment and balance. The placement of pickups significantly influences the instrument’s tonal characteristics, so meticulous attention to detail is essential during this step.
Once the pickups are in place, proceed to wire them to the appropriate controls, such as volume and tone knobs, and the pickup selector switch if applicable. Precision soldering is crucial during this stage to establish secure connections and ensure the reliability and functionality of the electronics. Take care to route the wiring neatly within the body, avoiding potential interference with the guitar’s components and maintaining a tidy interior layout.
After wiring the pickups and controls, install the bridge, ensuring proper positioning and alignment with the fretboard and pickups. The bridge plays a critical role in establishing the guitar’s intonation and action, so meticulous adjustment and secure installation are essential. Additionally, install the output jack and ground wire, ensuring a snug fit and reliable electrical connections.
With the electronics fully installed and wired, perform a thorough inspection to verify the functionality and integrity of the electrical components. Test the pickups, controls, and output jack to ensure that they operate as intended, and address any issues promptly. This meticulous approach will contribute to the overall quality and performance of the fake electric guitar, ensuring a visually stunning and functional end product.
With the electronics successfully installed, the next phase involves preparing the guitar for painting and finishing, transforming it from a collection of components into a visually striking and authentic-looking replica. The painting and finishing process will elevate the guitar’s aesthetic appeal and provide long-lasting protection, bringing it one step closer to its final, captivating form.
Painting and Finishing
The painting and finishing phase is a transformative stage in the construction of a fake electric guitar, as it bestows the instrument with its distinctive visual identity and professional allure. Begin by preparing the guitar body and neck for painting, ensuring that all surfaces are smooth, free of imperfections, and sealed with an appropriate sanding sealer. This preparatory step sets the foundation for a flawless and durable paint finish, enhancing the overall aesthetic appeal of the replica.
Select high-quality paint in the desired color or finish, ensuring that it adheres well to the wood and provides a visually appealing result. Whether you opt for a classic solid color, a vibrant metallic finish, or a captivating sunburst effect, the chosen paint should align with the aesthetic vision for the guitar. Apply multiple thin coats of paint, allowing each layer to dry thoroughly before proceeding, to achieve a consistent and lustrous finish.
After the paint has cured, apply a clear coat to the guitar body and neck to provide protection, durability, and a glossy sheen. The clear coat not only safeguards the paint finish but also enhances the visual depth and vibrancy of the colors, elevating the overall aesthetic impact of the replica. Take care to apply the clear coat evenly and without blemishes, ensuring a professional and polished appearance.
Once the clear coat has dried, meticulously sand the surfaces to achieve a smooth and uniform finish, removing any imperfections or irregularities. This step is crucial for achieving a flawless and tactilely pleasing surface, enhancing the overall quality and visual appeal of the fake electric guitar. Following the sanding process, buff and polish the surfaces to a lustrous sheen, further elevating the finish and bringing out the full beauty of the paint and clear coat.
With the painting and finishing process complete, the guitar exudes a captivating visual allure and professional quality, setting the stage for the final phase of adding hardware. The addition of hardware components such as tuning pegs, strings, and bridge will not only enhance the guitar’s functionality but also contribute to its striking appearance, bringing it one step closer to its ultimate, captivating form.
Adding the Hardware
The addition of hardware components is a pivotal step that brings the fake electric guitar to its final, captivating form, marrying visual appeal with functional excellence. Begin by installing the tuning pegs onto the headstock, ensuring precise alignment and secure attachment. The tuning pegs not only facilitate precise tuning but also contribute to the aesthetic charm of the guitar, making them a vital element in achieving an authentic appearance.
Following the installation of the tuning pegs, attach the bridge to the body, ensuring accurate positioning and stable anchoring. The bridge plays a crucial role in establishing the guitar’s intonation, action, and overall playability, making meticulous installation essential for optimal performance. Whether you opt for a classic fixed bridge or a tremolo system, the bridge significantly influences the instrument’s functionality and visual allure.
Next, install the strings onto the guitar, carefully threading them through the bridge and securing them to the tuning pegs. Pay close attention to the string alignment and tension, ensuring that each string is properly seated and tuned to the desired pitch. The selection of high-quality strings contributes to the instrument’s tonal characteristics and playability, making it essential to choose strings that align with your sonic preferences and playing style.
With the strings in place, adjust the bridge and truss rod to achieve optimal string action, intonation, and neck relief, ensuring that the guitar delivers a comfortable playing experience and precise tuning stability. Meticulous adjustments to these components contribute to the instrument’s overall functionality and playability, making them essential for a satisfying and rewarding playing experience.
Following the installation and adjustment of the hardware, perform a thorough inspection to verify the functionality, stability, and overall integrity of the components. Test the tuning stability, intonation, and action of the guitar, addressing any issues promptly to ensure a flawless playing experience. This meticulous approach will elevate the instrument to its final, captivating form, ready to command attention and admiration as a stunning replica of the beloved electric guitar.
Conclusion
Congratulations on completing the exhilarating journey of constructing a fake electric guitar! Through meticulous craftsmanship and unwavering dedication, you have transformed basic materials into a visually stunning and captivating replica of the iconic instrument. This hands-on endeavor has not only honed your woodworking and assembly skills but also allowed you to unleash your creativity and artistic vision.
As you reflect on the intricate process of shaping the body, crafting the neck, installing the electronics, and adding the finishing touches, you have gained valuable insights into the art of guitar construction and design. Each meticulous step has contributed to the creation of a visually authentic and professionally finished replica, ready to command attention and admiration.
By meticulously shaping the body and neck, installing the electronics, and adding the hardware, you have brought the fake electric guitar to life, infusing it with visual allure and functional excellence. The meticulous attention to detail and unwavering commitment to quality have culminated in a visually captivating and authentic-looking replica, showcasing your dedication to craftsmanship and artistry.
Whether you embarked on this project as a music enthusiast, a DIY aficionado, or a creative hobbyist, the journey of constructing a fake electric guitar has undoubtedly expanded your skills and provided a platform for self-expression. Through this hands-on experience, you have delved into the intricacies of guitar design, woodworking, and assembly, emerging with a newfound appreciation for the artistry and craftsmanship behind the beloved electric guitar.
As you admire the finished replica, basking in the satisfaction of bringing your vision to life, you stand as a testament to the power of creativity and dedication. The captivating fake electric guitar you have crafted is a testament to your unwavering commitment to excellence and your ability to transform raw materials into a visually striking and authentic-looking replica of the beloved electric guitar.
As you showcase your masterpiece, whether as a decorative piece, a prop for performances and events, or a conversation starter, take pride in the journey you have undertaken and the skills you have honed. Your stunning replica stands as a testament to your creativity, dedication, and unwavering commitment to craftsmanship, ready to captivate and inspire all who behold it.