Introduction
Replacing the electric guitar bridge can significantly enhance the instrument's playability, tone, and intonation. Whether seeking to upgrade to a higher-quality bridge, change the guitar's appearance, or address functional issues, understanding the process is essential for any guitarist. A well-functioning bridge is crucial for maintaining proper string tension, intonation, and action, all of which directly impact the playability and sound of the guitar.
This guide provides comprehensive instructions for replacing an electric guitar bridge, offering insights into the tools, techniques, and adjustments necessary to ensure a successful outcome. By following these steps, guitarists can take control of their instrument's setup, customization, and maintenance, ultimately contributing to an improved playing experience.
The process of replacing an electric guitar bridge involves several key steps, including removing the old bridge, preparing the new bridge for installation, and adjusting the bridge height and intonation. Additionally, proper testing and tuning are crucial to ensure that the new bridge functions optimally and produces the desired tonal characteristics.
Understanding the importance of the bridge in an electric guitar's overall setup empowers guitarists to make informed decisions regarding upgrades, repairs, and customizations. With the right tools, knowledge, and attention to detail, replacing an electric guitar bridge can be a rewarding endeavor, leading to improved performance and a personalized playing experience.
Tools and Materials Needed
Before embarking on the process of replacing an electric guitar bridge, it is essential to gather the necessary tools and materials to ensure a smooth and efficient procedure. The following items are indispensable for this task:
- Screwdrivers: Phillips and flathead screwdrivers are essential for removing the old bridge and installing the new one.
- Allen Wrenches: These are typically needed to adjust the saddle height and intonation on the new bridge.
- New Bridge: The replacement bridge should be compatible with the guitar's body and existing hardware. It is essential to choose a bridge that meets the desired specifications and complements the instrument's design and playability.
- String Winder: A string winder facilitates the process of removing and installing strings, saving time and effort.
- Wire Cutters: These are necessary for trimming the excess string length after restringing the guitar with the new bridge.
- Ruler or Feeler Gauge: Accurately measuring the action and intonation of the new bridge is crucial for achieving optimal playability and tone.
- Guitar Polish and Cloth: Cleaning the guitar and removing any debris or residue from the bridge area is essential before installing the new bridge.
- Masking Tape: Using masking tape to mark the bridge placement and protect the guitar's finish during the installation process can prevent accidental damage.
- Work Mat: A padded work mat provides a soft, stable surface for working on the guitar, protecting it from scratches and dings during the bridge replacement.
By ensuring that these tools and materials are readily available, guitarists can approach the bridge replacement process with confidence and preparedness, leading to a successful and satisfying outcome.
Removing the Old Bridge
Before installing a new bridge, it is crucial to remove the existing bridge from the electric guitar. This process requires careful attention to detail and precision to avoid damaging the instrument. The following steps outline the procedure for removing the old bridge:
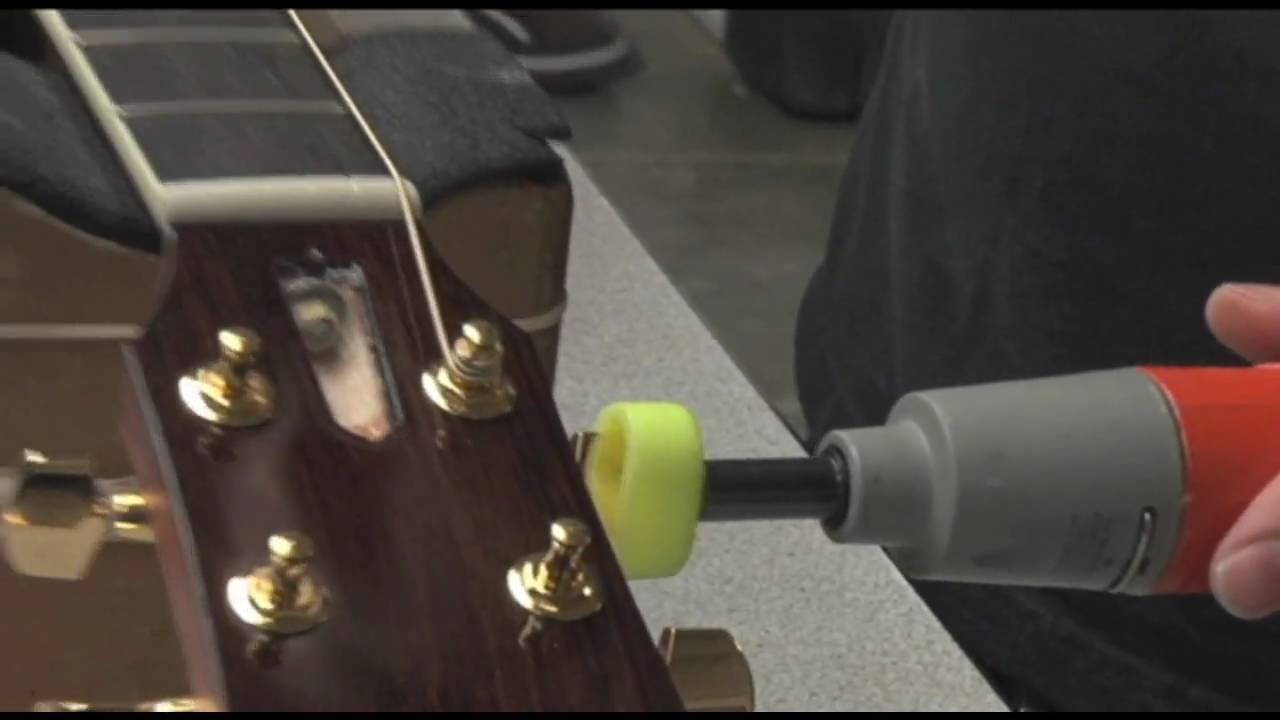
- Loosening the Strings: Begin by loosening the tension of all the strings on the guitar using a string winder. This step reduces the tension on the bridge and makes it easier to remove.
- Removing the Strings: Once the strings are sufficiently loosened, carefully remove them from the bridge and set them aside. It is advisable to keep the strings organized to facilitate restringing the guitar later.
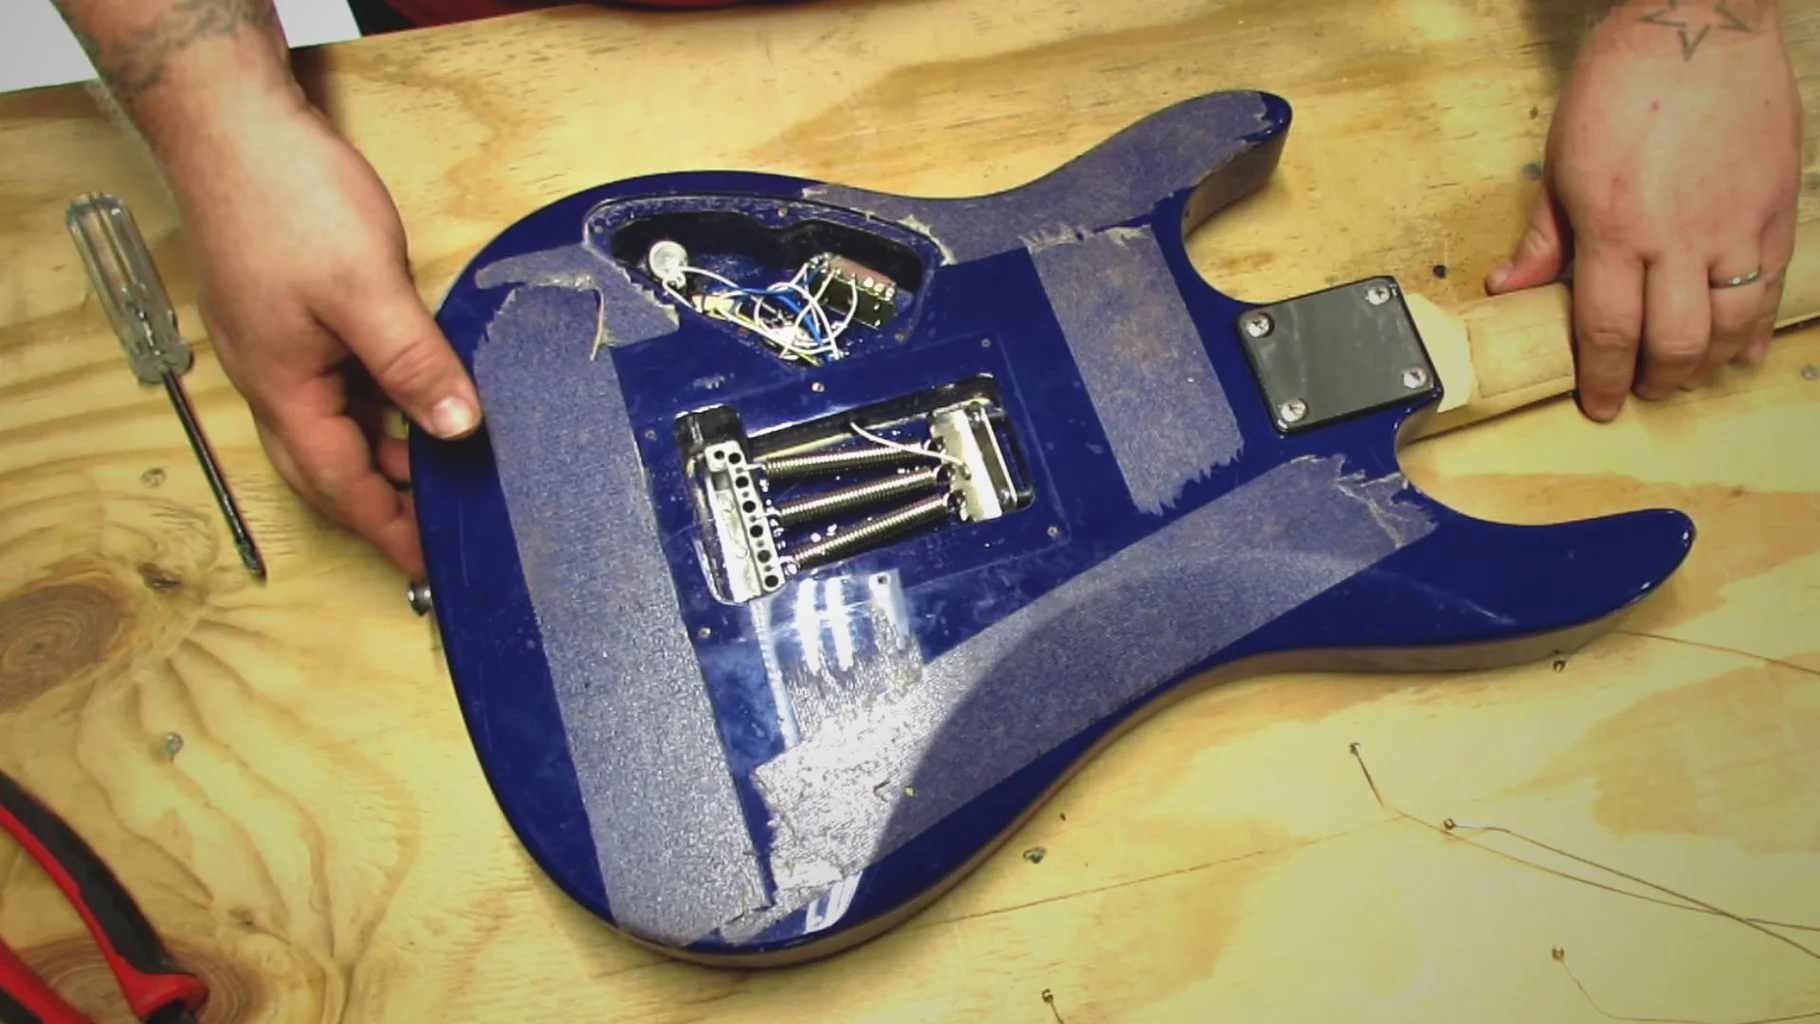
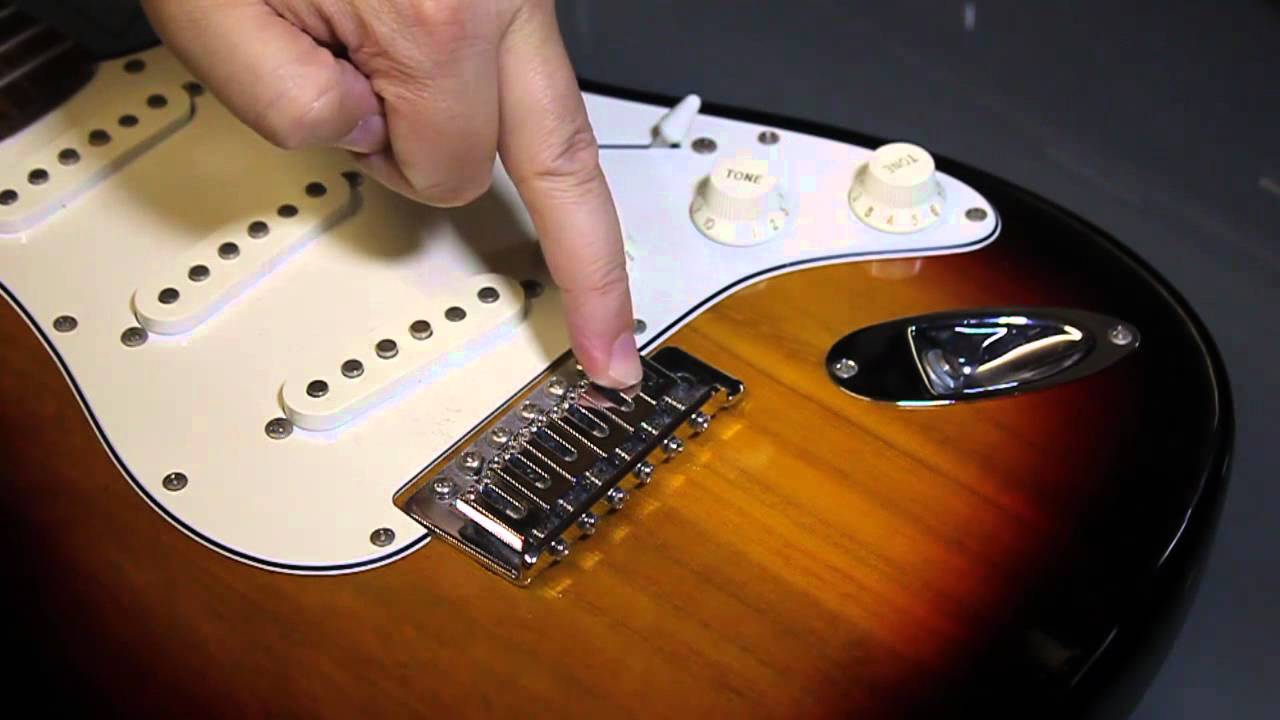
- Unscrewing the Bridge: Using the appropriate screwdrivers, carefully unscrew and remove the bridge from the guitar body. It is essential to keep track of the screws and any associated components to ensure they are not misplaced during the process.
- Cleaning the Bridge Area: With the old bridge removed, take the opportunity to clean the bridge area thoroughly. Remove any debris, dust, or residue that may have accumulated around the bridge mounting points and saddle slots.
- Inspecting the Guitar Body: After removing the old bridge, inspect the guitar body for any signs of wear, damage, or debris that may have accumulated beneath the bridge. Addressing any issues at this stage can prevent potential problems when installing the new bridge.
By carefully following these steps, guitarists can safely and effectively remove the old bridge, preparing the instrument for the installation of a new and improved bridge. Attention to detail and patience are key during this phase of the process to ensure a successful transition to the new bridge.
Preparing the New Bridge
Before installing the new bridge on the electric guitar, it is essential to properly prepare the bridge and the guitar body to ensure a seamless and secure fit. The following steps outline the process of preparing the new bridge for installation:
- Inspecting the New Bridge: Thoroughly examine the new bridge to ensure that it is free from any defects or damage. Check the saddle height adjustment screws, intonation screws, and overall construction to confirm that the bridge is in optimal condition for installation.
- Aligning the Bridge: Position the new bridge on the guitar body, aligning it with the existing bridge mounting points. Take care to ensure that the bridge is centered and properly oriented to maintain accurate string alignment and intonation.
- Securing the Bridge: Once the bridge is aligned, carefully secure it to the guitar body using the appropriate screws and hardware. It is crucial to tighten the screws evenly to prevent any imbalance in the bridge placement.
- Setting the Saddle Height: Adjust the saddle height screws on the new bridge to achieve the desired action for the guitar. This step is essential for customizing the playability and comfort of the instrument according to the guitarist’s preferences.
- Checking String Alignment: Verify that the strings align properly with the bridge saddles and nut. This ensures that the strings will maintain correct spacing and intonation across the fretboard.
- Double-Checking Stability: Once the bridge is in place, double-check its stability and alignment to confirm that it is securely fastened to the guitar body. Any adjustments or fine-tuning should be made at this stage to ensure the bridge is firmly positioned.
By meticulously preparing the new bridge for installation, guitarists can lay the foundation for a successful bridge replacement process. Attention to detail and precision during this phase is crucial for achieving optimal playability, tone, and stability with the new bridge.
Installing the New Bridge
With the new bridge prepared and the guitar body meticulously inspected, it is time to proceed with the installation of the new bridge. This critical phase of the bridge replacement process requires careful attention to detail and precision to ensure a secure and functional fit. The following steps outline the procedure for installing the new bridge on an electric guitar:
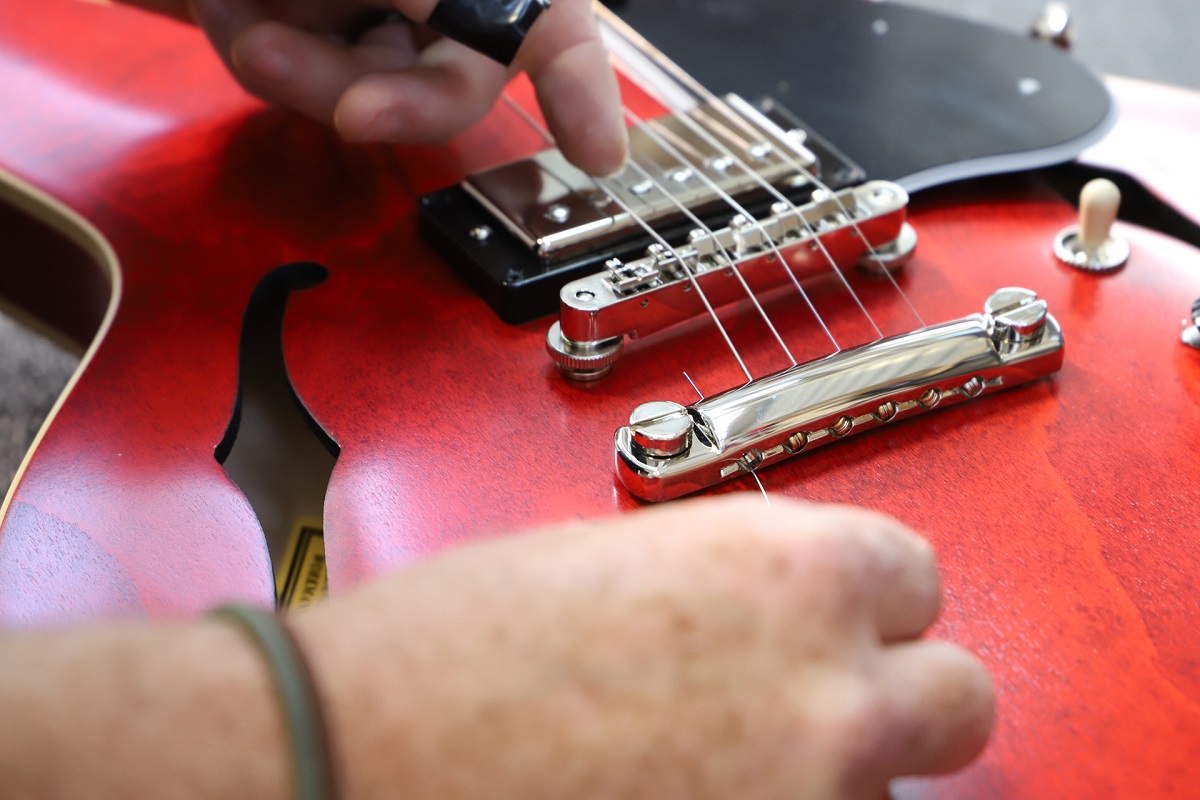
- Stringing the Guitar: Begin by restringing the guitar with the appropriate strings for the new bridge. Carefully thread each string through the bridge saddles, ensuring that they are properly seated and secured in place.
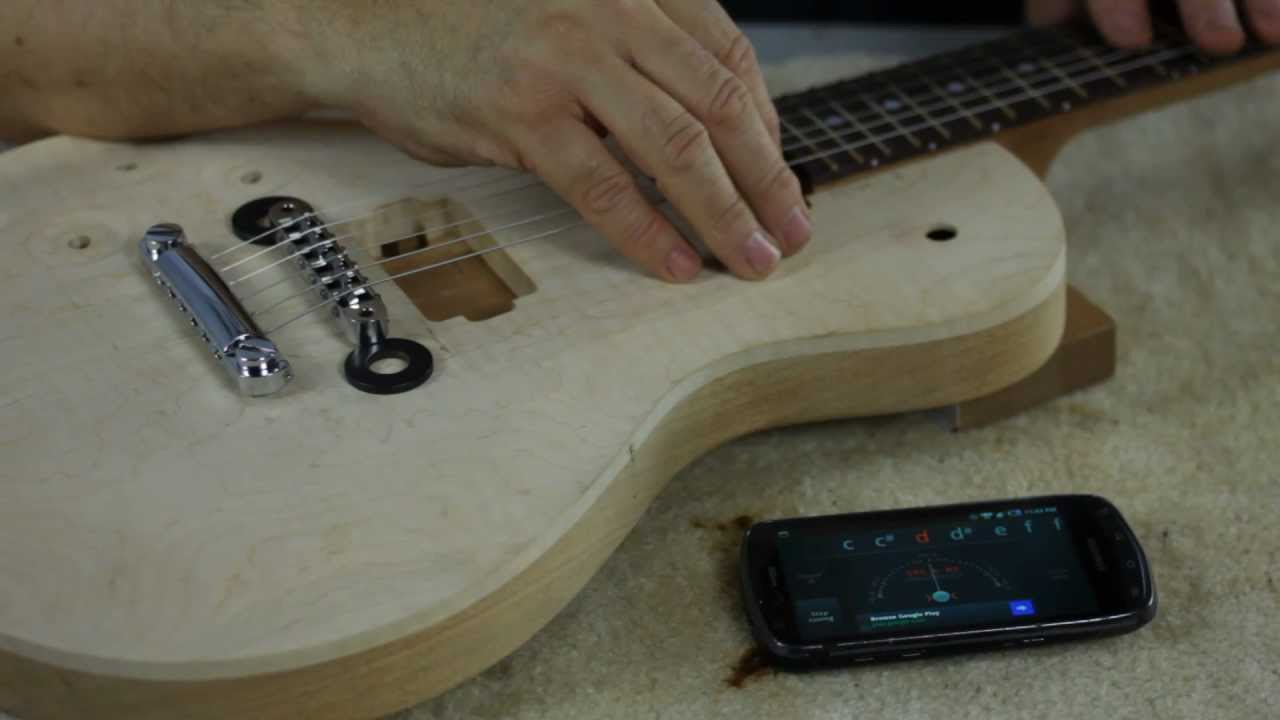
- Tuning the Guitar: After restringing, tune the guitar to the desired pitch. This step is essential for accurately setting the intonation and adjusting the bridge for optimal performance.
- Checking String Height: Verify that the string height, or action, is consistent across the fretboard. Adjust the saddle height screws as needed to achieve the desired action for comfortable playability.
- Setting Intonation: Using a tuner, check the intonation of each string and make any necessary adjustments to ensure that the guitar plays in tune across the entire fretboard.
- Testing Stability: Strum the guitar and play various notes and chords to test the stability and functionality of the new bridge. Pay attention to any buzzing, rattling, or intonation issues that may need further adjustment.
- Finalizing the Installation: Once the bridge is properly installed and adjusted, double-check the stability and playability of the guitar. Fine-tune any remaining adjustments to ensure that the new bridge functions optimally.
By meticulously following these steps, guitarists can successfully install a new bridge on their electric guitar, leading to improved playability, tone, and overall performance. Attention to detail and patience during the installation process are essential for achieving a seamless transition to the new bridge.
Adjusting the Bridge Height and Intonation
After installing the new bridge on the electric guitar, it is crucial to fine-tune the bridge height and intonation to optimize playability, tone, and overall performance. The following steps outline the process of adjusting the bridge height and intonation:
- Setting the Action: Adjust the bridge saddle height screws to achieve the desired string action. This step directly impacts the playability and comfort of the guitar, allowing for smooth fretting and string bending.
- Checking String Height: Use a ruler or feeler gauge to measure the string height at various points along the fretboard. Ensure that the action is consistent across all strings and adjust the saddle height screws as needed.
- Checking Intonation: Using a tuner, play each string open and then at the 12th fret to verify the intonation. Make adjustments to the intonation screws on the bridge to ensure that each string plays in tune at both positions.
- Testing Playability: Play scales, chords, and various musical passages to assess the playability and comfort of the guitar. Pay attention to any fret buzz, string resistance, or intonation issues that may require further adjustment.
- Fine-Tuning the Setup: Make incremental adjustments to the bridge height and intonation until the guitar plays comfortably and stays in tune across the fretboard. Attention to detail and patience are essential during this phase of the setup process.
By carefully adjusting the bridge height and intonation, guitarists can customize the playability and tonal characteristics of their instrument to suit their playing style and preferences. A well-set bridge height and intonation contribute to enhanced performance and a more enjoyable playing experience.
Testing and Tuning the Guitar
Once the new bridge is installed and the bridge height and intonation are adjusted, it is essential to thoroughly test and tune the guitar to ensure that it performs optimally. The following steps outline the process of testing and tuning the guitar after a bridge replacement:
- Initial Test Play: Strum the guitar and play various chords and scales to assess the overall tone, sustain, and playability. Pay attention to any unusual buzzing, rattling, or intonation issues that may require further adjustment.
- Checking Tuning Stability: Tune the guitar to the desired pitch and observe the tuning stability. Play the guitar and use the tremolo bar or whammy system, if applicable, to test the tuning integrity during dynamic playing.
- Assessing Tone and Sustain: Play single notes and chords across the fretboard to evaluate the tonal characteristics and sustain of the guitar. Listen for clarity, resonance, and sustain to ensure that the new bridge enhances the instrument’s sonic qualities.
- Testing Dynamic Playing: Perform dynamic playing techniques such as bends, vibrato, and aggressive strumming to gauge the guitar’s responsiveness and stability. Assess how the new bridge responds to various playing styles and techniques.
- Final Tuning and Adjustment: Fine-tune the guitar’s tuning and make any necessary adjustments to the bridge height and intonation based on the testing results. Strive to achieve optimal playability, stability, and tonal characteristics across the entire fretboard.
Thoroughly testing and tuning the guitar after a bridge replacement is crucial for ensuring that the instrument meets the player’s expectations in terms of playability, tone, and overall performance. By carefully evaluating the guitar’s response to the new bridge and making any necessary adjustments, guitarists can achieve a satisfying and rewarding playing experience.


