Introduction
Introduction
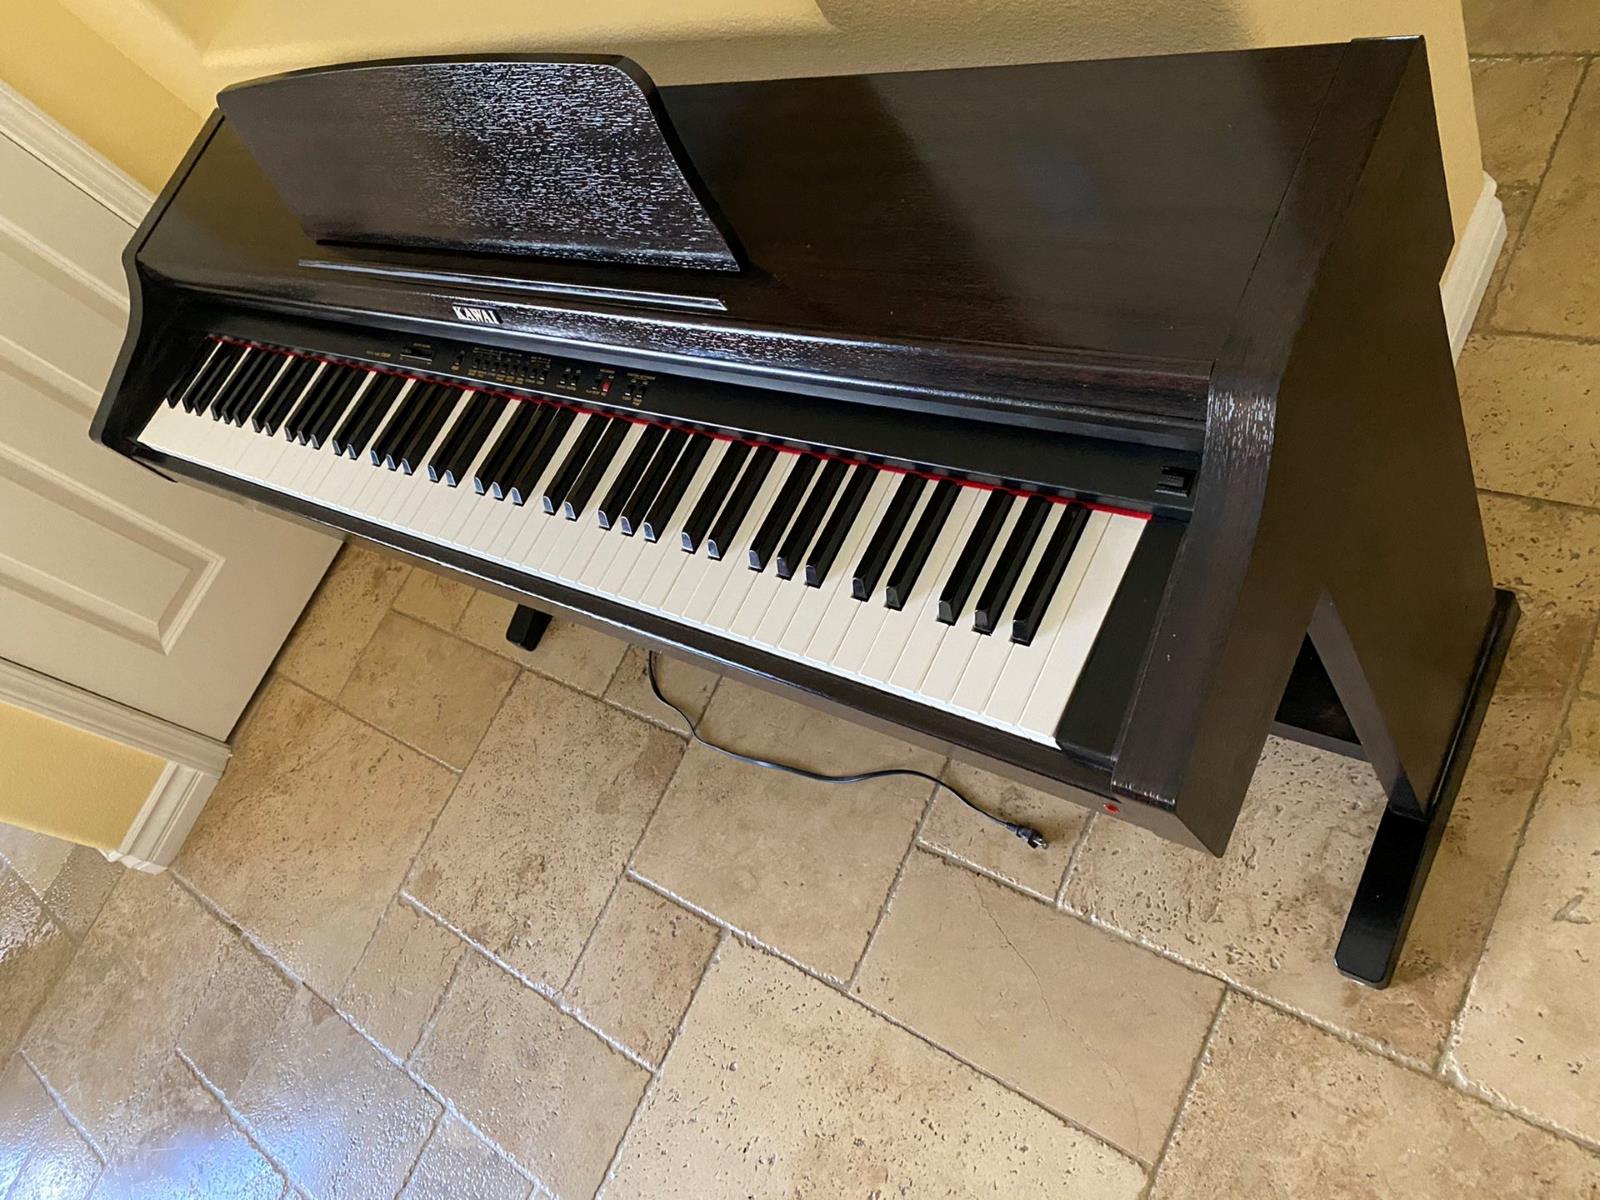
If you own a Kawai digital piano and find that the power switch is no longer functioning as it should, you may be considering replacing it. The power switch is a critical component of any electronic device, and a malfunctioning switch can be frustrating and disruptive. Fortunately, replacing the power switch on a Kawai digital piano is a manageable task that can be accomplished with the right tools, a bit of patience, and a methodical approach.
In this guide, we will walk you through the process of replacing the power switch on your Kawai digital piano. Whether you are an experienced musician or a novice when it comes to instrument maintenance, this step-by-step tutorial will equip you with the knowledge and confidence to tackle this repair with ease. By following these instructions, you can restore the functionality of your piano and get back to making beautiful music in no time.
Throughout this guide, we will cover the tools and materials you will need, the steps to remove the old switch, the process of installing the new switch, and how to test the new switch to ensure it is functioning properly. Additionally, we will provide helpful tips and insights to make the replacement process as smooth and straightforward as possible.
By the end of this tutorial, you will have the expertise to successfully replace the power switch on your Kawai digital piano, allowing you to enjoy uninterrupted play and peace of mind knowing that your instrument is in optimal working condition. Let's dive in and get started on this rewarding and practical DIY endeavor.
Tools and Materials Needed
Before embarking on the process of replacing the power switch on your Kawai digital piano, it is essential to gather the necessary tools and materials. Having the right equipment at hand will streamline the repair process and ensure that you can complete the task efficiently. Here is a list of the tools and materials you will need:
- Screwdriver set: A set of precision screwdrivers, including Phillips and flathead screwdrivers, will be indispensable for accessing and removing the components of the piano.
- New power switch: Ensure that you have the correct replacement power switch specifically designed for your Kawai digital piano model. This guarantees a seamless fit and optimal functionality.
- Tweezers or needle-nose pliers: These tools will aid in delicately handling small components and wires within the piano.
- Work surface: Prepare a clean and spacious work area where you can comfortably disassemble and reassemble the piano without any obstructions.
- Soft cloth: Having a soft cloth on hand will allow you to protect the piano’s surface from scratches or damage during the repair process.
- Container for screws: Utilize a small container or compartmentalized tray to store the screws and small parts removed from the piano. This will prevent misplacement and confusion during reassembly.
- Light source: Ensure adequate lighting in your work area to clearly see the components and connections within the piano.
- Protective gloves (optional): If you prefer added protection for your hands, consider using protective gloves to prevent accidental cuts or injuries while working on the piano.
By gathering these tools and materials before you begin, you will set yourself up for a smooth and efficient power switch replacement process. With everything at your disposal, you can proceed confidently and methodically through each step of the repair, knowing that you have the necessary resources to complete the task effectively.
Removing the Old Switch
Before diving into the removal process, it’s crucial to ensure the piano is unplugged from any power source to prevent electrical hazards. Once you’ve taken this safety precaution, you can begin the step-by-step process of removing the old power switch from your Kawai digital piano.
Step 1: Accessing the Switch
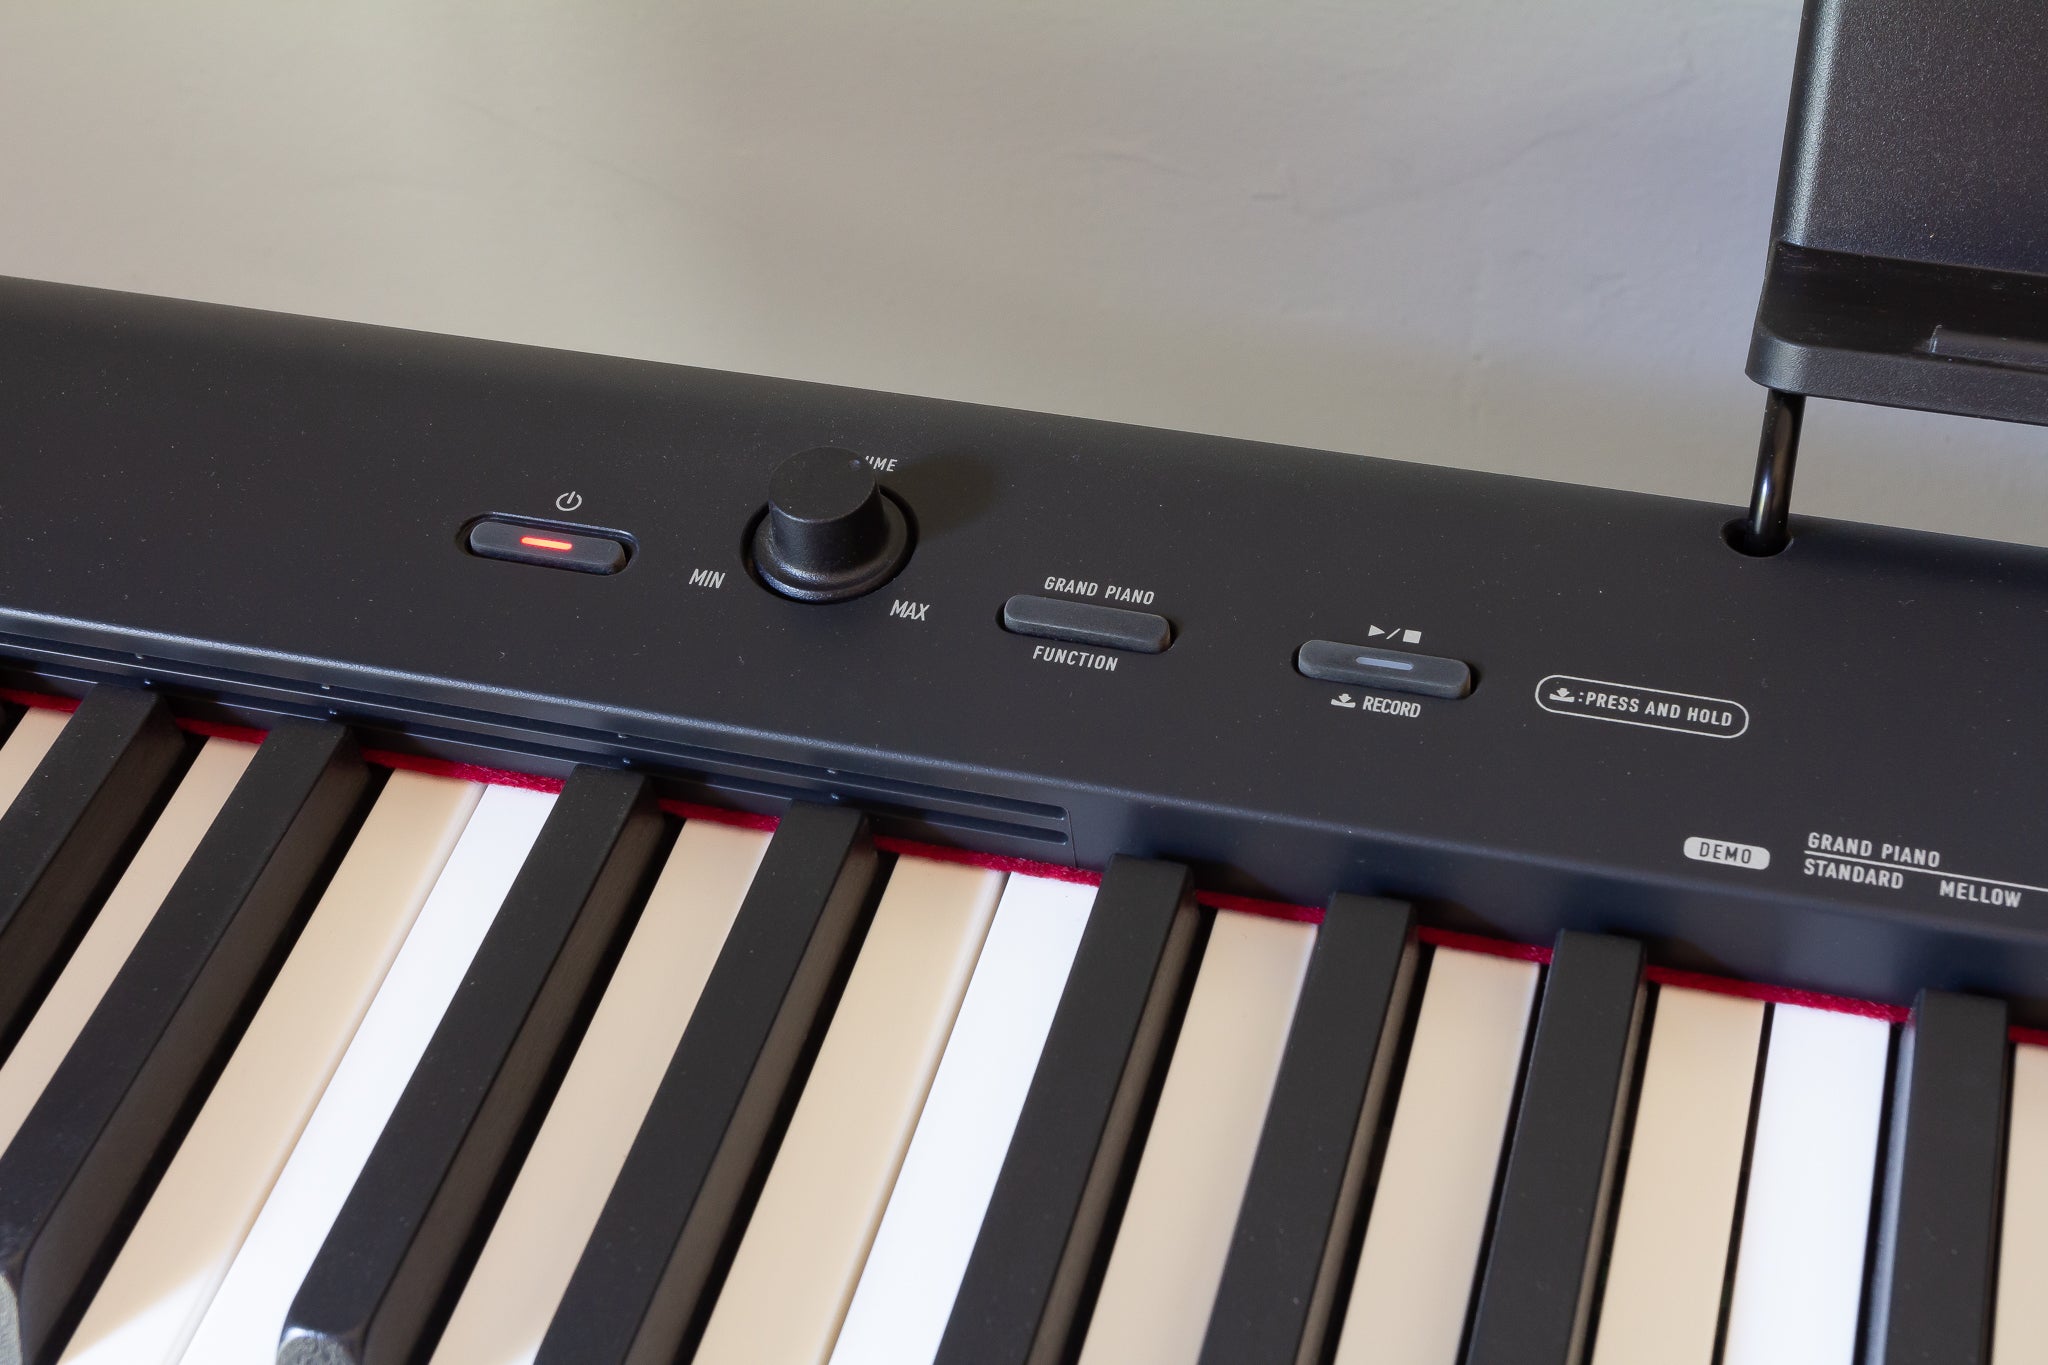
Start by locating the power switch on your piano. Depending on the model, it may be situated on the front panel or integrated into the instrument’s control interface. Use your screwdriver set to carefully remove any panels or covers obstructing access to the switch.
Step 2: Disconnecting the Wires
With the switch exposed, identify the wires connected to it. Take note of their positions and colors to ensure correct reattachment later. Using the appropriate screwdriver, carefully loosen the terminals securing the wires to the switch. Gently pull the wires away from the switch, keeping track of which wire corresponds to each terminal.
Step 3: Removing the Switch
Once the wires are disconnected, you can proceed to remove the old power switch from its mounting. Depending on the design, it may be secured with screws, clips, or other fasteners. Use the appropriate tools to release the switch from its position, taking care not to damage any surrounding components or wiring.
Step 4: Inspection and Cleaning
With the old switch removed, take a moment to inspect the surrounding area for any debris or signs of wear. Use a soft cloth to gently clean the exposed surfaces, ensuring a clean environment for the installation of the new switch.
By methodically following these steps, you can successfully remove the old power switch from your Kawai digital piano, paving the way for the installation of a new, fully functional switch. With the old switch out of the way, you’re ready to proceed to the next phase of the replacement process.
Installing the New Switch
With the old power switch successfully removed, you are now ready to install the new switch in your Kawai digital piano. This phase of the replacement process requires precision and attention to detail to ensure the smooth integration of the new component.
Step 1: Positioning the New Switch
Begin by carefully positioning the new power switch in the designated mounting area. Align the switch according to the original orientation, ensuring that any screw holes or attachment points correspond to those on the piano. Take care to avoid bending or stressing the switch’s terminals or wires during this process.
Step 2: Securing the Switch
Once the switch is in place, use the appropriate fasteners or securing mechanisms to firmly affix it to the piano. Depending on the design, this may involve screws, clips, or other attachment methods. Be mindful of the switch’s alignment and stability as you secure it in position.
Step 3: Reconnecting the Wires
Refer to your notes or documentation to identify the correct terminals for each wire. Carefully reconnect the wires to the corresponding terminals on the new power switch, ensuring a snug and secure fit. Take care to avoid cross-wiring or misalignment, as this could lead to operational issues or electrical hazards.
Step 4: Testing the Switch
Before reassembling any panels or covers, take a moment to perform a preliminary test of the new power switch. Gently press the switch to verify that it engages and disengages smoothly, and that the piano powers on and off as expected. This initial test allows you to confirm the proper functionality of the new switch before completing the reassembly process.
By meticulously following these steps, you can effectively install the new power switch in your Kawai digital piano, setting the stage for a fully restored and reliable power control mechanism. With the new switch securely in place and the wiring correctly connected, you are one step closer to completing the replacement process and restoring your piano’s functionality.
Testing the New Switch
After successfully installing the new power switch in your Kawai digital piano, it is essential to conduct thorough testing to ensure its proper functionality. This critical step allows you to verify that the switch operates as intended and that the piano responds appropriately to power commands. By carefully testing the new switch, you can guarantee a seamless transition to reliable power control for your instrument.
Step 1: Power On Test
Begin by plugging in the piano and turning on the power source. With the new switch installed, press the power button to activate the instrument. Observe the piano’s response to the command, ensuring that it powers on smoothly without any hesitation or irregular behavior.
Step 2: Power Off Test
Once the piano is powered on, perform a test to ensure that the new switch effectively turns off the instrument. Press the power button to initiate the shutdown process, and confirm that the piano deactivates promptly and completely. Verify that the switch disengages without resistance and that the power-down sequence occurs as expected.
Step 3: Repeat Testing
Conduct multiple cycles of powering the piano on and off using the new switch to validate its consistent performance. Pay attention to any signs of erratic behavior or malfunction, such as intermittent power loss or difficulty engaging the switch. By repeating the testing process, you can confirm the reliability and durability of the new power switch under various conditions.
Step 4: Functional Verification
While the piano is powered on, take a moment to ensure that all other functions and features operate normally. Test the keyboard, controls, and any integrated technology to confirm that the instrument functions seamlessly with the new power switch in place. Address any anomalies or irregularities promptly to guarantee the overall integrity of the repair.
By diligently testing the new power switch through these comprehensive steps, you can instill confidence in its reliability and functionality within your Kawai digital piano. A thorough and meticulous testing process ensures that the instrument’s power control system operates flawlessly, allowing you to enjoy uninterrupted play and performance without concerns about power-related issues.