Introduction
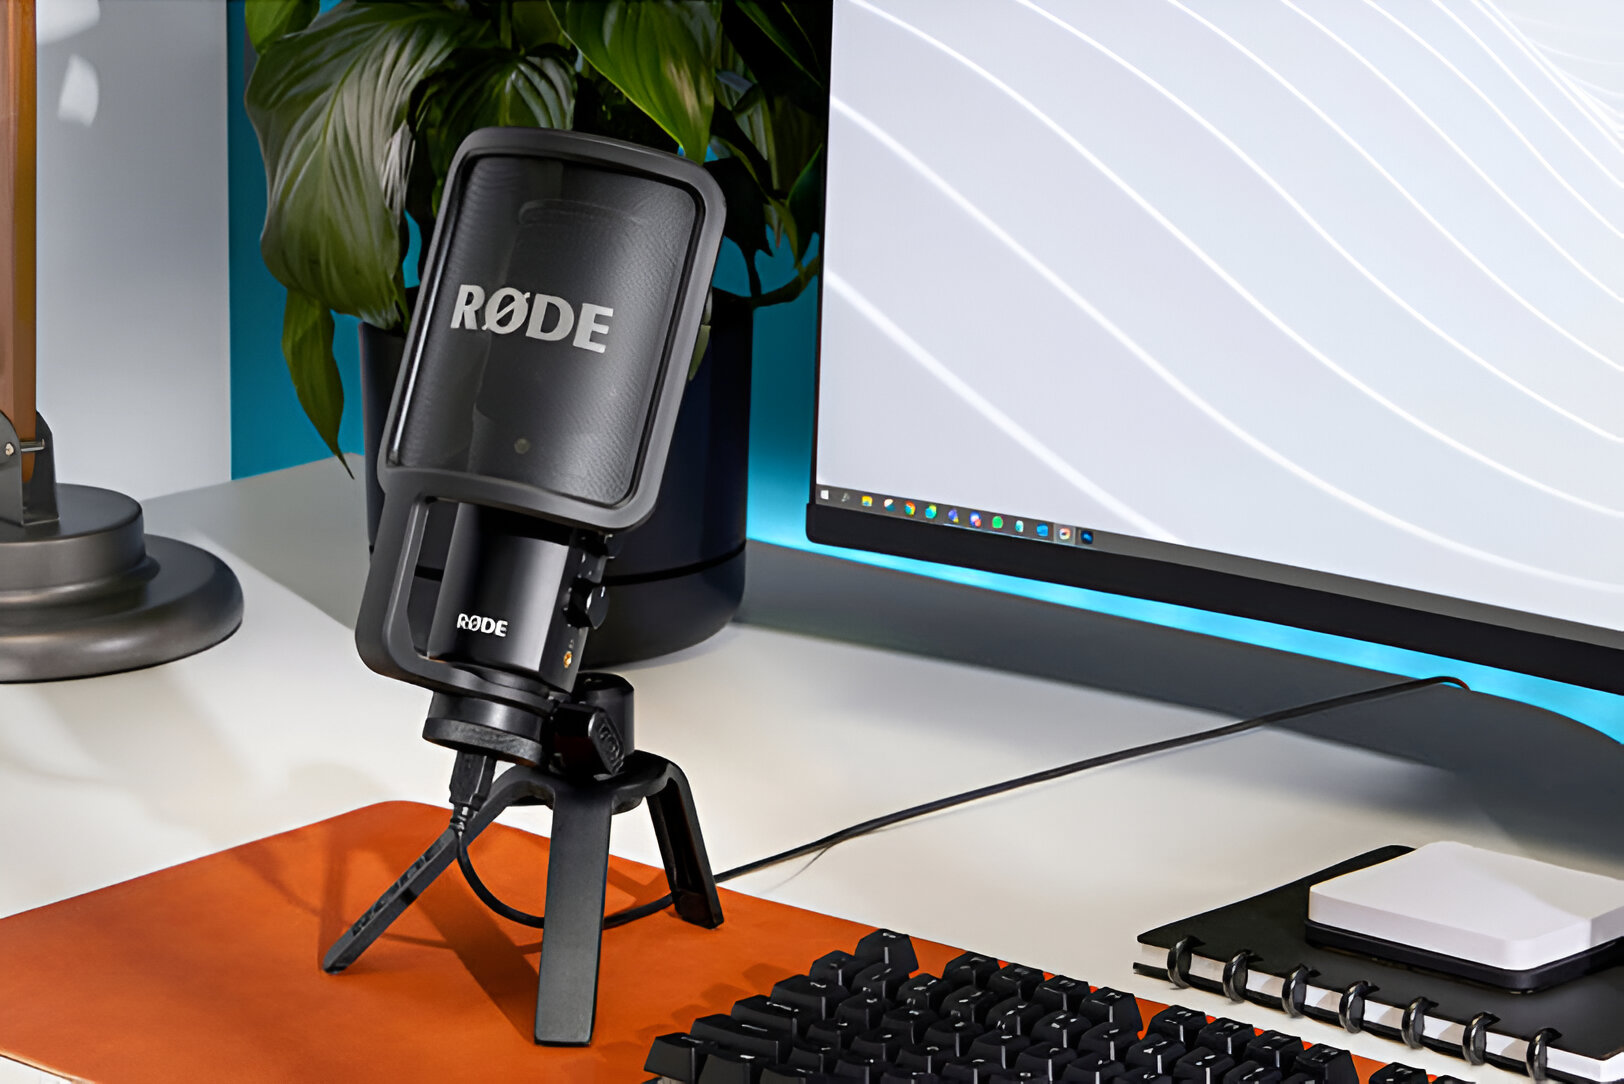
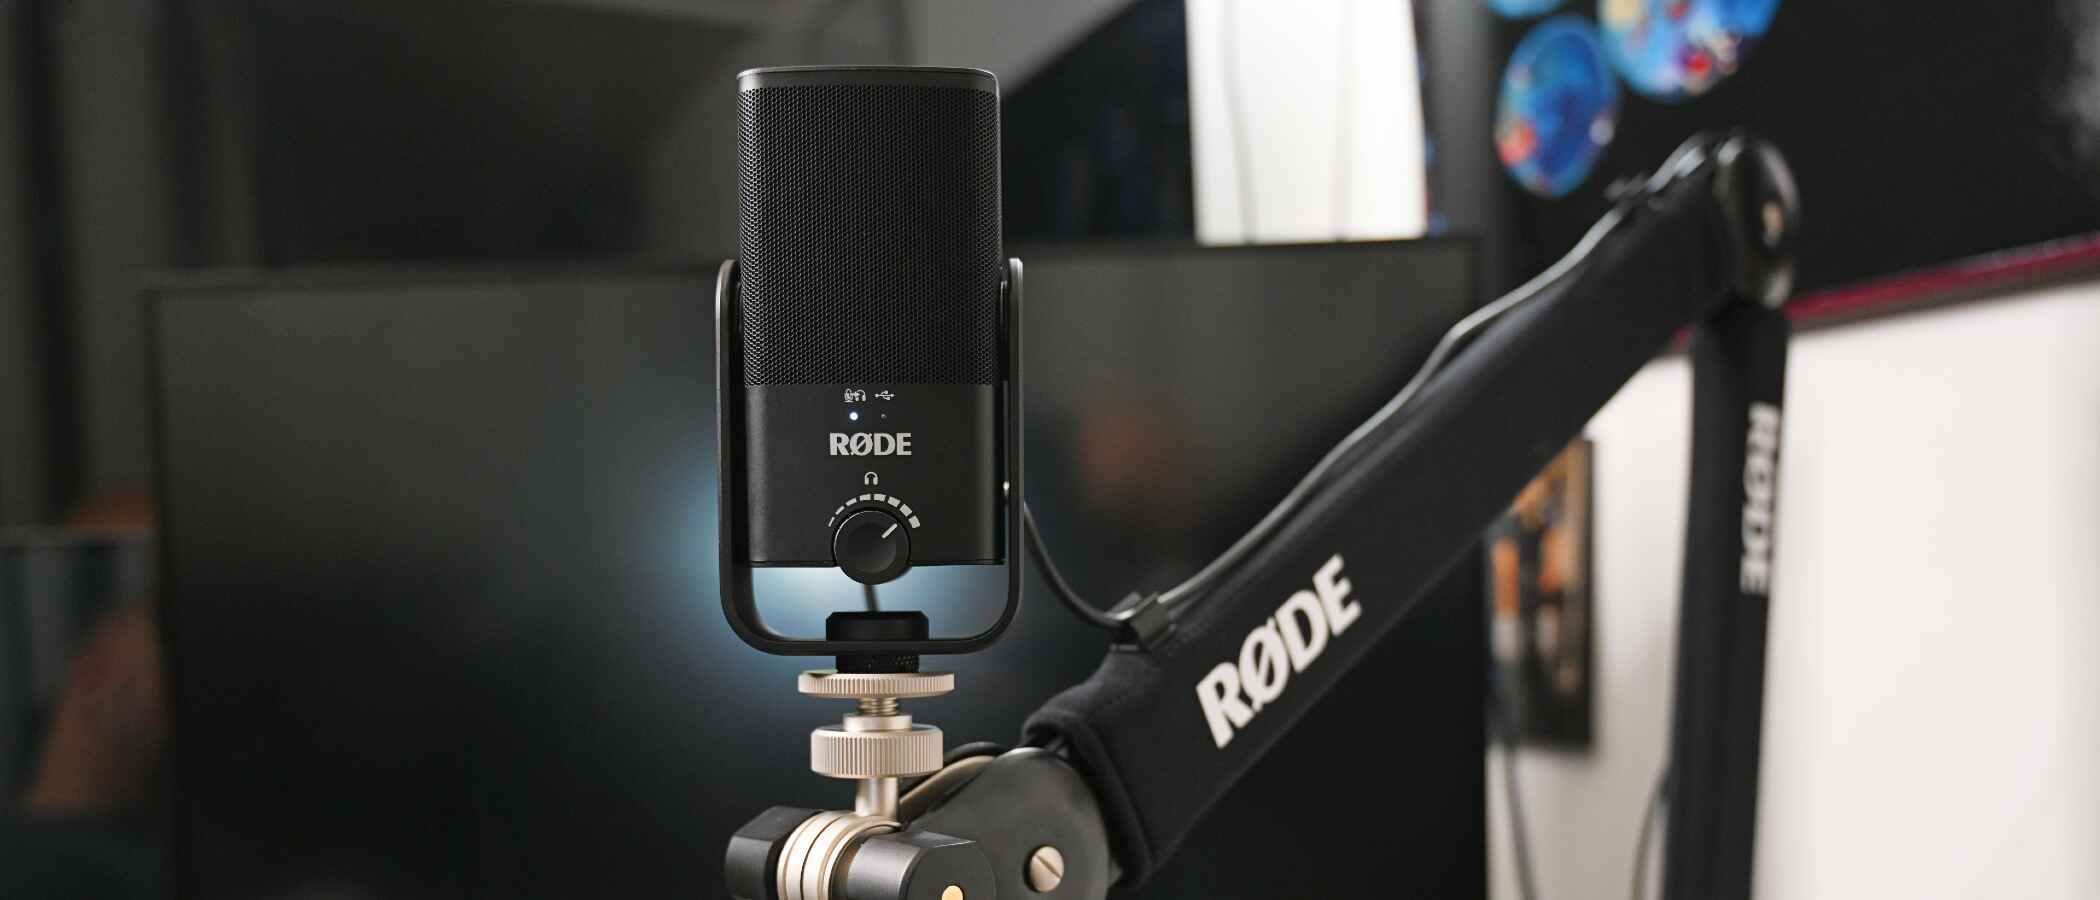
Welcome to this tutorial on how to mount the Rode NT USB microphone on the Euroboom stand. If you’re a podcaster, streamer, or content creator, you know how crucial it is to have a reliable and high-quality microphone setup. The Rode NT USB microphone is a popular choice due to its excellent sound reproduction and ease of use.
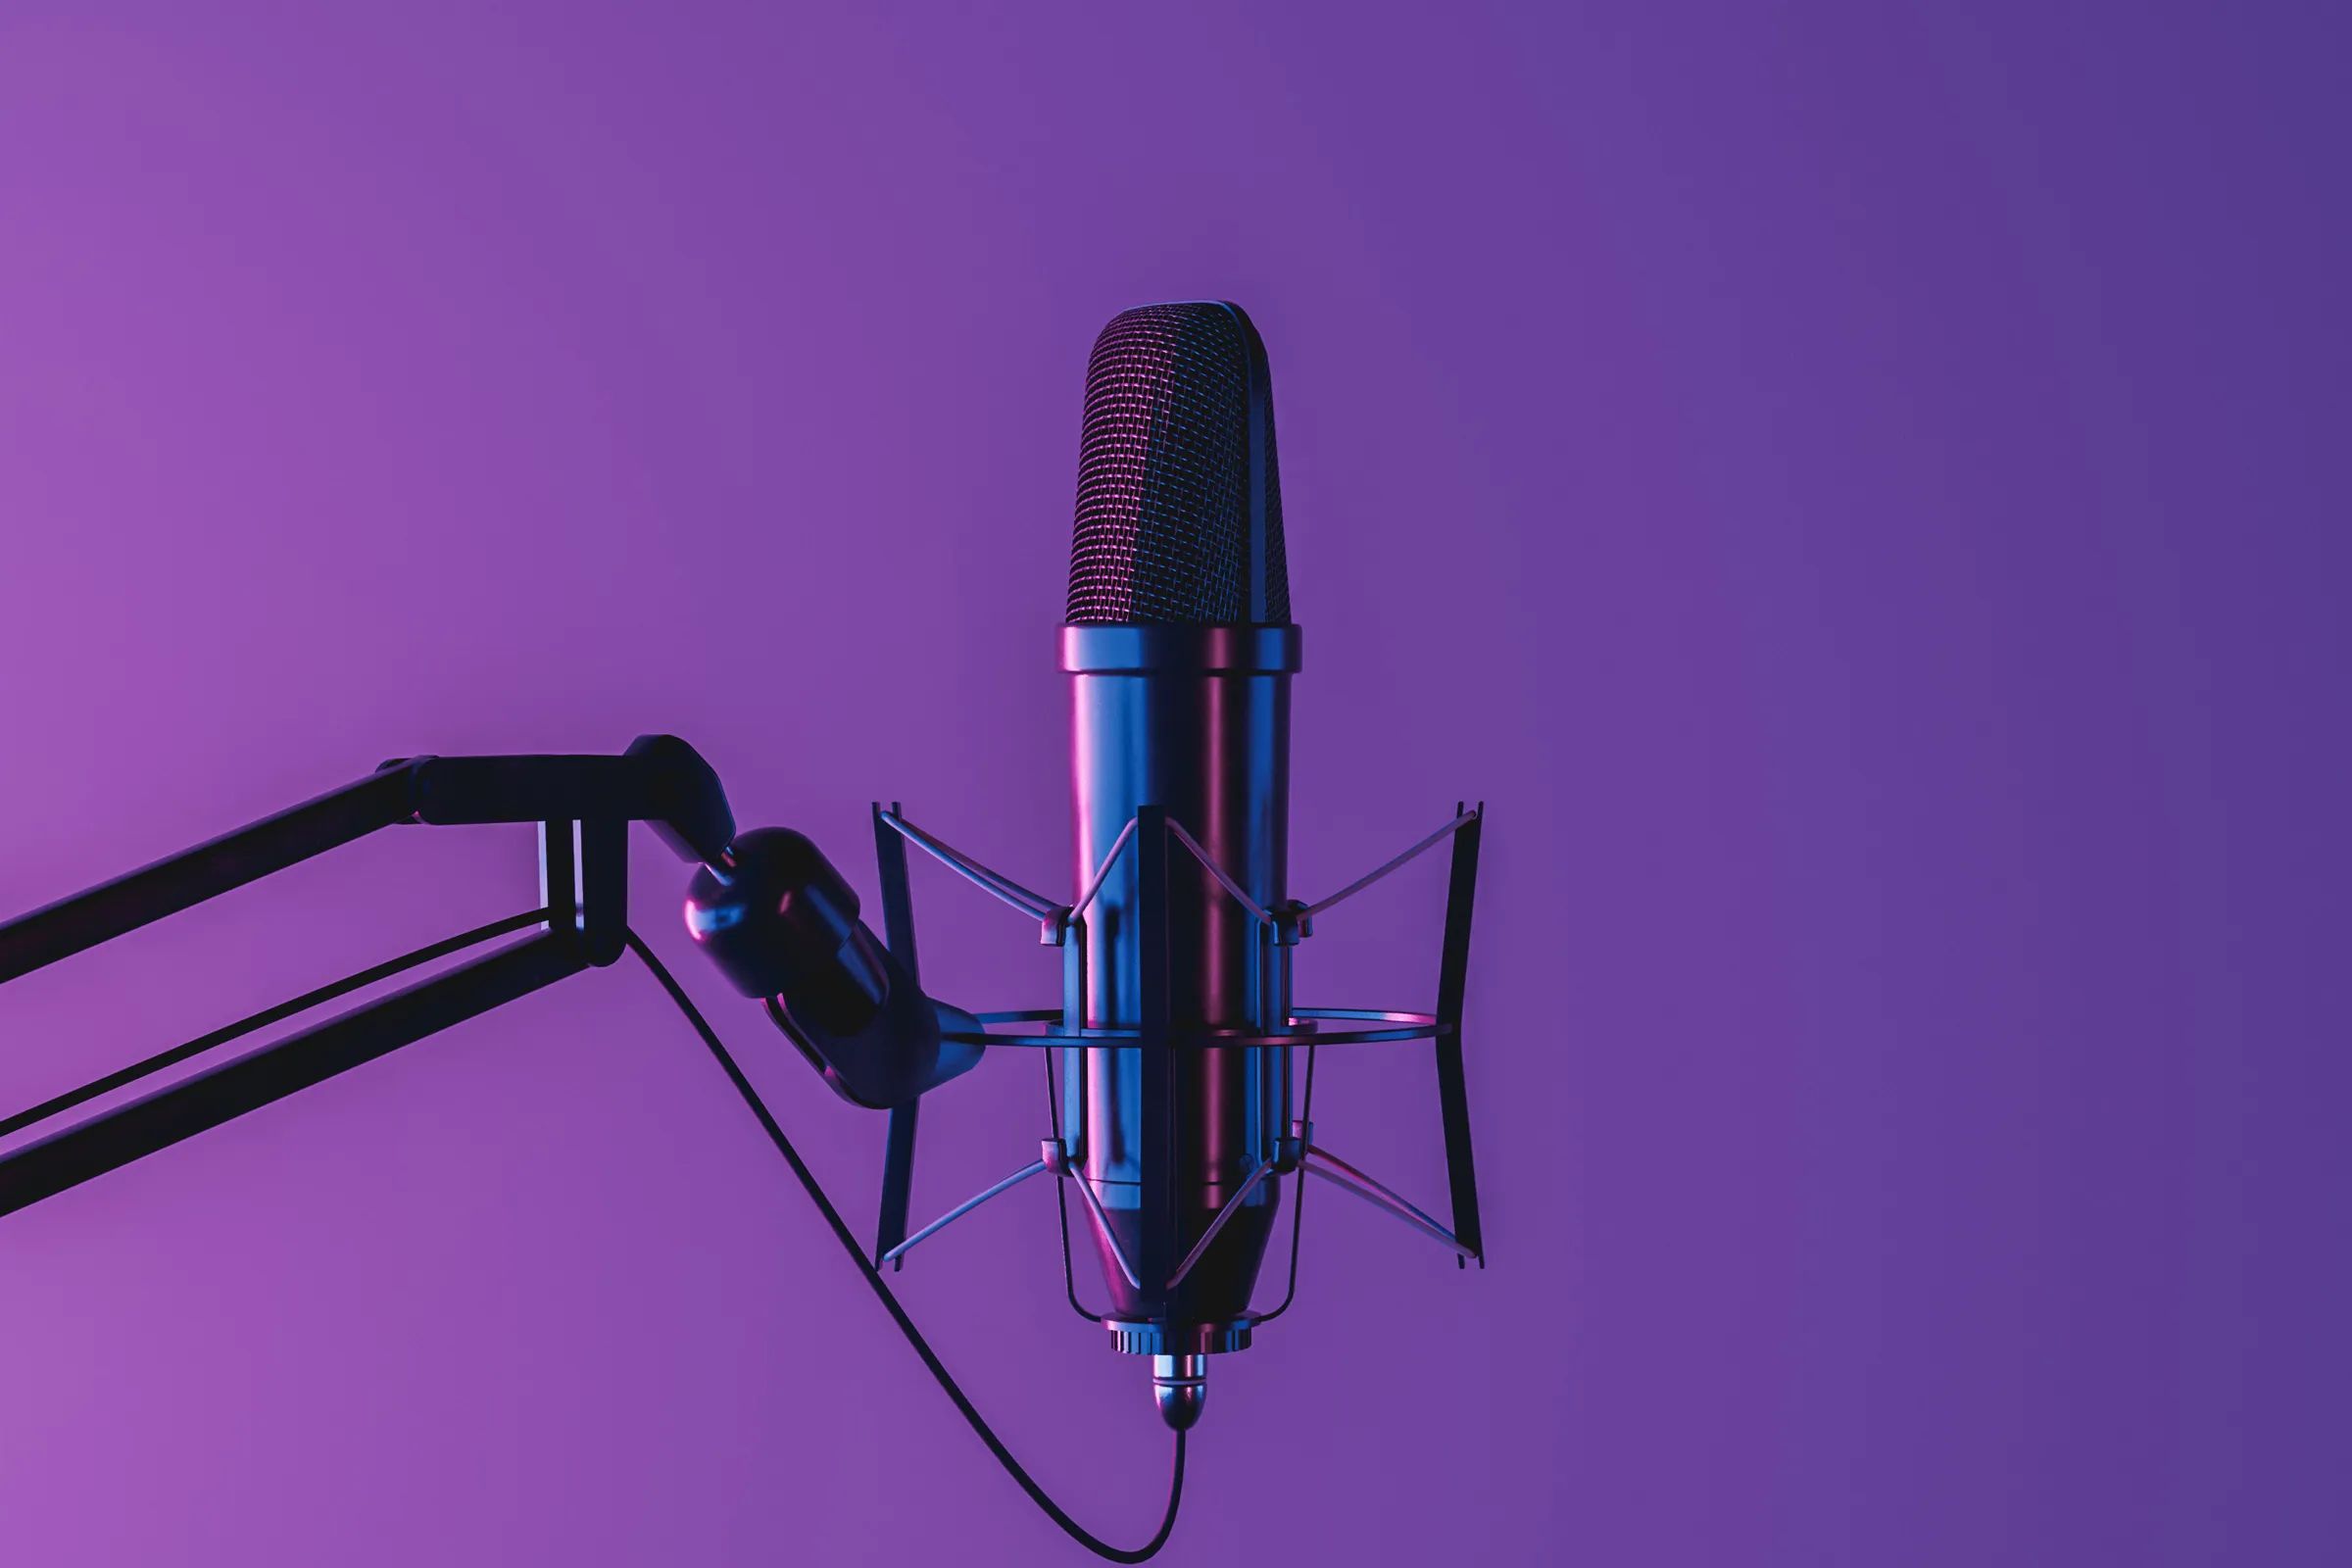
The Euroboom stand, on the other hand, is a versatile and sturdy microphone stand that offers flexibility and stability during recording sessions. By combining these two great products, you can elevate your audio setup and enhance the quality of your recordings.
In this tutorial, we will guide you through the step-by-step process of mounting the Rode NT USB microphone on the Euroboom stand. We’ll cover everything from attaching the stand to your desk to properly connecting the microphone and adjusting its position. Whether you’re a beginner or an experienced user, this guide will help you achieve optimal results with your microphone setup.
Before we dive into the tutorial, let’s quickly go over the tools and materials you’ll need for this installation process.
Tools and Materials Needed
Before you start mounting the Rode NT USB microphone on the Euroboom stand, it’s important to gather all the necessary tools and materials. Having everything ready will help streamline the installation process and ensure that you have a smooth experience. Here’s what you’ll need:
- Euroboom Stand: Make sure you have the Euroboom stand, which can be purchased separately or as part of a microphone kit.
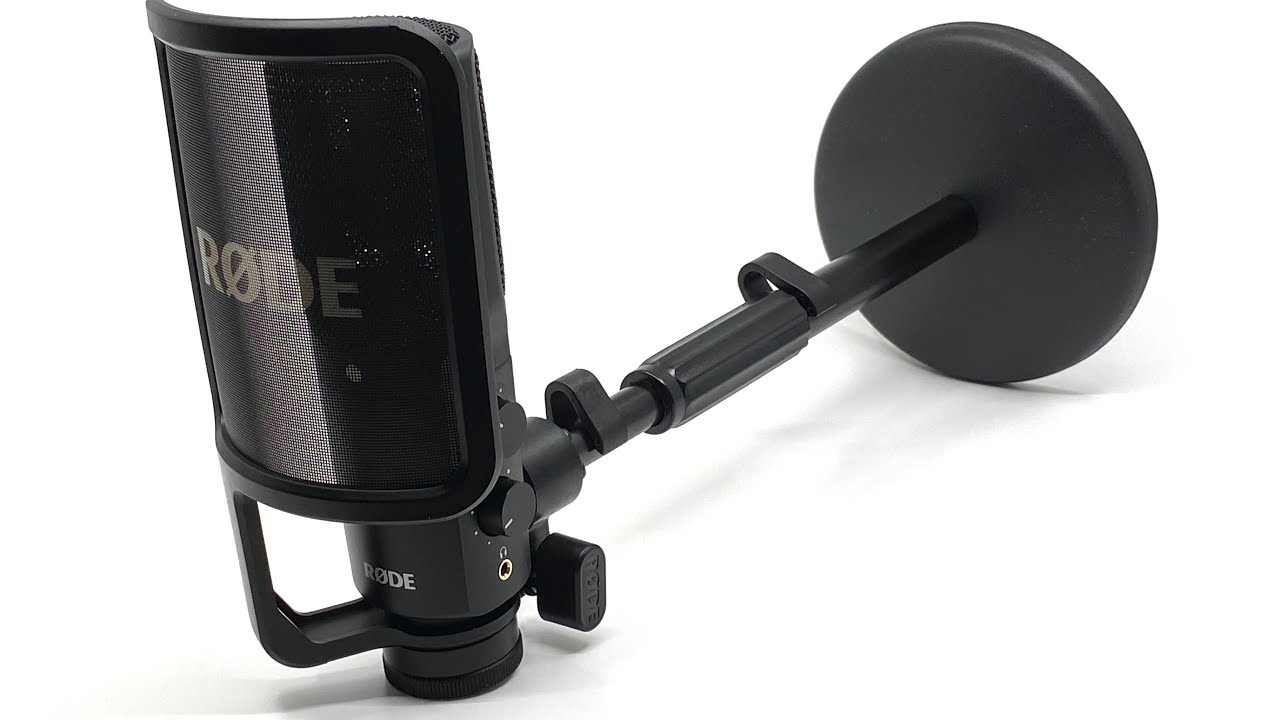
- Rode NT USB Microphone: Ensure you have the Rode NT USB microphone, known for its studio-quality sound capture.
- Desk Mount Clamp: Some Euroboom stands come with a desk mount clamp, which allows for easy attachment to your desk or table. If your stand doesn’t include one, you may need to purchase it separately.
- Microphone Shock Mount: The Rode NT USB microphone typically comes with a shock mount, which helps reduce unwanted vibrations and handling noise. If you don’t have one, consider purchasing a compatible shock mount for optimal microphone performance.
- Allen Wrench: You might need an Allen wrench or hex key (usually included with the Euroboom stand) to tighten and adjust certain parts during the installation process.
Having these tools and materials on hand will ensure that you can proceed with the installation process smoothly. Now that you have everything ready, let’s dive into the step-by-step instructions for mounting the Rode NT USB microphone on the Euroboom stand.
Step 1: Attaching the Euroboom Stand to the Desk
The first step in mounting the Rode NT USB microphone on the Euroboom stand is attaching the stand securely to your desk. Follow these simple instructions to complete this step:
- Identify the desired location on your desk where you want to attach the Euroboom stand. Ensure that it’s a sturdy and stable surface.
- If your Euroboom stand comes with a desk mount clamp, loosen the clamp’s screws using an Allen wrench. This will allow you to fit the clamp onto your desk.
- Position the desk mount clamp on the desired spot on your desk. Make sure it’s aligned properly and centered where you want the microphone stand to be placed.
- Tighten the screws on the desk mount clamp using the Allen wrench. Ensure that it’s securely fastened to your desk and doesn’t wobble or move when pressure is applied.
- If your Euroboom stand doesn’t include a desk mount clamp, check the stand’s instructions for alternative mounting options. This could involve using a different type of clamp or attaching the stand to a boom arm or microphone stand mount.
Once you’ve completed these steps, you should have the Euroboom stand securely attached to your desk or table. The stand should be stable and ready for the next step of the installation process, which involves preparing the Rode NT USB microphone.
Step 2: Preparing the Rode NT USB Microphone
Now that you have the Euroboom stand securely attached to your desk, it’s time to prepare the Rode NT USB microphone for mounting. Follow these steps to ensure proper preparation:
- Remove the Rode NT USB microphone from its packaging and locate the microphone base. This is the part of the microphone that will connect to the Euroboom stand.
- Inspect the microphone base for any dust, debris, or obstruction that may affect the mounting process. Use a clean, lint-free cloth to wipe it down if necessary.
- Check the connection port on the microphone base. It should have threads or a screw adapter that will allow you to attach it to the Euroboom stand.
- Ensure that the microphone is turned off or unplugged from any power source before proceeding.
- If your Rode NT USB microphone came with a shock mount, inspect it for any loose parts or damage. The shock mount is essential for minimizing vibrations and handling noise during recording.
- If necessary, attach the shock mount to the microphone base following the instructions provided with the shock mount. This step may involve sliding or screwing the shock mount onto the microphone base securely.
By carefully preparing the Rode NT USB microphone, you are ensuring a smooth and trouble-free mounting process. With the microphone base and shock mount ready, you can move on to the next step, which involves attaching the microphone shock mount to the Euroboom stand.
Step 3: Attaching the Microphone Shock Mount
With the Rode NT USB microphone prepared, the next step is to attach the microphone shock mount to the Euroboom stand. This step is crucial, as the shock mount plays a vital role in reducing unwanted vibrations and handling noise. Follow these instructions to complete this step:
- Take your Euroboom stand and locate the part where the microphone shock mount will attach. This is usually at the end of the boom arm or at the top of the stand.
- If your Euroboom stand has a threaded attachment point, align the shock mount’s screw adapter with the threads on the stand.
- Gently tighten the shock mount onto the Euroboom stand by turning it clockwise. Use just enough force to secure the shock mount, but avoid overtightening to prevent any damage.
- If your Euroboom stand uses a different type of attachment, such as a clamp or clip, follow the manufacturer’s instructions to securely attach the shock mount to the appropriate part of the stand.
- Once the shock mount is attached, make sure it is in a horizontal position and doesn’t tilt or wobble.
- Carefully place the Rode NT USB microphone into the shock mount’s cradle or suspension system.
- If your shock mount has adjustable bands or elastics, adjust them to provide a snug fit for the microphone without exerting excessive pressure.
By properly attaching the microphone shock mount to the Euroboom stand, you are ensuring stability and minimizing any unwanted vibrations during recordings. With this step complete, you’re ready to move on to the next step, which involves connecting the Rode NT USB microphone to the stand.
Step 4: Connecting the Microphone to the Stand
Now that the microphone shock mount is securely attached to the Euroboom stand, the next step is to connect the Rode NT USB microphone to the stand. Follow these instructions to complete this step:
- Take the Rode NT USB microphone with the shock mount and locate the microphone base.
- Align the microphone base with the screw adapter or threads on the shock mount.
- Gently twist the microphone base clockwise into the shock mount or screw adapter. Make sure to tighten it securely, but avoid using excessive force.
- Once the microphone is attached to the shock mount, give it a gentle tug to ensure that it’s firmly in place and won’t come loose during recording sessions.
- If your Rode NT USB microphone has angle adjustment capabilities, adjust it to your desired position by loosening the adjustment knobs and tilting the microphone up or down.
- Tighten the adjustment knobs once you’ve found the desired angle for your microphone.
By connecting the Rode NT USB microphone to the Euroboom stand, you’re ensuring a secure and stable setup for your recording needs. Now that the microphone is securely attached, it’s time to move on to the next step, which involves adjusting the microphone position for optimal audio capture.
Step 5: Adjusting the Microphone Position
With the Rode NT USB microphone securely connected to the Euroboom stand, the final step is to adjust the microphone’s position for optimal audio capture. Follow these steps to find the perfect position:
- Consider your recording setup and the desired sound capture. Position the microphone in a way that allows it to be close enough to capture clear audio, but not so close that it picks up excessive breathing or mouth noises.
- Adjust the height of the microphone by loosening the height adjustment knobs or sliding the boom arm up or down. Ensure that the microphone is at a comfortable height for your voice and that it’s pointing towards your mouth.
- If your Euroboom stand allows for swivel adjustment, you can rotate the microphone left or right to achieve the desired pickup pattern or to align it with your speaking position.
- Listen to test recordings or use monitoring software to fine-tune the microphone’s position. Make adjustments as needed to achieve the desired audio quality and minimize background noise.
- Ensure that the microphone position allows for easy access to the microphone’s controls and headphone input if you’re using the monitoring feature.
- Once you’re satisfied with the microphone’s position, tighten all the adjustment knobs to secure the microphone in place. Avoid overtightening to prevent any damage.
By adjusting the microphone position, you’re maximizing the performance of your Rode NT USB microphone and optimizing audio quality for your recordings or live broadcasts. With this step complete, you’ve successfully mounted the Rode NT USB microphone on the Euroboom stand and are ready to start creating professional-grade content!
Conclusion
Congratulations! You’ve successfully mounted the Rode NT USB microphone on the Euroboom stand. By following the step-by-step process outlined in this tutorial, you’ve set yourself up for professional-quality audio recordings and improved your overall content creation experience.
Properly attaching the Euroboom stand to your desk provides stability and ensures that your microphone setup stays secure during recording sessions. Preparing the Rode NT USB microphone and attaching the shock mount guarantee optimal sound capture by reducing vibrations and handling noise.
Connecting the microphone to the stand and adjusting its position allow you to find the perfect angle and distance for capturing your voice with clarity and precision. By taking the time to adjust and fine-tune the microphone’s position, you can achieve professional-grade audio quality.
Remember, experimentation and testing are key to finding the best microphone setup for your specific needs. Don’t be afraid to make adjustments along the way to achieve the sound you desire.
Now that you have successfully mounted your Rode NT USB microphone on the Euroboom stand, it’s time to unleash your creativity and start recording amazing content. Whether you’re podcasting, streaming, or producing online tutorials, you can now enjoy a professional-grade microphone setup that will impress your audience.
Happy recording!