Introduction
Are you an acoustic guitar enthusiast looking to optimize your instrument's playability and sound quality? Understanding and measuring neck relief is a crucial aspect of guitar maintenance that directly impacts its performance. Neck relief, also known as the amount of curvature in the guitar's neck, significantly influences playability and the guitar's ability to produce clear, buzz-free notes. In this guide, you will learn how to measure neck relief on an acoustic guitar and make necessary adjustments to ensure optimal playability and sound.
Proper neck relief is essential for achieving a comfortable playing experience and preventing fret buzz, which can detract from the guitar's resonance and clarity. By mastering the measurement and adjustment of neck relief, you can enhance your guitar's performance and enjoy a more satisfying playing experience.
Understanding the principles of neck relief measurement and adjustment empowers you to maintain your acoustic guitar's optimal condition, ensuring that it consistently delivers exceptional sound quality and playability. With the right tools and techniques, you can confidently assess and modify your guitar's neck relief to achieve the perfect balance between comfortable playability and impeccable sound production.
Stay tuned as we delve into the essential tools needed for this process and guide you through the step-by-step process of measuring and adjusting neck relief on your acoustic guitar. Let's embark on this journey to unlock the full potential of your instrument and elevate your playing experience.
Tools Needed
Before embarking on the process of measuring and adjusting neck relief on your acoustic guitar, it’s essential to gather the necessary tools to ensure accurate assessment and precise adjustments. Here’s a list of the indispensable tools you’ll need:
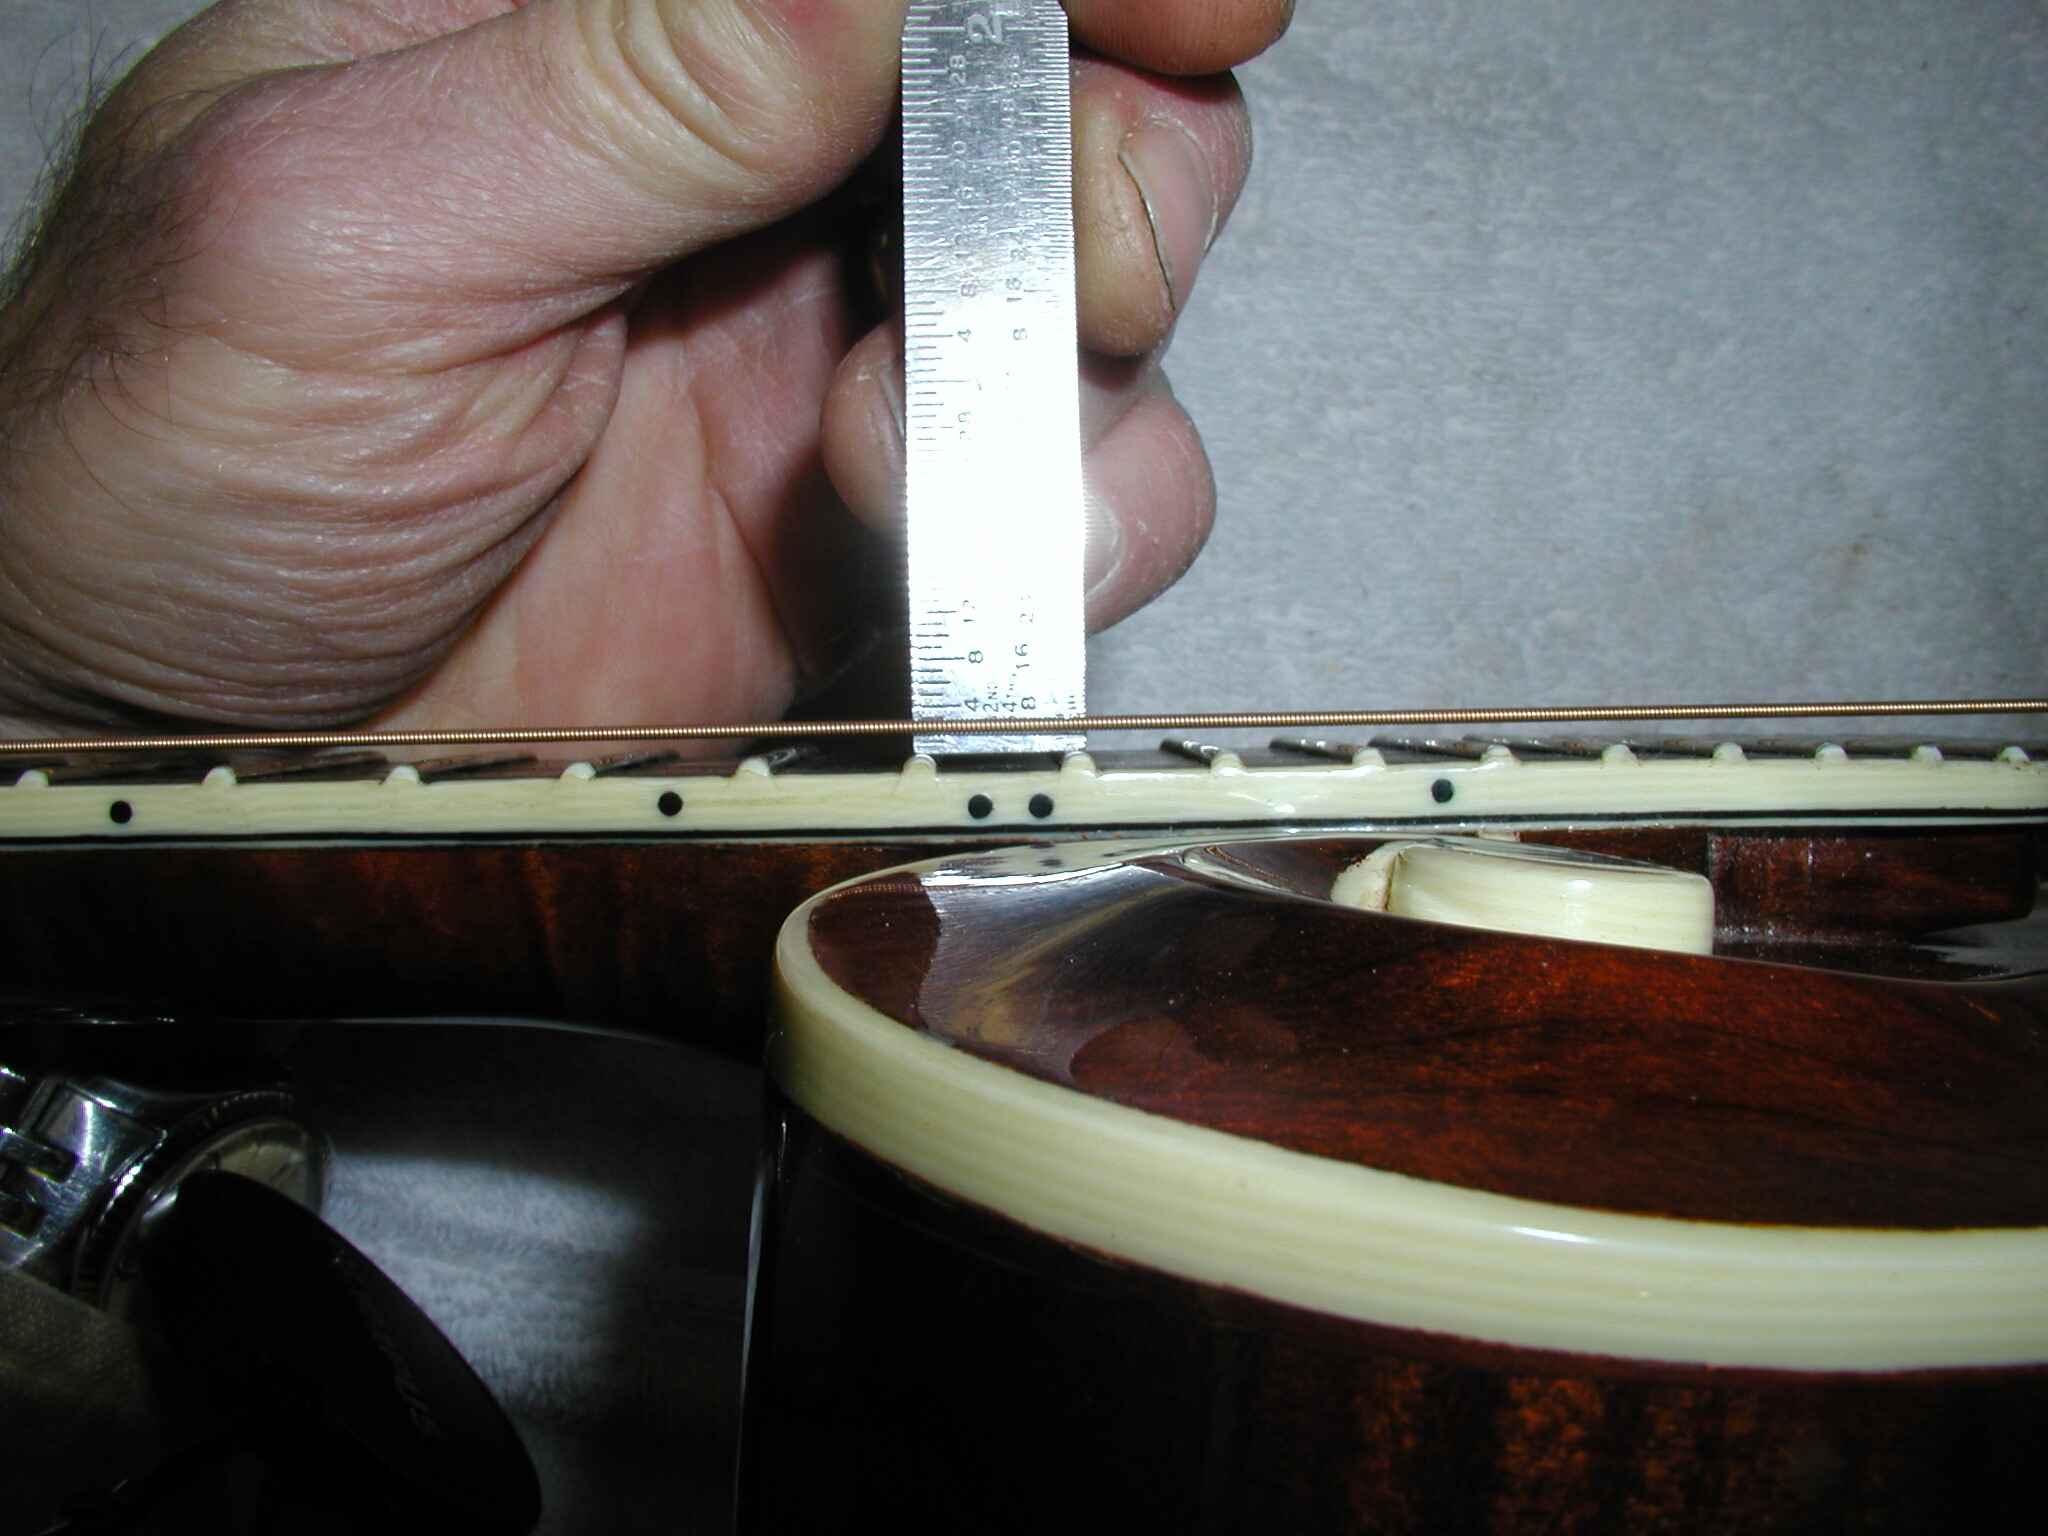
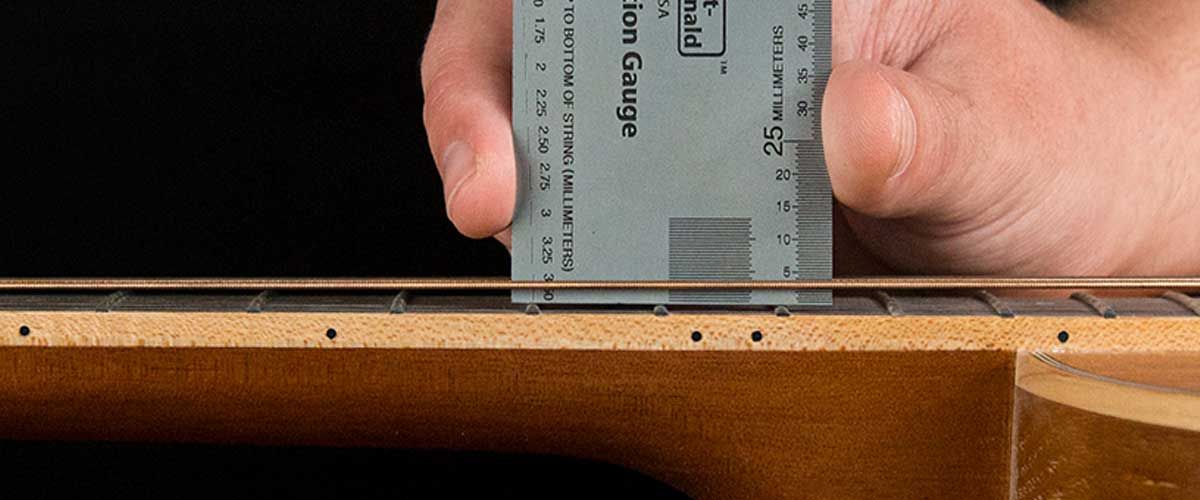
- Straightedge: A straightedge is a vital tool for measuring neck relief. It should be a long, straight, and rigid tool, such as a specialized guitar straightedge or a metal ruler, capable of spanning the entire length of the fretboard.
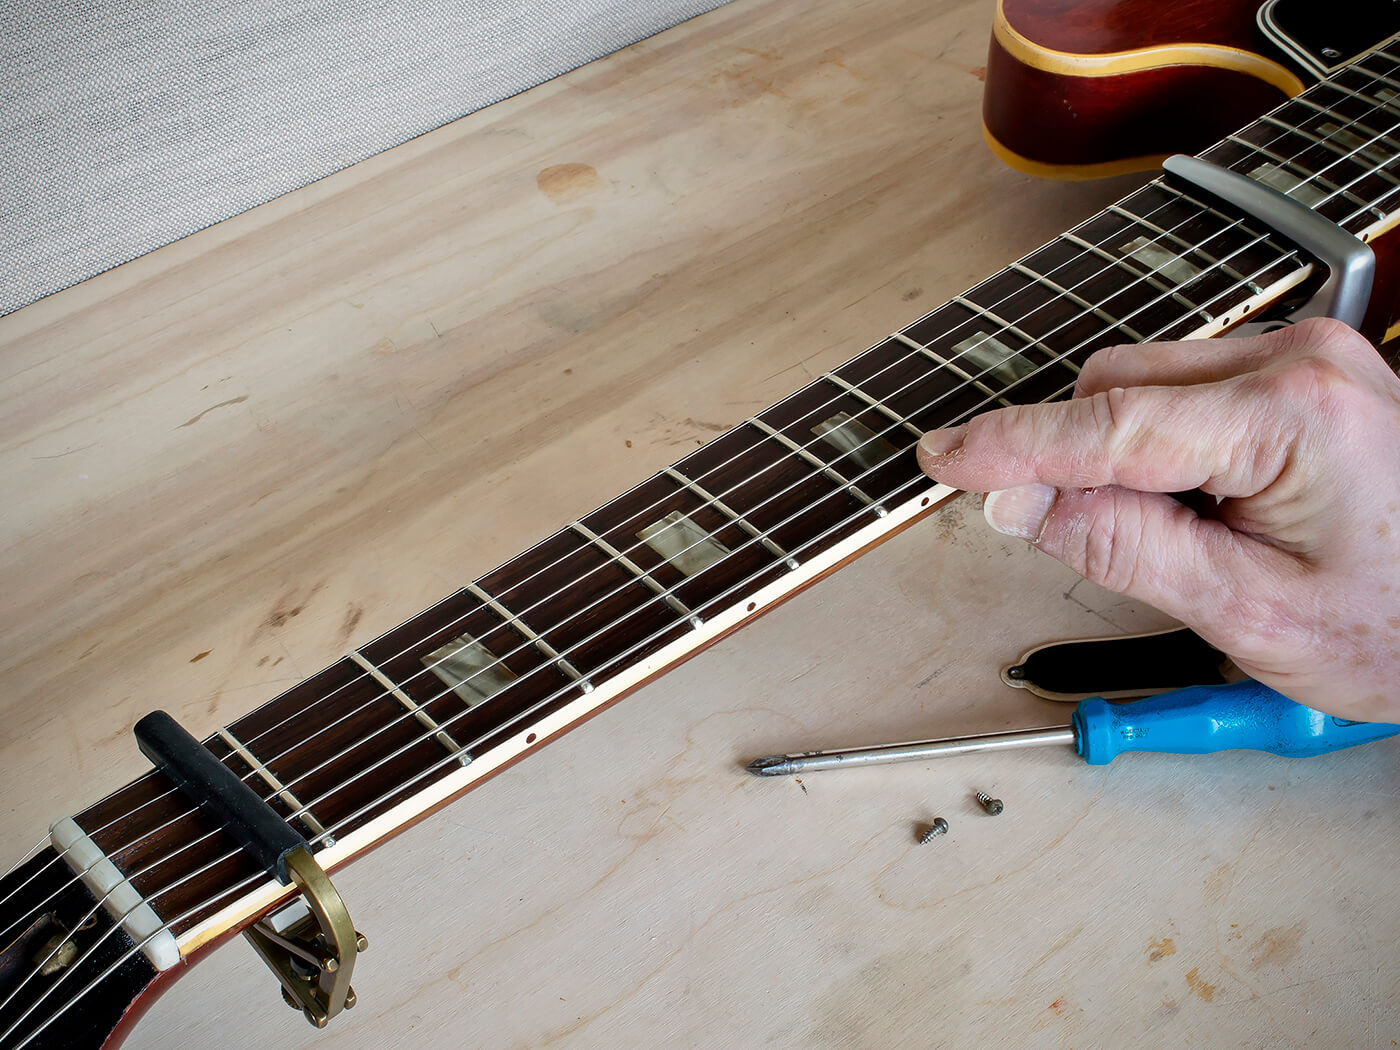
- Capo: A capo is used to secure the strings and create a reference point for measuring neck relief. It allows you to isolate the neck’s curvature without the interference of string tension.
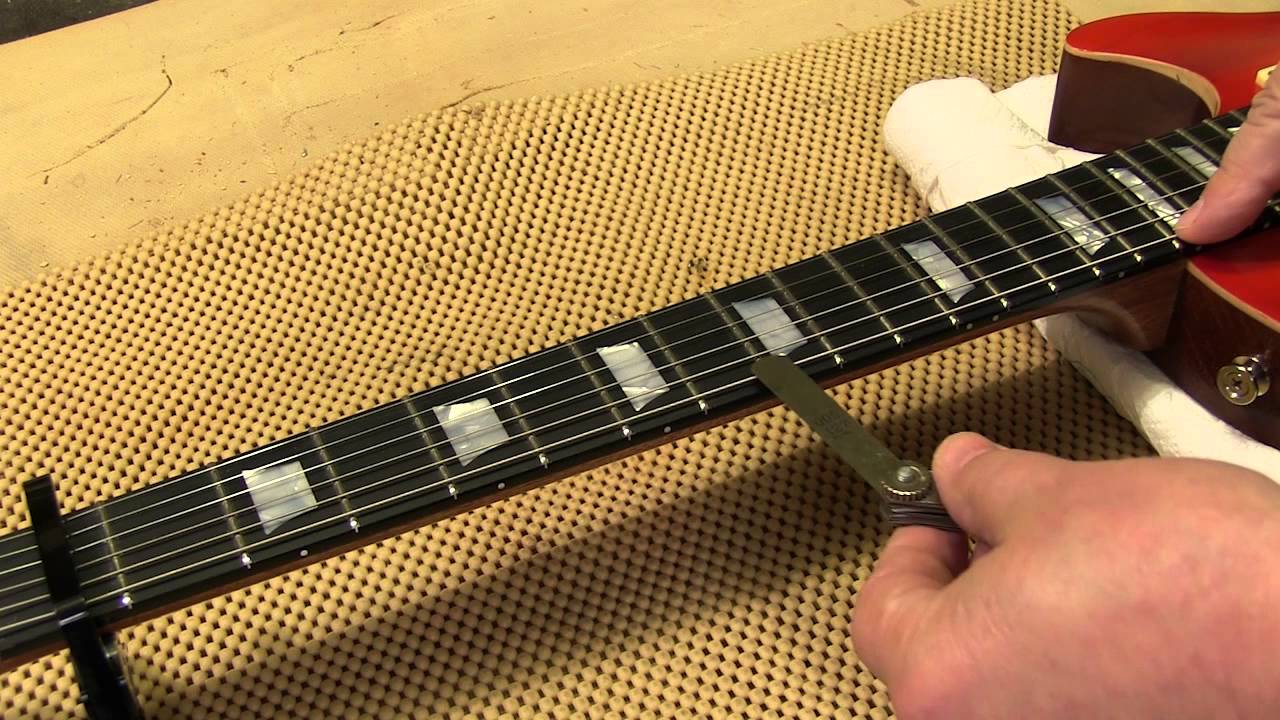
- Feeler Gauge: This precision tool is essential for accurately measuring the gap between the straightedge and the frets. It consists of thin metal strips of varying thickness, allowing you to determine the precise amount of neck relief.
- Truss Rod Wrench: If adjustments to the truss rod are necessary, a truss rod wrench specific to your guitar’s truss rod nut size is crucial for making precise alterations to the neck relief.
- Workbench or Stable Surface: A stable and well-lit workbench or surface is essential for comfortably and accurately assessing and adjusting the neck relief of your acoustic guitar.
By ensuring you have these tools at your disposal, you can proceed with confidence, knowing that you have everything necessary to accurately measure and, if needed, adjust the neck relief of your acoustic guitar. With these tools in hand, you’re ready to move on to the next step: understanding neck relief and its significance in guitar playability and sound production.
Step 1: Understand Neck Relief
Before delving into the practical aspects of measuring and adjusting neck relief on an acoustic guitar, it’s essential to grasp the concept of neck relief and its impact on the instrument’s playability and sound quality. Neck relief refers to the slight curvature present in the guitar’s neck, which affects the distance between the strings and the fretboard. This curvature is intentional and contributes to the guitar’s ability to produce clear, buzz-free notes while maintaining comfortable playability.
Optimal neck relief allows for the strings to vibrate freely without buzzing against the frets, ensuring that each note resonates clearly and sustains appropriately. Conversely, insufficient neck relief can lead to fret buzz, resulting in a compromised sound quality and diminished playability. On the other hand, excessive neck relief can cause high action, making it challenging to press down the strings effectively, leading to discomfort and potential intonation issues.
Understanding the ideal amount of neck relief for your acoustic guitar is crucial. While personal preferences and playing styles may influence the desired amount of neck relief, a general guideline is to aim for a slight relief that facilitates clear note articulation without causing fret buzz or discomfort during play. This balance is key to achieving an instrument that responds effortlessly to your playing while delivering exceptional sound quality.
By comprehending the role of neck relief in guitar performance, you gain insight into the significance of accurately measuring and, if necessary, adjusting the curvature of the neck. With this understanding in mind, you’re ready to proceed to the next step: checking the relief with a straightedge to assess your acoustic guitar’s current neck relief status.
Step 2: Check Relief with a Straightedge
Checking the relief of the guitar’s neck using a straightedge is a fundamental step in assessing the current curvature and determining whether adjustments are necessary. To begin, place the guitar in playing position or secure it on a stable surface, ensuring that it remains stationary throughout the assessment process.
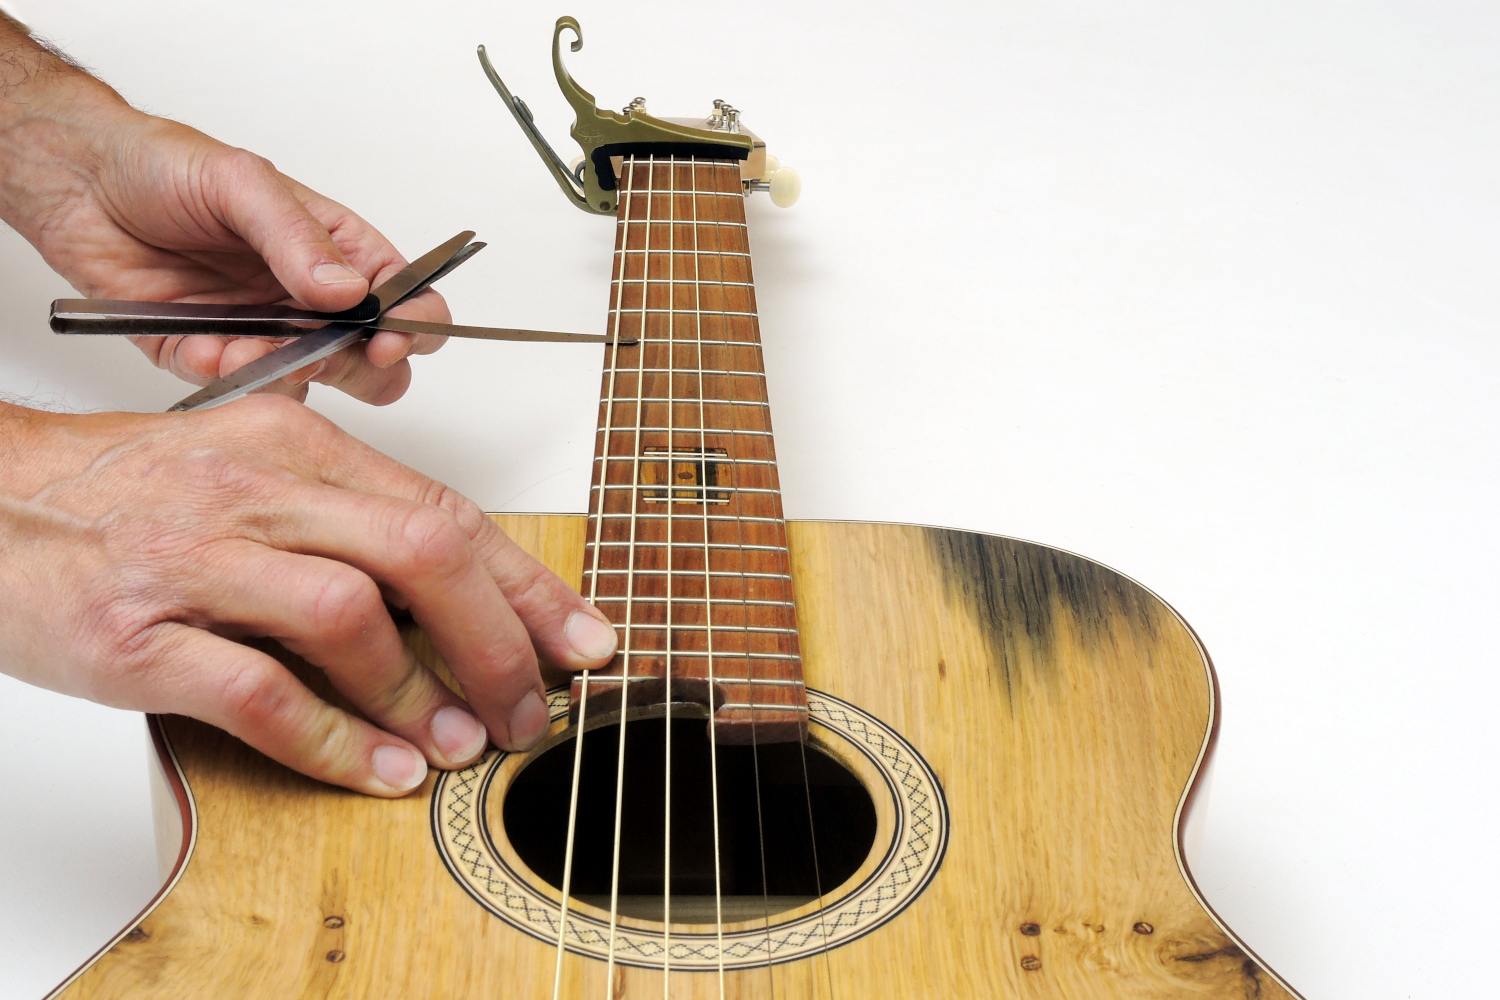
With the guitar in position, use a capo to secure all the strings at the first fret, effectively creating a reference point that eliminates the influence of string tension on the neck. Once the capo is in place, position the straightedge along the length of the fretboard, spanning from the first fret to the area where the neck meets the body of the guitar. The straightedge should rest on the frets, bypassing the strings, allowing for an unobstructed assessment of the neck’s curvature.
Upon positioning the straightedge, observe the gap between the straightedge and the frets around the 7th to 9th frets, as this area typically reflects the midpoint of the neck relief. A slight curvature, often equivalent to the thickness of a business card or a few sheets of paper, is considered ideal for most acoustic guitars. However, preferences may vary based on playing style and personal comfort.
Using a feeler gauge, measure the gap between the straightedge and the frets, taking note of the specific measurements at multiple points along the fretboard to ensure an accurate assessment. This process provides a comprehensive understanding of the neck relief’s consistency and any variations that may exist from the midpoint to the ends of the fretboard.
By meticulously checking the relief with a straightedge and feeler gauge, you gain valuable insights into your acoustic guitar’s current neck curvature, enabling you to make informed decisions about potential adjustments. With a clear understanding of the existing neck relief, you’re prepared to proceed to the next step: the process of adjusting the neck relief if necessary.
Step 3: Adjusting Neck Relief
After assessing the neck relief of your acoustic guitar, you may find it necessary to make adjustments to achieve the optimal curvature for enhanced playability and sound quality. The truss rod, a metal rod within the guitar’s neck, is the key component responsible for controlling neck relief. It’s essential to approach truss rod adjustments with caution and precision to avoid causing damage to the instrument.
If the assessment reveals insufficient or excessive neck relief, you may need to make adjustments to the truss rod to achieve the desired curvature. To begin, locate the truss rod adjustment nut, typically situated at the headstock or inside the soundhole, depending on the guitar’s design. Using a truss rod wrench that matches the size of the adjustment nut, carefully make quarter-turn adjustments, taking care not to over-tighten or loosen the truss rod excessively.
When adjusting the truss rod, remember that clockwise turns typically tighten the rod, reducing the neck’s curvature, while counterclockwise turns loosen the rod, allowing for more relief. Make incremental adjustments, allowing the neck to settle before reassessing the relief with a straightedge and feeler gauge. It’s crucial to monitor the changes in neck relief gradually, ensuring that the adjustments align with the desired balance of playability and sound quality.
Throughout the adjustment process, it’s important to maintain patience and attentiveness, as small changes to the truss rod can have a significant impact on the guitar’s performance. Regularly check the neck relief and play the guitar to evaluate the impact of the adjustments on playability and intonation, making further modifications as needed to achieve the optimal balance.
By approaching truss rod adjustments methodically and attentively, you can effectively tailor the neck relief to suit your playing style and preferences, ultimately enhancing the acoustic guitar’s overall performance. With the neck relief appropriately adjusted, your acoustic guitar is poised to deliver exceptional playability and sound quality, empowering you to fully explore its musical potential.
Conclusion
Mastering the art of measuring and adjusting neck relief on an acoustic guitar is a valuable skill that empowers you to optimize your instrument’s playability and sound quality. By understanding the principles of neck relief and utilizing essential tools such as a straightedge, capo, feeler gauge, and truss rod wrench, you gain the ability to assess and modify the curvature of the guitar’s neck with precision and confidence.
Throughout this process, it’s essential to recognize the critical role of neck relief in shaping the guitar’s performance. Achieving the optimal balance of neck curvature ensures that your acoustic guitar produces clear, resonant notes without succumbing to fret buzz or discomfort during play. By comprehending the significance of neck relief and its impact on playability and sound production, you are equipped to maintain your instrument in peak condition, allowing it to consistently deliver exceptional musical experiences.
As you embark on the journey of measuring and adjusting neck relief, remember the importance of patience and attentiveness. Small, deliberate adjustments to the truss rod can yield significant improvements in playability and sound quality, making it crucial to approach the process methodically and with care. Regularly reassessing the neck relief and evaluating the impact of adjustments on the guitar’s performance enables you to fine-tune the instrument to suit your unique playing style and preferences.
With the neck relief appropriately tailored to your specifications, your acoustic guitar is primed to unleash its full potential, offering a comfortable and responsive playing experience while delivering rich, clear tones. By honing your skills in measuring and adjusting neck relief, you have taken a significant step toward optimizing your instrument and elevating your musical journey.
So, pick up your tools, position your straightedge, and embark on the rewarding process of ensuring that your acoustic guitar remains finely tuned and ready to inspire your musical creativity.


