Introduction
Using a USB microphone can greatly enhance the audio quality of your recordings or online meetings on Windows 7. Whether you’re a content creator, musician, or someone who frequently engages in video calls, enabling a USB microphone on your Windows 7 PC is a straightforward process that can significantly improve your audio experience.
USB microphones are a popular choice due to their convenience and simplicity. They eliminate the need for complex audio interfaces and external power sources, making them perfect for beginners and professionals alike. However, before you can start using a USB microphone on your Windows 7 PC, there are a few steps you need to follow to ensure a seamless setup.
In this guide, we will walk you through the process of enabling a USB microphone on Windows 7. We will cover everything from checking the compatibility of your USB microphone to configuring the necessary settings. By the end of this article, you will be able to use your USB microphone without any issues and enjoy crystal-clear audio on your Windows 7 PC.
So let’s dive in and get your USB microphone up and running on your Windows 7 PC!
Step 1: Check the Compatibility of Your USB Microphone
The first step to enabling your USB microphone on Windows 7 is to ensure its compatibility with your operating system. Although most modern USB microphones are designed to work seamlessly with Windows 7, it’s always a good idea to verify its compatibility before proceeding.
To do this, refer to the user manual or the manufacturer’s website of your USB microphone. Look for information related to compatibility, system requirements, and supported operating systems. Make sure Windows 7 is listed as a supported operating system. If it is not, you might encounter compatibility issues or have limited functionality when using the USB microphone.
If your USB microphone is compatible with Windows 7, you’re good to go and can proceed with the setup process. However, if you find that your microphone is not compatible, consider upgrading your operating system or looking for alternative microphones that are compatible with Windows 7.
Remember, compatibility is crucial to ensure smooth functionality and optimal performance of your USB microphone on Windows 7. So take the time to verify compatibility before moving on to the next steps of the setup process.
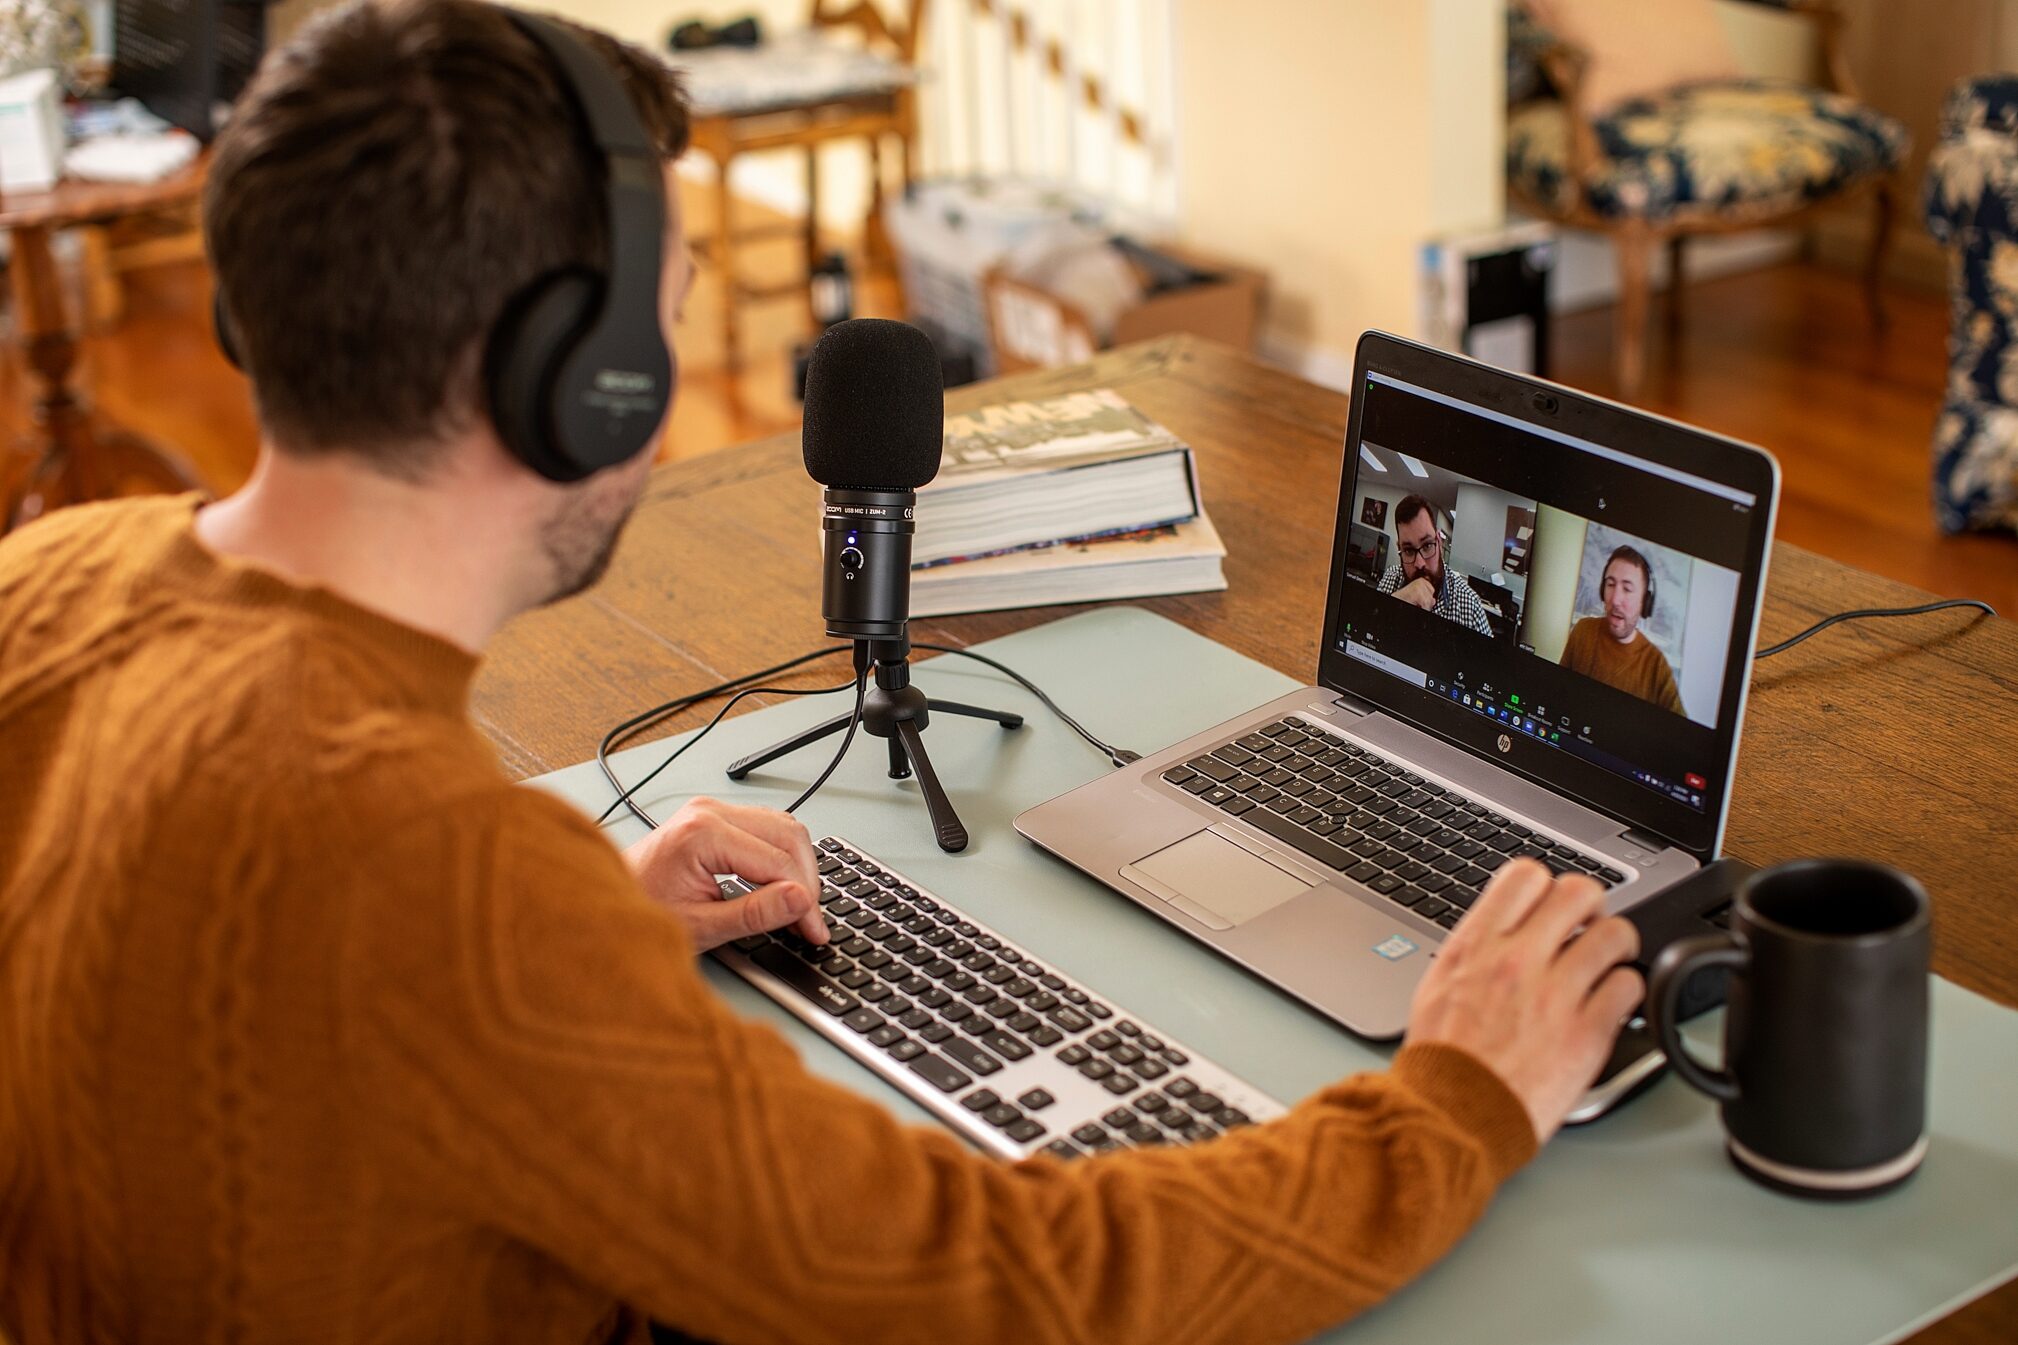
Step 2: Connect the USB Microphone to Your PC
Now that you have confirmed the compatibility of your USB microphone, it’s time to connect it to your Windows 7 PC. Follow these simple steps to establish the connection:
- Locate an available USB port on your computer. USB ports are often located on the front or back panel of the PC tower or on the sides of laptops.
- Take the USB cable that came with your microphone and insert the smaller end into the USB port on your PC.
- Now, take the other end of the USB cable and connect it to the USB port on your microphone.
- Once the connection is made, Windows 7 will automatically detect the USB microphone and install the necessary drivers, if any, for proper functionality.
It’s important to note that some USB microphones may require an additional power source, such as batteries or an external power adapter. If this is the case with your microphone, make sure to connect the required power source as per the manufacturer’s instructions.
Once the USB microphone is securely connected to your Windows 7 PC, you’re ready to move on to the next step of the setup process. Now let’s proceed to installing the required drivers, if necessary.
Step 3: Install the Required Drivers
After connecting your USB microphone to your Windows 7 PC, it’s essential to check if any drivers need to be installed for it to function properly. Drivers act as an interface between the hardware (USB microphone) and the operating system (Windows 7), allowing them to communicate effectively.
Here’s how you can install the required drivers for your USB microphone:
- Open your web browser and visit the manufacturer’s website of your USB microphone.
- Look for the “Support” or “Downloads” section on the website.
- Search for the specific model of your USB microphone and locate the drivers meant for Windows 7.
- Download the appropriate driver file for your USB microphone.
- Once the driver file is downloaded, locate it on your computer and double-click on it to start the installation process.
- Follow the on-screen instructions to complete the driver installation.
- Once the driver is installed, restart your Windows 7 PC to ensure that the changes take effect.
If your USB microphone is plug-and-play compatible, it is likely that Windows 7 will automatically install the necessary drivers without manual intervention. However, it’s still a good idea to visit the manufacturer’s website and check for any updated drivers or additional software that can enhance the functionality of your USB microphone.
Installing the required drivers ensures that your USB microphone is recognized by your Windows 7 PC and can be used effectively. Now that your drivers are installed, let’s move on to the next step and configure the settings for your USB microphone.
Step 4: Configure the USB Microphone Settings
After successfully installing the required drivers for your USB microphone, it’s time to configure the settings to ensure optimal performance. Follow these steps to configure your USB microphone settings on Windows 7:
- Click on the “Start” button in the lower-left corner of your screen and navigate to the Control Panel.
- In the Control Panel, click on the “Hardware and Sound” option.
- Under the “Sound” section, click on “Manage audio devices.”
- A new window will open, displaying the available audio devices connected to your PC.
- Locate your USB microphone from the list of devices. It may be listed as a separate audio input device or under the “Recording” tab.
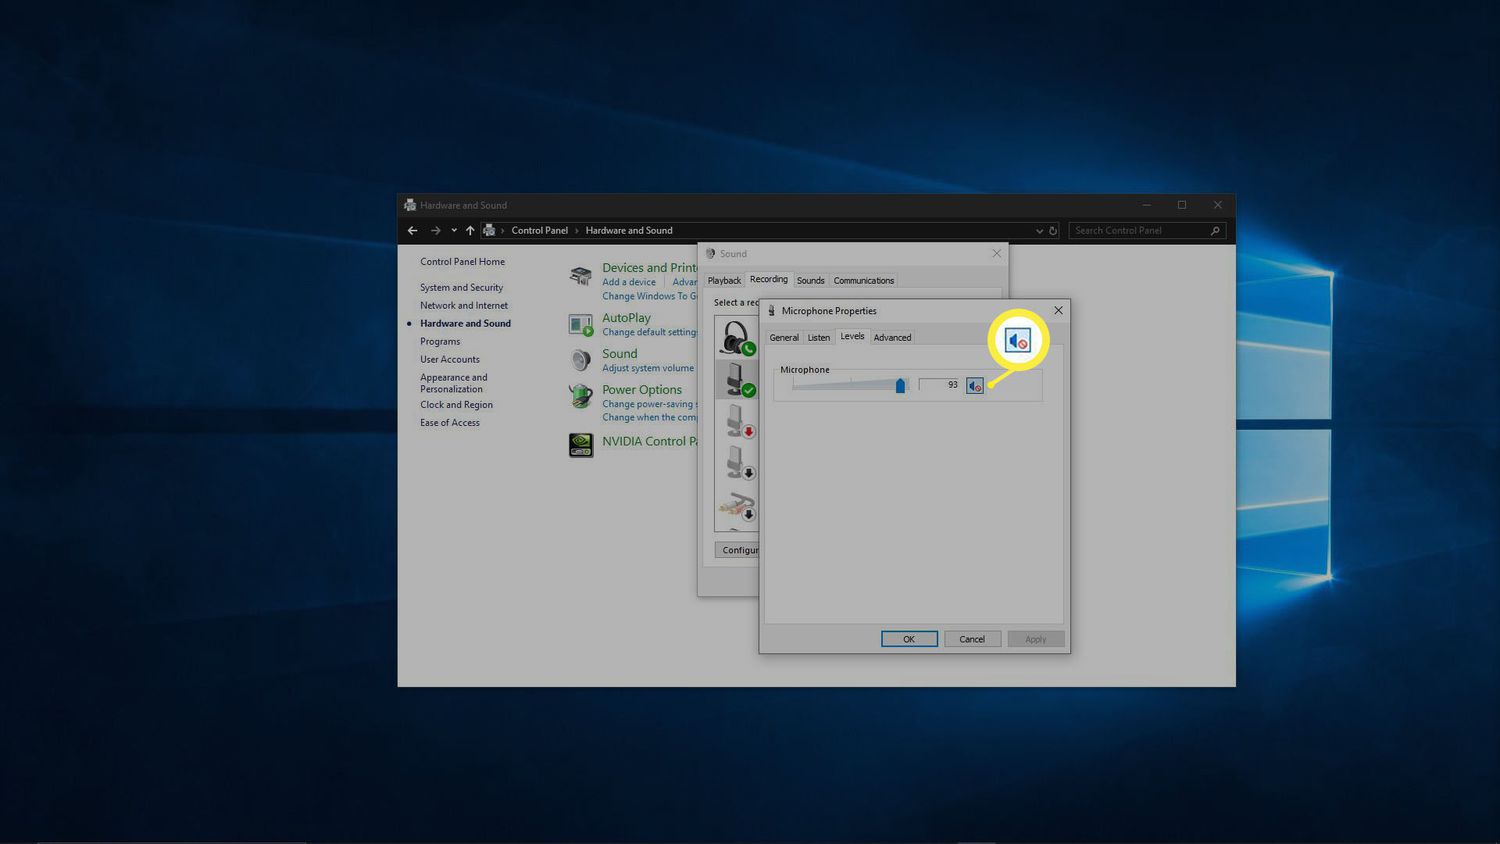
- Right-click on your USB microphone and select “Set as Default Device” from the context menu. This ensures that your PC recognizes the USB microphone as the primary recording device.
- Optionally, you can also adjust the microphone volume and levels by selecting “Properties” or “Configure” in the context menu.
- In the microphone properties, you may find additional tabs or options depending on your USB microphone model. Explore these options to customize settings such as microphone boost, noise cancellation, and sample rate to suit your preferences.
- Once you have configured the settings, click “Apply” or “OK” to save the changes.
By setting your USB microphone as the default recording device and adjusting the settings according to your requirements, you ensure that your Windows 7 PC captures high-quality audio through the USB microphone. Now, it’s time to test your USB microphone and ensure it’s functioning correctly.
Step 5: Test Your USB Microphone
Once you have successfully configured the settings for your USB microphone on Windows 7, it’s important to conduct a quick test to ensure that everything is functioning as expected. Here’s how you can test your USB microphone:
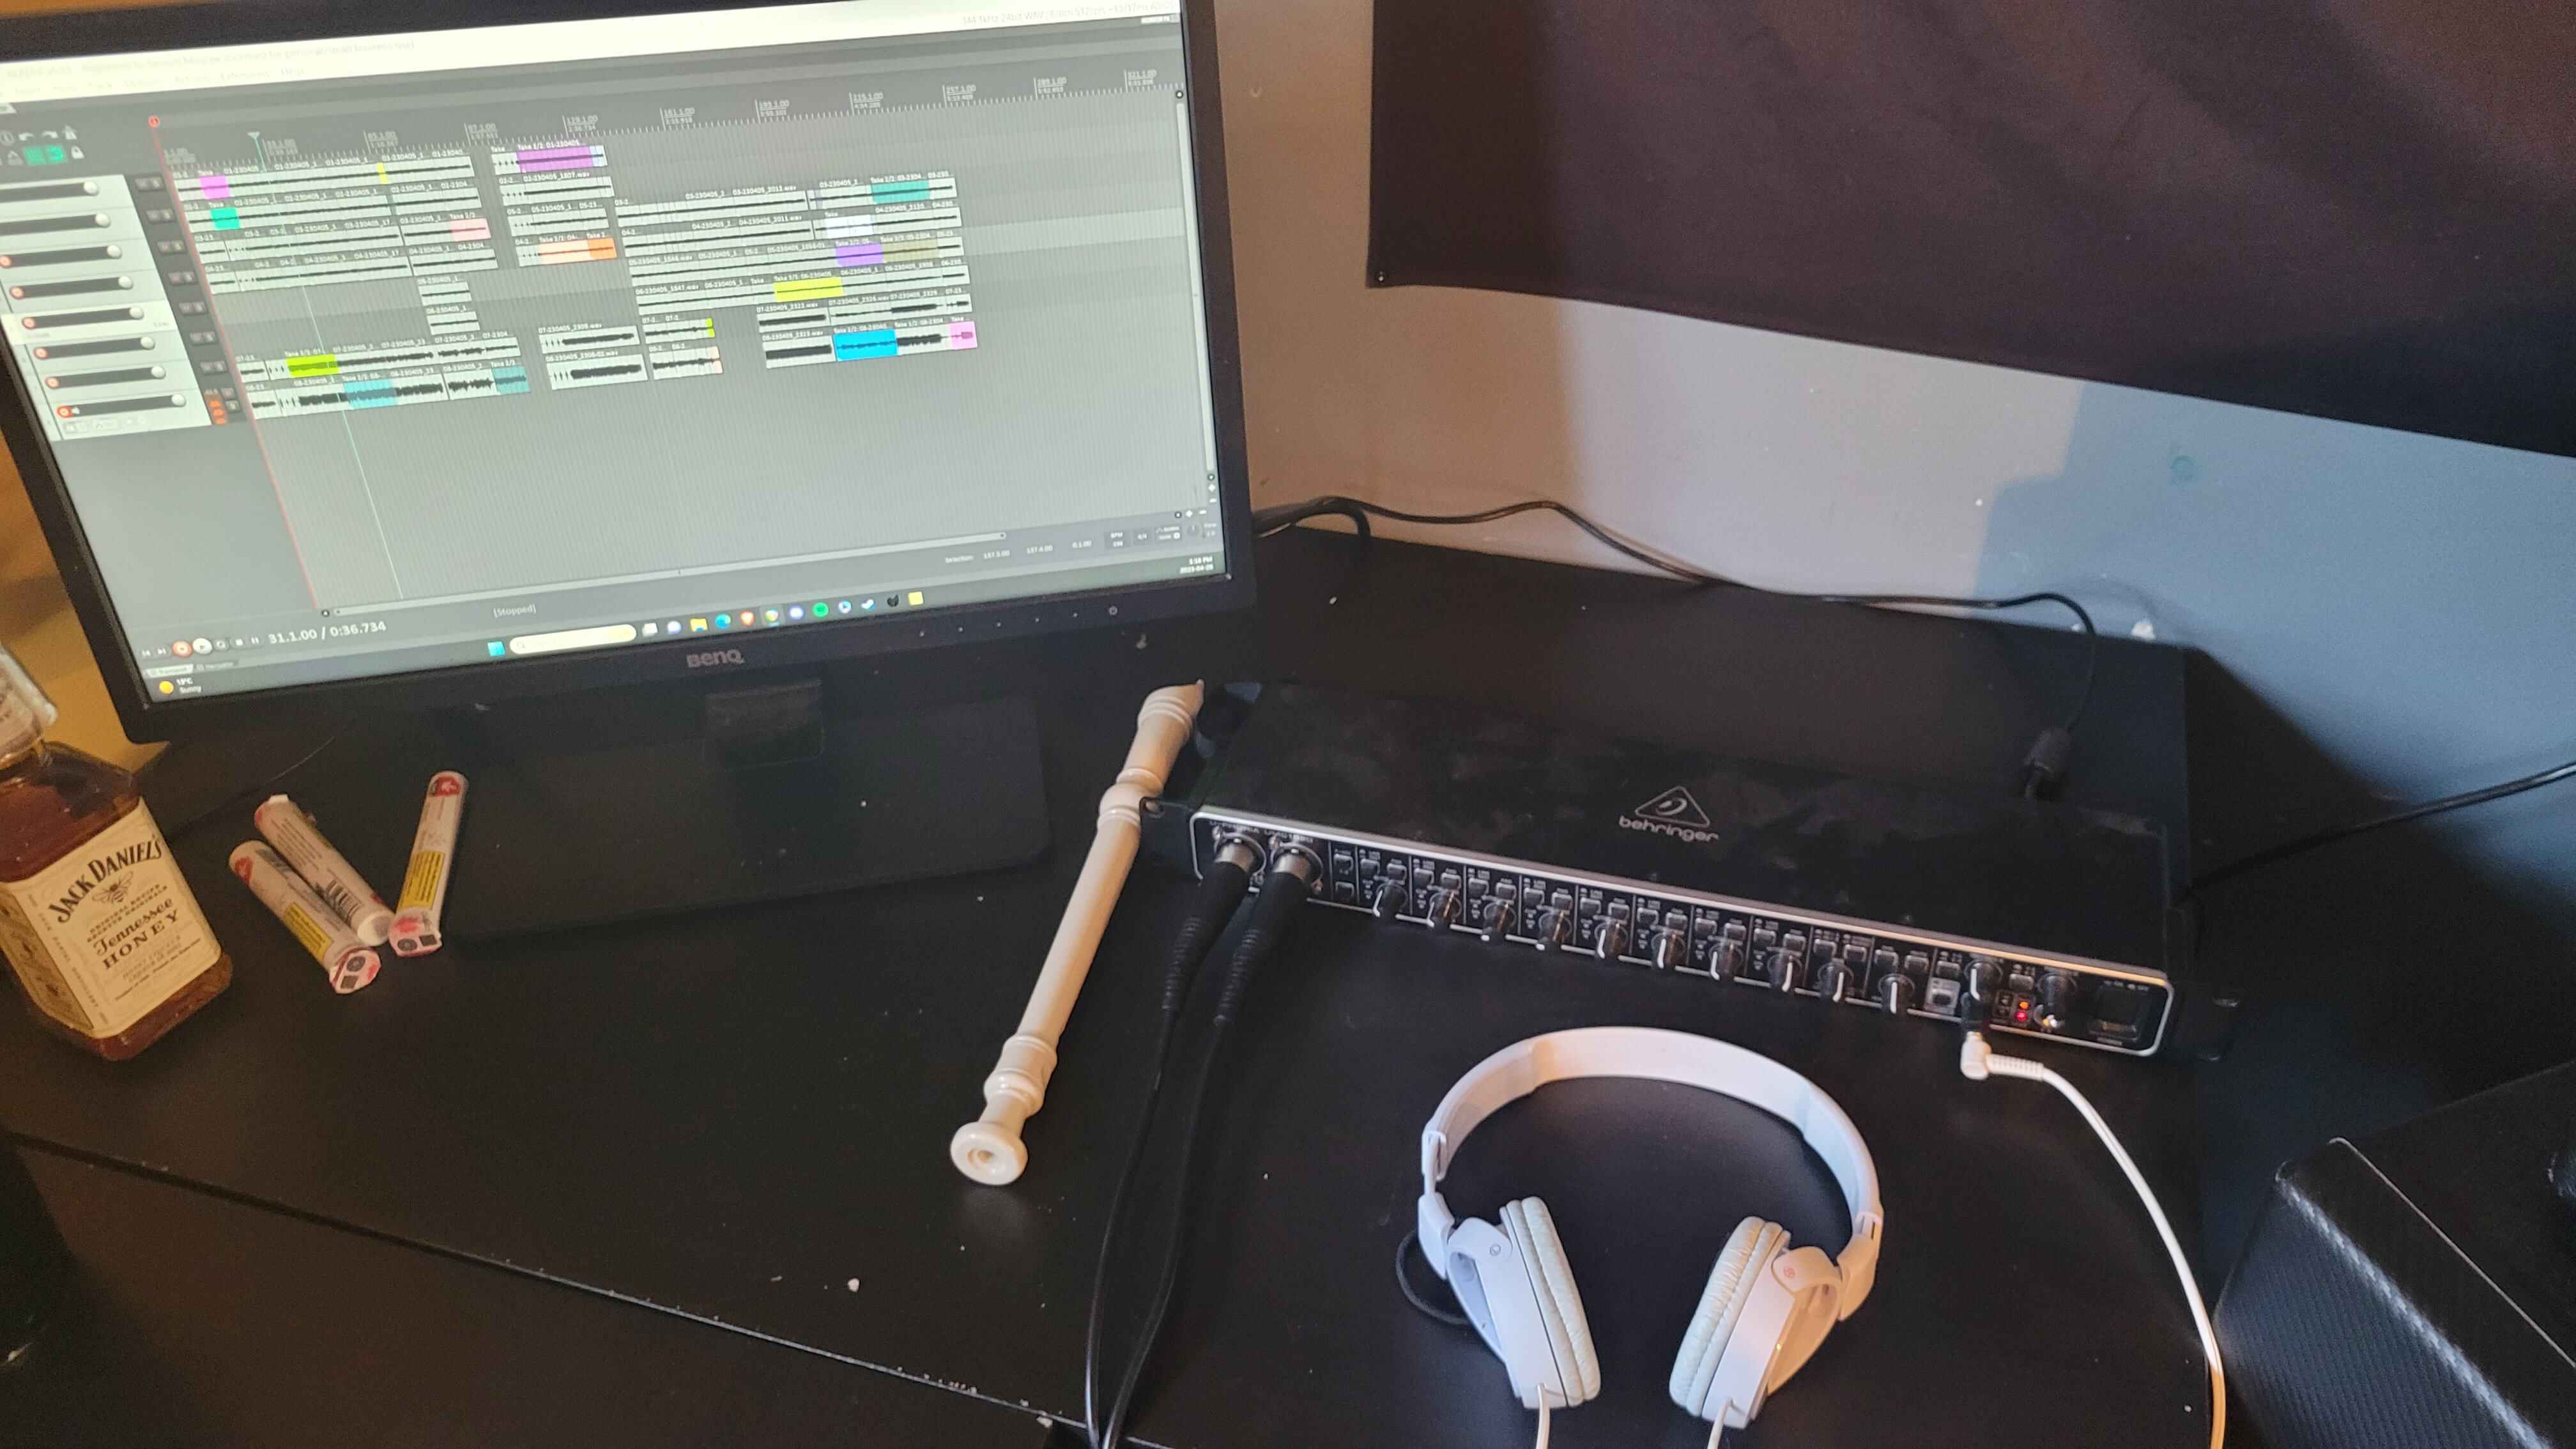
- Open any application or software that allows audio recording, such as Voice Recorder or Audacity.
- Position yourself in front of the USB microphone and speak or make a sound.
- Observe the audio levels or waveforms in the recording software. If the levels are responsive and there is an audio signal displayed, it indicates that your USB microphone is working correctly.
- Play back the recording and listen to the audio quality. Ensure that the sound is clear and without any distortions or background noise.
- If you encounter any issues during the test, double-check the connection of the USB microphone, its settings, and the driver installation. Make any necessary adjustments to rectify the problem.
During the testing phase, it’s also recommended to perform a test call or online meeting with a friend or colleague to ensure that your USB microphone is functioning properly in real-time communication scenarios.
By conducting a thorough test, you can ensure that your USB microphone is capable of capturing high-quality audio that meets your needs. If everything checks out, you’re ready to use your USB microphone on Windows 7 for a variety of purposes, such as recording podcasts, creating music, or participating in online meetings.
Congratulations! You have successfully enabled and tested your USB microphone on Windows 7. Enjoy the improved audio quality and the convenience of using a USB microphone for your recording or communication needs.
Conclusion
Enabling a USB microphone on Windows 7 can greatly enhance your audio experience, whether you’re engaging in online meetings, recording podcasts, or creating music. By following the simple steps outlined in this guide, you can easily set up and configure your USB microphone for optimal performance.
We started by checking the compatibility of your USB microphone to ensure it is supported by Windows 7. Then, we connected the USB microphone to your PC and installed any necessary drivers to establish a seamless connection. Next, we configured the settings by setting the USB microphone as the default recording device and adjusting additional options as needed.
Finally, we tested the USB microphone to ensure it was working correctly, providing clear audio without any distortions or background noise. By conducting this test, you can ensure that your USB microphone is ready for various applications, from recording audio to participating in virtual meetings.
Remember, the key to a successful setup is to follow each step carefully. If you encounter any issues along the way, double-check the connections, settings, and drivers to troubleshoot the problem. Additionally, stay updated with the manufacturer’s website for any driver updates that can further enhance the functionality of your USB microphone.
Now that you have enabled and tested your USB microphone on Windows 7, you can enjoy improved audio quality and convenience in your daily activities. Make the most of your USB microphone and explore the possibilities it offers for creating, communicating, and connecting with others.
We hope this guide has provided you with the necessary information to enable a USB microphone on Windows 7. Enjoy your newfound audio capabilities and let your creativity soar!