Introduction
So, you've got a MIDI keyboard and a Mac, and you're ready to start making beautiful music. Connecting your MIDI keyboard to your Mac opens up a world of possibilities for music production, composition, and performance. Whether you're a seasoned musician or just starting out, the ability to connect your MIDI keyboard to your Mac can greatly enhance your creative process.
In this guide, we'll walk you through the process of connecting your MIDI keyboard to your Mac, step by step. By the end of this tutorial, you'll be ready to unleash your musical talents and take full advantage of the powerful synergy between your MIDI keyboard and your Mac.
Before we dive into the technical details, it's important to understand the basics of MIDI (Musical Instrument Digital Interface) and its role in connecting your keyboard to your Mac. MIDI is a universal protocol that allows electronic musical instruments, computers, and other devices to communicate with each other. By transmitting and receiving MIDI data, your keyboard can control virtual instruments, software synthesizers, and digital audio workstations (DAWs) on your Mac, opening up a world of sonic possibilities.
Now, let's embark on this musical journey together as we explore the steps to seamlessly connect your MIDI keyboard to your Mac. Whether you're looking to record your next masterpiece, perform live, or simply explore the creative potential of your MIDI keyboard and Mac, this guide will equip you with the knowledge and skills to make it happen. Let's get started!
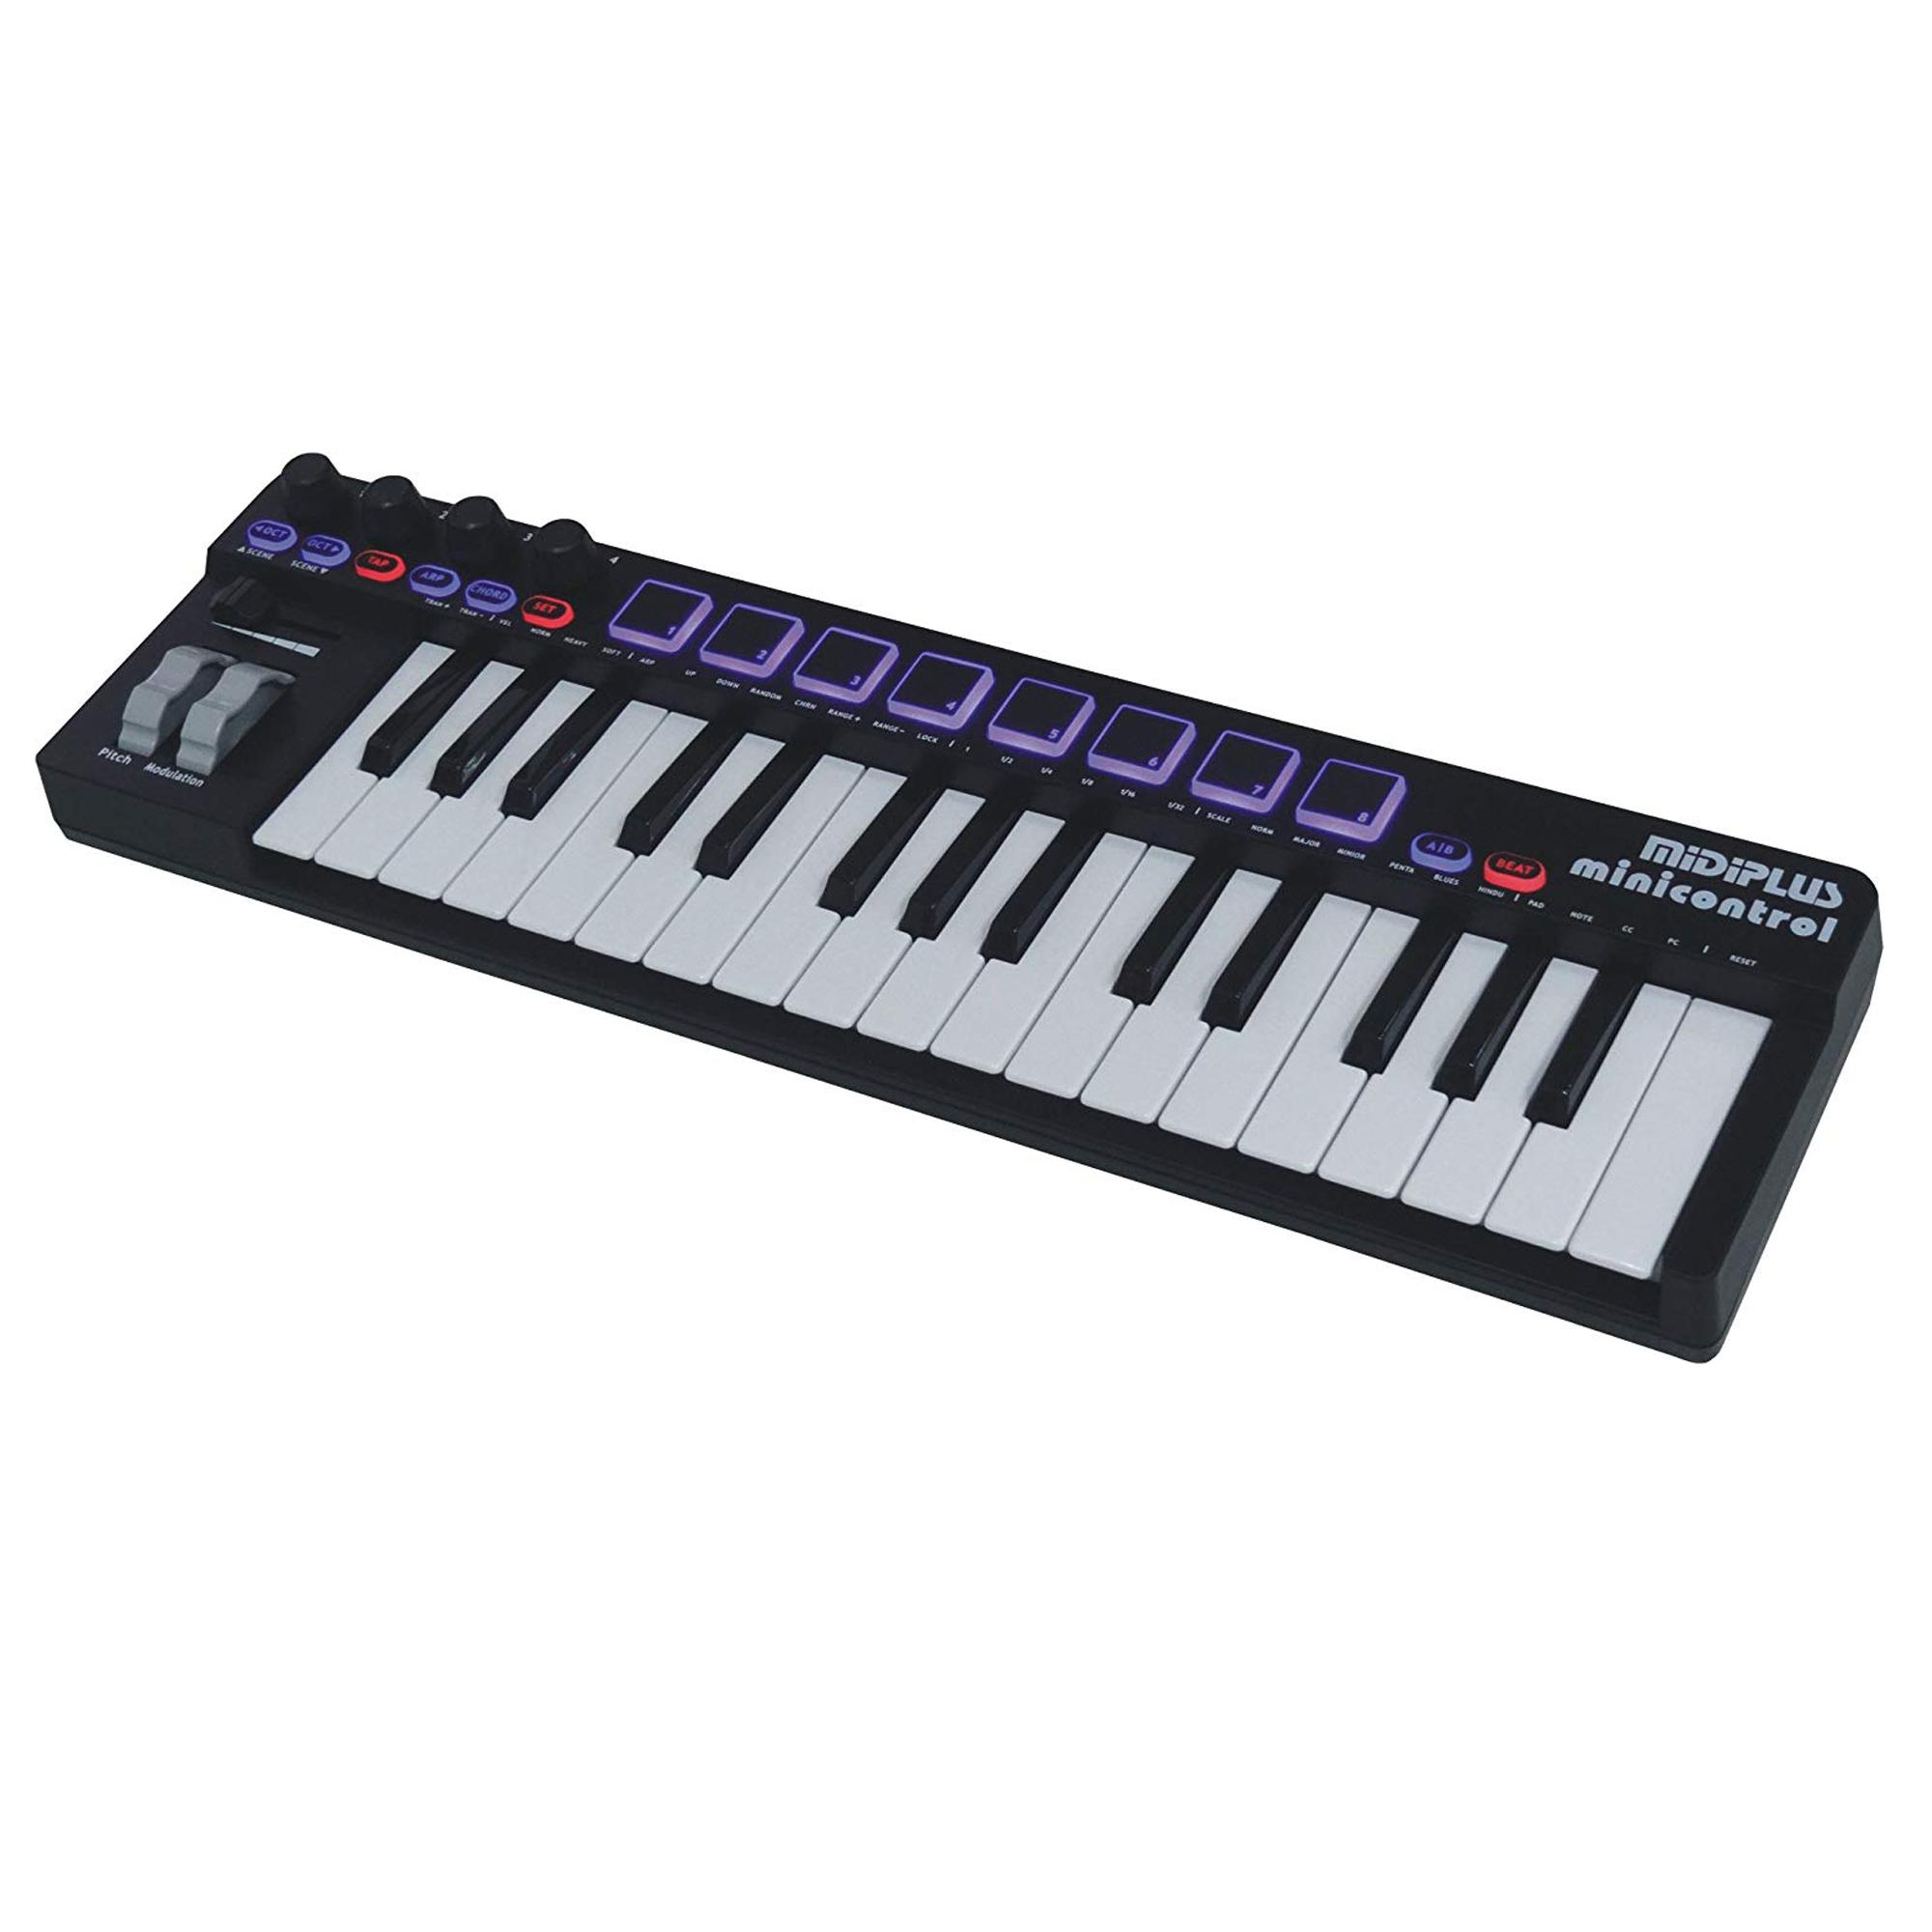
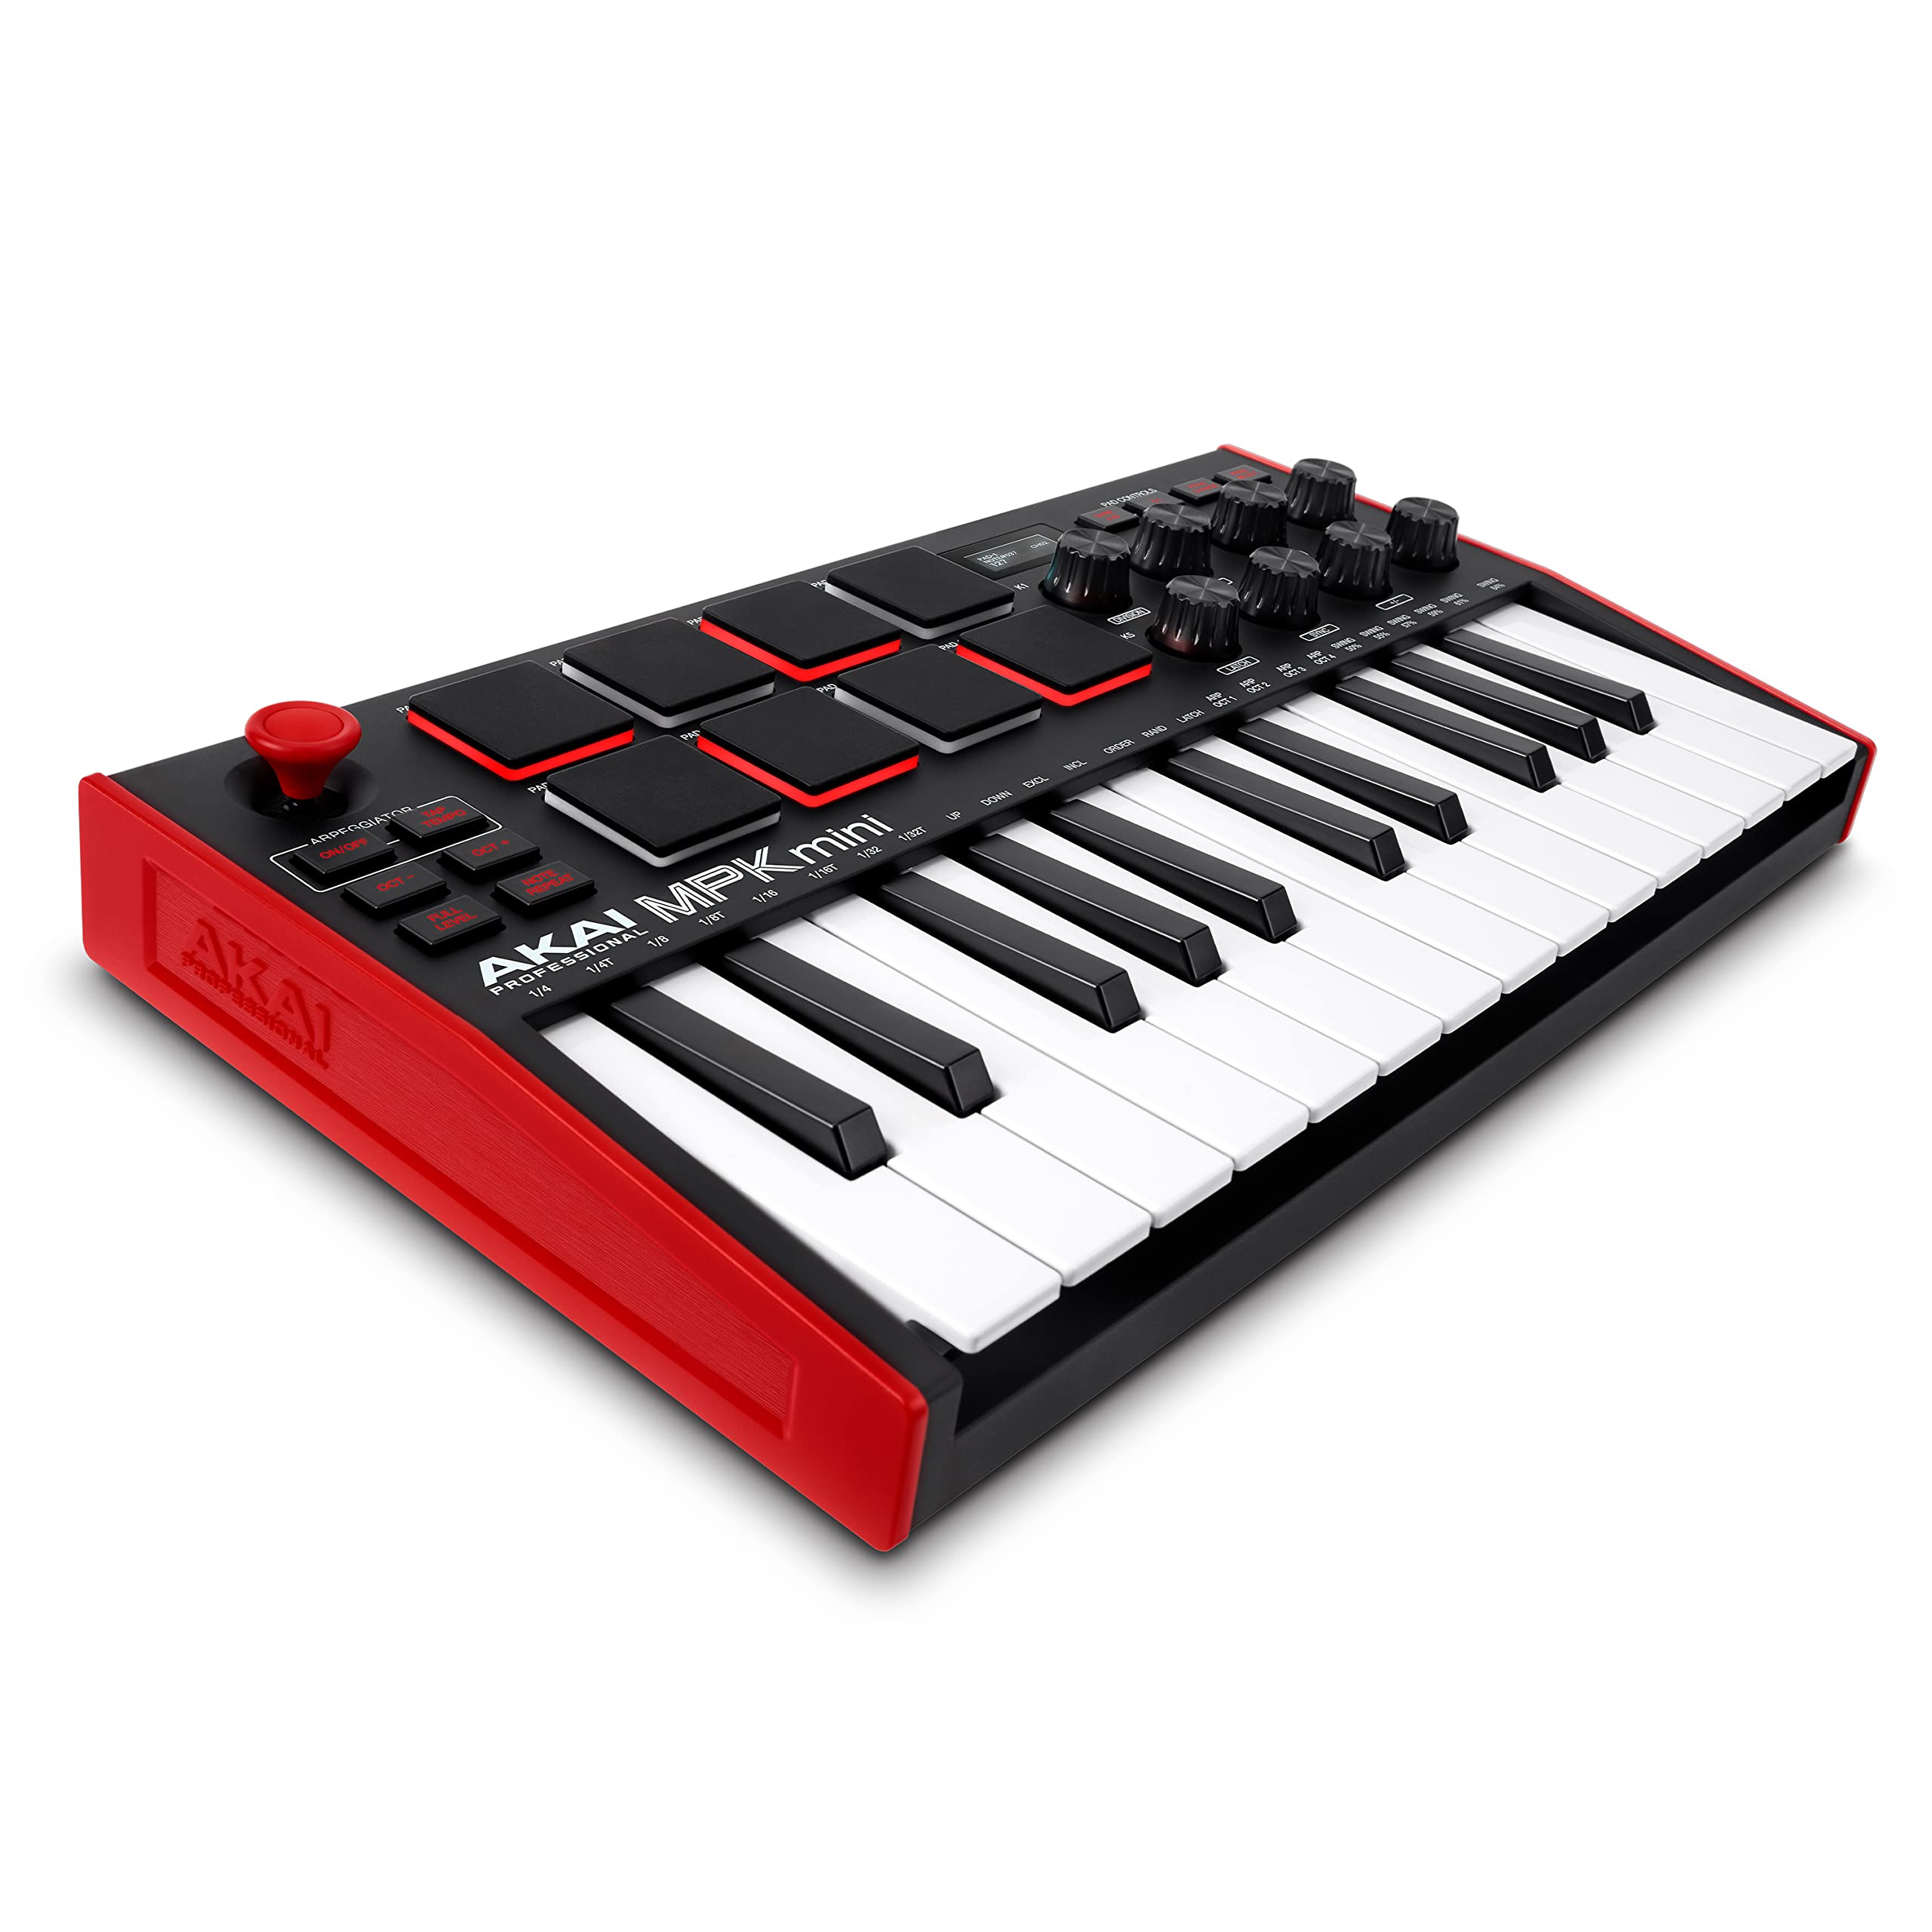
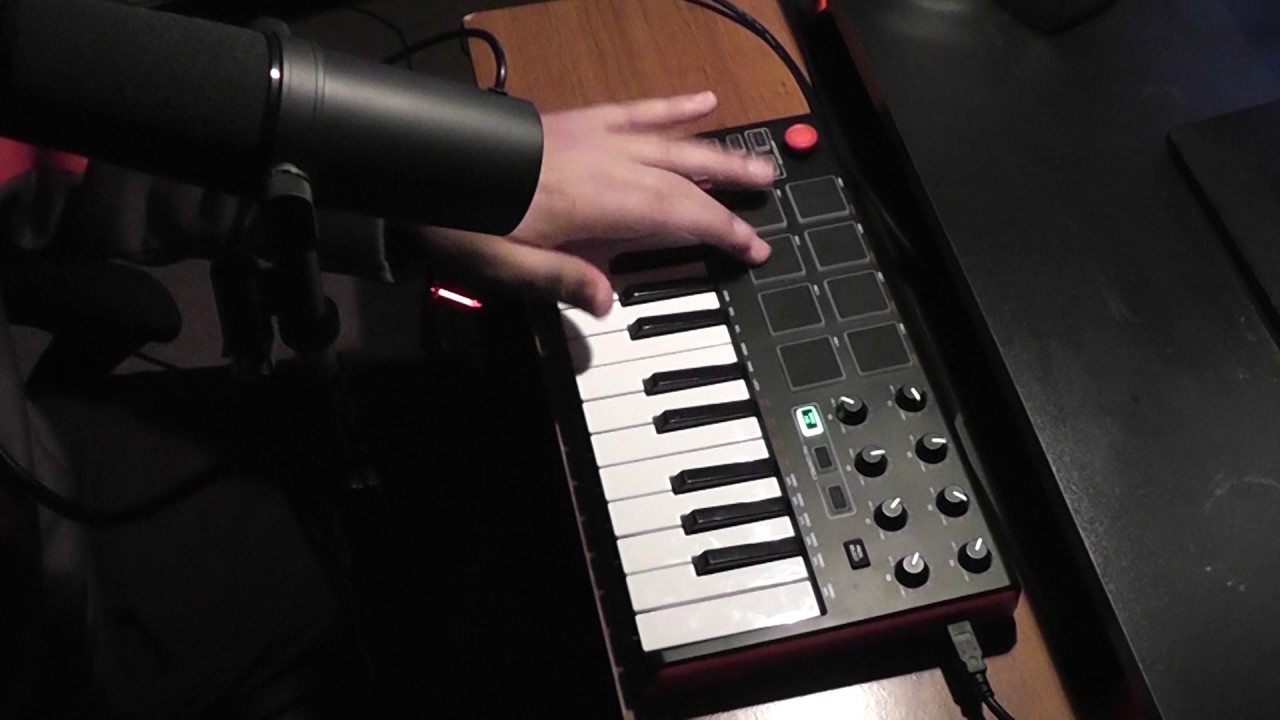
Step 1: Check your MIDI keyboard
Before diving into the connection process, it’s essential to ensure that your MIDI keyboard is compatible with your Mac. Here are the key points to consider when checking your MIDI keyboard:
- Compatibility: Verify that your MIDI keyboard is compatible with Mac operating systems. Most modern MIDI keyboards are designed to work seamlessly with Mac computers, but it’s always wise to check the manufacturer’s specifications or user manual for compatibility information.
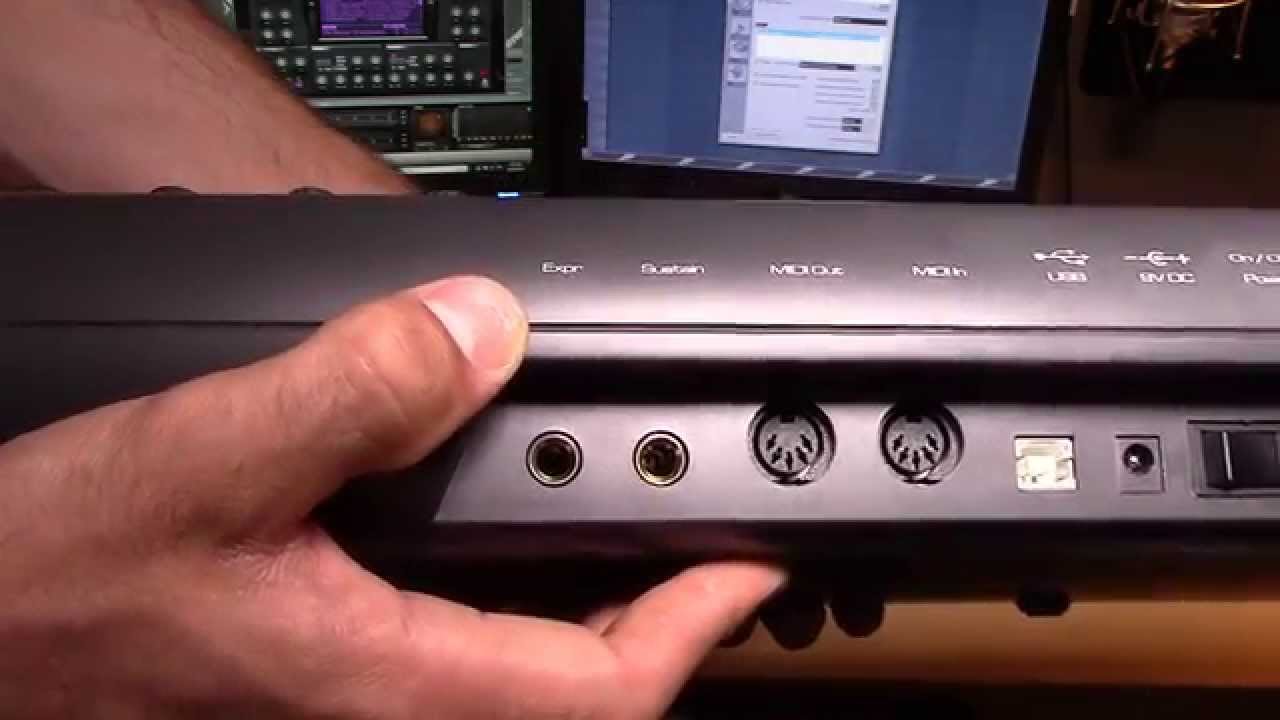
- Connection Ports: Inspect the back panel of your MIDI keyboard to identify the available connection ports. Most MIDI keyboards feature a USB port for direct connection to your Mac. Additionally, some keyboards may offer MIDI input and output ports, which can be connected to your Mac using a MIDI interface.
- Power Source: Determine the power source for your MIDI keyboard. Some keyboards are bus-powered through the USB connection, while others may require an external power adapter. Ensure that your keyboard is powered on and ready for the connection process.
- Driver Requirements: Check if your MIDI keyboard requires specific drivers to be installed on your Mac. While many modern MIDI keyboards are class-compliant, meaning they can be used without additional drivers, some models may require proprietary software or drivers for full functionality.
By thoroughly checking these key aspects of your MIDI keyboard, you can ensure a smooth and successful connection process with your Mac. Once you’ve confirmed compatibility and prepared the necessary connections, you’ll be ready to move on to the next step in the process of connecting your MIDI keyboard to your Mac.
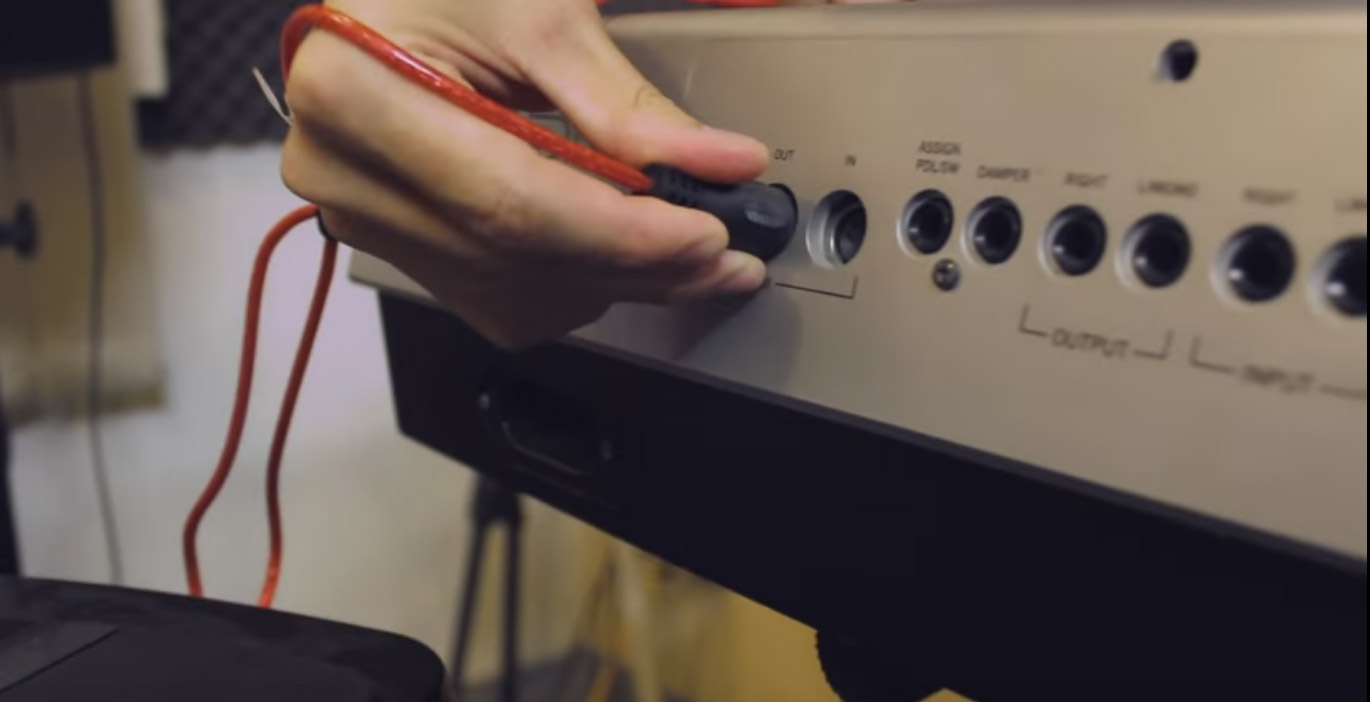
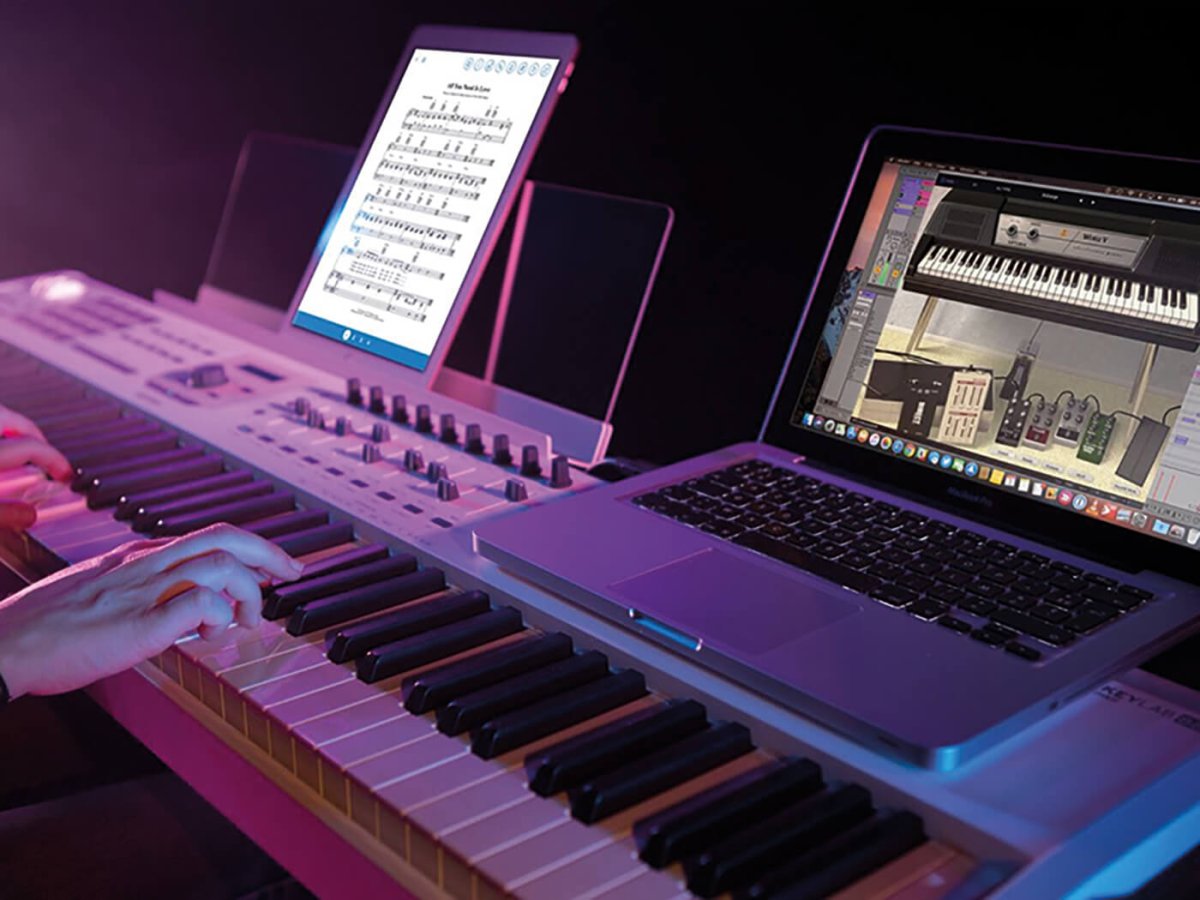
Step 2: Connect the MIDI keyboard to your Mac
Now that you’ve verified the compatibility and prepared your MIDI keyboard, it’s time to establish the physical connection with your Mac. Follow these steps to connect your MIDI keyboard to your Mac:
- USB Connection: If your MIDI keyboard features a USB port, use a standard USB cable to connect it directly to an available USB port on your Mac. Ensure that both the keyboard and the Mac are powered off before making the connection. Once connected, power on your MIDI keyboard and Mac.
- MIDI Interface Connection: If your MIDI keyboard utilizes MIDI input and output ports, you’ll need a MIDI interface to connect it to your Mac. Connect the MIDI output of your keyboard to the MIDI input of the interface, and then connect the MIDI interface to an available USB port on your Mac using a USB cable. Ensure that all devices are powered off before making the connections.
- Power On and Detection: After establishing the physical connection, power on your MIDI keyboard and Mac. Your Mac should automatically detect the connected MIDI keyboard and initiate the necessary setup process. If your keyboard requires specific drivers, follow the manufacturer’s instructions to install them on your Mac.
Once the physical connection is established and your Mac recognizes the MIDI keyboard, you’re one step closer to harnessing the creative potential of your musical setup. With the physical link in place, the next steps will focus on configuring settings and ensuring seamless communication between your MIDI keyboard and your Mac.
Step 3: Install any necessary drivers
After connecting your MIDI keyboard to your Mac, it’s important to ensure that any required drivers or software are properly installed to enable full functionality. Follow these steps to install necessary drivers for your MIDI keyboard:
- Manufacturer’s Website: Visit the official website of your MIDI keyboard’s manufacturer to locate the latest drivers or software for Mac compatibility. Manufacturers often provide dedicated support sections on their websites, offering downloads for drivers, firmware updates, and configuration utilities.
- Driver Installation: Download the appropriate drivers or software for your MIDI keyboard model and Mac operating system version. Follow the installation instructions provided by the manufacturer to install the drivers on your Mac. This typically involves running an installer package and following the on-screen prompts.
- System Preferences: Once the drivers are installed, navigate to the “System Preferences” on your Mac and locate the settings related to MIDI or audio devices. Depending on the manufacturer’s instructions, you may need to configure specific preferences or settings to ensure seamless communication between your MIDI keyboard and your Mac.
By installing the necessary drivers and software, you can unlock the full potential of your MIDI keyboard, allowing it to integrate seamlessly with your Mac-based music production setup. Proper installation of drivers ensures that your MIDI keyboard’s features, such as velocity sensitivity, aftertouch, and assignable controls, are fully functional within your preferred music software or digital audio workstation (DAW).
With the drivers in place and your MIDI keyboard properly integrated with your Mac, you’re ready to move on to the next step of configuring MIDI settings to optimize the communication between your keyboard and your Mac-based music production environment.
Step 4: Configure MIDI settings on your Mac
Configuring the MIDI settings on your Mac is crucial to ensure seamless communication between your MIDI keyboard and your music production software. Follow these steps to optimize the MIDI settings on your Mac:
- Audio MIDI Setup: Access the “Audio MIDI Setup” utility on your Mac. You can find this application in the “Utilities” folder within the “Applications” directory. Alternatively, you can use Spotlight search by pressing Command + Space and typing “Audio MIDI Setup.”
- MIDI Devices: In the “Audio MIDI Setup” window, select “MIDI Studio” from the Window menu. This will display a visual representation of your MIDI setup, showing connected MIDI devices, interfaces, and software instruments. Ensure that your MIDI keyboard is recognized and listed as an available MIDI device.
- Configuration: If your MIDI keyboard requires specific configuration, such as setting the MIDI channel, assigning controllers, or enabling local control, you can make these adjustments within the “MIDI Studio” window. Refer to your MIDI keyboard’s user manual for guidance on configuring these settings to suit your preferences.
- DAW Integration: If you’re using a digital audio workstation (DAW) or music production software on your Mac, ensure that the MIDI settings within the software are configured to recognize and communicate with your MIDI keyboard. This typically involves selecting the MIDI input and output ports within the software’s preferences or settings menu.
By configuring the MIDI settings on your Mac, you can establish a direct and efficient line of communication between your MIDI keyboard and your music production environment. Proper configuration ensures that your keyboard’s performance, expression, and control capabilities are fully utilized within your preferred software, allowing you to unleash your creativity without technical barriers.
With the MIDI settings optimized, you’re now prepared to test the connection between your MIDI keyboard and your Mac, ensuring that everything is functioning as intended before diving into your musical endeavors.
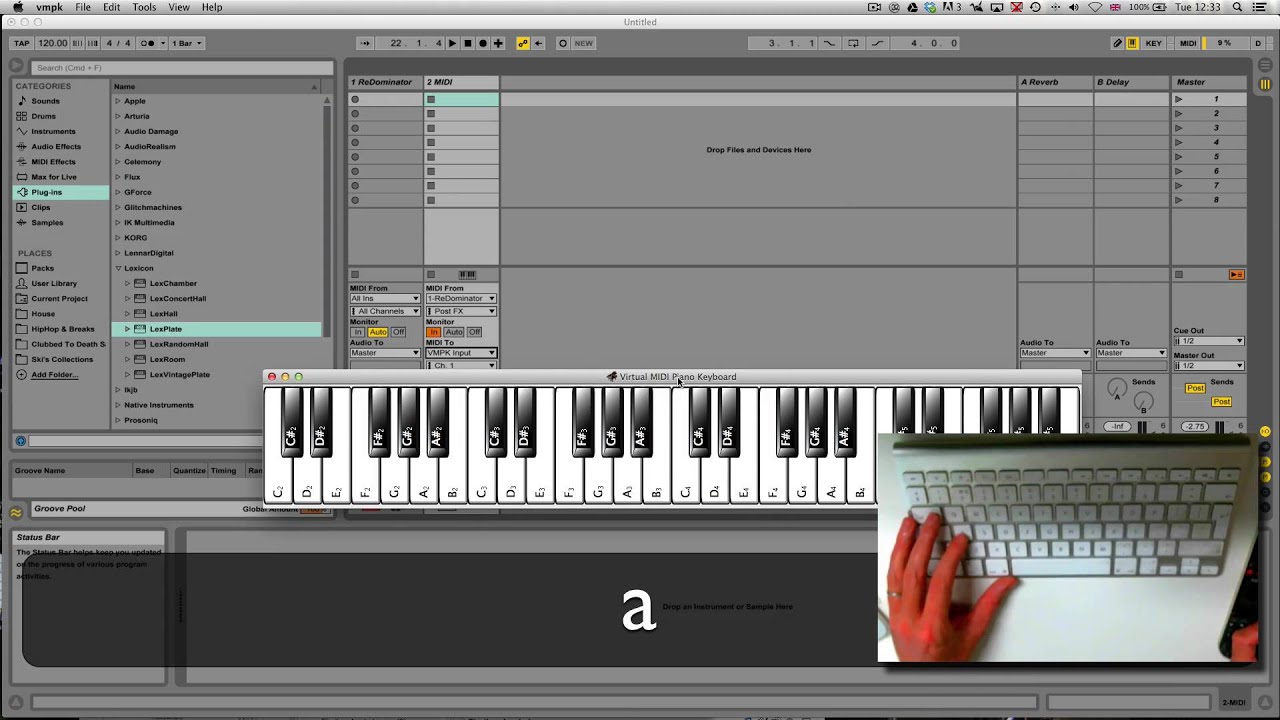
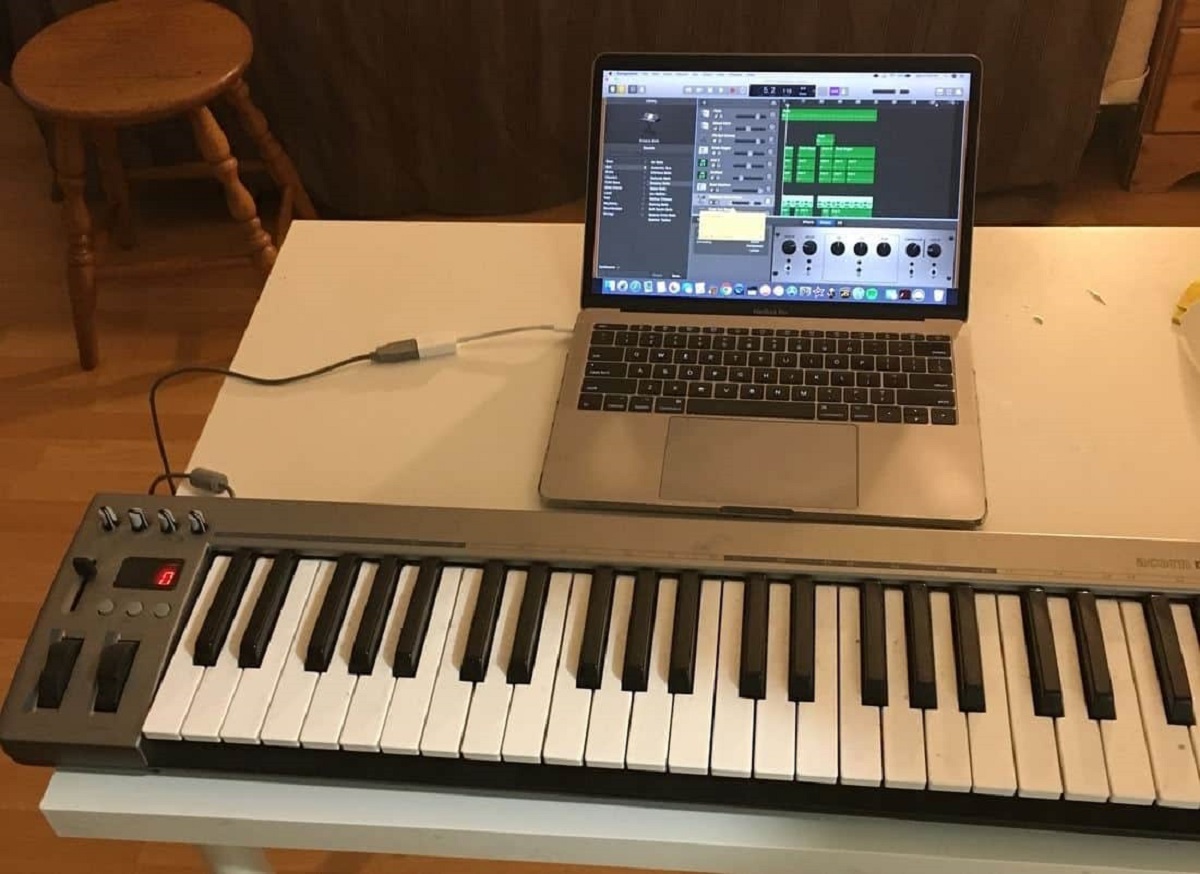
Step 5: Test the connection
Once you’ve completed the setup process for connecting your MIDI keyboard to your Mac, it’s essential to test the connection to ensure that everything is functioning as expected. Follow these steps to perform a comprehensive test of the MIDI keyboard connection:
- Open Music Software: Launch your preferred music production software or digital audio workstation (DAW) on your Mac. This could be software such as Logic Pro, Ableton Live, GarageBand, or any other music application that supports MIDI input.
- Check MIDI Input: Within the music software, navigate to the MIDI settings or preferences to verify that your MIDI keyboard is recognized as an input device. You should see your keyboard listed as an available MIDI input source. If your keyboard features additional controls, such as knobs, faders, or pads, ensure that they are also recognized by the software.
- Play and Record: Create a new project or session within your music software and engage the MIDI input from your keyboard. Play the keys and test the various controls to ensure that the software accurately captures the MIDI data from your keyboard. If you’re using a software instrument, verify that the keyboard triggers the appropriate sounds and responds to velocity and modulation.
- Record and Playback: Record a short musical passage using your MIDI keyboard and playback the recorded performance within the software. Confirm that the recorded MIDI data accurately reflects your performance and that any nuances, such as dynamics and expression, are faithfully captured.
By thoroughly testing the connection between your MIDI keyboard and your Mac, you can confirm that the setup is fully functional and ready for your musical endeavors. Any issues or discrepancies discovered during the testing phase can be addressed through further adjustments to the MIDI settings, software preferences, or keyboard configuration.
With the connection successfully tested and verified, you’re now equipped to fully harness the creative potential of your MIDI keyboard within your Mac-based music production environment. Whether you’re composing, performing, or producing, your MIDI keyboard is now seamlessly integrated into your musical workflow, ready to inspire and empower your musical expressions.
Conclusion
Congratulations! You’ve successfully connected your MIDI keyboard to your Mac, unlocking a world of musical possibilities and creative potential. By following the step-by-step process outlined in this guide, you’ve established a seamless and efficient connection between your MIDI keyboard and your Mac-based music production environment.
Through careful examination of your MIDI keyboard’s compatibility, physical connections, driver installation, and MIDI settings configuration, you’ve ensured that your musical setup is optimized for expressive performance, composition, and production. The thorough testing of the connection has confirmed that your MIDI keyboard is fully integrated with your preferred music software, ready to capture your musical ideas with precision and finesse.
With your MIDI keyboard now seamlessly connected to your Mac, you’re empowered to explore a myriad of creative avenues. Whether you’re crafting intricate melodies, shaping dynamic soundscapes, or performing live with virtual instruments, your MIDI keyboard serves as a versatile and expressive tool for musical expression.
As you continue to delve into the world of music production and performance with your MIDI keyboard and Mac, remember to explore the vast array of software instruments, effects, and production techniques available to you. Experiment, innovate, and let your creativity flourish as you harness the power of your MIDI keyboard in conjunction with your Mac-based music production setup.
By mastering the connection process and understanding the synergy between your MIDI keyboard and Mac, you’ve embarked on a journey of musical discovery and innovation. Embrace the boundless potential of your MIDI keyboard and let your musical aspirations take flight in the realm of digital creativity.
Now, armed with the knowledge and skills to connect your MIDI keyboard to your Mac, you’re poised to embark on a musical odyssey filled with inspiration, exploration, and the joy of creating music in the digital age.