Introduction
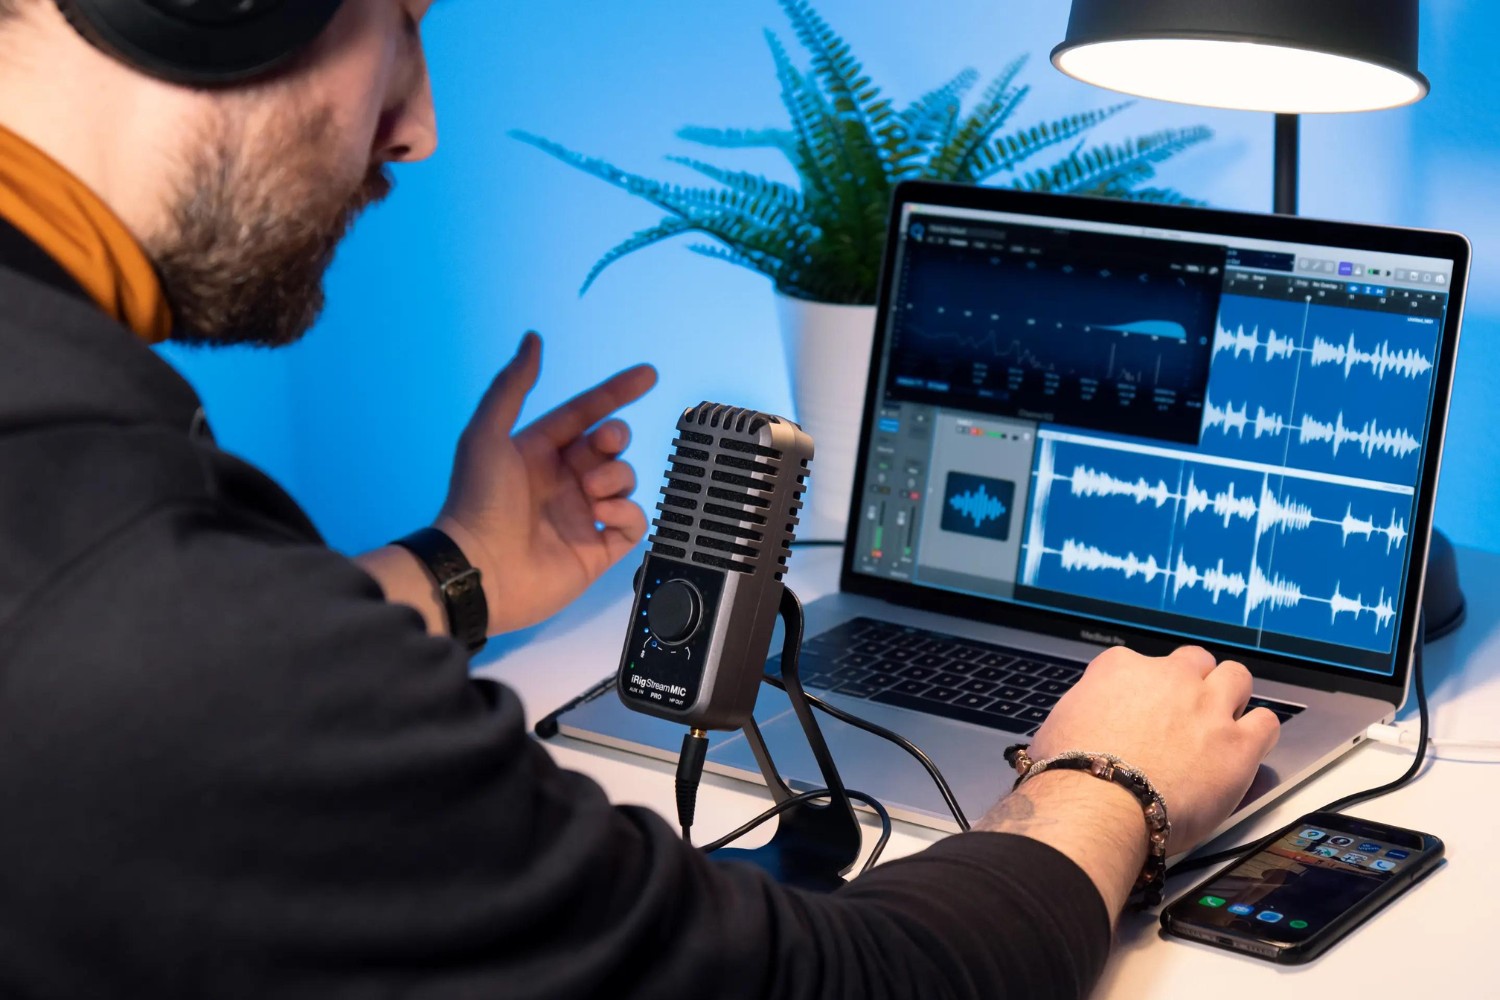
Welcome to the world of professional audio recording! If you're passionate about capturing high-quality sound, you've likely invested in a condenser microphone and a reliable pair of headphones. In this guide, we'll explore the process of connecting a condenser microphone to headphones for recording purposes. Whether you're a musician, podcaster, or content creator, this knowledge will empower you to produce exceptional audio content from the comfort of your own space.
The ability to connect a condenser microphone directly to headphones offers numerous advantages. It allows you to monitor your recordings in real time, ensuring that you capture the nuances of your performance with precision. Additionally, this setup enables you to make on-the-fly adjustments to microphone positioning and audio levels, resulting in a more polished final product.
By understanding the intricacies of condenser microphones and selecting the appropriate headphones for recording, you can create a seamless and efficient setup that elevates your audio production capabilities. With the right knowledge and equipment, you'll be well-equipped to embark on your recording journey with confidence.
In the following sections, we'll delve into the fundamentals of condenser microphones, explore the key considerations when choosing headphones for recording, and provide a step-by-step guide to connecting your condenser microphone to your headphones. Whether you're a seasoned audio engineer or a newcomer to the world of recording, this guide will equip you with the essential know-how to optimize your recording setup and achieve professional-grade results.
Understanding Condenser Microphones
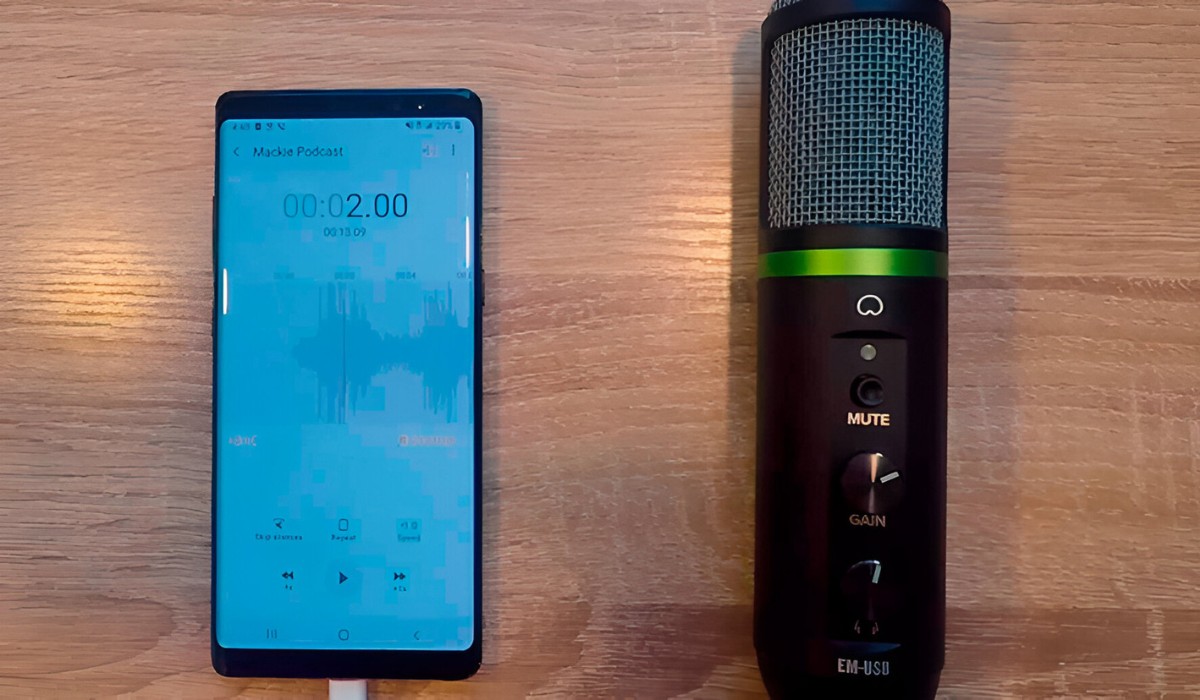
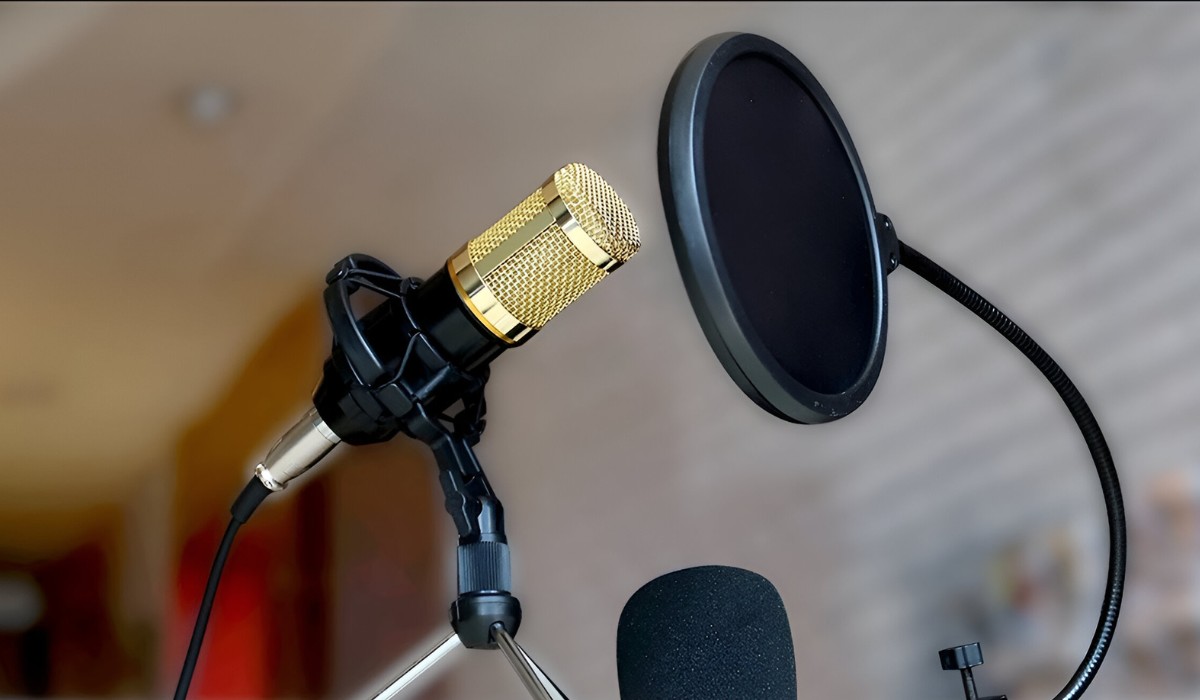
Condenser microphones, also known as capacitor microphones, are widely revered for their exceptional audio capture capabilities. Unlike dynamic microphones, which operate on electromagnetic induction principles, condenser microphones utilize an electrostatic principle to convert sound waves into electrical signals. This unique mechanism allows condenser microphones to offer unparalleled sensitivity and transient response, making them a popular choice for studio recording, vocal performances, and acoustic instrument capture.
At the core of a condenser microphone lies a diaphragm, typically made of a thin conductive membrane, positioned in close proximity to a backplate. The diaphragm and backplate form a capacitor, and when sound waves reach the diaphragm, it vibrates in response, causing the distance between the diaphragm and backplate to fluctuate. This variation in distance results in a change in the capacitance of the capacitor, generating an electrical signal that faithfully represents the incoming sound waves.
It’s important to note that condenser microphones require power to operate, often in the form of phantom power supplied by a mixing console, audio interface, or dedicated power supply. This power is essential for polarizing the capacitor and facilitating the conversion of acoustic signals into electrical signals. Additionally, condenser microphones are known for their wide frequency response and low self-noise, making them ideal for capturing intricate details and subtle nuances in audio recordings.
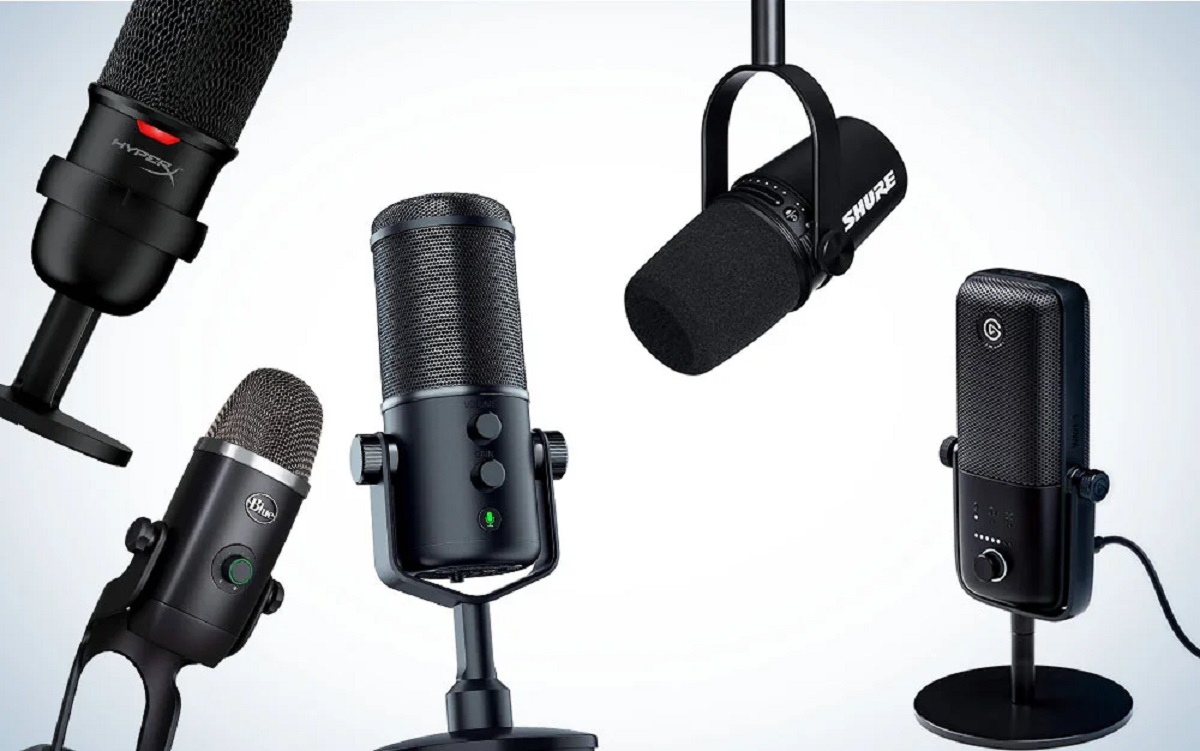
When selecting a condenser microphone for recording, factors such as diaphragm size, polar patterns, and frequency response should be carefully considered to ensure that the microphone aligns with the specific recording requirements. Whether you opt for a large-diaphragm condenser microphone for vocal recording, a small-diaphragm condenser microphone for instrument miking, or a multi-pattern condenser microphone for versatile recording applications, understanding the unique characteristics of condenser microphones is crucial for achieving optimal audio capture.
By familiarizing yourself with the inner workings and capabilities of condenser microphones, you can make informed decisions when integrating them into your recording setup. This foundational knowledge forms the cornerstone of harnessing the full potential of condenser microphones in your quest for pristine audio recordings.
Choosing the Right Headphones for Recording
When it comes to recording audio, the significance of selecting the appropriate headphones cannot be overstated. Unlike standard consumer headphones designed for casual listening, professional recording headphones are engineered to deliver accurate and uncolored sound reproduction, making them indispensable tools for critical monitoring during recording and mixing sessions.
One of the primary considerations when choosing headphones for recording is their frequency response. Ideally, recording headphones should provide a balanced and linear frequency reproduction across the entire audible spectrum, ensuring that the sound you hear is faithful to the original source. This characteristic is particularly vital for tasks such as vocal tracking, where precise monitoring is essential for capturing nuanced vocal performances.
Additionally, the design of recording headphones plays a pivotal role in their suitability for professional use. Closed-back headphones offer excellent isolation from external sound sources, making them ideal for tracking sessions where bleed from the headphones into the microphone must be minimized. On the other hand, open-back headphones, while less isolating, offer a more natural and spacious sound reproduction, making them valuable for critical listening and mixing applications.
Comfort and durability are also crucial factors to consider when selecting recording headphones. Since recording sessions can extend for prolonged periods, it’s essential to choose headphones that provide long-term comfort without causing listener fatigue. Furthermore, robust construction and reliable materials ensure that the headphones can withstand the rigors of studio use, contributing to their longevity and consistent performance.
For recording situations that require mobility, the impedance and sensitivity of the headphones should be compatible with the output capabilities of the recording interface or headphone amplifier. This ensures optimal performance and signal integrity, particularly when monitoring directly from the recording device.
By carefully evaluating the frequency response, design, comfort, and compatibility of recording headphones, you can make an informed decision that aligns with your specific recording needs. Whether you’re tracking vocals, monitoring live instruments, or critically evaluating mix elements, the right pair of headphones can significantly enhance the accuracy and fidelity of your audio recordings.
Connecting the Condenser Microphone to the Headphones
Now that we’ve gained a deeper understanding of condenser microphones and the importance of selecting suitable headphones for recording, it’s time to explore the process of connecting the condenser microphone to the headphones for a seamless recording experience. This integration not only facilitates real-time monitoring of audio capture but also empowers the recording artist or engineer to make informed adjustments during the recording process.
The first step in connecting a condenser microphone to headphones involves identifying the appropriate audio interface or preamplifier with headphone monitoring capabilities. This device serves as the intermediary between the condenser microphone and the headphones, providing microphone preamplification, phantom power for the condenser microphone, and a dedicated headphone output for monitoring.
Once the audio interface or preamplifier is in place, connect the condenser microphone to the designated microphone input using an XLR cable. Ensure that phantom power is activated on the audio interface or preamplifier to supply the necessary voltage to the condenser microphone, enabling it to function optimally. It’s essential to adhere to proper phantom power protocols to prevent potential damage to the microphone and ensure reliable operation.
Next, locate the headphone output on the audio interface or preamplifier and connect your recording headphones using a suitable connector, such as a 1/4-inch TRS or 1/8-inch TRS depending on the headphone jack size. This establishes the direct monitoring path from the microphone to the headphones, allowing you to hear the captured audio in real time without perceptible latency.
Many modern audio interfaces offer the flexibility to adjust the balance between the direct input signal from the microphone and the playback signal from the recording software, enabling precise control over the monitoring mix. This feature is particularly valuable for performers who require a customized blend of their live performance and pre-recorded tracks during recording sessions.
It’s important to note that in some scenarios, additional monitoring devices or headphone distribution amplifiers may be employed to facilitate multiple headphone connections for collaborative recording sessions. These devices expand the monitoring capabilities, allowing multiple individuals to monitor the recording process simultaneously through their respective headphones.
By establishing a direct connection from the condenser microphone to the headphones via a capable audio interface or preamplifier, you create an immersive and responsive recording environment that empowers you to capture and evaluate audio with precision and clarity. This integration forms the cornerstone of a professional recording setup, elevating the quality and efficiency of your recording endeavors.
Testing and Adjusting the Setup
Once the condenser microphone is connected to the headphones through the audio interface or preamplifier, it’s essential to conduct thorough testing and make necessary adjustments to ensure optimal performance and sound quality. This crucial phase allows you to fine-tune the recording setup, address any potential issues, and create an environment conducive to capturing exceptional audio.
Begin by verifying that the phantom power supply to the condenser microphone is functioning correctly. Most audio interfaces or preamplifiers feature an indicator light to signal the activation of phantom power. Confirm that the microphone is receiving the necessary power to operate, as the absence of phantom power can result in a significant reduction in microphone sensitivity and overall performance.
With the microphone powered and connected, perform a sound check to evaluate the audio signal captured by the condenser microphone. Speak or sing into the microphone while monitoring the output through the headphones. This initial assessment allows you to gauge the microphone’s sensitivity, frequency response, and overall tonal characteristics, providing valuable insights into its performance in real-world applications.
During the testing phase, pay close attention to the signal level and ensure that it remains within an optimal range to prevent distortion or inadequate signal-to-noise ratio. Many audio interfaces offer gain control for the microphone input, allowing you to adjust the input level to achieve a clean and robust signal without overloading the preamplifier or recording device.
As you test the setup, consider experimenting with microphone positioning to explore different tonal characteristics and capture nuances in the sound source. Small adjustments in microphone placement can yield significant variations in the captured sound, offering opportunities to tailor the recording to suit specific artistic preferences or genre requirements.
Furthermore, take advantage of the headphone monitoring capabilities to assess the direct input signal from the microphone in comparison to the playback signal from the recording software. This dual monitoring approach enables you to evaluate the live performance in conjunction with pre-recorded tracks, facilitating a comprehensive assessment of the recording mix and overall sonic balance.
If you encounter any anomalies or irregularities during the testing phase, troubleshoot the setup by inspecting the cable connections, adjusting the microphone settings, and verifying the compatibility of the audio interface or preamplifier with the condenser microphone. Addressing potential issues proactively ensures a smooth and productive recording experience, minimizing disruptions and maximizing the potential for exceptional audio capture.
By conducting thorough testing and judiciously adjusting the setup, you establish a reliable and optimized recording environment that empowers you to capture pristine audio with confidence and precision. This meticulous approach sets the stage for successful recording sessions and reinforces the foundation of professional audio production.
Conclusion
As we conclude our exploration of connecting a condenser microphone to headphones for recording, it’s evident that this integration forms the backbone of a proficient and immersive recording environment. The synergy between the condenser microphone and the recording headphones empowers creators and engineers to capture, monitor, and evaluate audio with unparalleled precision and fidelity.
Through our understanding of condenser microphones, we’ve unveiled the intricate electrostatic principles that underpin their exceptional audio capture capabilities. The nuanced diaphragm-backplate configuration and reliance on phantom power distinguish condenser microphones as indispensable tools for capturing the subtleties and complexities of sound.
Furthermore, the selection of the right headphones for recording emerges as a pivotal decision, with considerations such as frequency response, design, comfort, and compatibility playing a vital role in shaping the monitoring experience. The ability to discern accurate and uncolored sound reproduction through professional recording headphones elevates the quality and reliability of the monitoring process.
Connecting the condenser microphone to the headphones through a capable audio interface or preamplifier represents the convergence of technology and artistry. This integration facilitates real-time monitoring, customizable monitoring mixes, and seamless communication between the performer and the recording environment, fostering an environment conducive to creativity and sonic excellence.
Testing and adjusting the setup serves as the linchpin of the entire process, allowing for meticulous evaluation, fine-tuning, and troubleshooting to ensure optimal performance and sound quality. This iterative approach empowers creators to harness the full potential of their recording setup, mitigating potential issues and maximizing the potential for exceptional audio capture.
In essence, the seamless connection of a condenser microphone to headphones for recording embodies the pursuit of sonic excellence and the commitment to precision in audio production. This integration transcends technical functionality, embodying the artistry, passion, and dedication of individuals who strive to create impactful and immersive audio experiences.
Armed with the knowledge and insights gleaned from this guide, you are poised to embark on your recording journey with confidence and proficiency. Whether you’re a musician, podcaster, content creator, or audio enthusiast, the symbiotic relationship between the condenser microphone and headphones will serve as the catalyst for your creative endeavors, enabling you to capture and express the essence of sound with unparalleled clarity and artistry.


