Introduction
Are you looking to enhance your music production experience by adjusting the sensitivity of your MIDI keyboard in FL Studio? Understanding and fine-tuning the sensitivity settings can significantly impact the way your MIDI keyboard responds to your touch, ultimately influencing the expressiveness and dynamics of your music. In this guide, we will delve into the intricacies of sensitivity adjustment, offering step-by-step instructions to help you optimize the responsiveness of your MIDI keyboard within the FL Studio environment.
Whether you're a seasoned music producer or a novice enthusiast, the ability to customize the sensitivity of your MIDI keyboard can elevate your creative process, allowing for greater control and precision. By gaining a deeper understanding of sensitivity settings and learning how to tailor them to your specific preferences, you can unlock a world of musical possibilities and refine your compositions with newfound accuracy and nuance.
Join us as we explore the nuances of MIDI keyboard sensitivity and discover how you can harness this powerful feature to elevate your music production endeavors within FL Studio. Let's embark on this journey to unlock the full potential of your MIDI keyboard and infuse your musical creations with enhanced expressiveness and finesse.
Understanding Sensitivity on a MIDI Keyboard
Before delving into the process of adjusting sensitivity settings in FL Studio, it’s essential to grasp the concept of sensitivity on a MIDI keyboard. Sensitivity, often referred to as velocity sensitivity, governs how the keyboard responds to the force and speed with which keys are pressed. This feature allows for dynamic control over the volume, timbre, and other sonic characteristics of the notes played, mirroring the nuances of acoustic instruments.
Velocity sensitivity enables musicians to convey expressiveness in their performances, replicating the natural ebb and flow of musical expression. When a key is struck softly, the resulting sound is subdued, while striking the key with greater force produces a louder and more pronounced tone. This emulation of dynamics is crucial for capturing the subtleties and emotive qualities of music, adding a layer of authenticity to digital compositions.
Furthermore, MIDI keyboards often offer adjustable velocity curves, allowing users to tailor the keyboard’s response to their playing style. By modifying the velocity curve, musicians can customize the relationship between key press intensity and the corresponding output, ensuring that the keyboard’s responsiveness aligns with their preferences and playing technique.
Understanding sensitivity on a MIDI keyboard is pivotal for harnessing its full potential in music production. By recognizing the impact of velocity sensitivity and velocity curves, you can appreciate the role they play in shaping the dynamics and articulation of your performances. As we proceed, we will explore how to manipulate these sensitivity parameters within FL Studio, empowering you to craft musical arrangements with heightened expressiveness and precision.
Adjusting Sensitivity in FL Studio
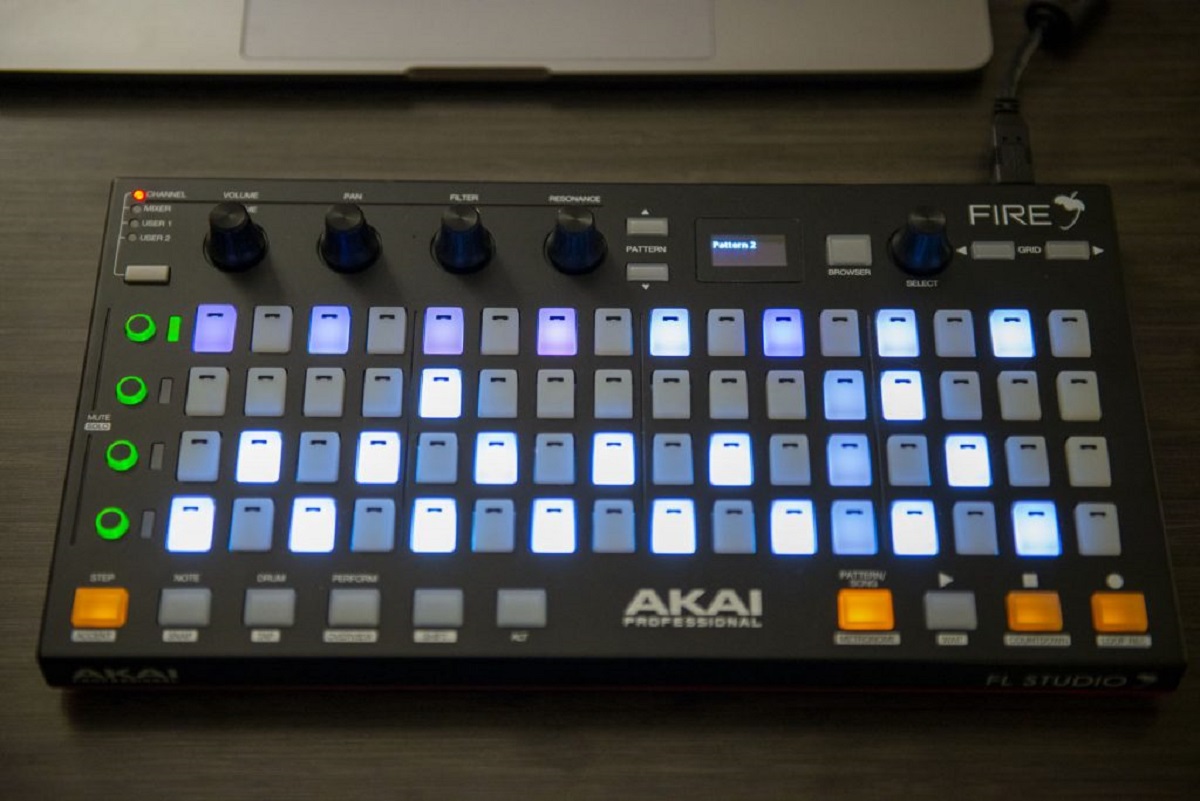
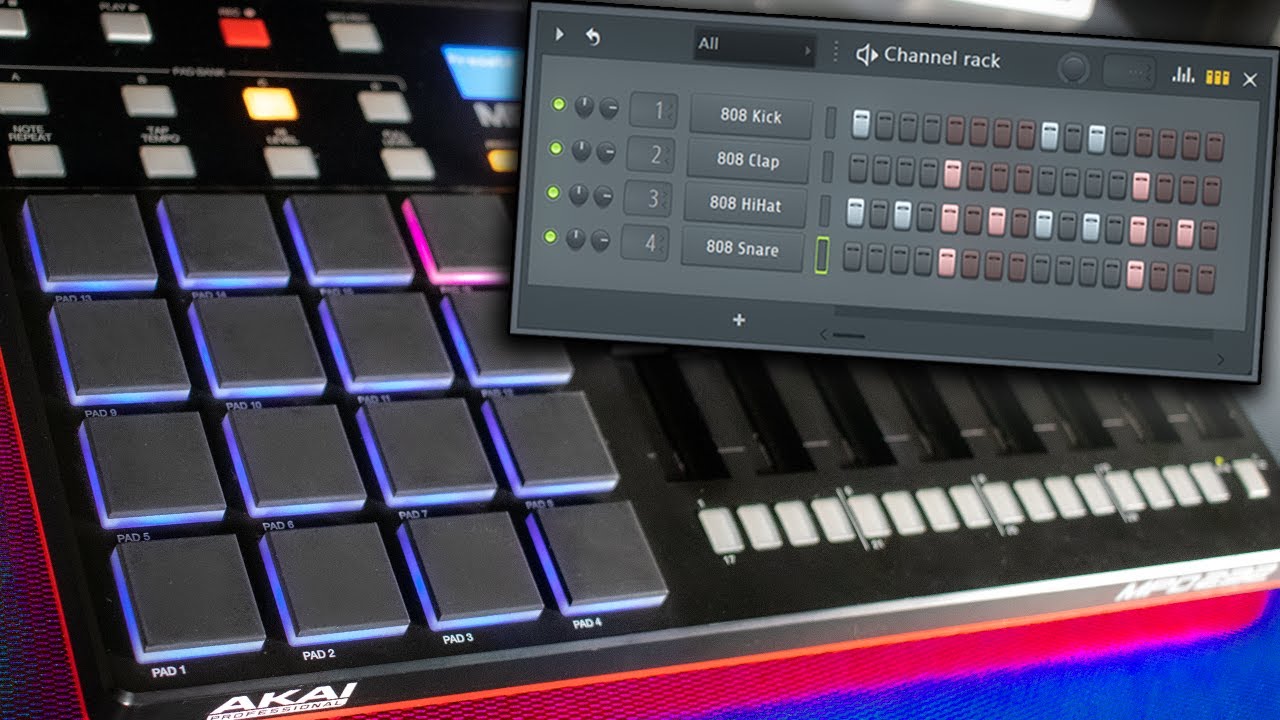
FL Studio provides a user-friendly interface for customizing the sensitivity of your MIDI keyboard to suit your musical preferences. To begin the process, launch FL Studio and ensure that your MIDI keyboard is connected and recognized by the software. Once your MIDI controller is detected, follow these steps to adjust the sensitivity settings:
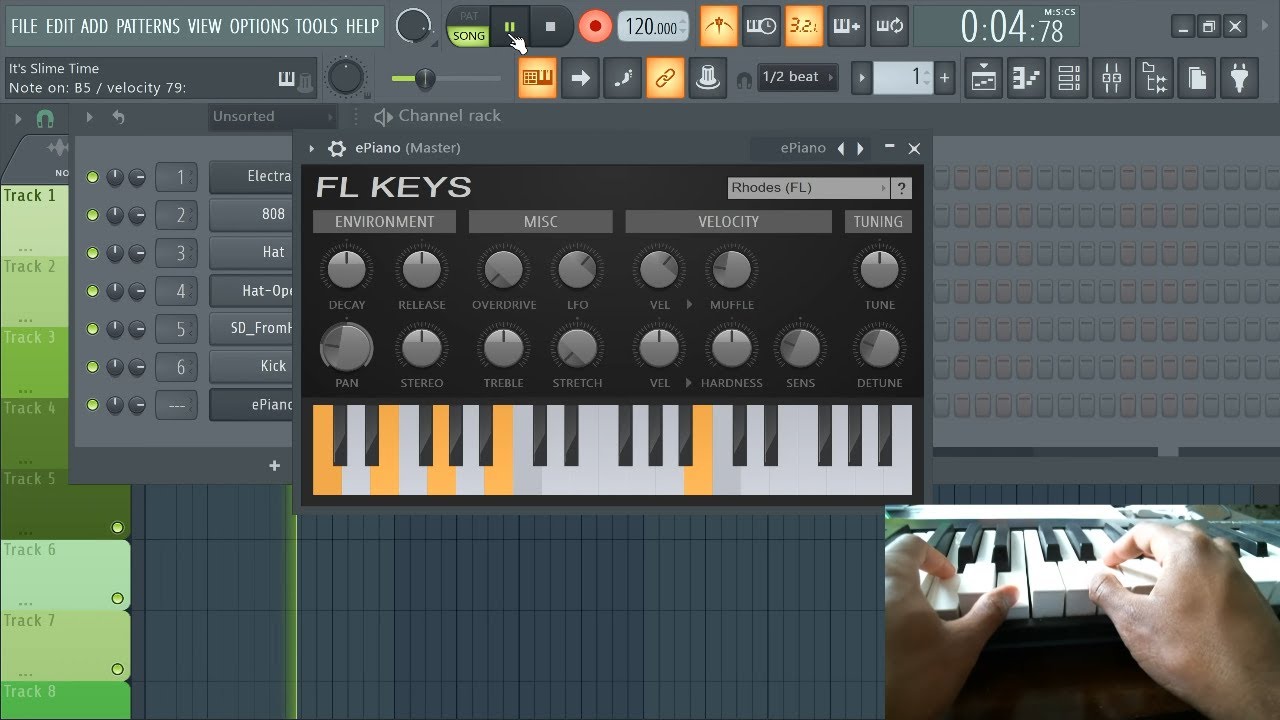
- Accessing the MIDI Settings: Navigate to the “Options” menu at the top of the FL Studio interface and select “MIDI Settings” from the dropdown list. This will open the MIDI Settings window, where you can configure various parameters related to MIDI input and output.
- Selecting the MIDI Keyboard: In the MIDI Settings window, locate your MIDI keyboard from the list of available input devices. Click on the name of your MIDI controller to highlight it, indicating that you are about to adjust its settings.
- Adjusting Velocity Curve: Within the MIDI Settings window, look for the option to modify the velocity curve or sensitivity settings for your MIDI keyboard. FL Studio offers intuitive controls to alter the velocity response, allowing you to fine-tune the keyboard’s reactivity to your playing dynamics.
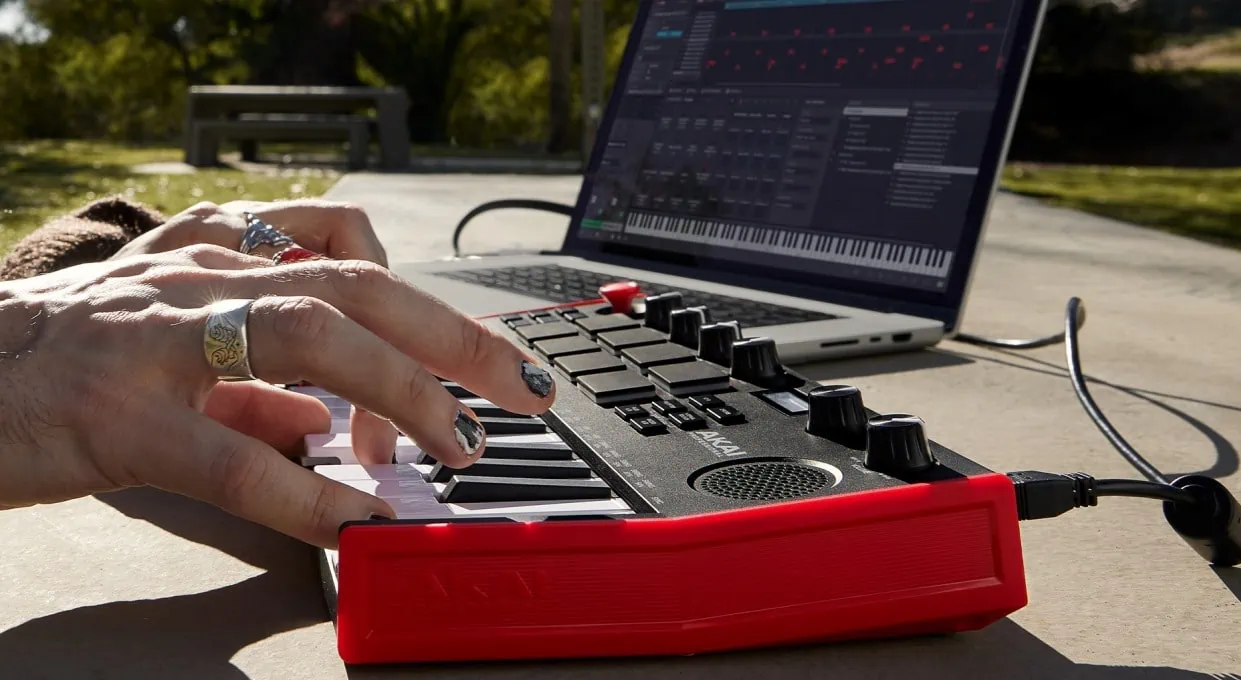
- Testing the Changes: After making adjustments to the sensitivity settings, it’s essential to test the keyboard’s response to ensure that the modifications align with your desired playing experience. Play a variety of notes with varying degrees of force to gauge how the keyboard interprets your touch and to verify that the sensitivity adjustments yield the intended results.
By following these steps, you can seamlessly adjust the sensitivity of your MIDI keyboard within FL Studio, tailoring its response to your unique playing style and performance dynamics. This personalized approach to sensitivity customization empowers you to craft musical passages with enhanced expressiveness and accuracy, amplifying the emotive qualities of your compositions.
As you navigate the process of adjusting sensitivity in FL Studio, remember that the goal is to optimize the keyboard’s responsiveness to mirror your musical expression faithfully. With the sensitivity settings aligned to your preferences, you can embark on a creative journey where your MIDI keyboard becomes an extension of your artistic vision, enriching your music with nuanced dynamics and emotive depth.
Testing and Fine-Tuning the Sensitivity
Once you’ve adjusted the sensitivity settings of your MIDI keyboard in FL Studio, it’s crucial to conduct thorough testing and fine-tuning to ensure that the keyboard’s response aligns with your musical intentions. The following steps will guide you through the process of testing and refining the sensitivity settings:
- Playing Dynamic Passages: Begin by playing passages of varying dynamics on your MIDI keyboard. Experiment with soft, delicate touches as well as more forceful key strikes to gauge how the keyboard interprets and translates your playing dynamics into sound. Pay attention to the nuance and responsiveness of the keyboard across the entire dynamic range.
- Assessing Note Articulation: Listen closely to the articulation of individual notes as you play. Evaluate how the sensitivity adjustments influence the attack, sustain, and release characteristics of the notes. Fine-tune the settings to achieve a balance that complements your playing style and musical expression.
- Verifying Velocity Response: Verify that the velocity response of the MIDI keyboard aligns with your playing technique. Ensure that softer key presses produce subdued tones, while stronger key presses yield more pronounced and impactful sounds. Make adjustments as needed to refine the velocity curve and sensitivity parameters.
- Recording and Analyzing Performances: Record short musical passages or improvisations while paying attention to the keyboard’s response. Upon playback, analyze the recorded performances to identify any areas where the sensitivity settings may require further refinement. Use this feedback to iteratively fine-tune the sensitivity parameters until the keyboard’s response feels intuitive and expressive.
Testing and fine-tuning the sensitivity of your MIDI keyboard is an iterative process that demands attentive listening and a discerning ear. By meticulously assessing the keyboard’s response to your playing dynamics and making incremental adjustments, you can elevate the expressiveness and authenticity of your musical performances within FL Studio.
Remember that the goal of this process is to establish a symbiotic relationship between your playing technique and the MIDI keyboard’s responsiveness. As you fine-tune the sensitivity settings, strive to create an environment where your musical intentions seamlessly translate into emotive and nuanced musical expressions, empowering you to craft captivating compositions with enhanced dynamics and depth.
Conclusion
Exploring the realm of sensitivity adjustment for MIDI keyboards in FL Studio unveils a realm of possibilities for musicians and producers seeking to imbue their compositions with expressive depth and nuanced dynamics. By understanding the intricacies of sensitivity and velocity curves, and mastering the art of fine-tuning these parameters within FL Studio, you can harness the full potential of your MIDI keyboard as a versatile tool for musical expression.
As you navigate the process of adjusting sensitivity settings, remember that the ultimate goal is to establish a seamless connection between your musical intentions and the responsiveness of the MIDI keyboard. Through iterative testing and refinement, you can tailor the keyboard’s sensitivity to mirror your playing dynamics, thereby enriching your musical creations with authenticity and emotive depth.
By customizing the sensitivity of your MIDI keyboard, you empower yourself to infuse your compositions with the subtle nuances and expressive qualities that define captivating musical performances. Whether you seek to emulate the delicate touch of a pianissimo passage or unleash the raw power of fortissimo articulations, the ability to adjust sensitivity in FL Studio grants you the freedom to shape your music with precision and artistry.
Embrace the process of sensitivity adjustment as a means to unlock new dimensions of creativity and musicality. As you refine the responsiveness of your MIDI keyboard, you pave the way for immersive and evocative performances that resonate with authenticity and emotion, transcending the confines of digital instrumentation to embody the soul of live musical expression.
With each keystroke, let the tailored sensitivity of your MIDI keyboard become an extension of your artistic vision, amplifying the depth and richness of your musical narratives. Through this journey of exploration and customization, you embark on a path where the boundaries between digital and acoustic realms blur, and your compositions thrive with the organic vitality of live performances.