Introduction
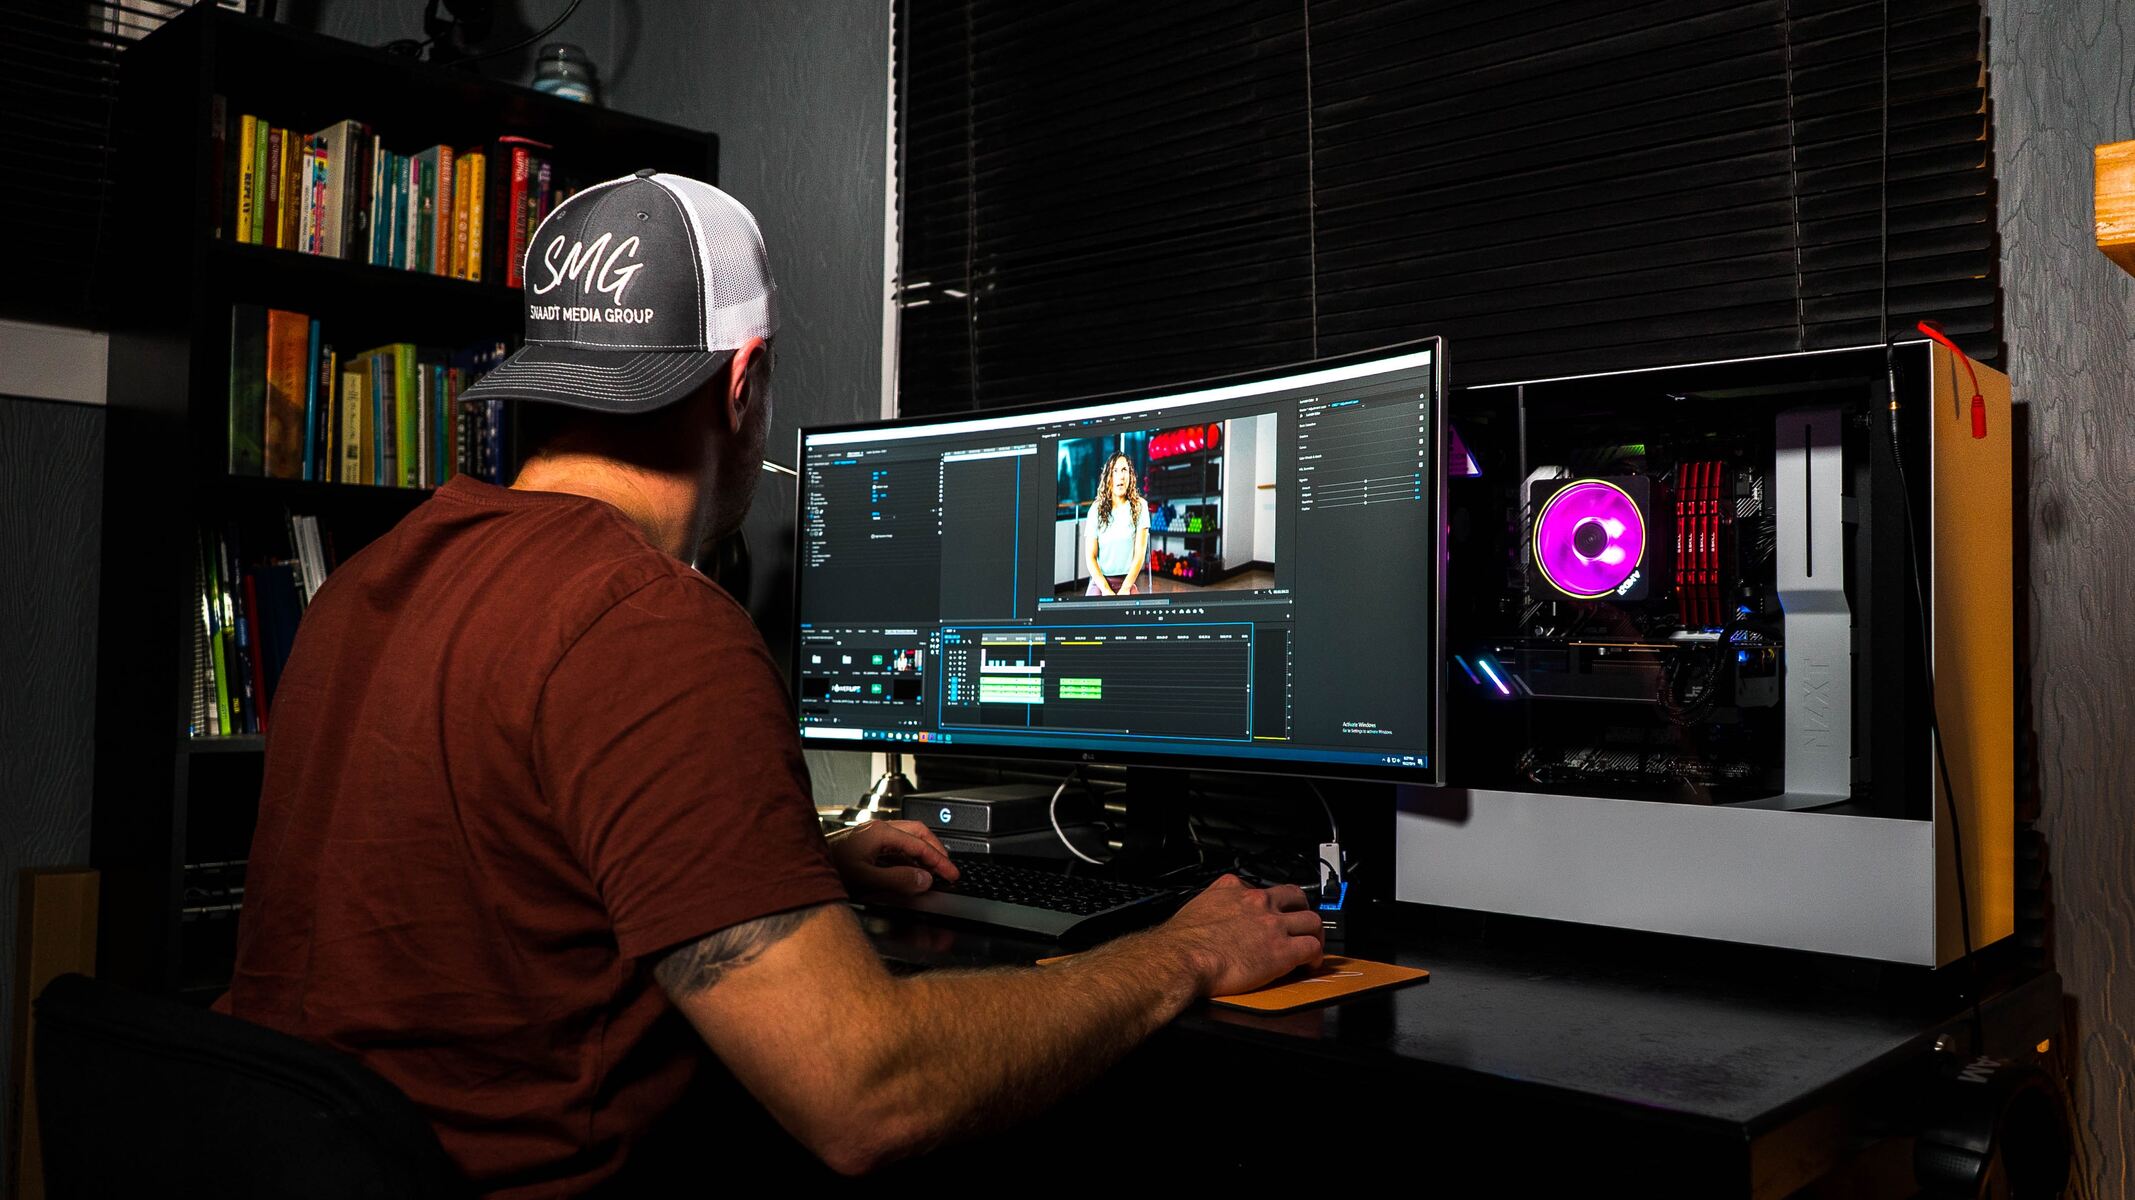
Are you a musician or a music producer looking to add depth and complexity to your compositions? Do you want to harness the power of technology to bring your musical ideas to life? If so, learning how to record MIDI keyboard in Adobe Audition can be a game-changer for you. MIDI (Musical Instrument Digital Interface) is a versatile tool that allows you to capture the nuances of your keyboard performance and manipulate them with precision.
In this comprehensive guide, we will walk you through the process of setting up your MIDI keyboard, configuring Adobe Audition for MIDI recording, recording MIDI tracks, and editing and refining your recordings. By the end of this tutorial, you will have the knowledge and skills to unleash your creativity and produce professional-quality music using Adobe Audition.
Whether you are a seasoned musician or just starting your musical journey, recording MIDI keyboard in Adobe Audition offers a wealth of possibilities. From creating intricate melodies to layering complex harmonies, MIDI recording empowers you to explore the full potential of your keyboard and express your musical ideas with unparalleled depth and richness.
So, grab your MIDI keyboard, fire up Adobe Audition, and let's embark on this exciting journey into the world of MIDI recording. Get ready to unlock a new realm of musical creativity and elevate your compositions to new heights. Let's dive in and discover the art of capturing the soul of your keyboard performance through MIDI recording in Adobe Audition.
Setting up your MIDI Keyboard
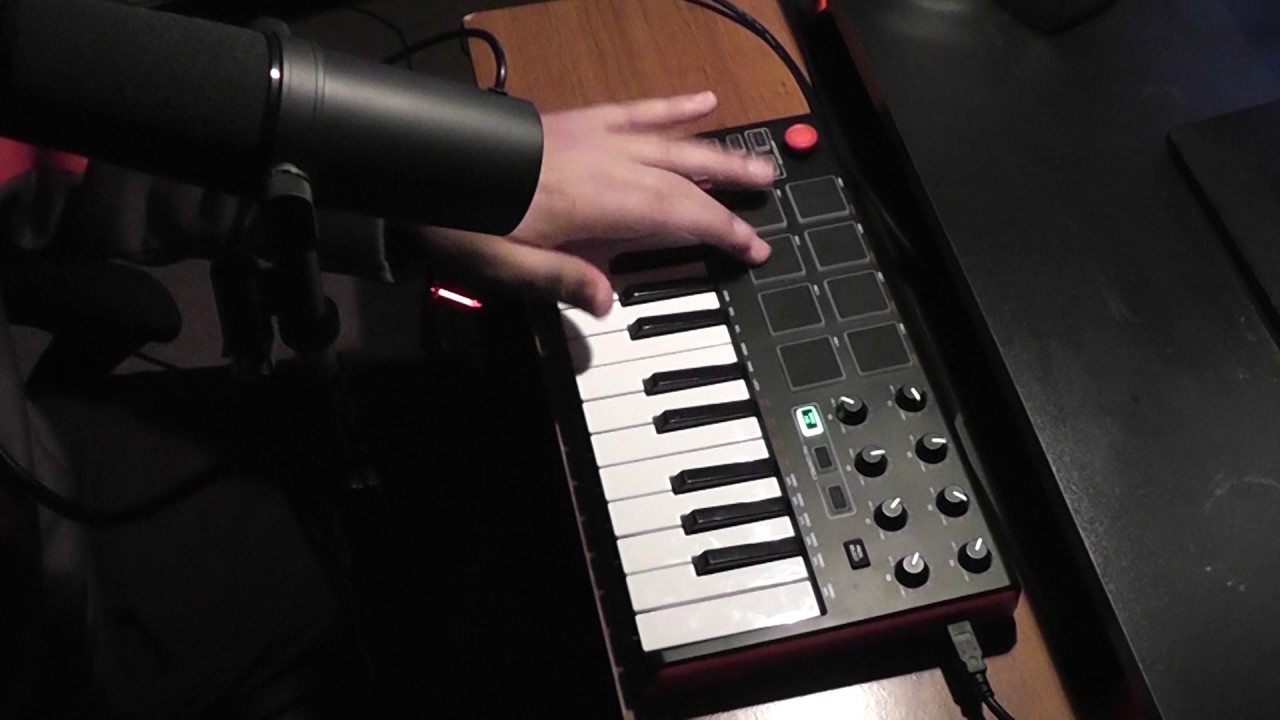
Before you can start recording MIDI with your keyboard in Adobe Audition, it’s essential to ensure that your MIDI keyboard is properly set up and connected to your computer. Follow these steps to get your MIDI keyboard ready for recording:
- Connect the MIDI Keyboard: Begin by connecting your MIDI keyboard to your computer using a USB cable or a MIDI interface. Most modern MIDI keyboards can be connected directly via USB, simplifying the setup process.
- Install the MIDI Drivers: If your MIDI keyboard requires specific drivers, make sure to install them on your computer. These drivers enable seamless communication between your keyboard and your digital audio workstation (DAW), such as Adobe Audition.
- Check Power and Connectivity: Ensure that your MIDI keyboard is powered on and properly connected to your computer. Some keyboards may require an external power source or batteries, so double-check the power supply to avoid interruptions during recording.
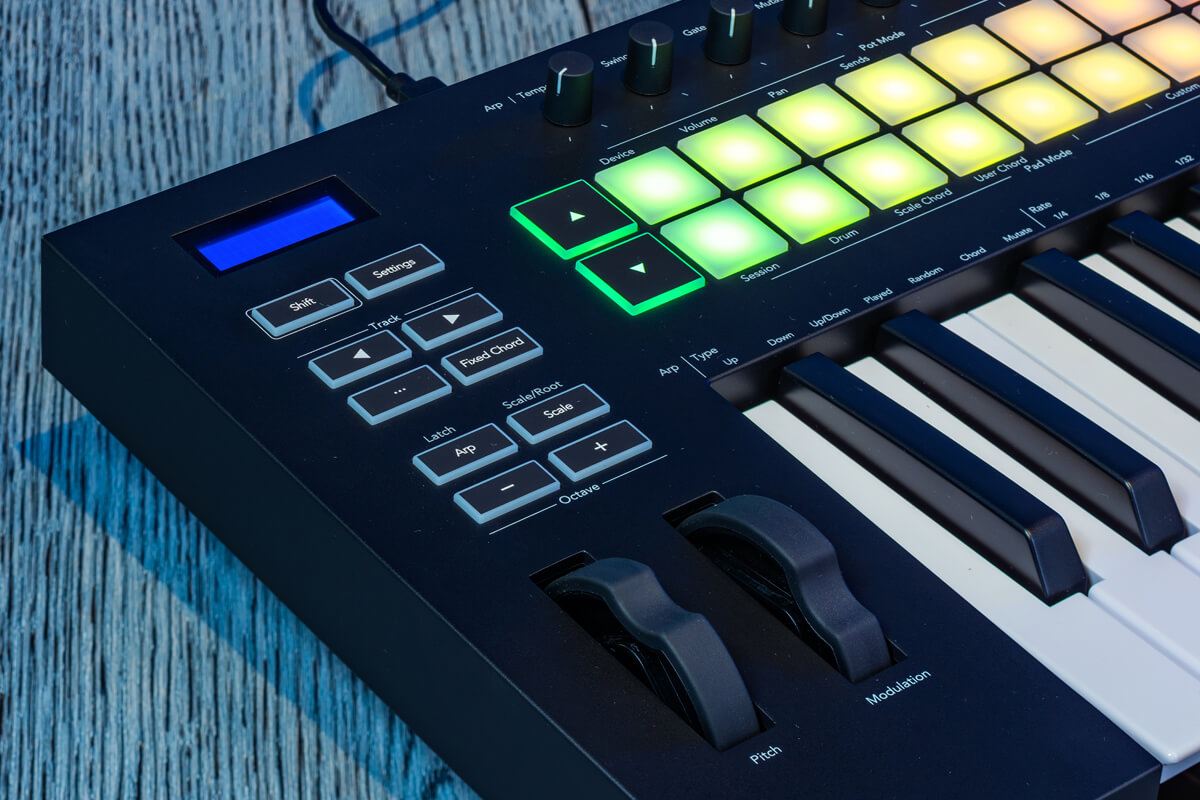
- Configure MIDI Settings: Access the MIDI settings on your keyboard to verify that it is transmitting data to your computer. You may need to consult your keyboard’s user manual to understand its MIDI settings and make any necessary adjustments.
By following these steps, you can establish a solid foundation for recording MIDI with your keyboard. A properly set up MIDI keyboard forms the cornerstone of a seamless and productive recording experience in Adobe Audition. Once your keyboard is connected and configured, you’re ready to delve into the software-side setup to enable MIDI recording in Adobe Audition.
Configuring Adobe Audition for MIDI recording
Now that your MIDI keyboard is set up and ready to go, it’s time to configure Adobe Audition to recognize and record MIDI input. Adobe Audition provides a user-friendly interface for MIDI recording, and with the right settings, you can seamlessly capture your keyboard performances with precision. Follow these steps to configure Adobe Audition for MIDI recording:
- Open Adobe Audition: Launch Adobe Audition on your computer and ensure that your MIDI keyboard is connected and recognized by the software.
- Access the Preferences: Navigate to the “Preferences” or “Settings” menu in Adobe Audition. Look for the MIDI or Audio Hardware settings to configure your MIDI input device. Select your MIDI keyboard from the available input devices to establish the connection.
- Enable MIDI Input: Once your MIDI keyboard is selected as the input device, ensure that MIDI input is enabled within Adobe Audition. This setting allows Adobe Audition to receive MIDI data from your keyboard during recording and playback.
- Adjust MIDI Latency: In the preferences or settings menu, you may find options to adjust MIDI latency. Latency refers to the delay between pressing a key on your MIDI keyboard and hearing the sound from your computer. Minimizing latency is crucial for a responsive and natural playing experience, so fine-tune this setting based on your system’s performance.
- Test MIDI Input: To verify that your MIDI keyboard is properly configured, play some notes on the keyboard and observe the MIDI input indicators in Adobe Audition. You should see activity on the MIDI input meters, indicating that Adobe Audition is receiving MIDI data from your keyboard.
By following these steps, you can ensure that Adobe Audition is primed for recording MIDI input from your keyboard. Configuring the software to recognize and respond to your keyboard’s MIDI data is a crucial preparatory step that sets the stage for seamless MIDI recording and playback. With Adobe Audition and your MIDI keyboard working in harmony, you’re ready to embark on the exhilarating journey of capturing your musical expressions through MIDI recording.
Recording MIDI in Adobe Audition
With your MIDI keyboard connected and Adobe Audition configured for MIDI input, you’re now poised to start recording your keyboard performances. Adobe Audition offers intuitive tools for capturing MIDI data and translating your playing into digital music. Here’s how you can begin recording MIDI in Adobe Audition:
- Create a New MIDI Track: In Adobe Audition, navigate to the track options and create a new MIDI track for recording. This track will serve as the canvas for capturing your keyboard performances and manipulating the MIDI data.
- Arm the MIDI Track: Once the MIDI track is created, arm it for recording. This action prepares the track to receive MIDI input from your keyboard, allowing you to capture your live performances in real time.
- Set Recording Parameters: Check the recording parameters for the MIDI track, such as the input source (your MIDI keyboard) and the desired recording format. Ensure that the track is configured to receive MIDI data from your keyboard and that the recording settings align with your artistic vision.
- Engage Record Mode: When everything is set up, engage the record mode in Adobe Audition to start capturing MIDI input from your keyboard. Play your keyboard and let your musical ideas flow, knowing that Adobe Audition is faithfully translating your performances into MIDI data.
- Review and Refine: After recording your MIDI performance, take the time to review and refine the captured data. Adobe Audition provides tools for editing MIDI notes, adjusting timing, and refining the dynamics of your performance, empowering you to sculpt your music with precision.
By following these steps, you can harness the recording capabilities of Adobe Audition to capture the essence of your keyboard performances in MIDI format. Whether you’re laying down melodic lines, crafting intricate arpeggios, or exploring rhythmic patterns, Adobe Audition empowers you to preserve the subtleties of your playing and unleash your creativity through MIDI recording.
Editing and refining your MIDI recording
Once you’ve recorded your MIDI performance in Adobe Audition, the software provides a suite of powerful tools for editing and refining your musical creations. Whether you want to fine-tune the timing of your notes, adjust the velocity for nuanced dynamics, or explore creative possibilities through MIDI manipulation, Adobe Audition offers a versatile platform for shaping your MIDI recordings. Here’s how you can edit and refine your MIDI recording:
- Quantize MIDI Notes: Adobe Audition allows you to quantize MIDI notes, aligning them to a specified grid to achieve precise timing. This feature is invaluable for tightening up rhythmic performances and ensuring that your musical ideas are conveyed with impeccable accuracy.
- Adjust Note Velocity: Velocity impacts the dynamics of MIDI notes, influencing their volume and intensity. With Adobe Audition, you can adjust the velocity of individual notes or entire passages, adding expressive depth to your performances and imbuing them with lifelike dynamics.
- Manipulate MIDI Controllers: Explore the realm of MIDI controllers to shape the character of your recordings. Adobe Audition enables you to manipulate MIDI controllers such as modulation, pitch bend, and sustain, opening up a world of sonic possibilities and artistic expression.
- Explore MIDI Effects: Unleash your creativity with MIDI effects that can transform your recordings. From arpeggiators and chord generators to creative MIDI processing tools, Adobe Audition offers a diverse array of MIDI effects to infuse your music with innovation and personality.
- Layer and Arrange MIDI Tracks: Take advantage of Adobe Audition’s multitrack capabilities to layer and arrange multiple MIDI tracks. Whether you’re building lush orchestrations or crafting intricate arrangements, the ability to work with multiple MIDI tracks empowers you to realize your musical vision with depth and sophistication.
By leveraging these editing and refining tools in Adobe Audition, you can elevate your MIDI recordings to new heights of artistry and precision. The software’s intuitive interface and robust feature set provide a fertile ground for sculpting your musical ideas and bringing them to fruition with clarity and impact.
Conclusion
Congratulations! You’ve embarked on a journey into the realm of MIDI recording in Adobe Audition, unlocking a world of creative potential and musical expression. By mastering the art of recording MIDI with your keyboard, you’ve gained the ability to capture the nuances of your performances and manipulate them with precision, breathing life into your musical ideas.
Recording MIDI in Adobe Audition empowers you to preserve the soul of your keyboard performances, allowing you to explore intricate melodies, layer complex harmonies, and infuse your music with expressive depth. The seamless integration between your MIDI keyboard and Adobe Audition provides a cohesive platform for translating your musical inspirations into polished, professional-quality recordings.
As you continue your journey with MIDI recording, remember to experiment, innovate, and push the boundaries of your creativity. Whether you’re refining the dynamics of a piano passage, sculpting the timbre of a synth melody, or crafting intricate rhythms, Adobe Audition offers a rich tapestry of tools and features to support your artistic vision.
Embrace the process of recording, editing, and refining your MIDI performances, knowing that each step brings you closer to realizing your musical aspirations. With dedication and exploration, you’ll uncover new techniques, refine your skills, and ultimately, imbue your music with a unique and captivating essence.
So, as you venture forth, armed with the knowledge and skills acquired in this guide, let your creativity flow freely. Capture the magic of your keyboard performances, harness the power of MIDI recording in Adobe Audition, and let your musical voice resonate with clarity and emotion. Your journey with MIDI recording is just beginning, and the path ahead is filled with boundless opportunities to express, innovate, and inspire through the art of capturing your keyboard performances in Adobe Audition.