Introduction
The Fitbit Charge 2 is a remarkable fitness tracker that has garnered widespread acclaim for its sleek design, advanced features, and user-friendly interface. One of the standout characteristics of the Fitbit Charge 2 is its customizable bands, which allow users to express their personal style and adapt the device to various occasions. Whether you're heading to the gym, attending a formal event, or simply going about your daily routine, having the option to change the band on your Fitbit Charge 2 can add a touch of individuality and flair to your ensemble.
In this guide, we will delve into the process of swapping out the band on your Fitbit Charge 2, providing step-by-step instructions and valuable insights to ensure a seamless transition. Whether you're looking to replace a worn-out band, explore different color options, or experiment with alternative materials, this tutorial will equip you with the knowledge and confidence to make the switch effortlessly.
By the end of this article, you will not only have a newfound understanding of how to change the band on your Fitbit Charge 2, but you will also be inspired to explore the myriad of band options available, allowing you to truly make your Fitbit Charge 2 a reflection of your unique style and personality. So, grab your Fitbit Charge 2 and let's embark on this style-changing journey together!
Step 1: Gather the necessary tools
Before embarking on the exciting endeavor of changing the band on your Fitbit Charge 2, it's essential to gather the necessary tools to ensure a smooth and efficient process. Having the right equipment at your disposal will not only streamline the band replacement but also minimize the risk of damaging your device. Here's a comprehensive list of the essential tools you'll need:
-
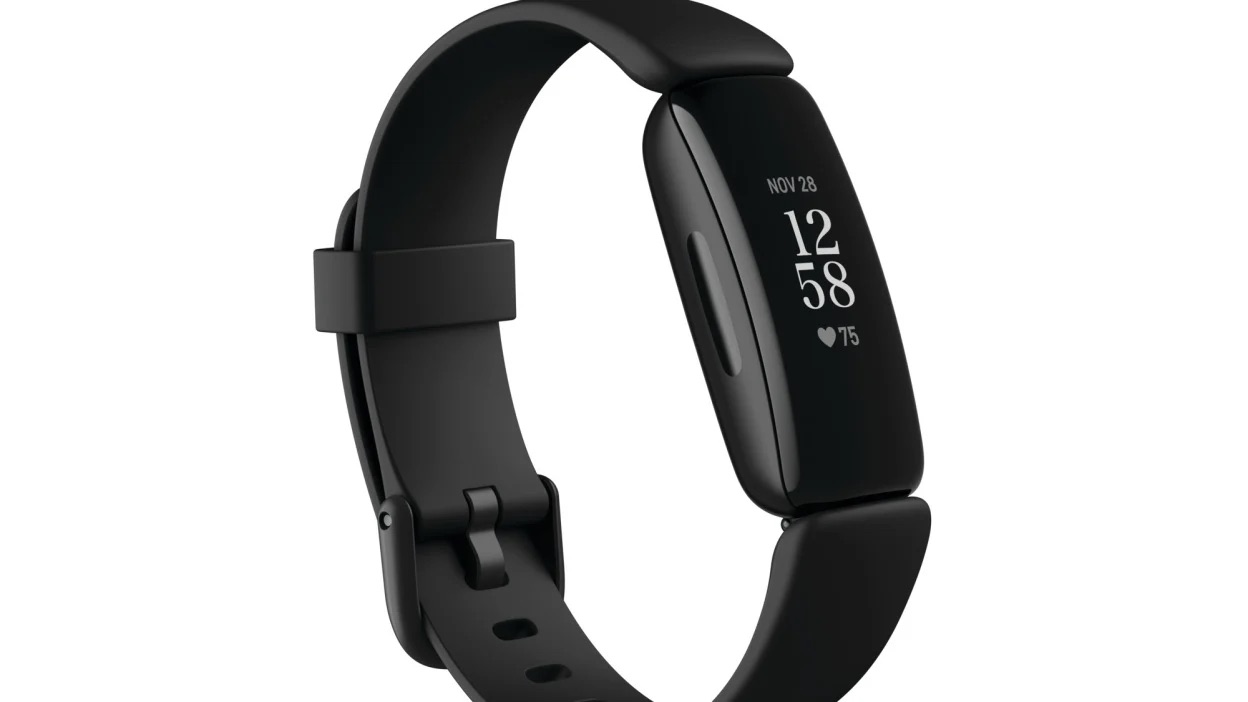
Fitbit Charge 2: The star of the show, your Fitbit Charge 2, serves as the foundation for this band-changing operation. Ensure that it is fully charged and powered off to prevent any accidental mishaps during the band replacement process.
-
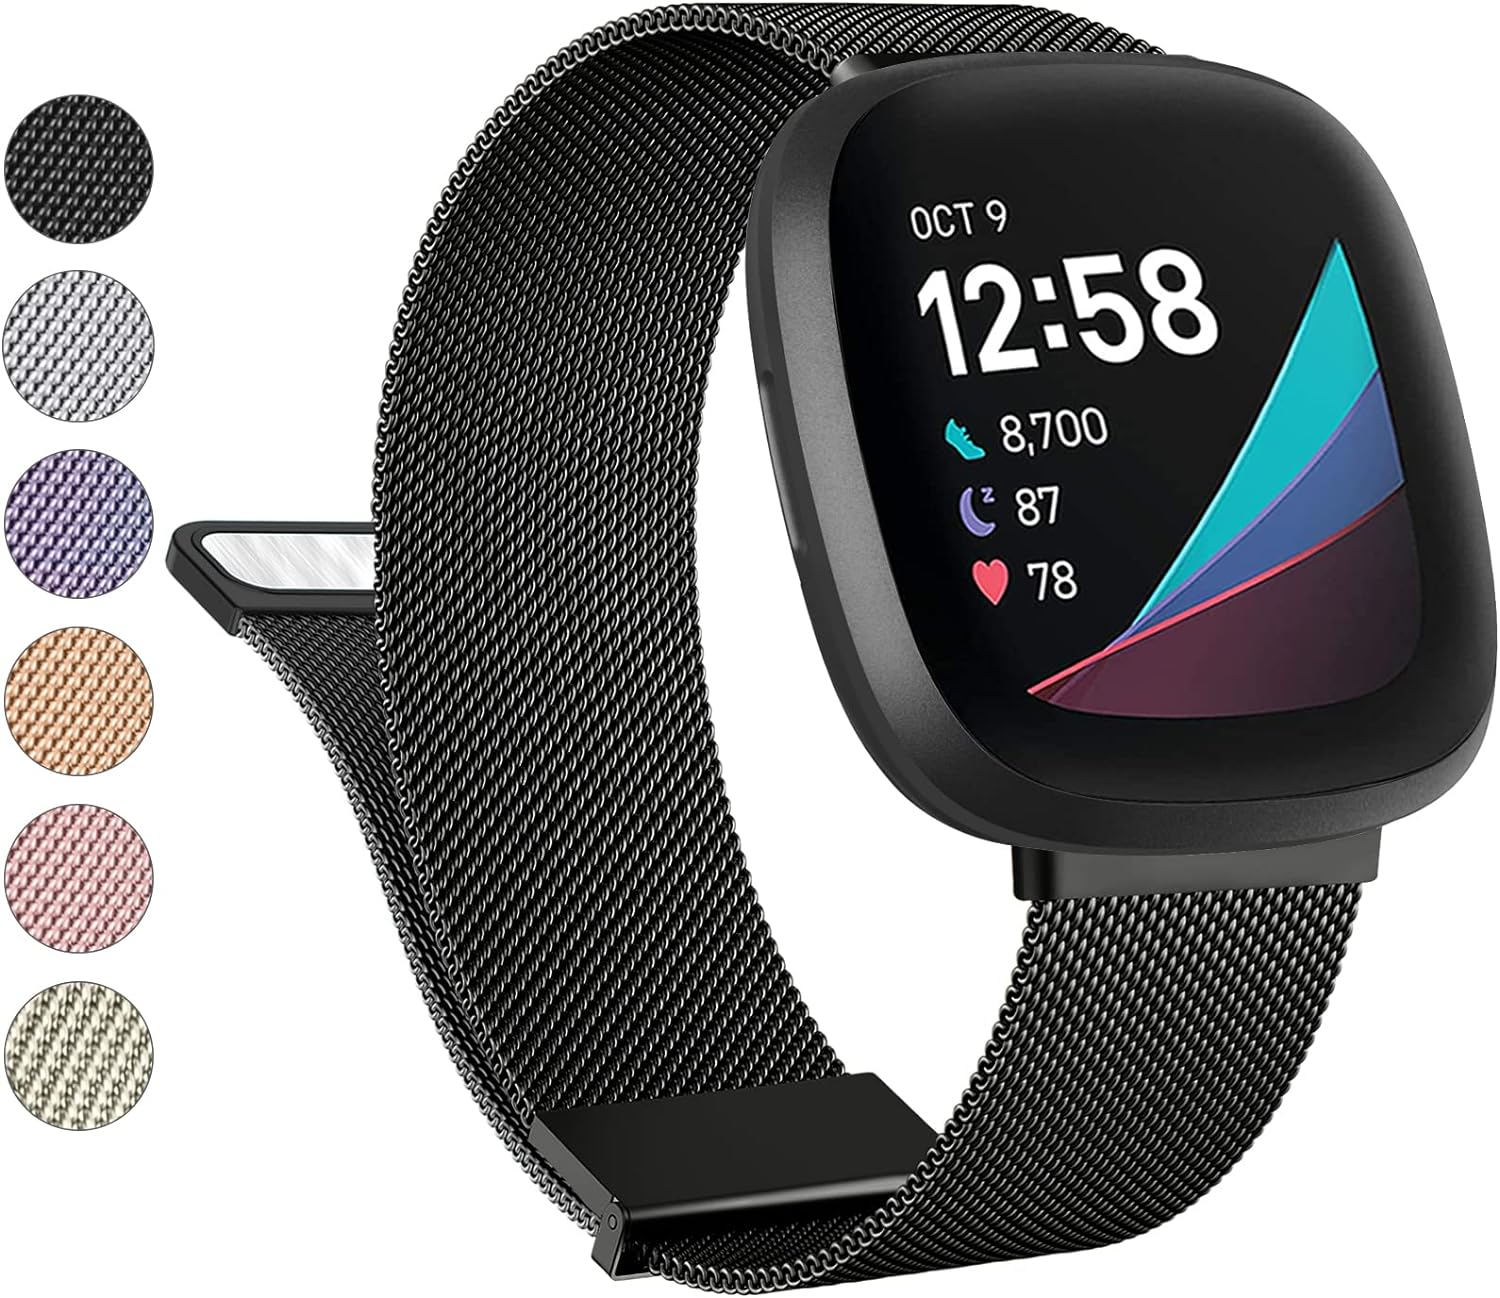
Replacement Band: Whether you're opting for a silicone, leather, metal, or woven band, make sure you have the new band on hand. Select a band that resonates with your personal style and aligns with your intended use of the Fitbit Charge 2. The replacement band should be compatible with the Fitbit Charge 2 model to ensure a perfect fit.
-
Spring Bar Tool: This specialized tool is instrumental in removing the original band from your Fitbit Charge 2. The spring bar tool allows for precise and effortless removal of the spring bars, which secure the band to the device. Its slender and pointed design enables you to navigate the small crevices of the Fitbit Charge 2 with ease, making the band removal process a breeze.
-
Cleaning Cloth: A soft and lint-free cleaning cloth is indispensable for maintaining the pristine condition of your Fitbit Charge 2. Before attaching the new band, it's advisable to gently wipe the device to remove any dust, dirt, or residue that may have accumulated over time. This simple step will ensure a clean and secure attachment of the replacement band.
-
Workspace: Establish a well-lit and clutter-free workspace to carry out the band replacement process. A clear and organized environment will facilitate a focused and efficient approach, reducing the likelihood of misplacing small components or encountering unnecessary obstacles.
By assembling these essential tools, you'll be well-prepared to embark on the band-changing journey with confidence and precision. With the necessary equipment at your disposal, you're ready to proceed to the next step and delve into the process of removing the original band from your Fitbit Charge 2.
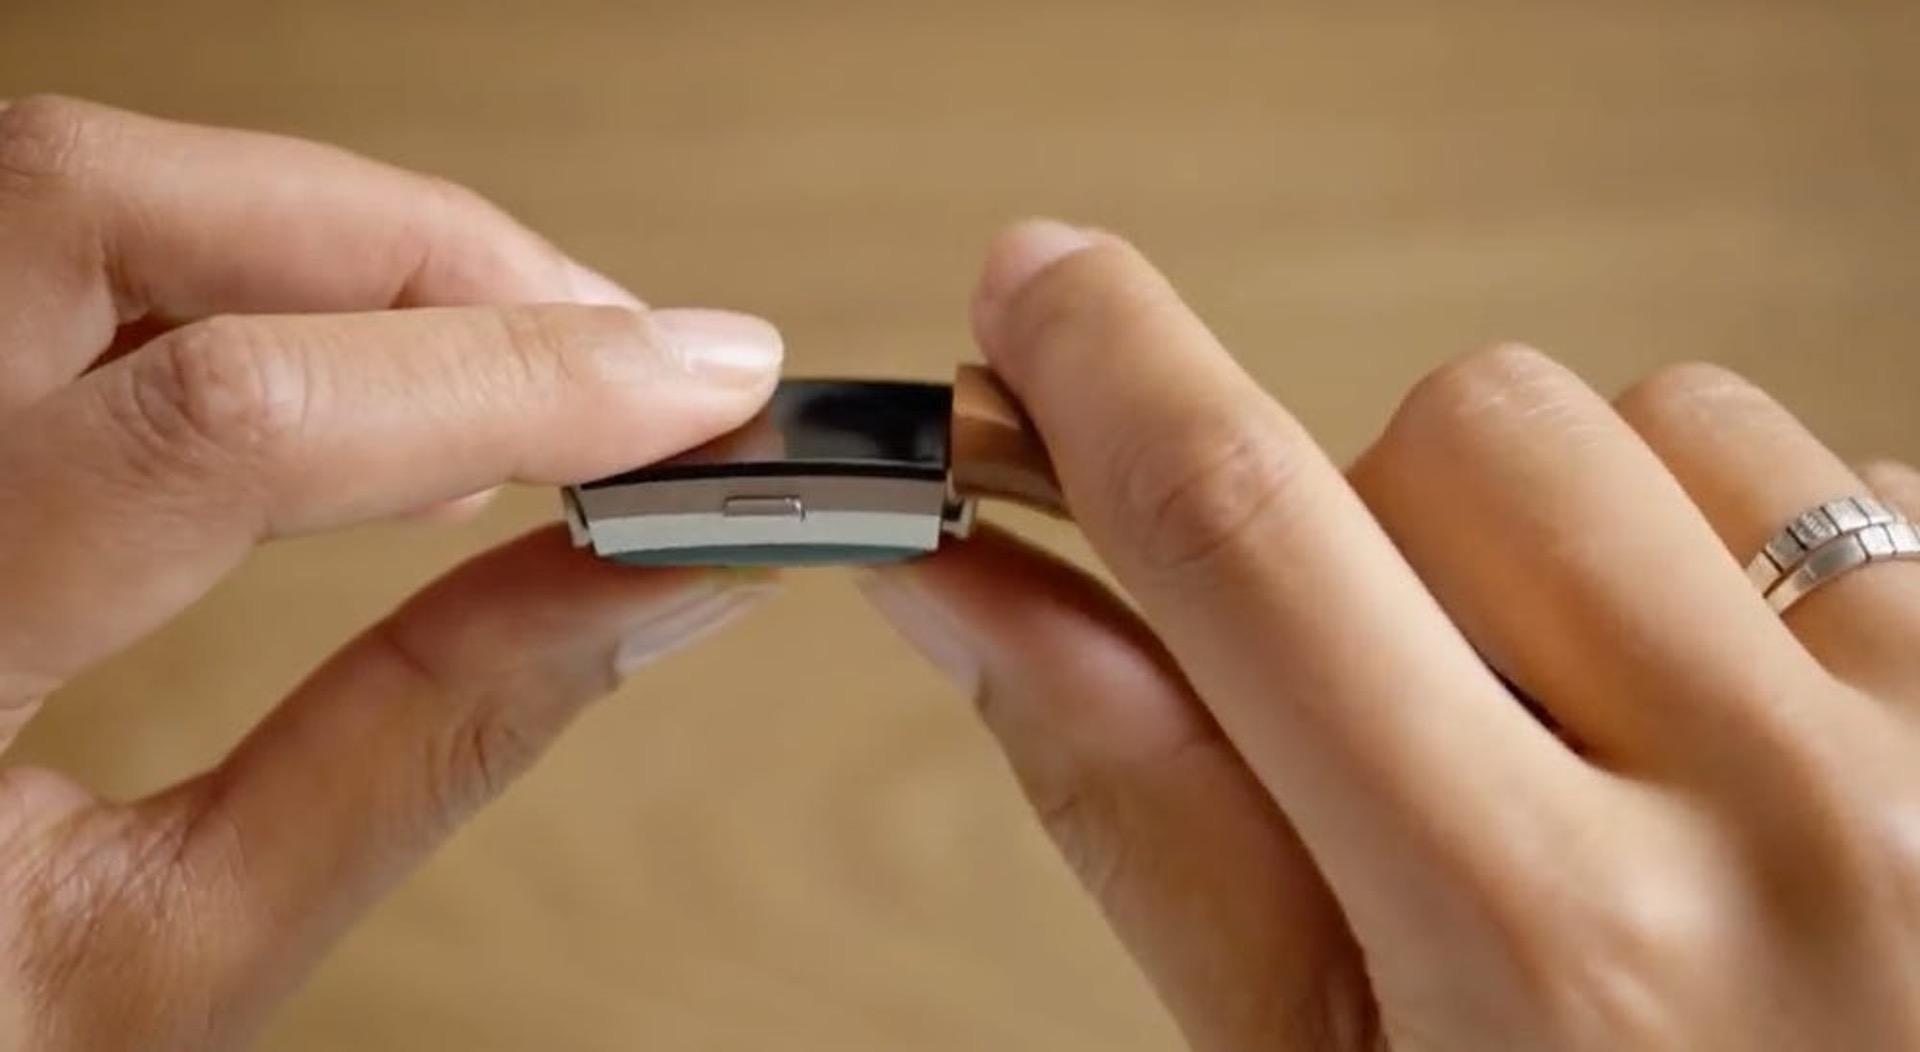
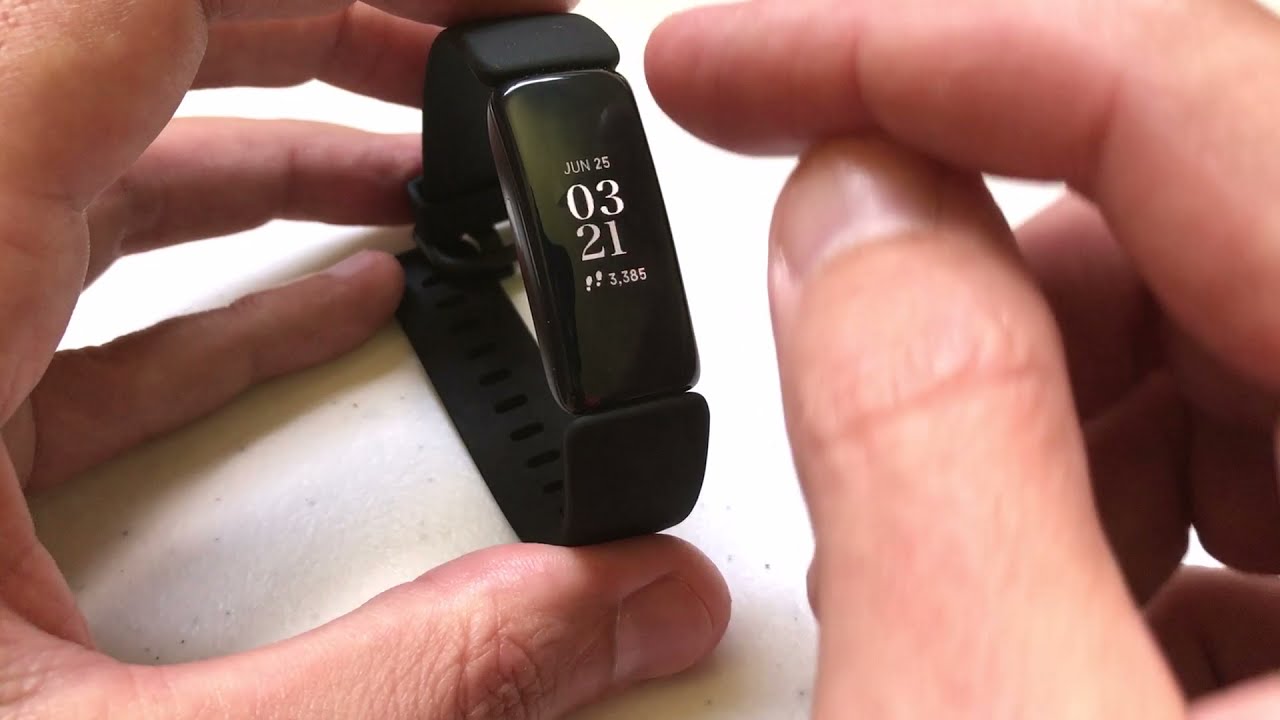
Step 2: Remove the original band
Removing the original band from your Fitbit Charge 2 is a pivotal step in the process of refreshing the appearance of your device. By carefully following the steps outlined below, you can seamlessly detach the existing band and prepare the Fitbit Charge 2 for the exciting transition to a new, personalized band.
-
Power Off the Device: Before initiating the band removal process, ensure that your Fitbit Charge 2 is powered off. This precautionary measure prevents any unintended activation of the device during the band replacement, minimizing the risk of accidental damage.
-
Locate the Spring Bars: The spring bars are the small, spring-loaded pins that secure the band to the lugs on the sides of the Fitbit Charge 2. To access the spring bars, examine the area where the band meets the device. You will notice a small gap between the band and the lug, revealing the spring bar within.
-
Use the Spring Bar Tool: With the spring bar tool in hand, carefully insert the pointed end of the tool into the gap between the band and the lug. Apply gentle pressure to depress the spring bar, releasing it from the lug. Repeat this process for the other side of the band to fully detach it from the Fitbit Charge 2.
-
Remove the Original Band: Once both spring bars have been disengaged, gently slide the original band away from the Fitbit Charge 2. Exercise caution to avoid any unnecessary strain on the device or the band during this step.
-
Inspect the Lugs: After removing the original band, take a moment to inspect the lugs on the Fitbit Charge 2. Ensure that there are no obstructions or debris that may impede the smooth attachment of the new band. Use a soft cloth to gently clean the lugs if necessary, preparing them for the seamless integration of the replacement band.
By meticulously following these steps, you can successfully remove the original band from your Fitbit Charge 2, setting the stage for the exciting transformation that awaits. With the original band gracefully detached, you are now ready to embark on the next phase of this style swap journey: choosing a new band that resonates with your personal style and preferences.
Step 3: Choose a new band
With the original band gracefully detached from your Fitbit Charge 2, the stage is set for an exhilarating decision: choosing a new band that harmonizes with your style and preferences. This pivotal step allows you to infuse a fresh sense of individuality and functionality into your Fitbit Charge 2, aligning it with your unique fashion sensibilities and lifestyle requirements.
When selecting a new band for your Fitbit Charge 2, consider a myriad of factors to ensure that your choice not only complements your personal style but also meets your practical needs. Whether you're drawn to the sporty resilience of a silicone band, the timeless elegance of a leather band, the sophistication of a metal band, or the casual charm of a woven band, the options are abundant, catering to diverse tastes and occasions.
Begin your band exploration by contemplating the activities and settings in which you intend to wear your Fitbit Charge 2. If you lead an active lifestyle and frequently engage in fitness pursuits, a durable and sweat-resistant silicone band may be the ideal choice, offering comfort and reliability during workouts and outdoor adventures. Alternatively, if you seek a band that seamlessly transitions from the gym to social gatherings, a versatile leather band exudes a refined allure while ensuring durability and comfort.
For those drawn to a touch of luxury and refinement, a metal band presents an opulent aesthetic that effortlessly elevates your Fitbit Charge 2 into a sophisticated accessory for formal events or professional engagements. On the other hand, a woven band exudes a laid-back, casual vibe, making it a charming option for everyday wear, casual outings, and relaxed settings.
Furthermore, delve into the realm of color options to infuse your Fitbit Charge 2 with a personalized touch. Whether you opt for classic hues that exude timeless elegance or vibrant shades that reflect your dynamic personality, the color palette for replacement bands is expansive, allowing you to curate a collection of bands to suit various moods and ensembles.
As you navigate the array of band options, prioritize compatibility with your Fitbit Charge 2 model to ensure a seamless and secure fit. Verify that the dimensions and attachment mechanism align with the specifications of your device, guaranteeing a snug and reliable connection that withstands daily activities and movements.
By thoughtfully considering your lifestyle, fashion preferences, and practical requirements, you can confidently select a new band that harmonizes with your individuality and enhances the versatility of your Fitbit Charge 2. With the vision of your ideal band firmly in mind, you are poised to proceed to the next step: attaching the chosen band to your Fitbit Charge 2 and reveling in the transformative impact it brings to your device.
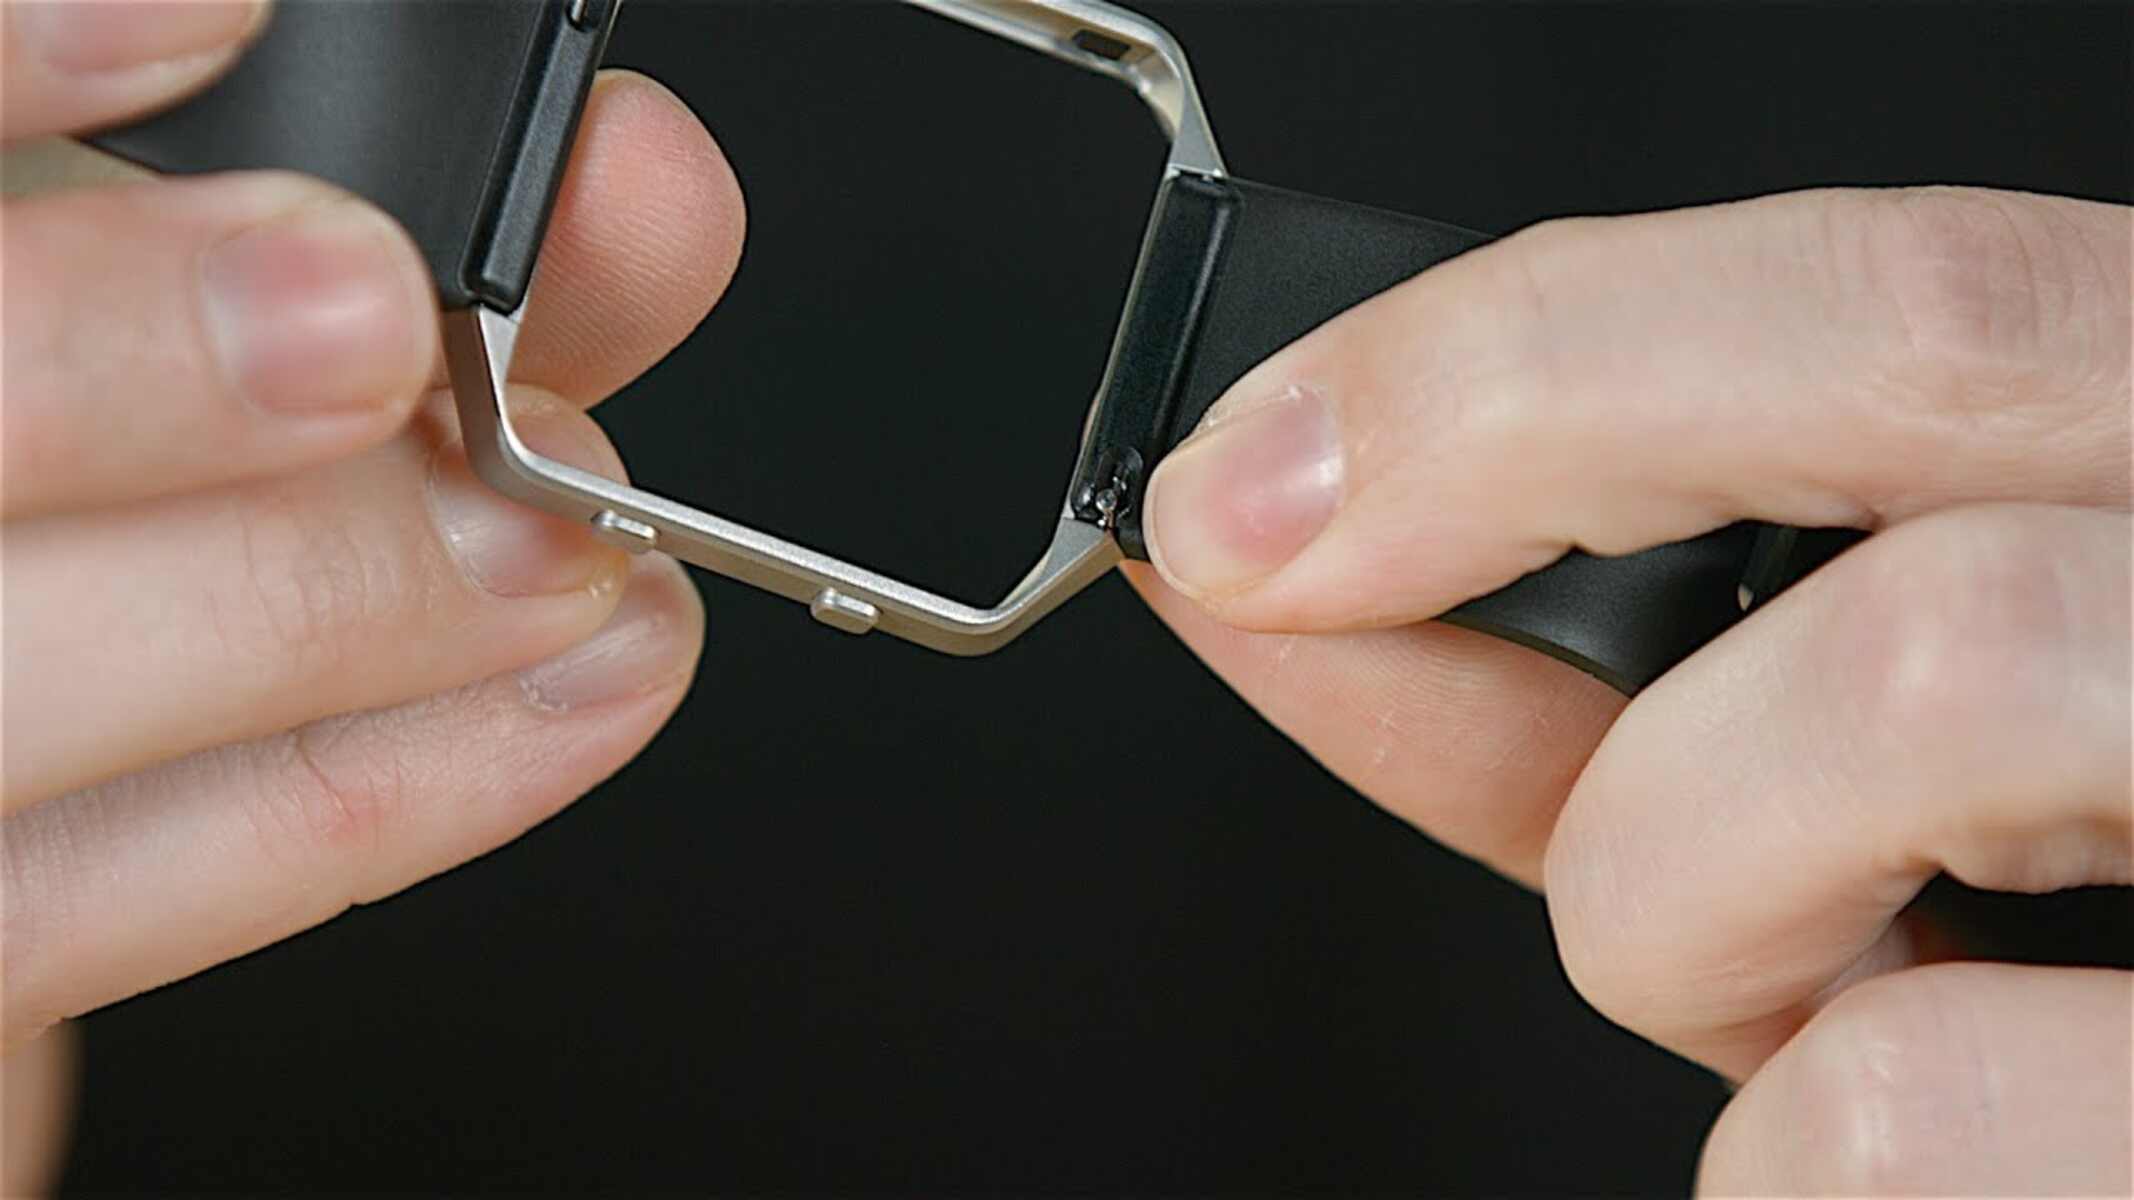
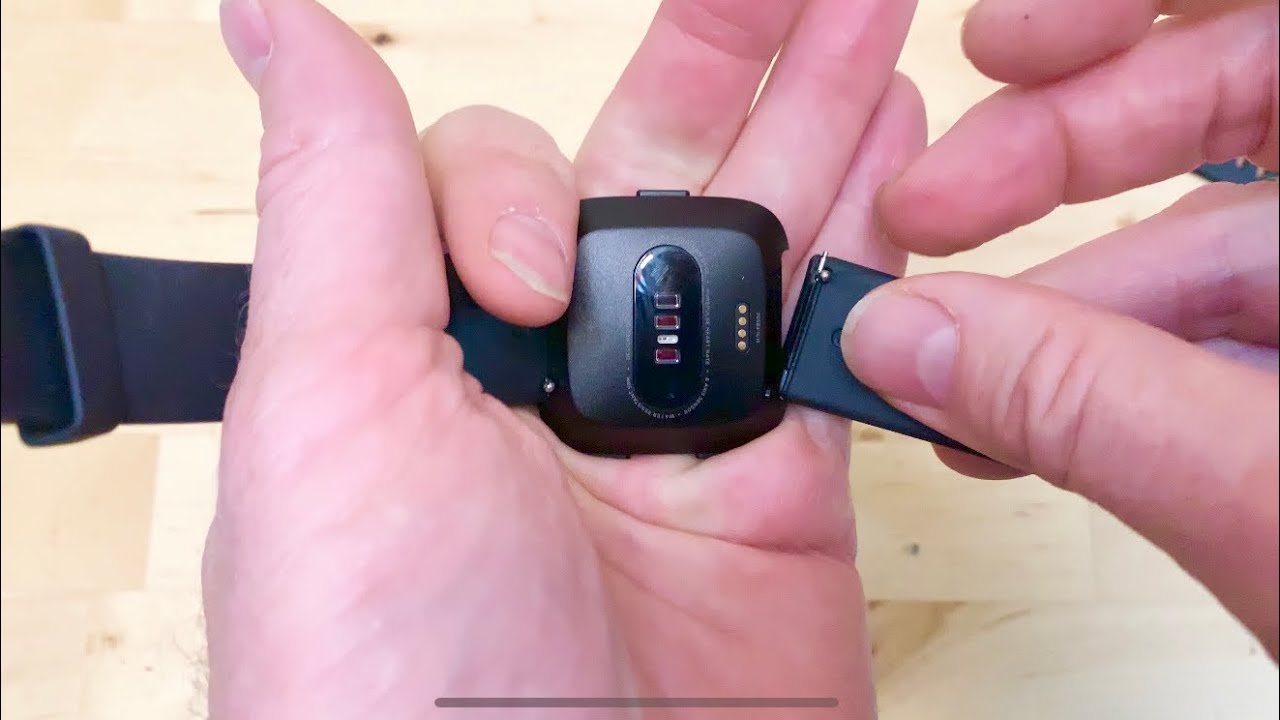
Step 4: Attach the new band
With the exhilarating decision of choosing a new band for your Fitbit Charge 2 behind you, it's time to embark on the transformative process of attaching the selected band to your device. This pivotal step not only marks the culmination of your style swap journey but also heralds the dawn of a refreshed and personalized Fitbit Charge 2 that resonates with your unique style and preferences.
Before initiating the band attachment process, ensure that the replacement band is compatible with the Fitbit Charge 2 model, guaranteeing a seamless and secure fit that withstands the rigors of daily wear. With the new band in hand and the Fitbit Charge 2 powered off, embark on the following steps to seamlessly integrate the chosen band with your device:
-
Align the Band Lugs: Position the replacement band in close proximity to the Fitbit Charge 2, aligning the band lugs with the corresponding slots on the device. Ensure that the band is oriented in the correct direction, with the buckle or clasp facing outward for easy fastening.
-
Engage the Spring Bars: With precision and finesse, carefully align the spring bars on the replacement band with the lugs on the Fitbit Charge 2. Gently insert one end of the spring bar into the lug, applying slight pressure to compress the spring and guide it into the slot. Repeat this process for the opposite end of the band, ensuring that both spring bars are securely engaged within the lugs.
-
Verify Secure Attachment: After inserting the spring bars, conduct a thorough visual inspection to confirm that the replacement band is securely attached to the Fitbit Charge 2. Tug gently on the band to assess its stability, ensuring that it remains firmly affixed to the device without any signs of slippage or detachment.
-
Fine-Tune the Fit: Once the new band is attached, take a moment to adjust its positioning on the Fitbit Charge 2 to achieve optimal comfort and security. Ensure that the band is neither too tight nor too loose, striking a balance that facilitates unrestricted movement while maintaining a snug and reliable fit.
By meticulously following these steps, you can seamlessly attach the new band to your Fitbit Charge 2, infusing your device with a renewed sense of style and functionality. As the replacement band elegantly adorns your Fitbit Charge 2, revel in the personalized touch it brings to your device, reflecting your individuality and enhancing its versatility across various settings and activities. With the band securely in place, your Fitbit Charge 2 is now primed to accompany you on your daily endeavors, embodying your unique style and seamlessly integrating into your lifestyle.
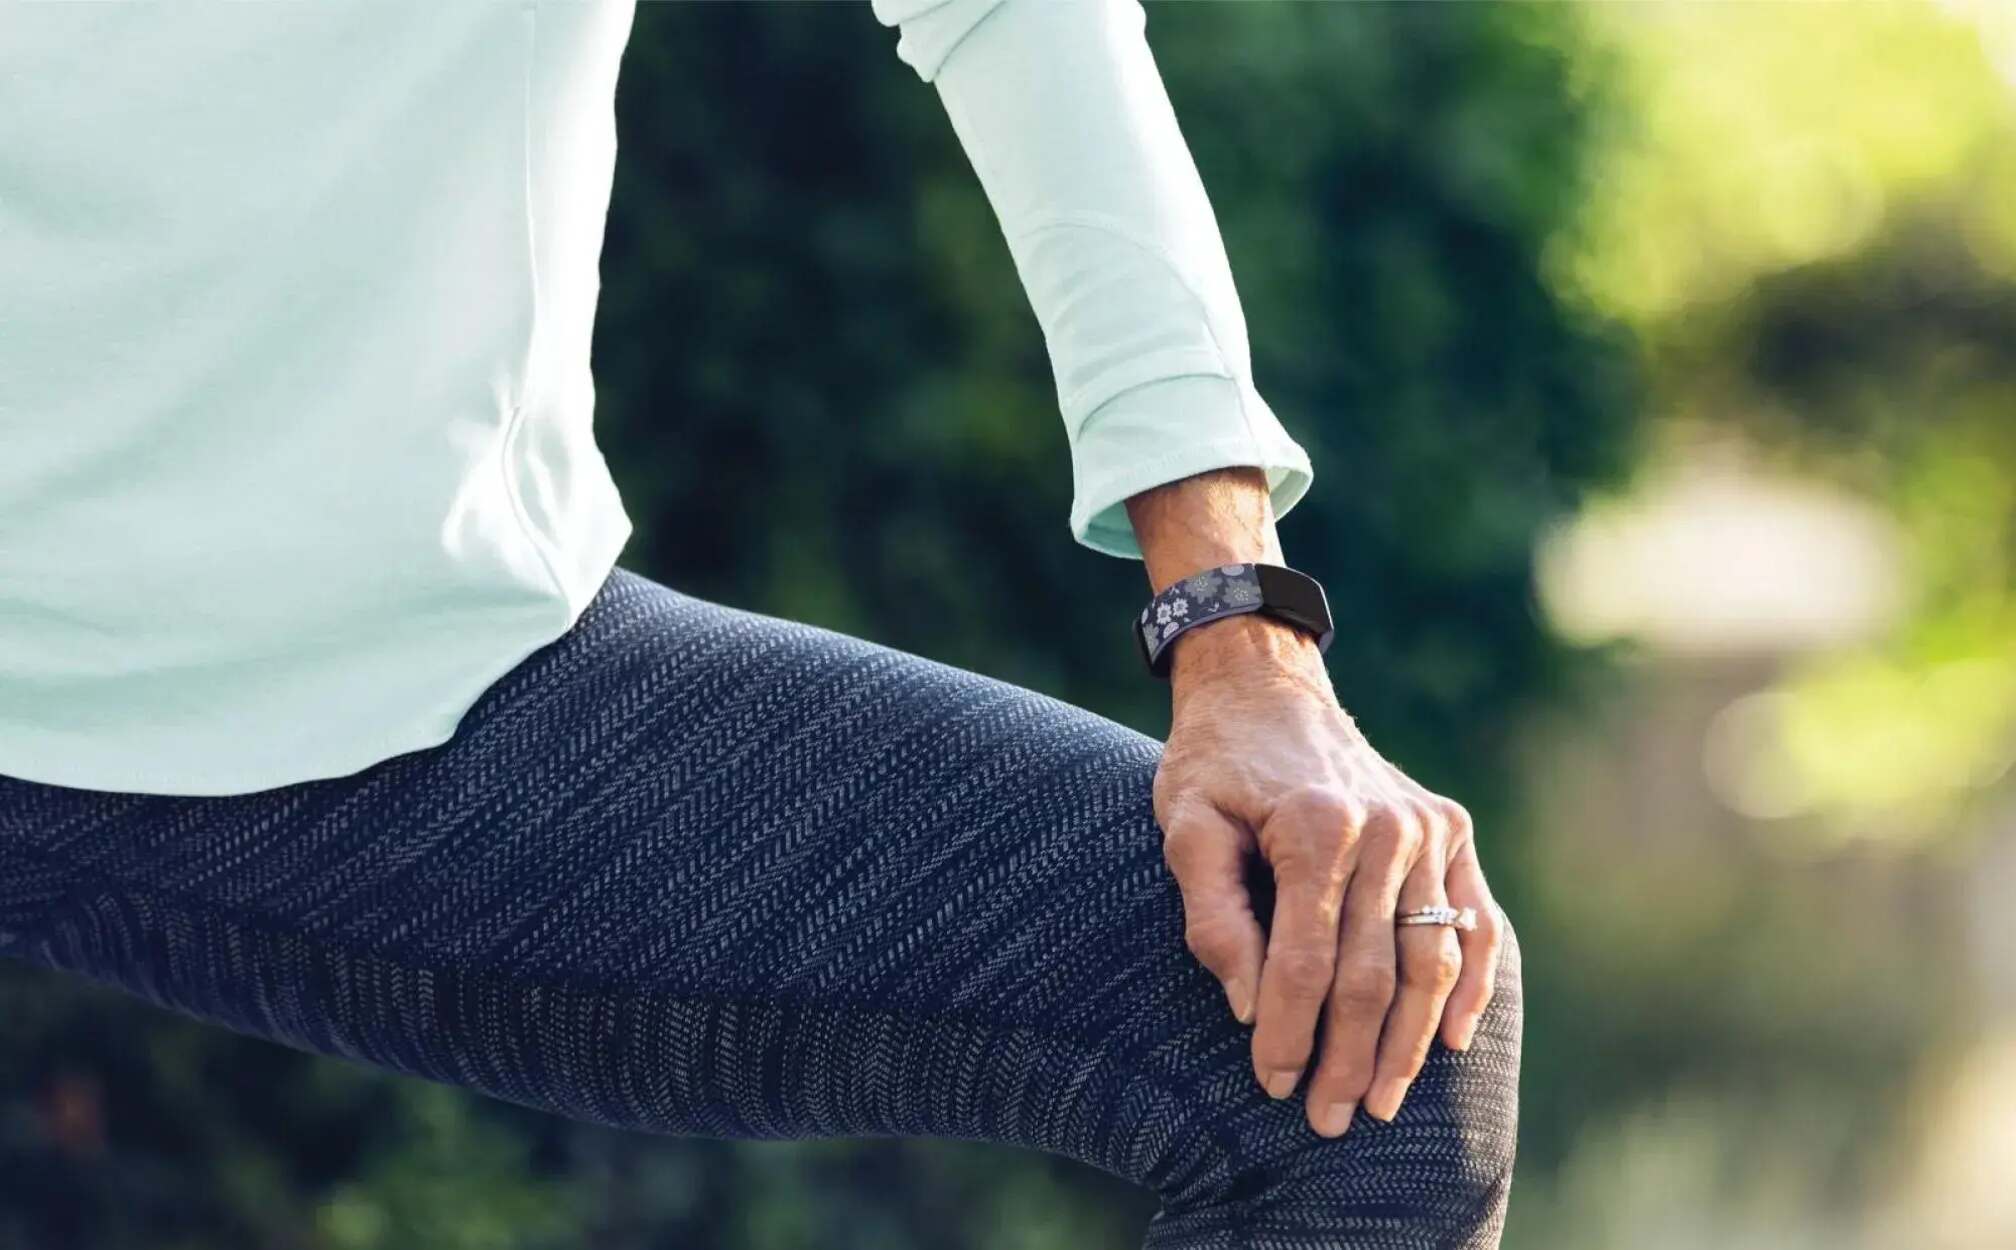
Step 5: Test the new band
With the new band securely fastened to your Fitbit Charge 2, the final step in this transformative process involves putting the device through its paces to ensure that the new band not only enhances its aesthetic appeal but also delivers on practicality and comfort. Testing the new band serves as a crucial validation of the seamless integration and functionality of the replacement band, providing you with the assurance that your Fitbit Charge 2 is ready to accompany you on your diverse pursuits and activities.
To comprehensively test the new band, consider incorporating the following steps into your evaluation process:
-
Comfort Assessment: Wear the Fitbit Charge 2 with the new band for an extended period, gauging its comfort and adaptability to various movements and activities. Pay attention to any potential discomfort, irritation, or fit-related issues, ensuring that the band remains comfortable and secure throughout your daily routines.
-
Activity Simulation: Engage in a range of activities that align with your typical usage of the Fitbit Charge 2, such as walking, running, exercising, or engaging in sports. Assess how the new band performs during these activities, evaluating its ability to withstand movement, sweat, and environmental factors without compromising its integrity or causing any inconvenience.
-
Environmental Exposure: Expose the Fitbit Charge 2 to different environmental conditions, including varying temperatures, humidity levels, and exposure to water or moisture. This step allows you to ascertain the durability and resilience of the new band, ensuring that it maintains its quality and appearance across diverse environmental settings.
-
Functional Evaluation: Test the functionality of the Fitbit Charge 2, including its heart rate monitoring, activity tracking, and display visibility, while wearing the new band. Verify that the replacement band does not impede the device's functionality and that all features operate seamlessly, enabling you to derive maximum utility from your Fitbit Charge 2.
-
Aesthetic Appreciation: Take a moment to appreciate the visual impact of the new band on your Fitbit Charge 2, evaluating how it complements your style and enhances the overall appearance of the device. Consider how the new band integrates with your attire and personal aesthetic, adding a touch of individuality and sophistication to your ensemble.
By meticulously testing the new band across these dimensions, you can confidently affirm its compatibility, functionality, and aesthetic appeal, ensuring that it seamlessly aligns with your lifestyle and preferences. As the new band proves its mettle across various tests, revel in the enhanced allure and practicality it brings to your Fitbit Charge 2, solidifying its status as a versatile and personalized accessory that effortlessly adapts to your dynamic lifestyle.
With the new band successfully tested and validated, your Fitbit Charge 2 stands as a testament to your discerning style and commitment to functionality, ready to accompany you on your daily endeavors with unwavering reliability and sophistication.
Conclusion
In conclusion, the process of changing the band on your Fitbit Charge 2 transcends a mere functional upgrade; it represents a captivating journey of personal expression, versatility, and practicality. Through the meticulous steps of gathering the necessary tools, removing the original band, choosing a new band, attaching the new band, and testing its functionality, you have embarked on a transformative style swap that has redefined the essence of your Fitbit Charge 2.
As you navigated through the intricacies of this band-changing expedition, you not only acquired the technical expertise to seamlessly transition between bands but also gained a profound understanding of the symbiotic relationship between style and functionality. The ability to customize your Fitbit Charge 2 with a diverse array of bands empowers you to curate a collection that effortlessly adapts to your lifestyle, fashion preferences, and the dynamic nature of your daily activities.
The journey of selecting a new band served as an opportunity for self-expression, allowing you to infuse your Fitbit Charge 2 with a personalized touch that resonates with your individuality. Whether you opted for a resilient silicone band to accompany you during intense workouts, a refined leather band for professional engagements, a sophisticated metal band for formal occasions, or a laid-back woven band for casual outings, each choice reflects your unique style and practical needs.
Furthermore, the process of testing the new band underscored the importance of functionality and comfort, ensuring that your Fitbit Charge 2 seamlessly integrates into your daily routines while enhancing your overall experience. By subjecting the new band to rigorous assessments of comfort, activity simulation, environmental exposure, and functional evaluation, you affirmed its ability to harmonize with your dynamic lifestyle, delivering on both aesthetic allure and practical utility.
Ultimately, the culmination of this style swap journey has bestowed upon you a Fitbit Charge 2 that transcends the confines of a conventional fitness tracker, evolving into a versatile and personalized accessory that seamlessly aligns with your diverse pursuits and ensembles. As your Fitbit Charge 2 stands adorned with the new band, it embodies your discerning style, unwavering commitment to functionality, and a steadfast dedication to individuality.
With the band-changing process now a cherished part of your Fitbit Charge 2 ownership experience, you are equipped with the knowledge and confidence to embark on future style swaps, allowing your device to evolve in tandem with your ever-changing preferences and activities. As you embrace the boundless possibilities of band customization, your Fitbit Charge 2 stands as a testament to your unique identity and serves as a steadfast companion on your journey towards holistic well-being and personal expression.