Introduction
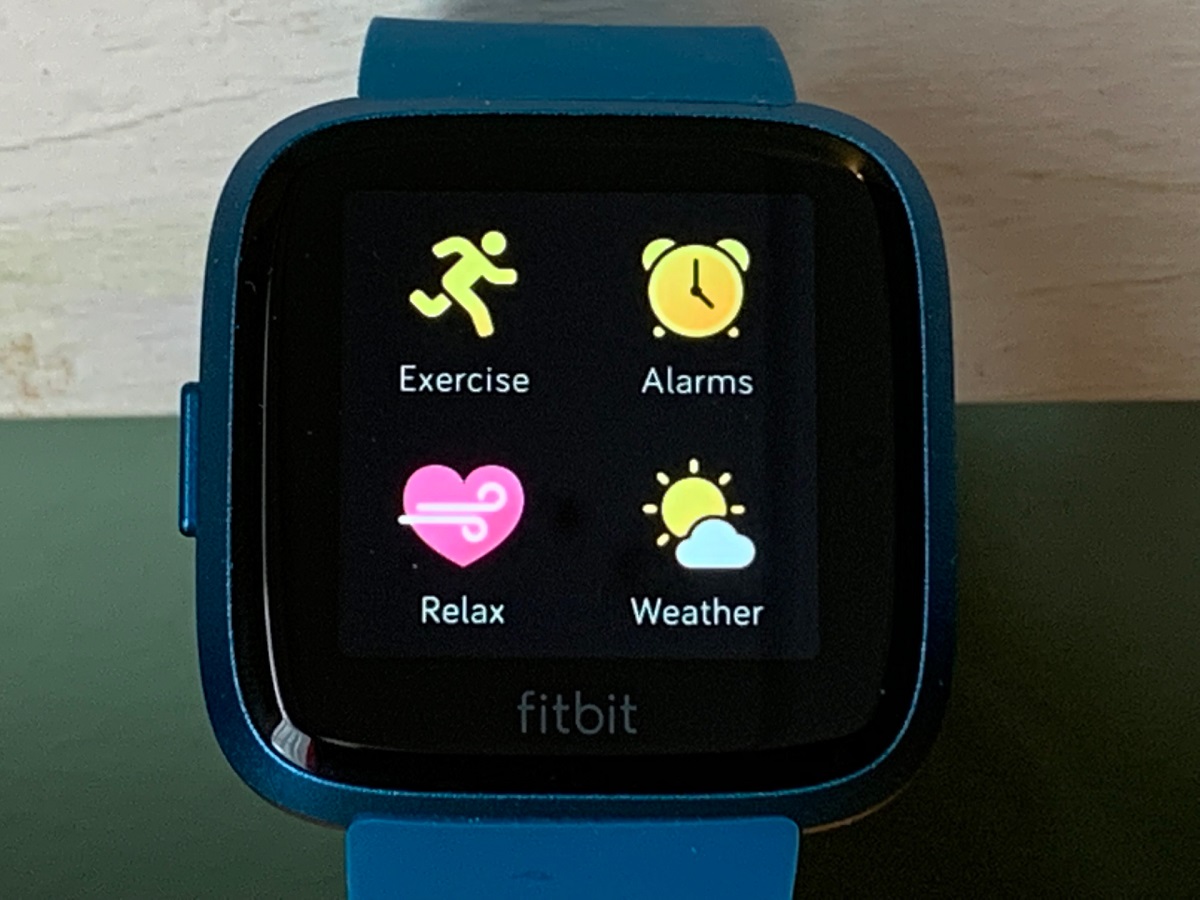
The Fitbit Sense is a remarkable device that seamlessly integrates into our lives, providing valuable insights into our health and well-being. One of its many features includes the ability to display the weather, allowing users to stay informed about the atmospheric conditions throughout the day. By default, the weather unit on the Fitbit Sense is set to Celsius, which may not be the preferred unit of measurement for everyone. For those who are more accustomed to Fahrenheit, changing the weather unit on the Fitbit Sense can enhance the user experience and make it more personalized.
In this guide, we will explore the process of changing the weather unit on the Fitbit Sense from Celsius to Fahrenheit. By following a few simple steps, users can customize their device to display the temperature in Fahrenheit, aligning it with their individual preferences and making it more convenient to interpret the weather information at a glance. Whether you're planning a morning run or simply getting ready for the day, having the weather displayed in Fahrenheit can make a meaningful difference in how you engage with your Fitbit Sense.
Let's dive into the step-by-step process of adjusting the weather unit on the Fitbit Sense, empowering users to tailor their devices to suit their unique needs and preferences.
Step 1: Accessing the Settings
To begin the process of changing the weather unit on your Fitbit Sense from Celsius to Fahrenheit, the first step is to access the settings on the device. This is a straightforward procedure that allows users to navigate to the appropriate menu where the weather unit can be modified.
-
Unlock Your Fitbit Sense: Start by unlocking your Fitbit Sense either by entering your PIN or using the device's unlock feature, depending on your security settings. This will grant you access to the device's home screen.
-
Navigate to the Settings Menu: From the home screen, swipe left to access the apps and settings menu. Look for the gear icon, which represents the settings menu, and tap on it to enter the settings interface.
-
Locate the Device Settings: Within the settings menu, scroll through the options to locate and select the "Device" settings. This will allow you to customize various aspects of your Fitbit Sense, including the weather unit.
-
Access the Weather Settings: Once in the device settings, find and tap on the "Weather" option. This will direct you to the weather settings, where you can adjust the unit of measurement to your preference.
By successfully accessing the settings on your Fitbit Sense, you have completed the first step towards changing the weather unit from Celsius to Fahrenheit. This foundational step sets the stage for the subsequent actions that will enable you to customize your device according to your desired specifications. Now, let's move on to the next step and continue the process of tailoring your Fitbit Sense to better suit your needs.
Step 2: Changing the Weather Unit
Upon accessing the weather settings on your Fitbit Sense, you are now ready to proceed with changing the weather unit from Celsius to Fahrenheit. This pivotal adjustment will ensure that the temperature displayed on your device aligns with your familiarity and preference for Fahrenheit measurements. Here's how you can seamlessly transition to the Fahrenheit weather unit:
-
Select the Temperature Unit: Within the weather settings menu, you will encounter an option to choose the temperature unit. Tap on this option to reveal the available unit choices, including Celsius and Fahrenheit.
-
Switch to Fahrenheit: Once presented with the temperature unit choices, select Fahrenheit to indicate your preference for this unit of measurement. By doing so, you are instructing your Fitbit Sense to display the temperature in Fahrenheit, enabling you to effortlessly interpret the weather information in a familiar format.
-
Confirm the Change: After selecting Fahrenheit as the preferred temperature unit, ensure that you confirm the change to solidify your decision. This confirmation step is essential in implementing the modification and ensuring that the weather unit on your Fitbit Sense accurately reflects your desired setting.
By following these straightforward steps, you have successfully changed the weather unit on your Fitbit Sense to Fahrenheit, enhancing the device's usability and personalizing it to suit your individual needs. This adjustment empowers you to engage with the weather information in a manner that resonates with your accustomed units of measurement, ultimately contributing to a more tailored and user-centric experience with your Fitbit Sense.
With the weather unit now set to Fahrenheit, you can seamlessly access and interpret temperature data in a format that aligns with your preferences, whether you're planning outdoor activities, monitoring weather trends, or simply staying informed about the atmospheric conditions throughout the day. This customization underscores the adaptability and user-focused design of the Fitbit Sense, allowing you to optimize its features to complement your lifestyle and preferences.
As you proceed to the next step, you will confirm the changes made to the weather unit, ensuring that your Fitbit Sense accurately reflects your preferred settings. Let's proceed to the final step and solidify the adjustment you've made to the weather unit, affirming your personalized configuration on the device.
Step 3: Confirming the Changes
With the weather unit on your Fitbit Sense now set to Fahrenheit, the final step involves confirming the changes to ensure that your preferred settings are accurately reflected on the device. This pivotal confirmation step solidifies the adjustment made to the weather unit, affirming that the temperature data displayed aligns with your familiarity and preference for Fahrenheit measurements.
Upon completing the modification of the weather unit to Fahrenheit, it is essential to verify the changes to guarantee that your Fitbit Sense accurately reflects your desired settings. Here's how you can seamlessly confirm the adjustments:
-
Review the Weather Display: After changing the weather unit to Fahrenheit, navigate to the weather display on your Fitbit Sense. Take a moment to observe the temperature information presented on the screen, ensuring that it is now showcased in Fahrenheit. This visual confirmation allows you to validate that the weather unit has been successfully updated in accordance with your preferences.
-
Check for Consistency: As you interact with the weather feature on your Fitbit Sense throughout the day, pay attention to the consistency of the temperature readings. Confirm that the device consistently displays the temperature in Fahrenheit across various instances, such as during different times of the day or when accessing the weather information in diverse locations. This verification process reinforces the reliability of the adjusted weather unit and ensures that it consistently adheres to your chosen settings.
-
Validate Accuracy: In addition to confirming the display of Fahrenheit temperatures, it is important to validate the accuracy of the temperature data. Compare the temperature readings on your Fitbit Sense with external sources, such as reputable weather apps or forecasts, to ensure that the displayed temperatures align with the actual atmospheric conditions. This validation step affirms the precision of the weather information presented on your device, reinforcing its utility in keeping you informed about the current and forecasted temperatures in your surroundings.
By conscientiously confirming the changes made to the weather unit on your Fitbit Sense, you are actively engaging in the process of ensuring that the device resonates with your preferred settings. This meticulous confirmation step underscores the user-centric approach of the Fitbit Sense, allowing you to personalize its features to seamlessly integrate with your lifestyle and preferences.
As you validate the adjustments and observe the weather information in Fahrenheit, you can confidently embrace the tailored experience facilitated by your Fitbit Sense, empowering you to effortlessly engage with the weather data in a format that aligns with your accustomed units of measurement. With the changes confirmed, you can now fully appreciate the enhanced usability and personalized configuration of the weather unit on your Fitbit Sense, optimizing its features to complement your individual needs and preferences.