Introduction
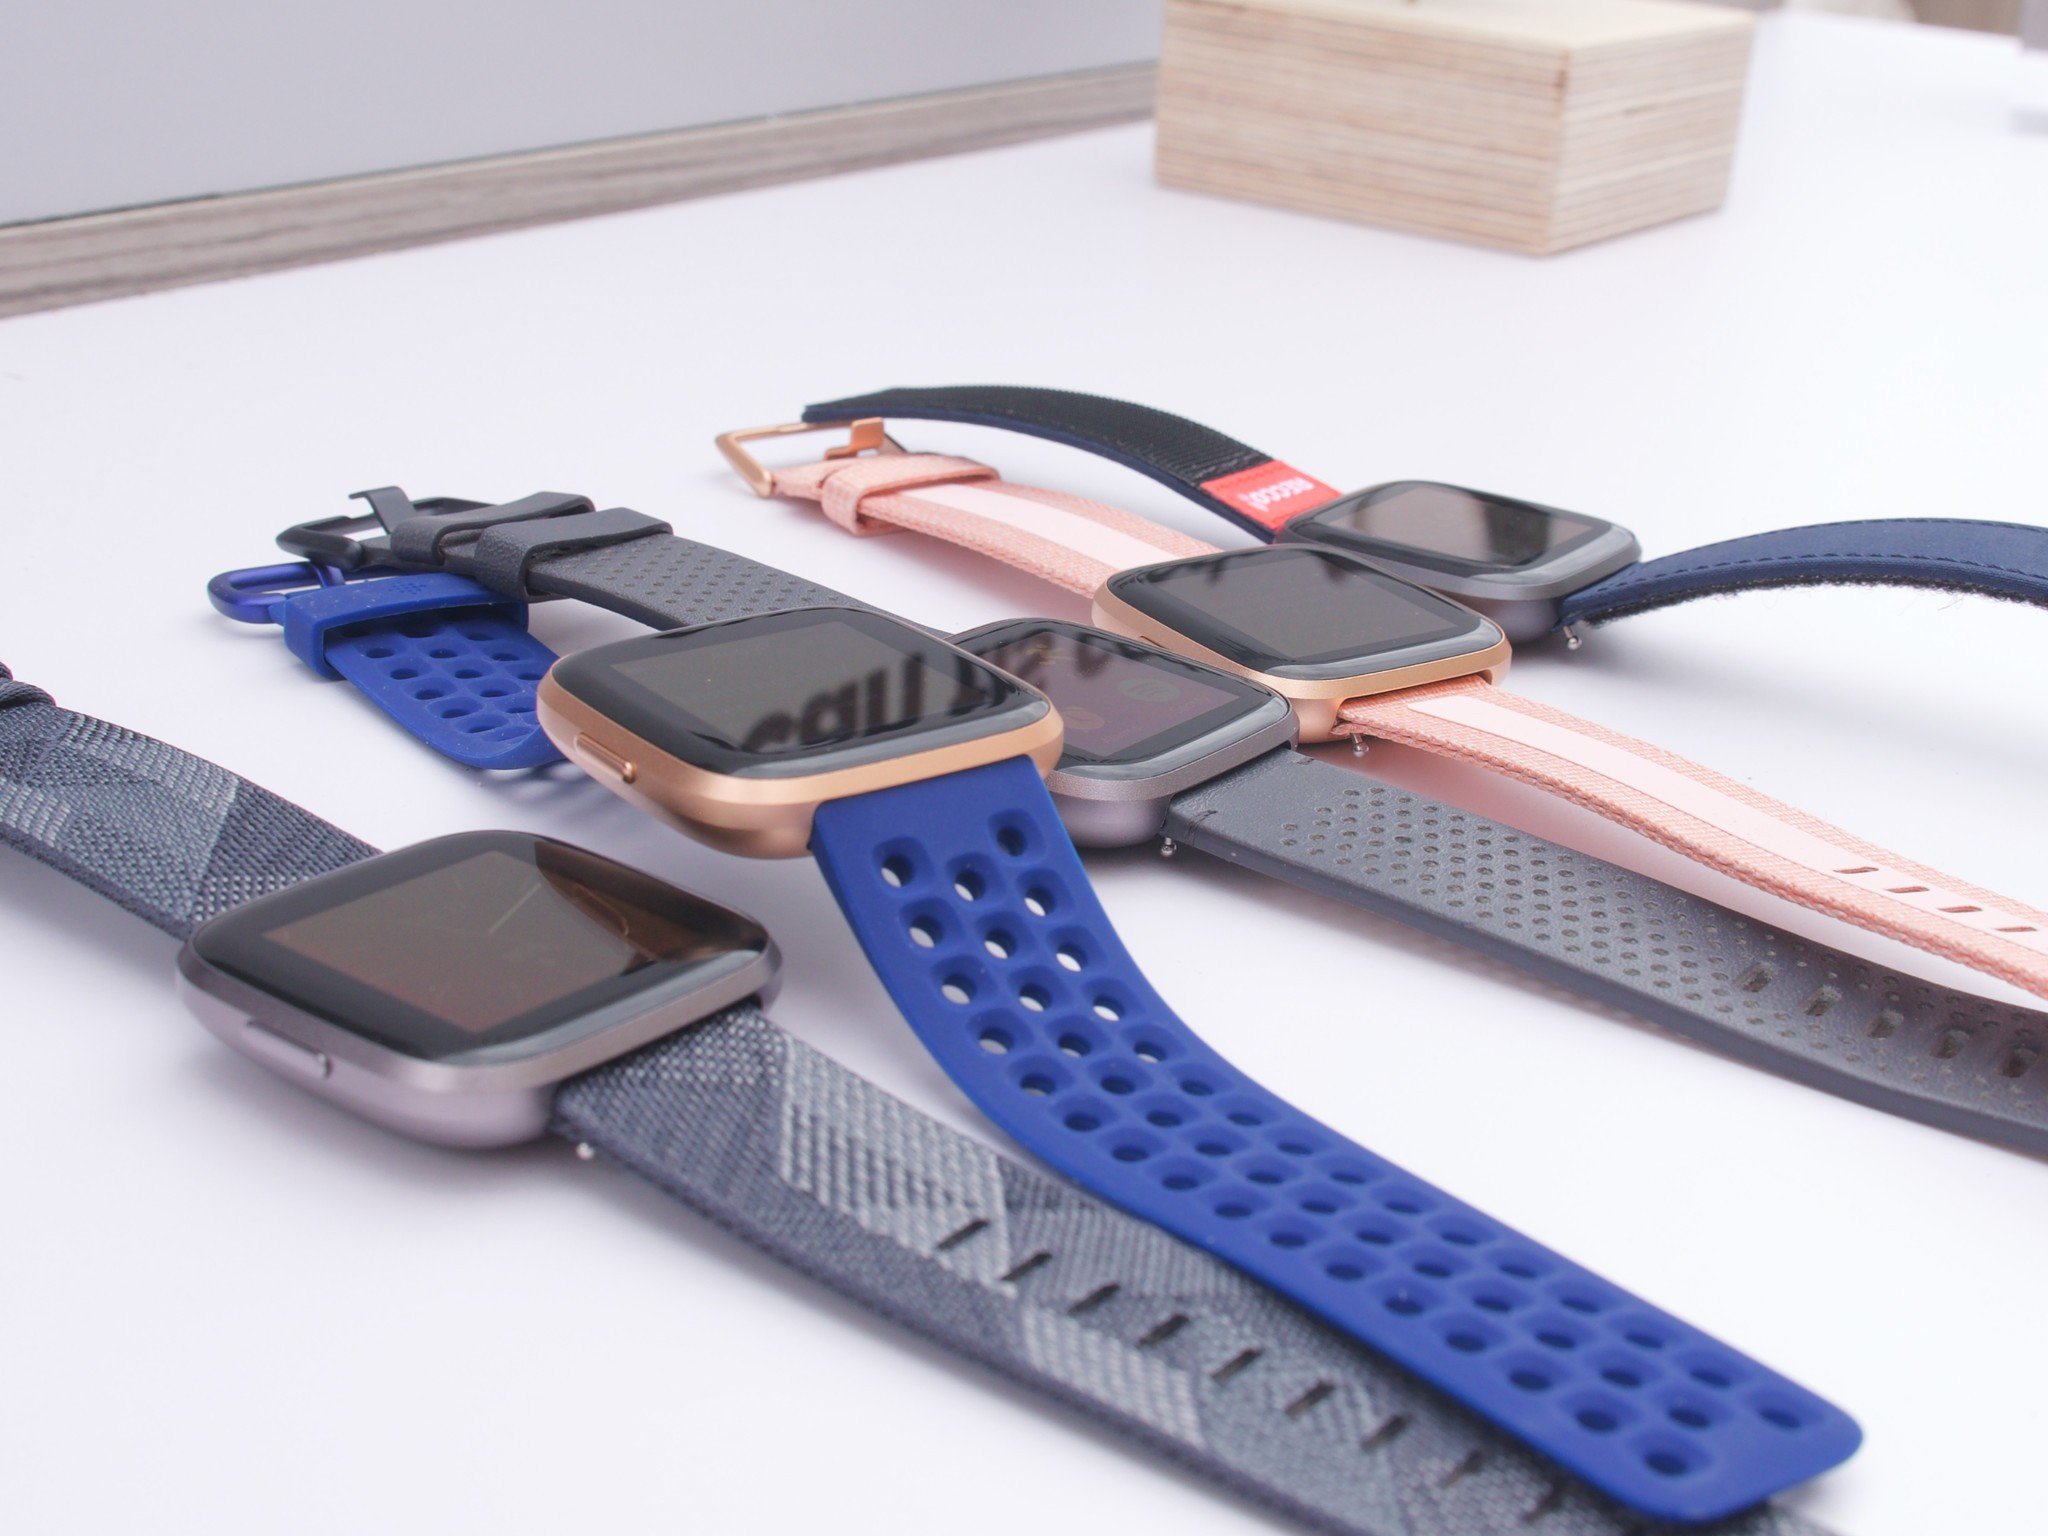
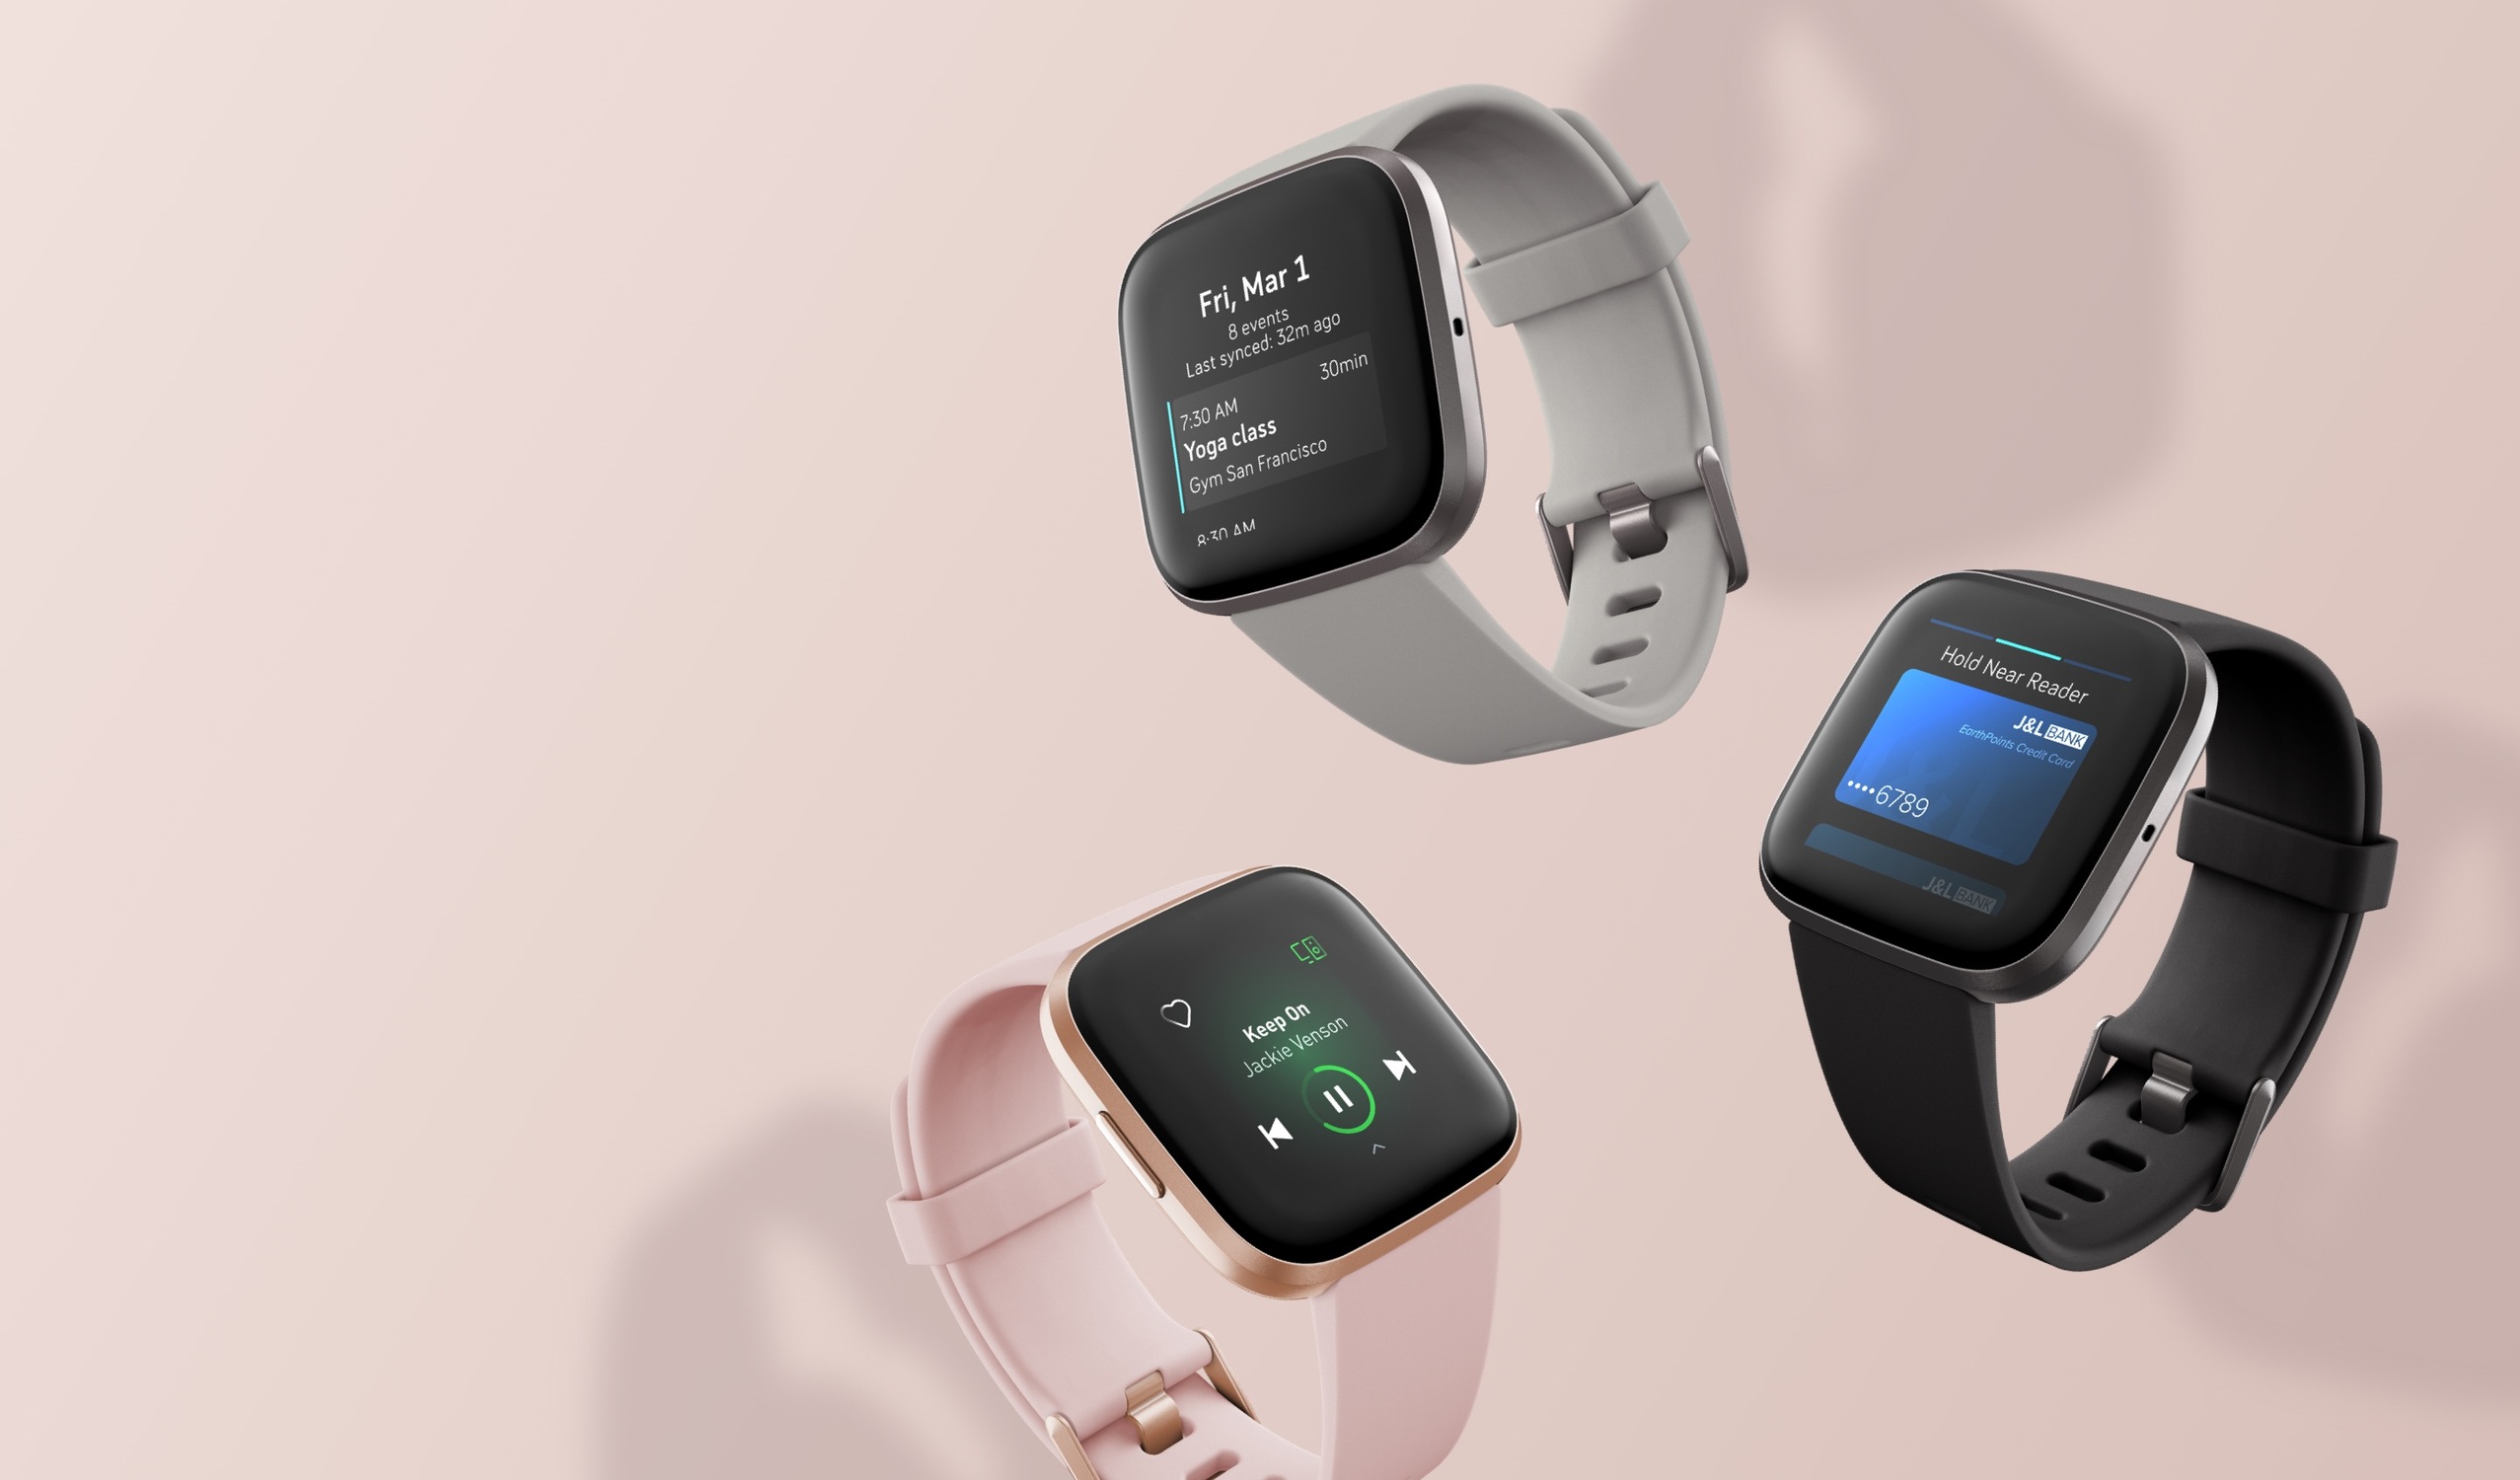
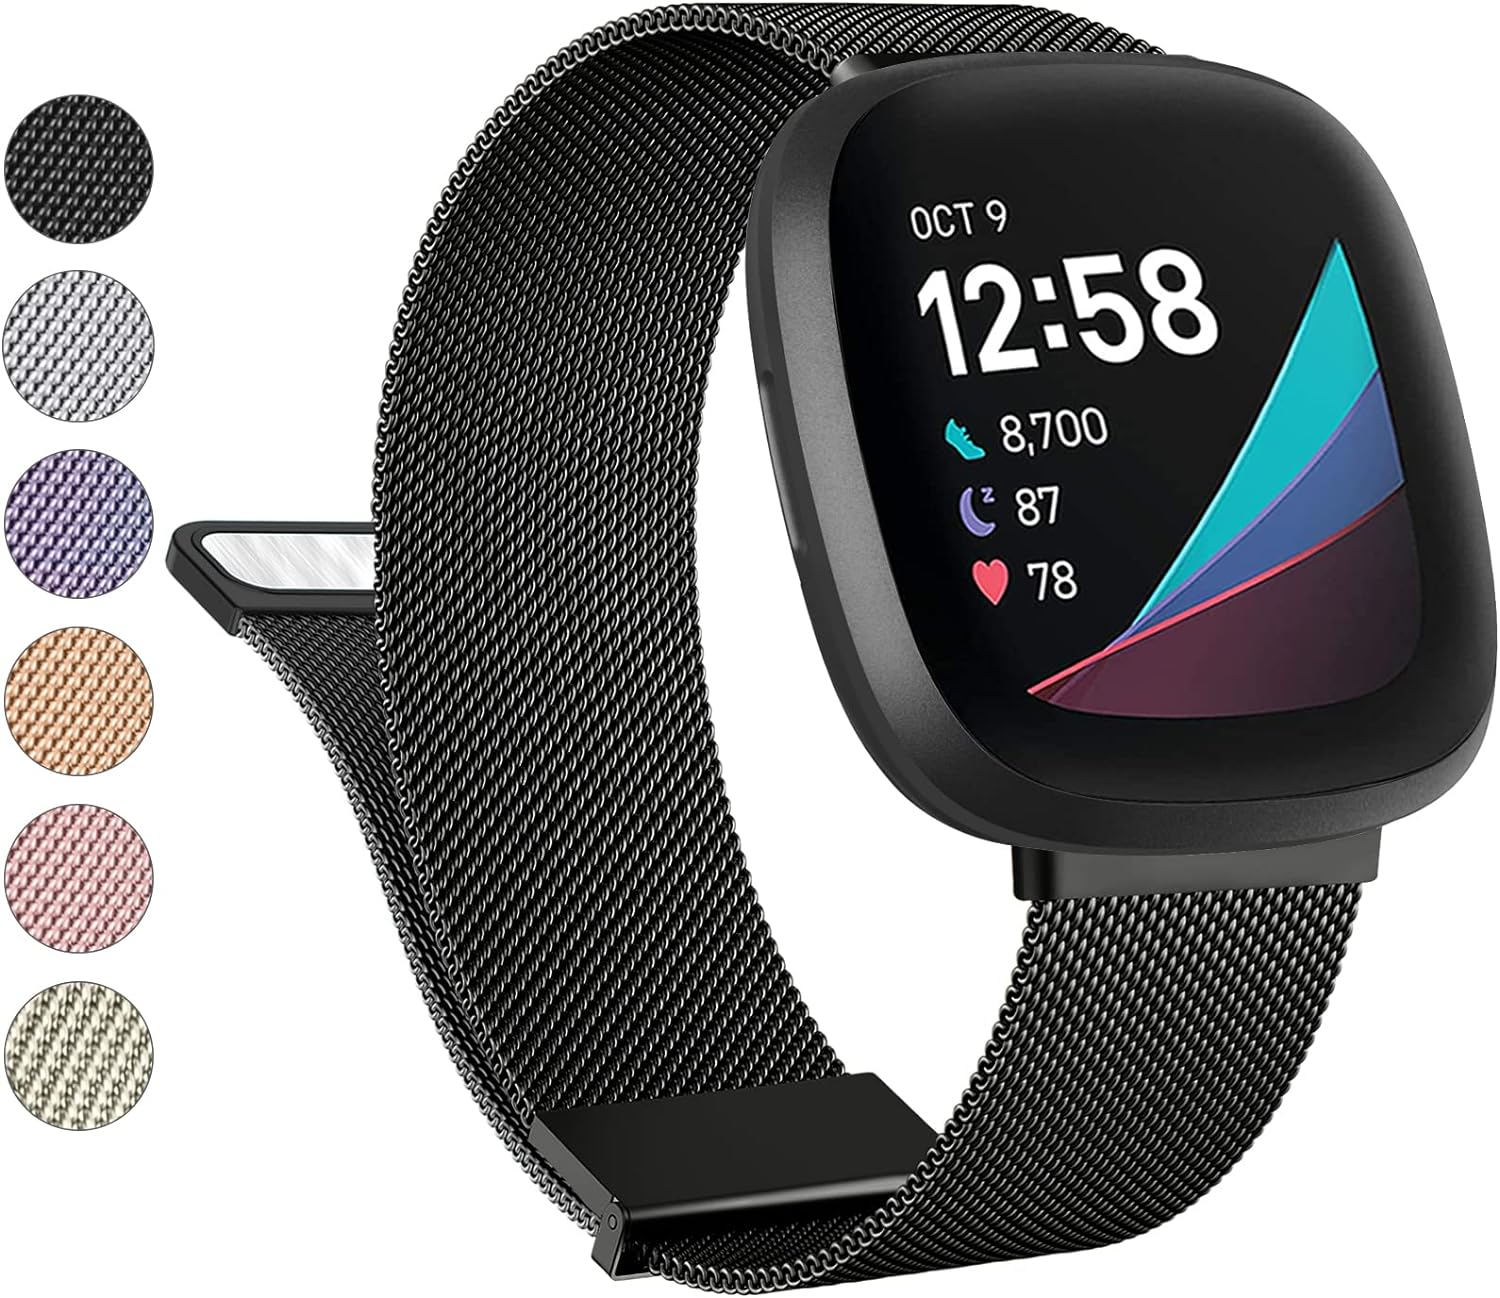
The Fitbit Versa 2 is a versatile and stylish wearable that allows you to track your fitness, monitor your heart rate, and stay connected on the go. One of the standout features of the Versa 2 is its interchangeable bands, which enable you to personalize your device to match your style or activity. Whether you're looking to switch from a sporty silicone band to a more elegant metal or leather option, the process of changing the band is straightforward and can be easily accomplished at home.
In this guide, we will walk you through the step-by-step process of swapping the band on your Fitbit Versa 2. You'll learn how to remove the current band, attach a new one, and ensure a comfortable fit for all-day wear. By the end of this tutorial, you'll have the confidence and know-how to effortlessly customize your Versa 2 to suit your unique preferences.
So, gather your tools, set aside a few minutes, and let's dive into the world of band swapping for the Fitbit Versa 2. Whether you're preparing for a workout, a night out, or simply want to change up your look, this guide will equip you with the knowledge to make the process smooth and enjoyable. Let's get started!
Step 1: Gather the necessary tools
Before diving into the process of swapping the band on your Fitbit Versa 2, it's essential to gather the required tools to ensure a seamless transition. Here's a list of items you'll need:
-
New Band: Begin by selecting the new band you wish to attach to your Fitbit Versa 2. Whether it's a sleek metal band for a formal event or a comfortable silicone band for your workout sessions, having the replacement band on hand is the first step in the process.
-
Spring Bar Tool: This specialized tool is designed to assist in the removal and attachment of watch bands. It features a small, forked end that aids in compressing the spring bars, allowing for easy removal of the current band and attachment of the new one.
-
Clean Cloth: Having a clean, soft cloth on hand can be helpful for wiping down the watch and ensuring a clear surface for band replacement. This step can help maintain the pristine condition of your Fitbit Versa 2 during the band swapping process.
-
Flat Surface: Prepare a flat, stable surface to work on during the band swapping process. This will provide a secure area to handle the Versa 2 and the necessary tools, minimizing the risk of misplacing small components.
By gathering these essential tools, you'll be well-prepared to proceed with confidence to the next steps of removing the current band and attaching the new one. With everything in place, you're ready to embark on the journey of personalizing your Fitbit Versa 2 to perfectly complement your style and activities.
Step 2: Remove the current band
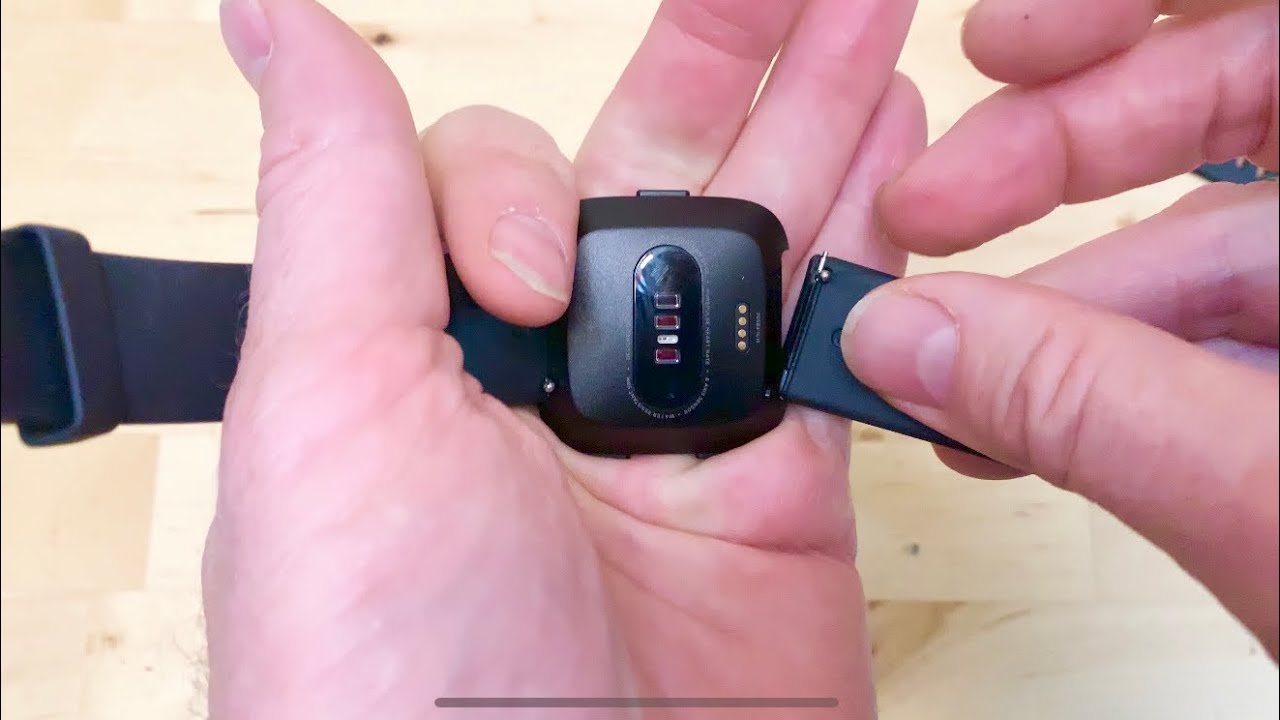
Removing the current band from your Fitbit Versa 2 is a straightforward process that requires attention to detail and a gentle touch. With the necessary tools gathered and a clear workspace established, you're ready to begin the band removal procedure.
-
Locate the Release Button: On the underside of your Fitbit Versa 2, near the connection points of the band, you'll find a small release button for each spring bar. These buttons are essential for disengaging the spring bars and releasing the current band.
-
Position the Versa 2: Place your Fitbit Versa 2 on the flat surface, ensuring that the screen is protected and facing downward. This positioning provides a stable base for the band removal process and minimizes the risk of accidental damage.
-
Use the Spring Bar Tool: With the spring bar tool in hand, carefully insert the forked end of the tool between the watch lugs and the current band. Apply gentle pressure to depress the spring bar, which will disengage it from the watch lug.
-
Repeat for the Second Side: Once the first spring bar is released, repeat the process for the opposite side of the Versa 2. Insert the tool between the watch lug and the band, depress the spring bar, and carefully remove it from the lug.
-
Remove the Band: With both spring bars disengaged, gently slide the current band away from the Versa 2, ensuring a smooth and controlled motion to prevent any unnecessary strain on the watch lugs.
-
Clean the Connection Points: Take a moment to inspect the connection points on the Versa 2 and ensure they are free from debris or residue. A quick wipe with a clean cloth can help maintain the integrity of the connection points for seamless band attachment.
By following these steps with precision and care, you can successfully remove the current band from your Fitbit Versa 2, setting the stage for the exciting process of attaching a new band. With the band removed, you're now ready to embark on the next phase of personalizing your Versa 2 to suit your individual style and preferences.
Step 3: Attach the new band
With the current band successfully removed from your Fitbit Versa 2, it's time to embark on the exciting process of attaching a new band. Whether you're opting for a vibrant silicone band for your active pursuits or a sophisticated metal band for a formal occasion, the Versa 2's interchangeable design allows for seamless customization to suit your unique style and activities.
-
Select the New Band: Begin by choosing the new band that best aligns with your preferences and the demands of your day. Whether you're drawn to a vibrant color, a textured pattern, or a sleek metallic finish, the versatility of the Versa 2 enables you to effortlessly express your individuality.
-
Align the Band: Position the Versa 2 on the flat surface with the screen facing downward. Take the new band and align it with the connection points on the watch lugs. Ensure that the band is oriented correctly, with the adjustable buckle or clasp positioned on the bottom side of the Versa 2.
-
Engage the Spring Bars: With the new band aligned and positioned, gently press one end against the watch lug, allowing the spring bar to compress. Use the spring bar tool, if necessary, to aid in aligning the band and engaging the spring bar with the watch lug. Repeat this process for the opposite side of the Versa 2, ensuring a secure and balanced attachment.
-
Verify the Fit: Once both ends of the new band are securely attached to the Versa 2, take a moment to verify the fit and alignment. Ensure that the band sits comfortably on your wrist and that the Versa 2 rests securely in place. Make any necessary adjustments to the fit or positioning to achieve an optimal and comfortable wear experience.
-
Personalize and Enjoy: With the new band successfully attached and the fit verified, take a moment to appreciate the refreshed look and feel of your Fitbit Versa 2. Whether you're gearing up for a workout, a social gathering, or a day of leisure, the ability to personalize your Versa 2 with a new band adds a touch of individuality to every moment.
By following these steps, you can seamlessly attach a new band to your Fitbit Versa 2, unlocking the potential for endless customization and personal expression. Whether you're swapping bands to match your outfit, activity, or mood, the Versa 2's versatile design empowers you to curate a wearable experience that reflects your unique style and personality.
Step 4: Adjust the fit
Ensuring a comfortable and secure fit is essential when customizing the band on your Fitbit Versa 2. Whether you've opted for a sleek metal band for a formal event or a flexible silicone band for your active pursuits, the proper fit enhances both the functionality and aesthetics of your wearable device. With the new band securely attached, the following steps will guide you through the process of adjusting the fit to achieve an optimal and comfortable wearing experience.
Check the Fit
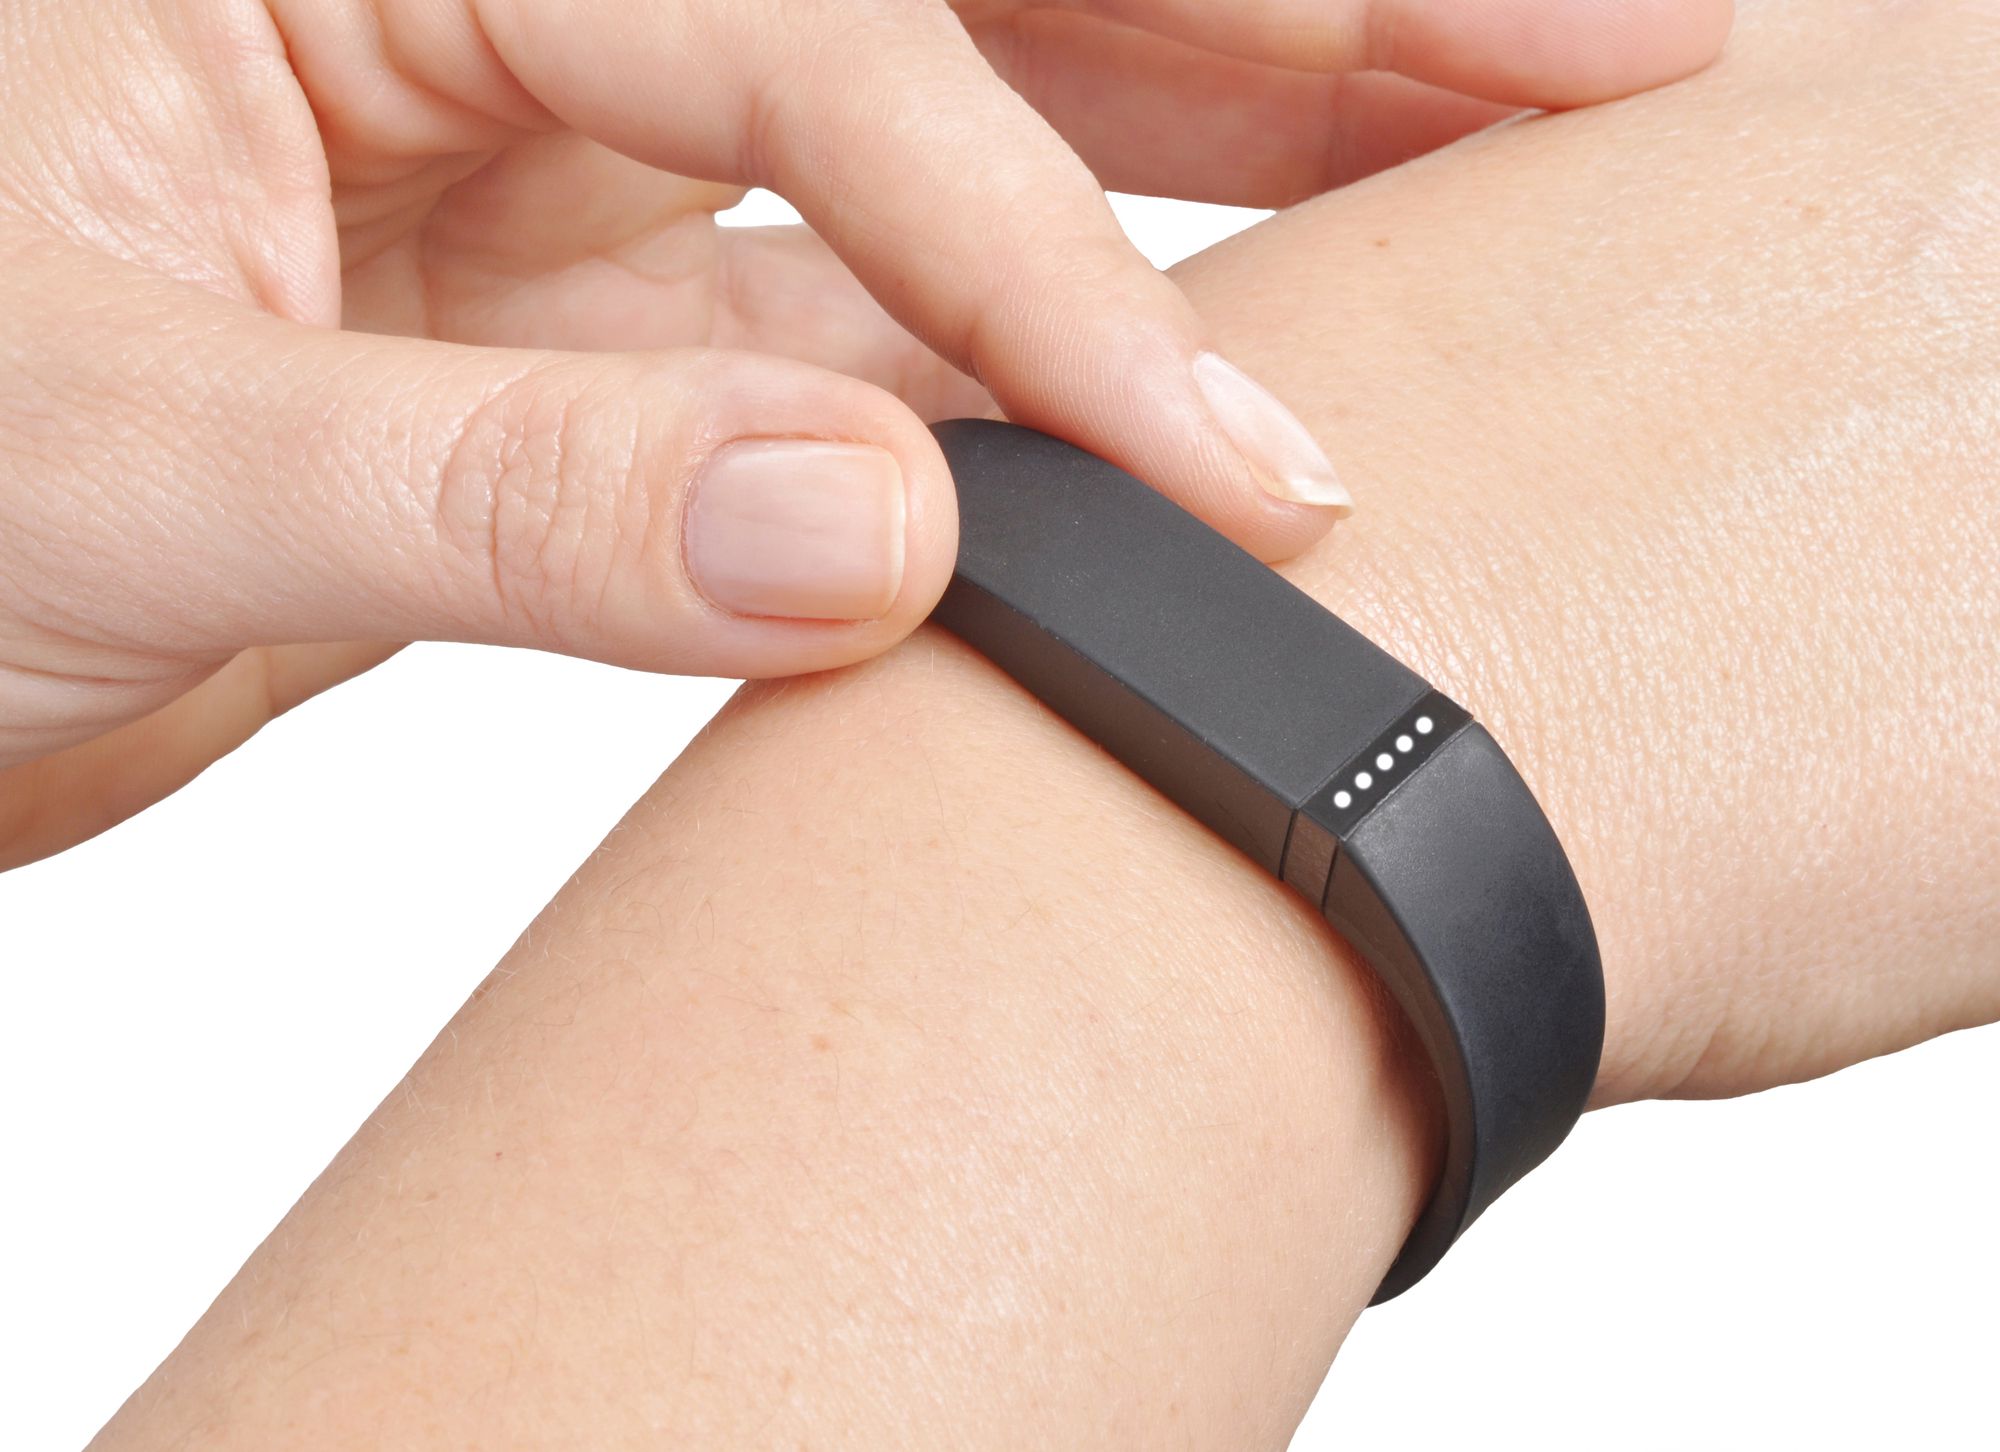
Begin by wearing your Fitbit Versa 2 with the newly attached band. Take a moment to assess the fit on your wrist, ensuring that it feels snug and secure without being overly tight. The Versa 2 should sit comfortably on your wrist, allowing for unrestricted movement while maintaining a secure position during various activities.
Band Positioning
Pay attention to the positioning of the band on your wrist. The Versa 2 should rest parallel to the ground, with the display positioned on the top side of your wrist. This alignment ensures optimal visibility of the screen and facilitates effortless interaction with the device throughout the day.
Secure Closure
If your new band features an adjustable buckle or clasp, verify that it is securely fastened. The closure should provide a snug fit without causing discomfort or leaving marks on your skin. Ensure that the band is fastened at a comfortable tightness to prevent excessive movement of the Versa 2 during physical activities.
Comfort and Flexibility
Assess the comfort and flexibility of the band during various movements. Whether you're engaging in exercise, work tasks, or leisure activities, the band should adapt to your wrist's movements without causing irritation or discomfort. Verify that the materials and design of the band promote breathability and flexibility for extended wear.
Customized Fit
Make any necessary adjustments to the fit to accommodate your personal preferences. Whether you prefer a slightly looser fit during daily wear or a snugger fit during physical activities, the Versa 2's interchangeable bands allow for personalized adjustments to suit your unique comfort and style requirements.
By following these steps to adjust the fit of your Fitbit Versa 2, you can ensure that your wearable device seamlessly integrates into your daily routine with comfort, style, and functionality. With the band securely attached and the fit optimized, you're ready to embrace the versatility and personalization offered by the Fitbit Versa 2, enhancing every moment with a customized and comfortable wearable experience.
Conclusion
Congratulations on successfully navigating the process of swapping the band on your Fitbit Versa 2! By following the step-by-step guide outlined in this tutorial, you've gained the knowledge and confidence to personalize your wearable device to perfectly align with your unique style, activities, and preferences.
The ability to effortlessly change the band on the Fitbit Versa 2 opens a world of possibilities for personal expression and customization. Whether you're transitioning from a sporty silicone band to a sophisticated metal option for a special occasion or opting for a vibrant and comfortable band to complement your active lifestyle, the Versa 2's interchangeable design empowers you to curate a wearable experience that resonates with your individuality.
As you embark on your journey with the newly attached band, take a moment to revel in the refreshed look and feel of your Fitbit Versa 2. Whether you're gearing up for a workout, a social gathering, or a day of leisure, the versatility of the Versa 2 allows you to effortlessly adapt your wearable device to every moment, reflecting your unique style and personality.
The process of swapping the band on the Fitbit Versa 2 not only enhances the aesthetic appeal of the device but also underscores its adaptability to seamlessly integrate into your daily routine. Whether you're tracking your fitness goals, staying connected on the go, or monitoring your health metrics, the customized band adds a touch of personalization to every interaction with your Versa 2.
With the fit of the new band optimized to your comfort and style preferences, you're poised to embrace the versatility and individuality offered by the Fitbit Versa 2. As you navigate through your day, the seamlessly integrated band serves as a reflection of your unique identity, effortlessly complementing your diverse activities and enhancing the overall wearable experience.
So, as you venture forward with your personalized Fitbit Versa 2, may each glance at your wrist serve as a reminder of the seamless fusion of style, functionality, and personal expression that the interchangeable bands bring to your wearable device. Embrace the freedom to adapt, personalize, and redefine your Versa 2, making every moment a reflection of your distinctive identity and style.
With the band securely attached, the fit optimized, and your unique preferences reflected in your wearable device, the journey of personalization and customization continues, enriching every moment with a touch of individuality and style.