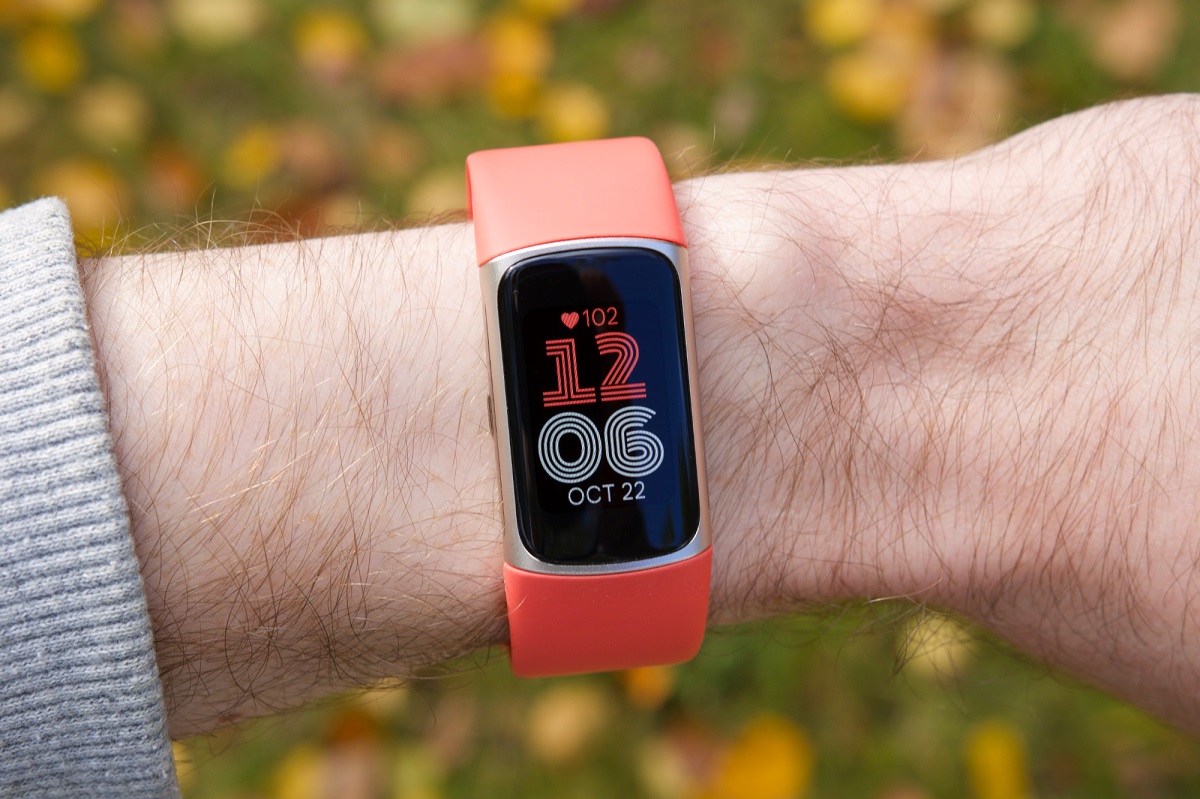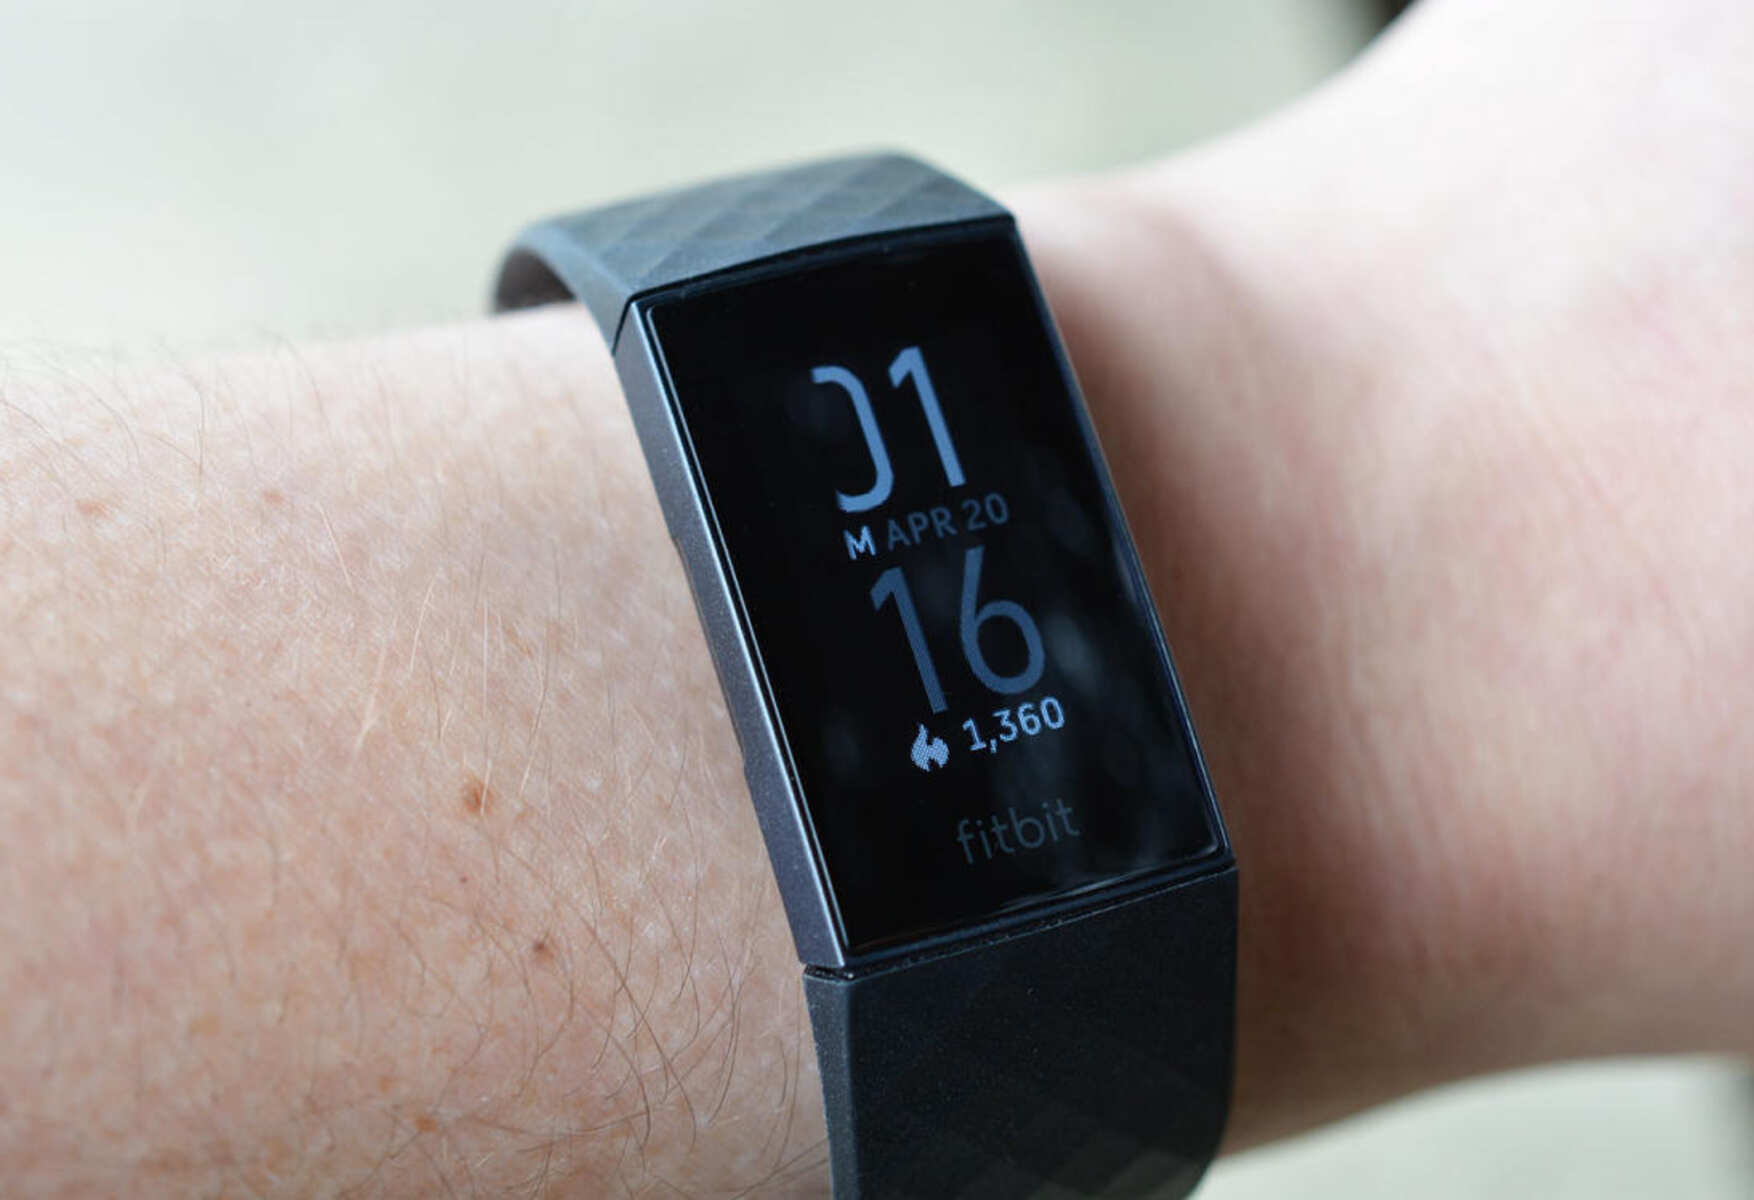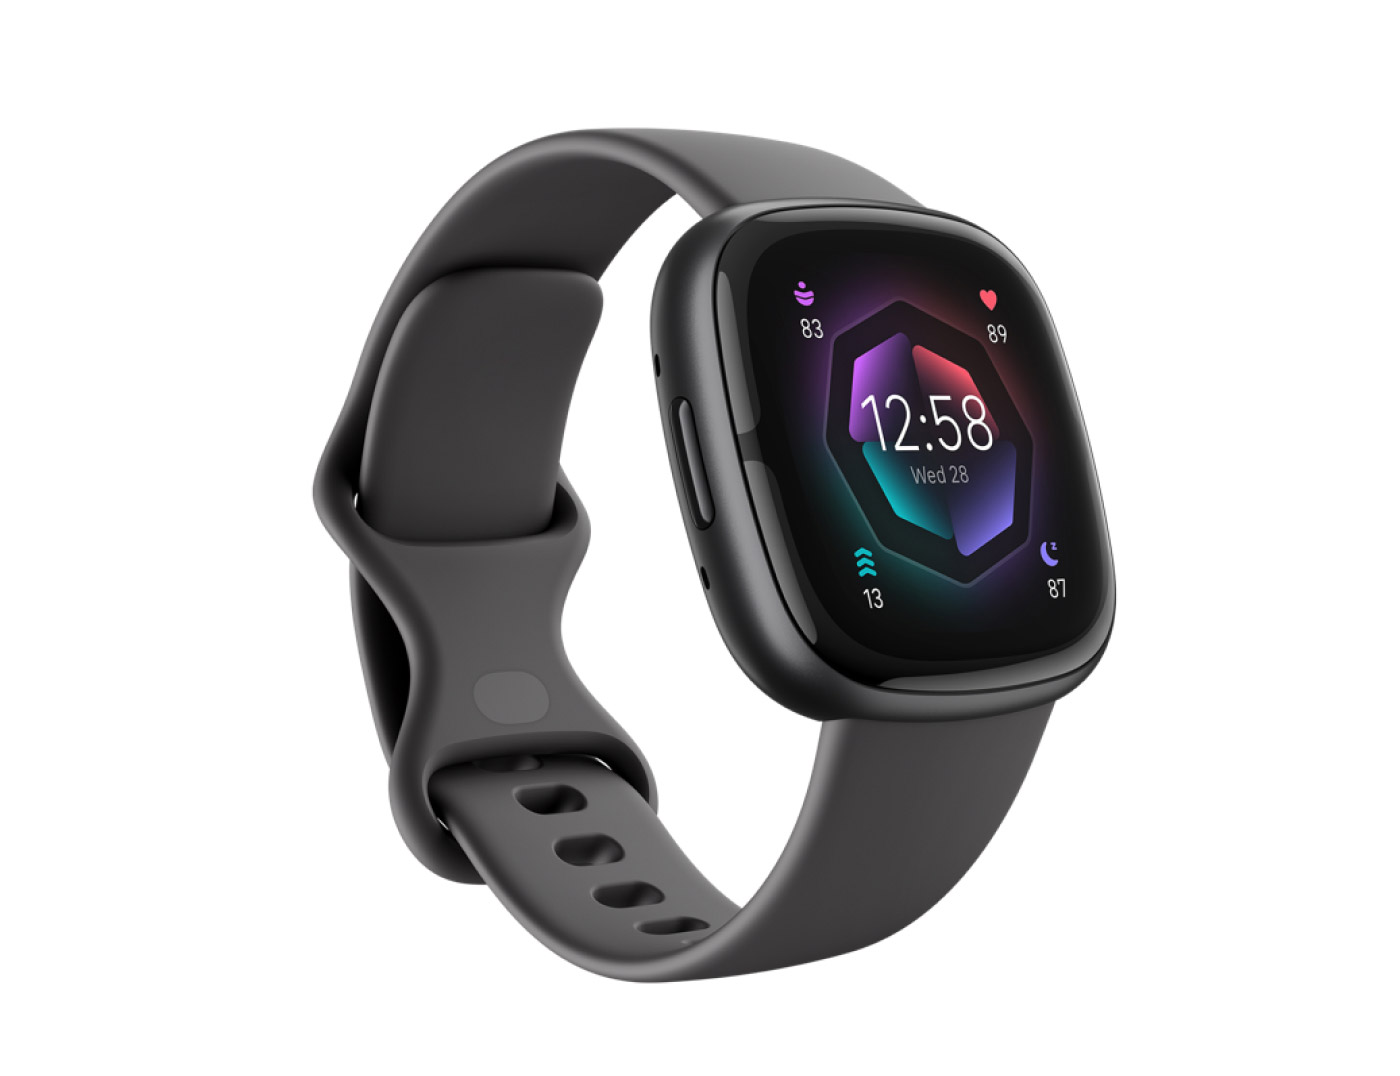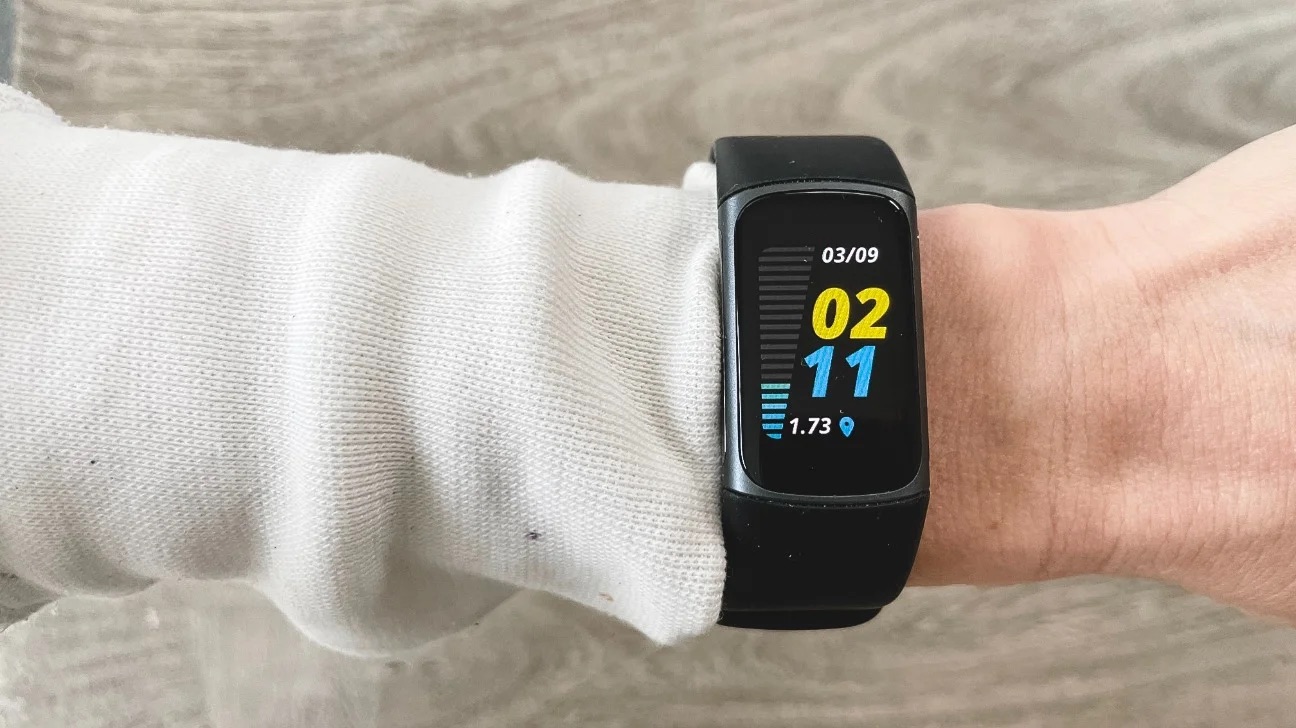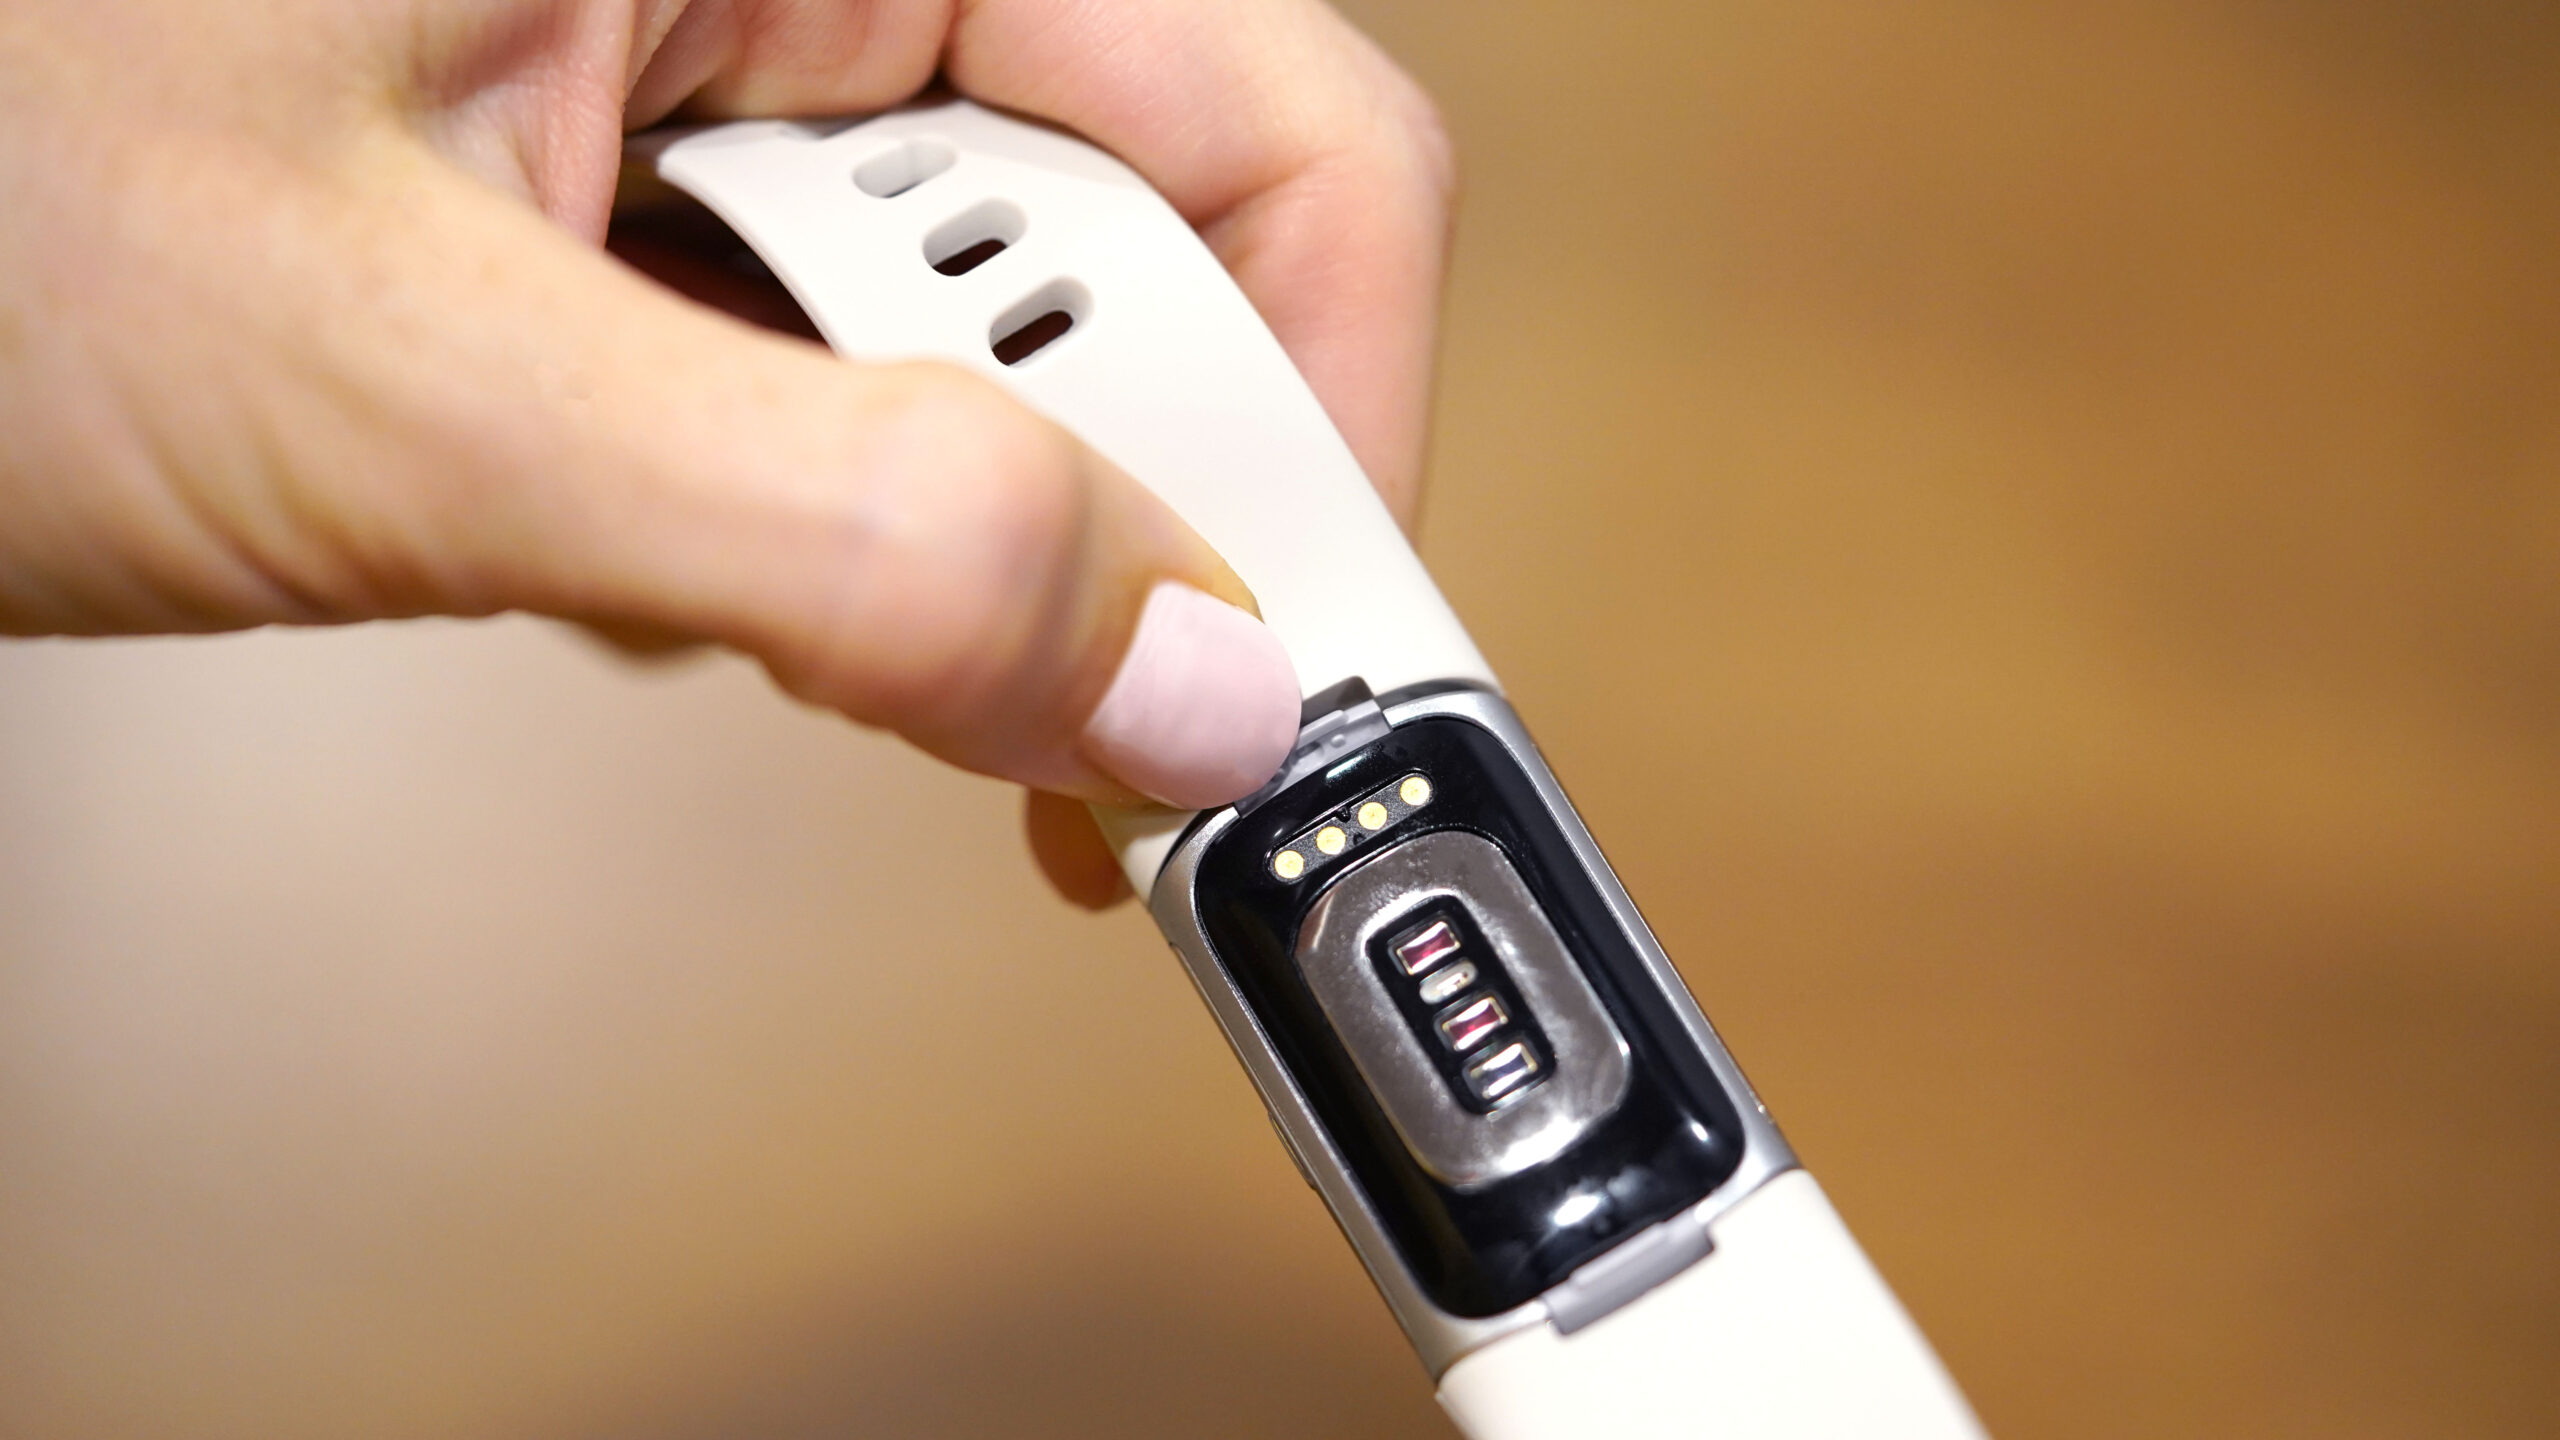
To change your Fitbit band, you must first identify your specific model's release mechanism, either a flat button on the tracker or a quick-release lever on the band, and then follow the correct removal and attachment steps to avoid damaging the device. This guide provides model-specific instructions so you can safely swap bands, troubleshoot a loose fit, and ensure your tracker stays secure during workouts and daily wear.
Before you change your Fitbit band
Gather your new compatible band and a clean cloth. Crucially, identify which of the two release mechanisms your specific Fitbit model uses before starting. Fitbit bands are model-specific, meaning a band designed for one Fitbit model may not fit another, even if the release mechanism looks similar. Always verify that a new band is compatible with your specific Fitbit model and generation before attempting to attach it. Before attaching a new band, consider cleaning the attachment points on your Fitbit to prevent grime buildup, which can lead to a loose fit or skin irritation. For a seamless health tracking experience, also ensure your other Fitbit devices are connected with a step-by-step guide to syncing your Fitbit aria air scale.
How to remove the old band from a Charge, Sense, Versa 3, or Luxe
For Fitbit Charge 5, Charge 6, Sense, Sense 2, Versa 3, Versa 4, and Luxe models, locate the flat release button on the underside where the band connects to the tracker. To remove the band on these models, use your fingernail to press the flat button inward, towards the band, and gently pull the band away from the device. Repeat on the other side if you are removing both bands.
How to remove the old band from a Versa, Versa 2, or Inspire
For Fitbit Versa, Versa Lite Edition, Versa 2, and Inspire series (Inspire, Inspire HR, Inspire 2, Inspire 3) models, locate the quick-release lever or pin on the back of the band where it meets the tracker. To remove the band on these models, press the quick-release lever or pin inward and gently slide the band away from the tracker. Repeat on the other side if needed.
How to attach your new Fitbit band
For models with a flat button release (Charge, Sense, Versa 3/4, Luxe), press the new band into the end of the device until you hear or feel a "click" and it snaps securely into place. For lever-release models (Versa, Versa 2, Inspire), align the new band with the connection points, press the lever or pin, and slide the band into the tracker until it locks. After attaching a new band, gently tug on both sides to confirm it is securely locked and does not wobble, preventing the tracker from falling off.
How to adjust the fit and wear it correctly
The band with the buckle, loops, or peg typically attaches to the top of the watch or tracker. Position the tracker on the top of your wrist, ensuring the buckle band is on the correct side. Adjust the strap for a snug but comfortable fit, not too tight, as this may restrict blood circulation, nor too loose, as it may affect the accuracy of activity tracking. If you encounter issues with data accuracy, refer to resources on Fitbit setup and syncing for proper connection, or troubleshooting heart rate detection for sensor placement guidance.