Introduction
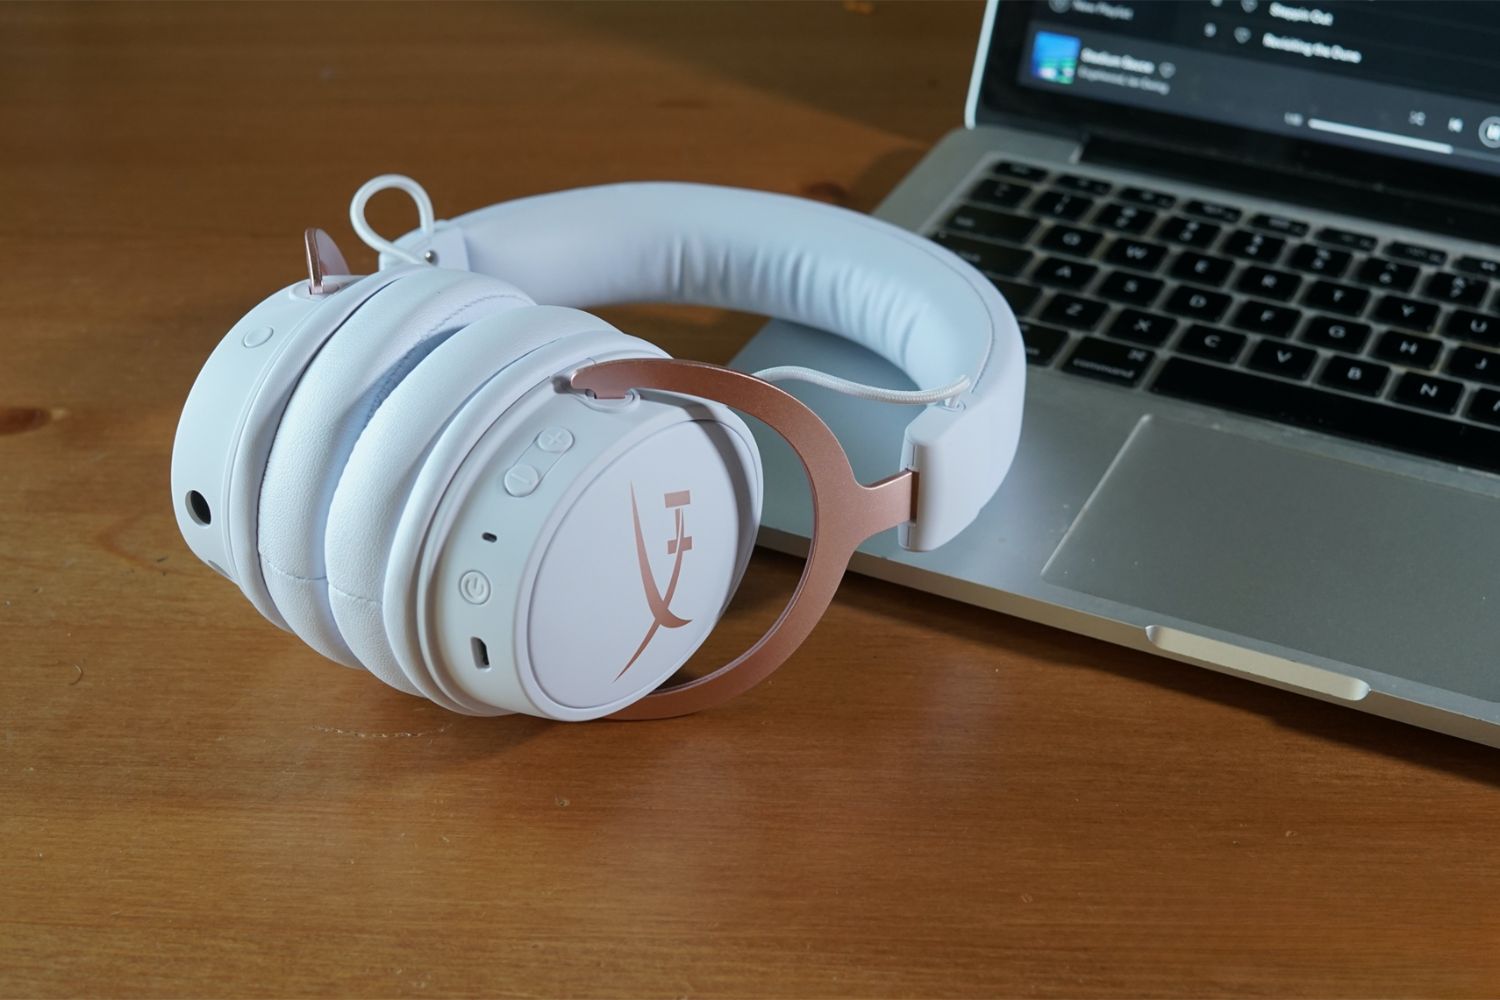
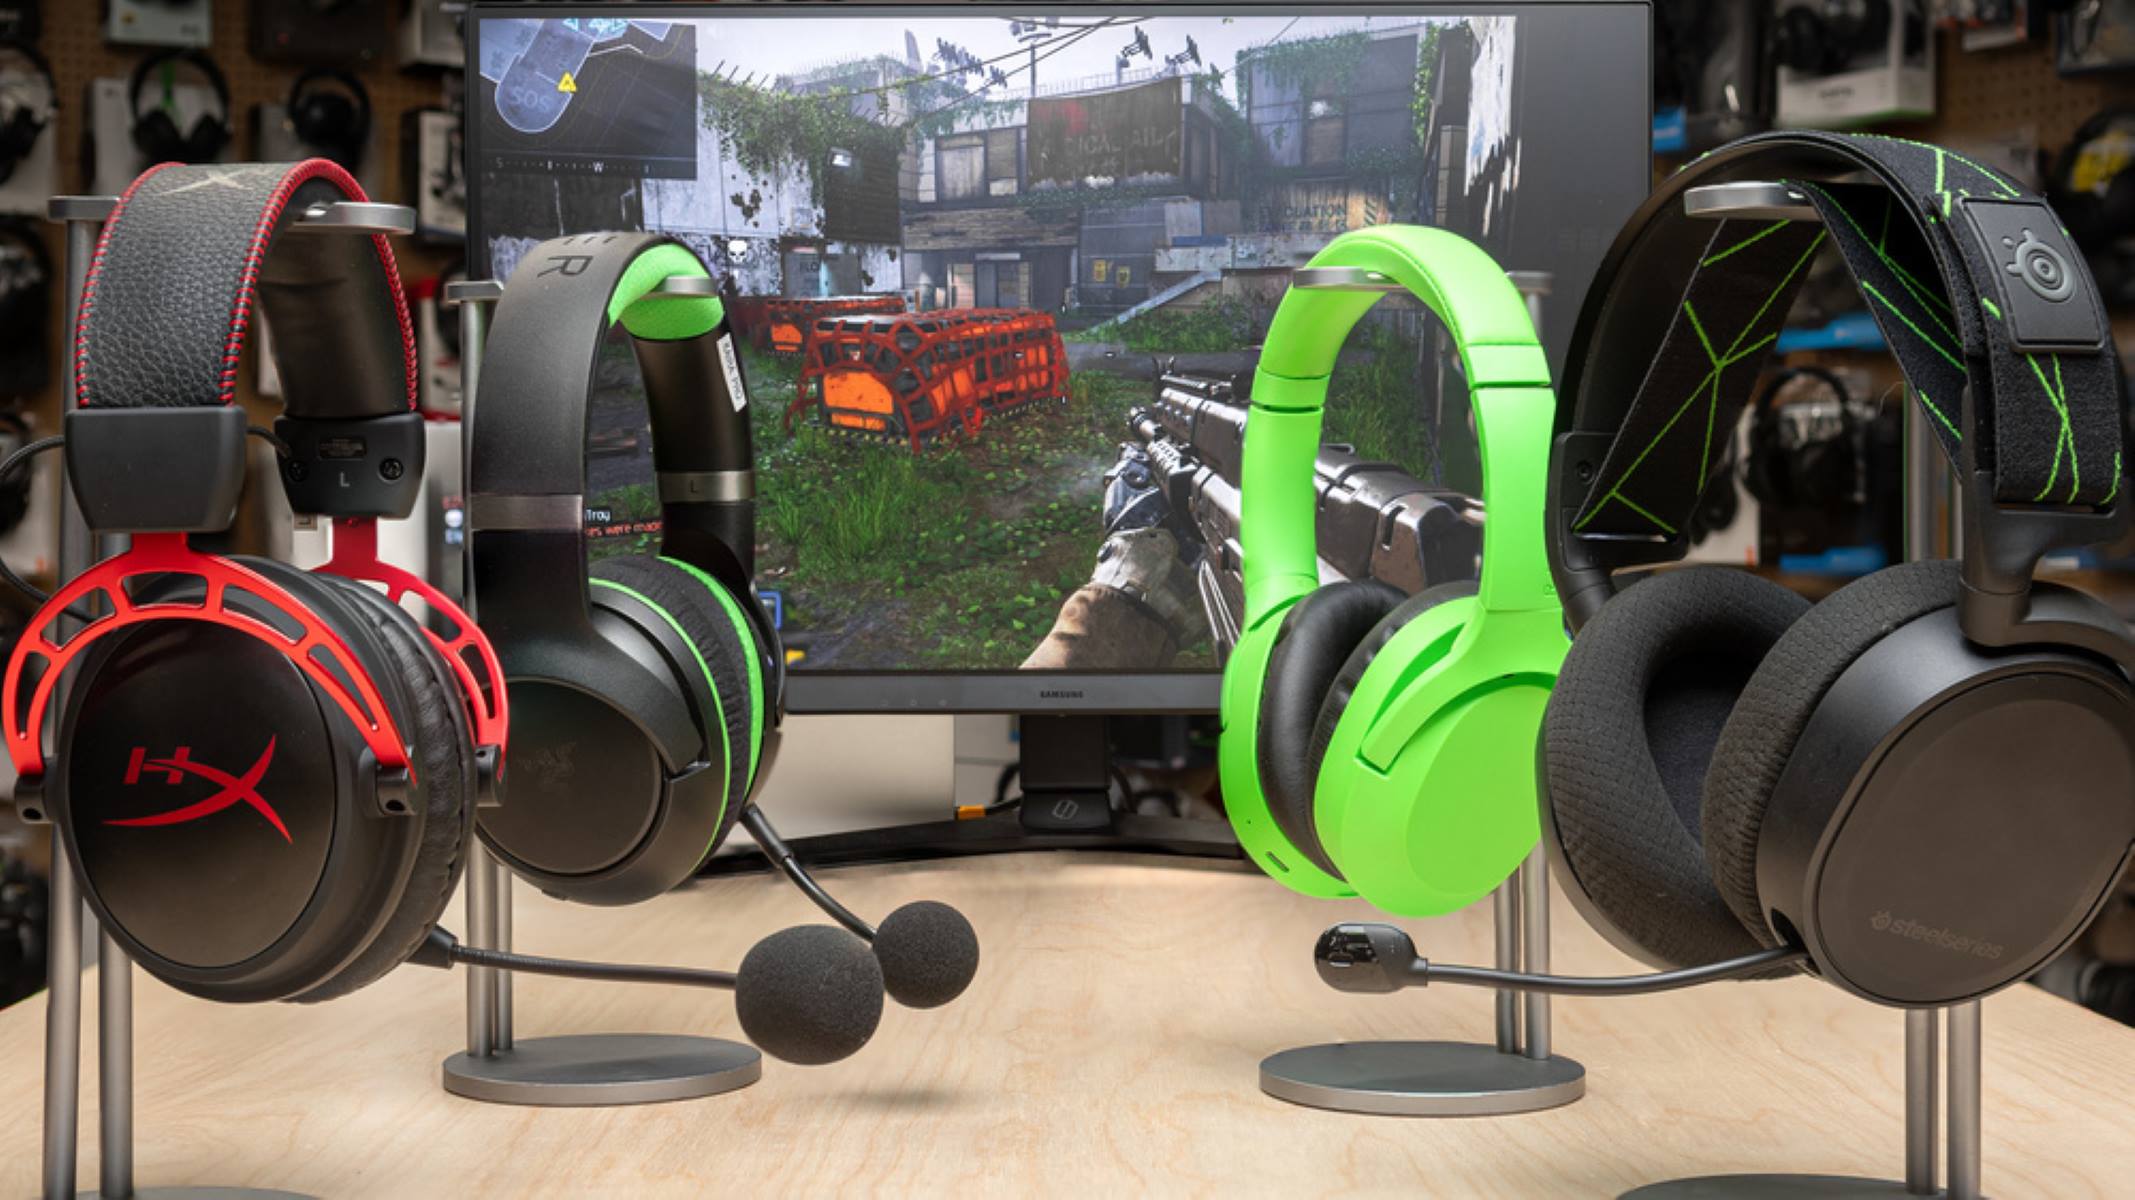
So, you're all set to jump into an intense gaming session on your MacBook Pro, but it seems that your gaming headset's microphone isn't cooperating. Not to worry, as we've got you covered! In this guide, we'll walk you through the simple steps to switch from your gaming headset with a microphone to your MacBook Pro's built-in microphone. Whether you're a seasoned gamer or a casual user, this process is straightforward and will have you back in action in no time.
Many MacBook Pro users often find themselves in situations where they need to switch from an external microphone, such as a gaming headset, to the built-in microphone. This could be due to a variety of reasons, such as technical issues with the headset's microphone, the need for a quick switch during a video call, or simply the desire to use the MacBook's native microphone for a specific task.
By following the steps outlined in this guide, you'll gain a clear understanding of how to seamlessly transition from an external microphone to the MacBook Pro's built-in microphone. Whether you're engaging in online gaming, virtual meetings, or recording audio, having the knowledge to make this switch can be invaluable.
Now, let's delve into the step-by-step process of accessing your MacBook Pro's system preferences and selecting the built-in microphone as your primary input device. This guide is designed to be user-friendly, ensuring that you can easily navigate through the settings and make the necessary adjustments without any hassle. Let's get started on this straightforward yet essential task for MacBook Pro users.
Step 1: Accessing System Preferences
First things first, let’s begin by accessing the System Preferences on your MacBook Pro. The System Preferences serve as the central hub for configuring various settings on your device, including the input and output devices for audio.
To open System Preferences, simply click on the Apple logo located on the top-left corner of your screen. A dropdown menu will appear, and you’ll find the “System Preferences” option listed there. Click on “System Preferences,” and a new window will open, presenting you with a range of customizable settings for your MacBook Pro.
Alternatively, you can access System Preferences by locating and clicking on the gear icon, which represents the System Preferences, in your Dock. This provides a quick and convenient way to access the settings without navigating through the Apple menu.
Once you’ve entered the System Preferences, you’re one step closer to adjusting the input device settings to switch to the built-in microphone on your MacBook Pro. The intuitive layout of System Preferences makes it easy to locate the specific settings you need to modify, ensuring a seamless transition to the built-in microphone for your audio input needs.
With System Preferences now at your disposal, you’re ready to proceed to the next step of selecting the Sound preferences, where you’ll be able to make the necessary adjustments to switch from your gaming headset’s microphone to the built-in microphone of your MacBook Pro.
Step 2: Selecting Sound Preferences
After successfully accessing the System Preferences, the next crucial step is to navigate to the “Sound” preferences. The Sound preferences allow you to manage the audio input and output settings for your MacBook Pro, providing you with the flexibility to customize your audio devices according to your requirements.
Within the System Preferences window, you will find the “Sound” icon, typically represented by a speaker or sound wave symbol. Click on the “Sound” icon to access the audio settings for your MacBook Pro. This will open a new window dedicated to sound preferences, where you can configure various audio-related settings, including input and output devices, sound effects, and volume controls.
Upon entering the Sound preferences, you will be presented with several tabs, such as “Sound Effects,” “Output,” and most importantly, “Input.” The “Input” tab is where you can select the preferred audio input device for your MacBook Pro. Since you’re transitioning from a gaming headset with a microphone to the built-in microphone, this is the tab where you’ll make the necessary adjustments.
Within the “Input” tab, you will see a list of available input devices. Locate the entry that represents the built-in microphone of your MacBook Pro. It is typically labeled as “Internal Microphone” or “Built-in Microphone.” Once you’ve identified the built-in microphone, click on it to select it as the primary audio input device for your system.
By choosing the built-in microphone as the input device, you are effectively instructing your MacBook Pro to utilize its native microphone for capturing audio input, bypassing the external microphone from your gaming headset. This straightforward selection process ensures that your MacBook Pro is ready to use its built-in microphone for any audio-related tasks, whether it’s gaming, voice calls, or audio recording.
With the Sound preferences configured to recognize the built-in microphone as the designated input device, you’re now prepared to proceed to the next step of testing the functionality of the built-in microphone to ensure that it’s functioning as expected.
Step 3: Choosing Input Device
Having accessed the Sound preferences and navigated to the “Input” tab, the next pivotal step is to choose the built-in microphone as the primary input device for your MacBook Pro. This selection is crucial in ensuring that your system recognizes and utilizes the internal microphone for capturing audio input, effectively replacing the gaming headset’s microphone.
Within the “Input” tab of the Sound preferences, you’ll encounter a list of available input devices, each representing a distinct audio input source. Look for the entry that corresponds to the built-in microphone of your MacBook Pro, often labeled as “Internal Microphone” or “Built-in Microphone.” The clear identification of the built-in microphone allows you to proceed with confidence in selecting it as the designated input device for your system.
Click on the entry representing the built-in microphone to designate it as the primary input device. This simple yet crucial action instructs your MacBook Pro to channel all incoming audio input through its native microphone, effectively bypassing the external microphone associated with your gaming headset. By making this selection, you are ensuring that your system is ready to capture and process audio input using the built-in microphone, meeting your audio input requirements seamlessly.
Once the built-in microphone has been chosen as the input device, your MacBook Pro is now configured to utilize its native audio input source, ready to capture your voice, ambient sounds, or any other audio input with precision and clarity. This selection is integral to the process of transitioning from an external microphone to the built-in microphone, empowering you to harness the capabilities of your MacBook Pro’s native audio input technology.
With the built-in microphone now designated as the primary input device, you’re all set to proceed to the final step of testing the functionality of the built-in microphone to ensure that it’s performing as expected. This testing phase will validate the seamless transition from the gaming headset’s microphone to the built-in microphone, allowing you to confidently engage in various audio-related activities on your MacBook Pro.
Step 4: Testing the Built-In Microphone
Now that you’ve designated the built-in microphone as the primary input device for your MacBook Pro, it’s essential to conduct a thorough test to ensure that the transition from the gaming headset’s microphone to the built-in microphone has been successful. This testing phase allows you to verify the functionality and performance of the built-in microphone, ensuring that it meets your audio input requirements and operates seamlessly across various applications and tasks.
To commence the testing process, consider engaging in a brief audio recording or a voice call using an application that utilizes the microphone, such as a voice recording app, video conferencing platform, or a gaming application that requires voice communication. By initiating an activity that necessitates the use of the microphone, you can effectively evaluate the performance of the built-in microphone in capturing and processing audio input.
Conduct a test recording or initiate a voice call, and speak into the built-in microphone to generate audio input. Pay close attention to the clarity, volume, and overall quality of the captured audio. Verify that the built-in microphone effectively captures your voice or any other sound input with precision and accuracy, ensuring that it meets the desired standards for audio input on your MacBook Pro.
Listen to the playback of the recorded audio or request feedback from the recipient of the voice call to gauge the performance of the built-in microphone. Assess whether the audio captured by the built-in microphone aligns with your expectations in terms of clarity, fidelity, and absence of distortions or background noise. This evaluation allows you to ascertain the effectiveness of the built-in microphone in fulfilling your audio input needs.
Additionally, consider testing the built-in microphone across multiple applications and scenarios to ensure its versatility and reliability in various usage contexts. Whether you’re engaging in gaming activities, participating in virtual meetings, or recording audio notes, the built-in microphone should consistently deliver exceptional performance across different tasks.
By rigorously testing the built-in microphone, you can confidently affirm that the transition from the gaming headset’s microphone to the built-in microphone has been successful, and your MacBook Pro is now equipped with a reliable and high-quality audio input solution. This comprehensive testing phase ensures that the built-in microphone meets your expectations and empowers you to seamlessly engage in diverse audio-related activities on your MacBook Pro.
Conclusion
Congratulations! You have successfully navigated through the process of transitioning from a gaming headset with a microphone to your MacBook Pro’s built-in microphone. By following the step-by-step instructions outlined in this guide, you’ve gained the knowledge and proficiency to seamlessly switch to the built-in microphone, empowering you to engage in a wide range of audio-related activities with confidence and ease.
Accessing the System Preferences and selecting the Sound preferences served as the initial steps in this process, providing you with the foundational settings to configure the audio input device for your MacBook Pro. Navigating through the intuitive interface of System Preferences allowed you to make the necessary adjustments with precision and clarity, ensuring a seamless transition to the built-in microphone.
By choosing the built-in microphone as the primary input device within the Sound preferences, you effectively instructed your MacBook Pro to utilize its native microphone for capturing audio input, bypassing the external microphone from your gaming headset. This crucial selection laid the groundwork for harnessing the capabilities of your MacBook Pro’s built-in microphone across various applications and tasks.
The final step of testing the built-in microphone enabled you to validate its functionality and performance, ensuring that it meets your expectations in terms of clarity, fidelity, and reliability. By conducting thorough tests across different usage scenarios, you confirmed the seamless transition from the gaming headset’s microphone to the built-in microphone, affirming its suitability for diverse audio-related activities on your MacBook Pro.
With the successful completion of this process, you now possess the expertise to effortlessly switch between audio input devices on your MacBook Pro, adapting to your specific needs and preferences with ease. Whether you’re engaging in online gaming, virtual meetings, or audio recording, the ability to transition to the built-in microphone equips you with a versatile and reliable audio input solution.
By mastering the process of changing to the built-in microphone from a gaming headset with a microphone, you’ve enhanced your proficiency in managing audio input settings on your MacBook Pro, paving the way for a seamless and immersive audio experience across various applications and activities. Embrace the flexibility and convenience that comes with leveraging the built-in microphone, and unleash the full potential of your MacBook Pro for all your audio input needs.


