Introduction
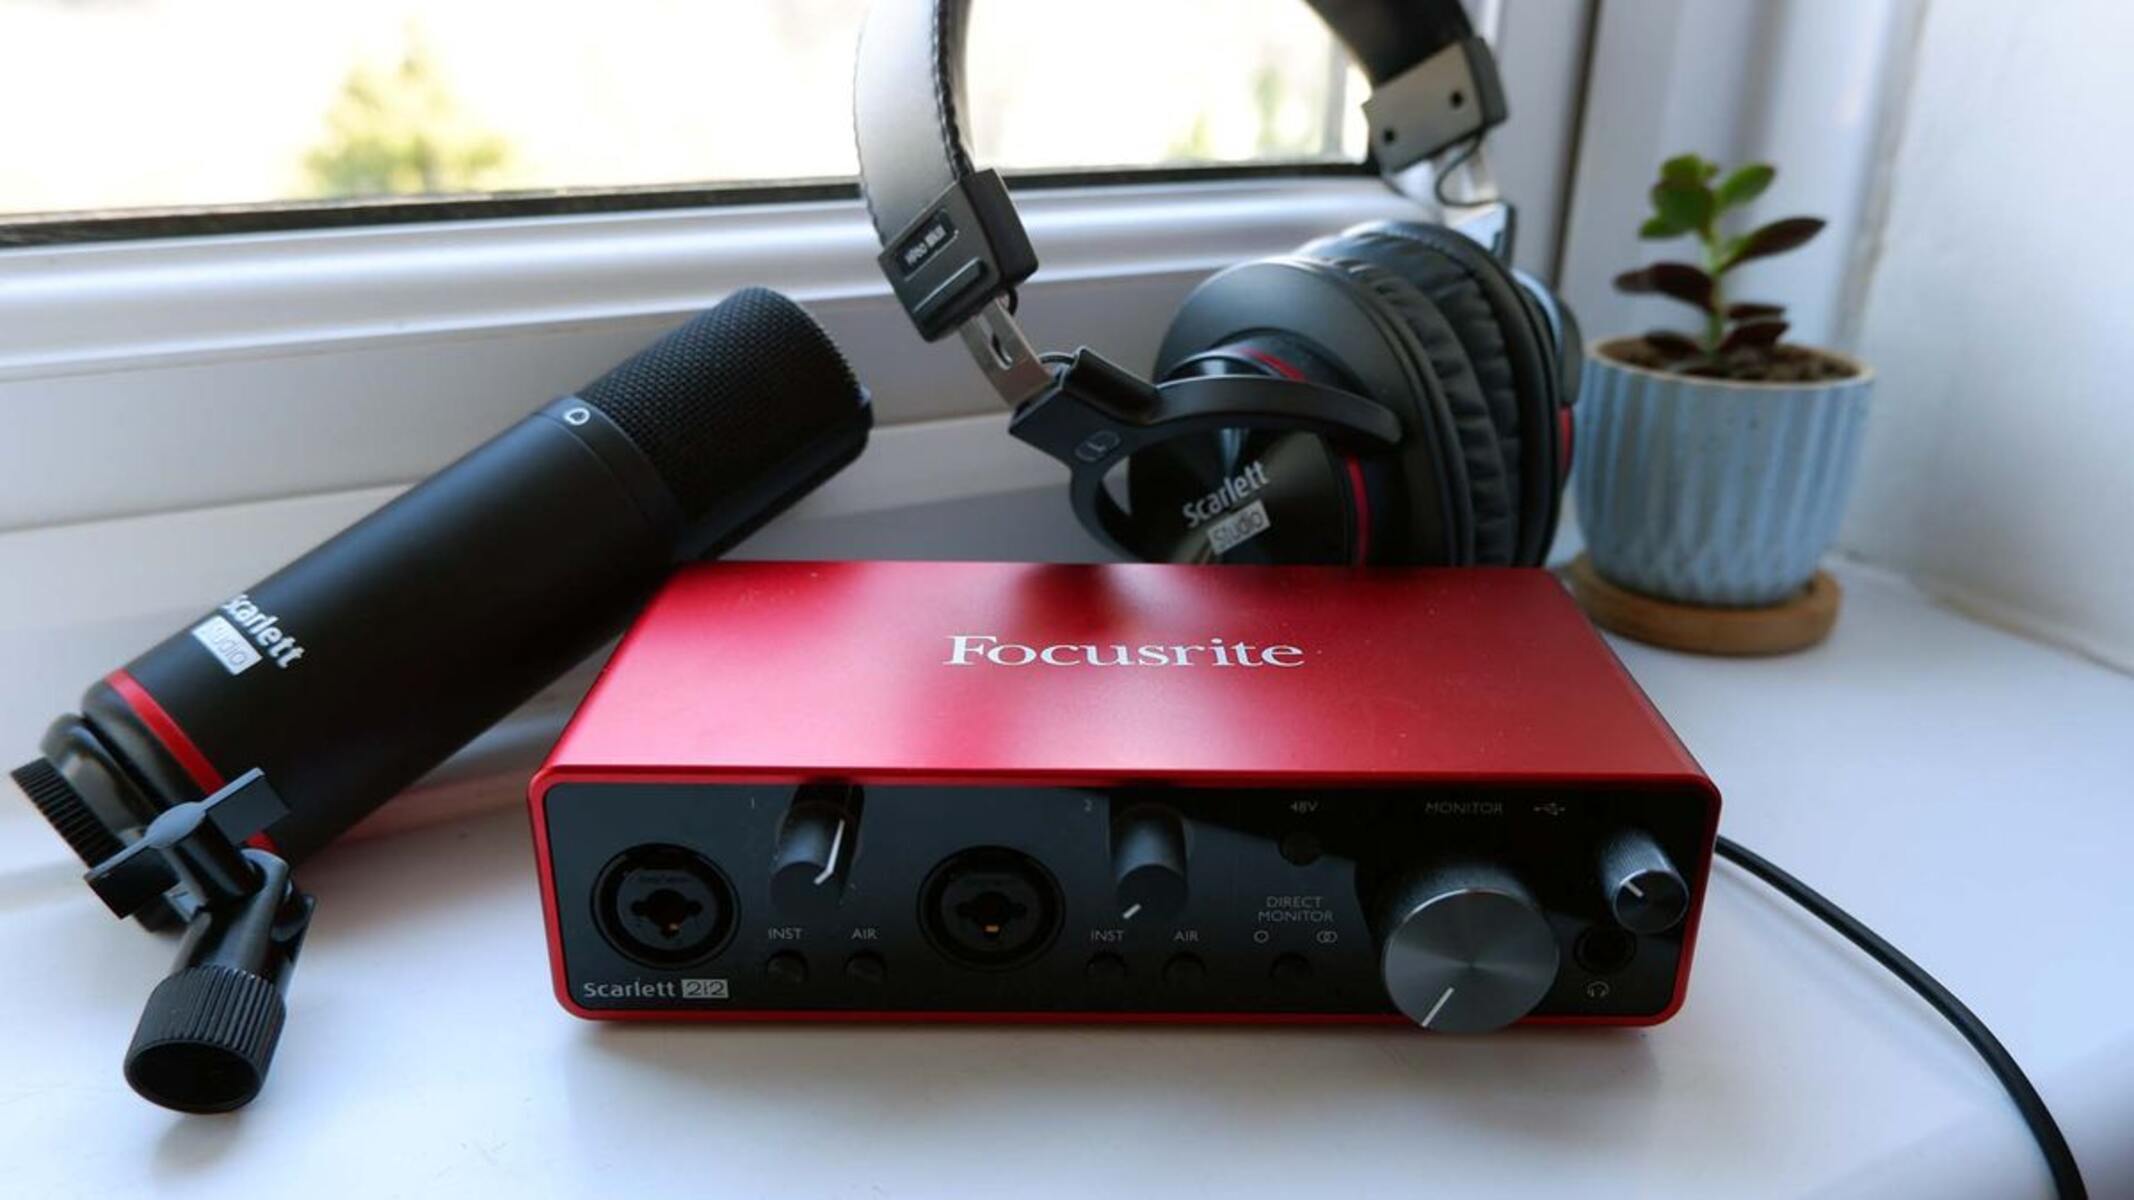
So, you've got a brand-new gaming headset and a Focusrite Scarlett audio interface, and you're ready to take your gaming experience to the next level. Setting up your gaming headset with the Focusrite Scarlett can significantly enhance your audio quality, providing immersive sound and crystal-clear communication with your fellow gamers. Whether you're a seasoned gamer or just starting, this guide will walk you through the process of unboxing, connecting, and configuring your gaming headset with the Focusrite Scarlett, ensuring that you get the most out of your gaming setup.
Having a high-quality gaming headset is essential for fully immersing yourself in the gaming world. It allows you to hear every detail, from the subtle footsteps of an approaching enemy to the epic soundtrack of your favorite game. The Focusrite Scarlett audio interface serves as the bridge between your gaming headset and your computer, translating the audio signals and delivering exceptional sound quality. By setting up your gaming headset with the Focusrite Scarlett, you can enjoy a richer and more immersive gaming experience, giving you a competitive edge and enhancing your overall enjoyment.
In this guide, we'll cover everything from unboxing your gaming headset and Focusrite Scarlett to configuring the settings on your computer. By the end of this tutorial, you'll be ready to dive into your favorite games with superior audio performance and seamless communication. So, let's get started and unlock the full potential of your gaming headset with the Focusrite Scarlett!
Step 1: Unboxing Your Gaming Headset and Focusrite Scarlett
Before you can set up your gaming headset with the Focusrite Scarlett, you need to unbox both the gaming headset and the audio interface. Unboxing your new equipment can be an exciting experience, and it’s essential to handle everything with care to ensure that all components are in pristine condition.
Start by carefully unpacking your gaming headset from its box. Depending on the model, you may find additional accessories such as detachable microphones, audio cables, and user manuals. Take a moment to familiarize yourself with the various components and make sure everything is included as per the manufacturer’s specifications.
Next, it’s time to unbox the Focusrite Scarlett audio interface. The Scarlett series is known for its sleek design and robust build quality. As you unbox the Scarlett, you’ll typically find the audio interface itself, a USB cable for connecting to your computer, and any additional accessories that may come with the specific model you’ve purchased.
Once you’ve unboxed both the gaming headset and the Focusrite Scarlett, take a moment to inspect each item for any signs of damage or defects. It’s crucial to address any issues with the retailer promptly, especially if you notice any physical damage or missing components.
With everything unboxed and accounted for, you’re one step closer to setting up your gaming headset with the Focusrite Scarlett. The unboxing process sets the stage for the next steps, where you’ll connect your gaming headset to the audio interface and configure the settings for an optimal gaming experience.
Step 2: Connecting Your Gaming Headset to the Focusrite Scarlett
Now that you’ve unboxed your gaming headset and the Focusrite Scarlett, it’s time to connect the two devices to begin harnessing the power of high-quality audio in your gaming experience. The Focusrite Scarlett serves as the intermediary between your gaming headset and your computer, providing superior audio processing and connectivity. Follow these steps to seamlessly connect your gaming headset to the Focusrite Scarlett:
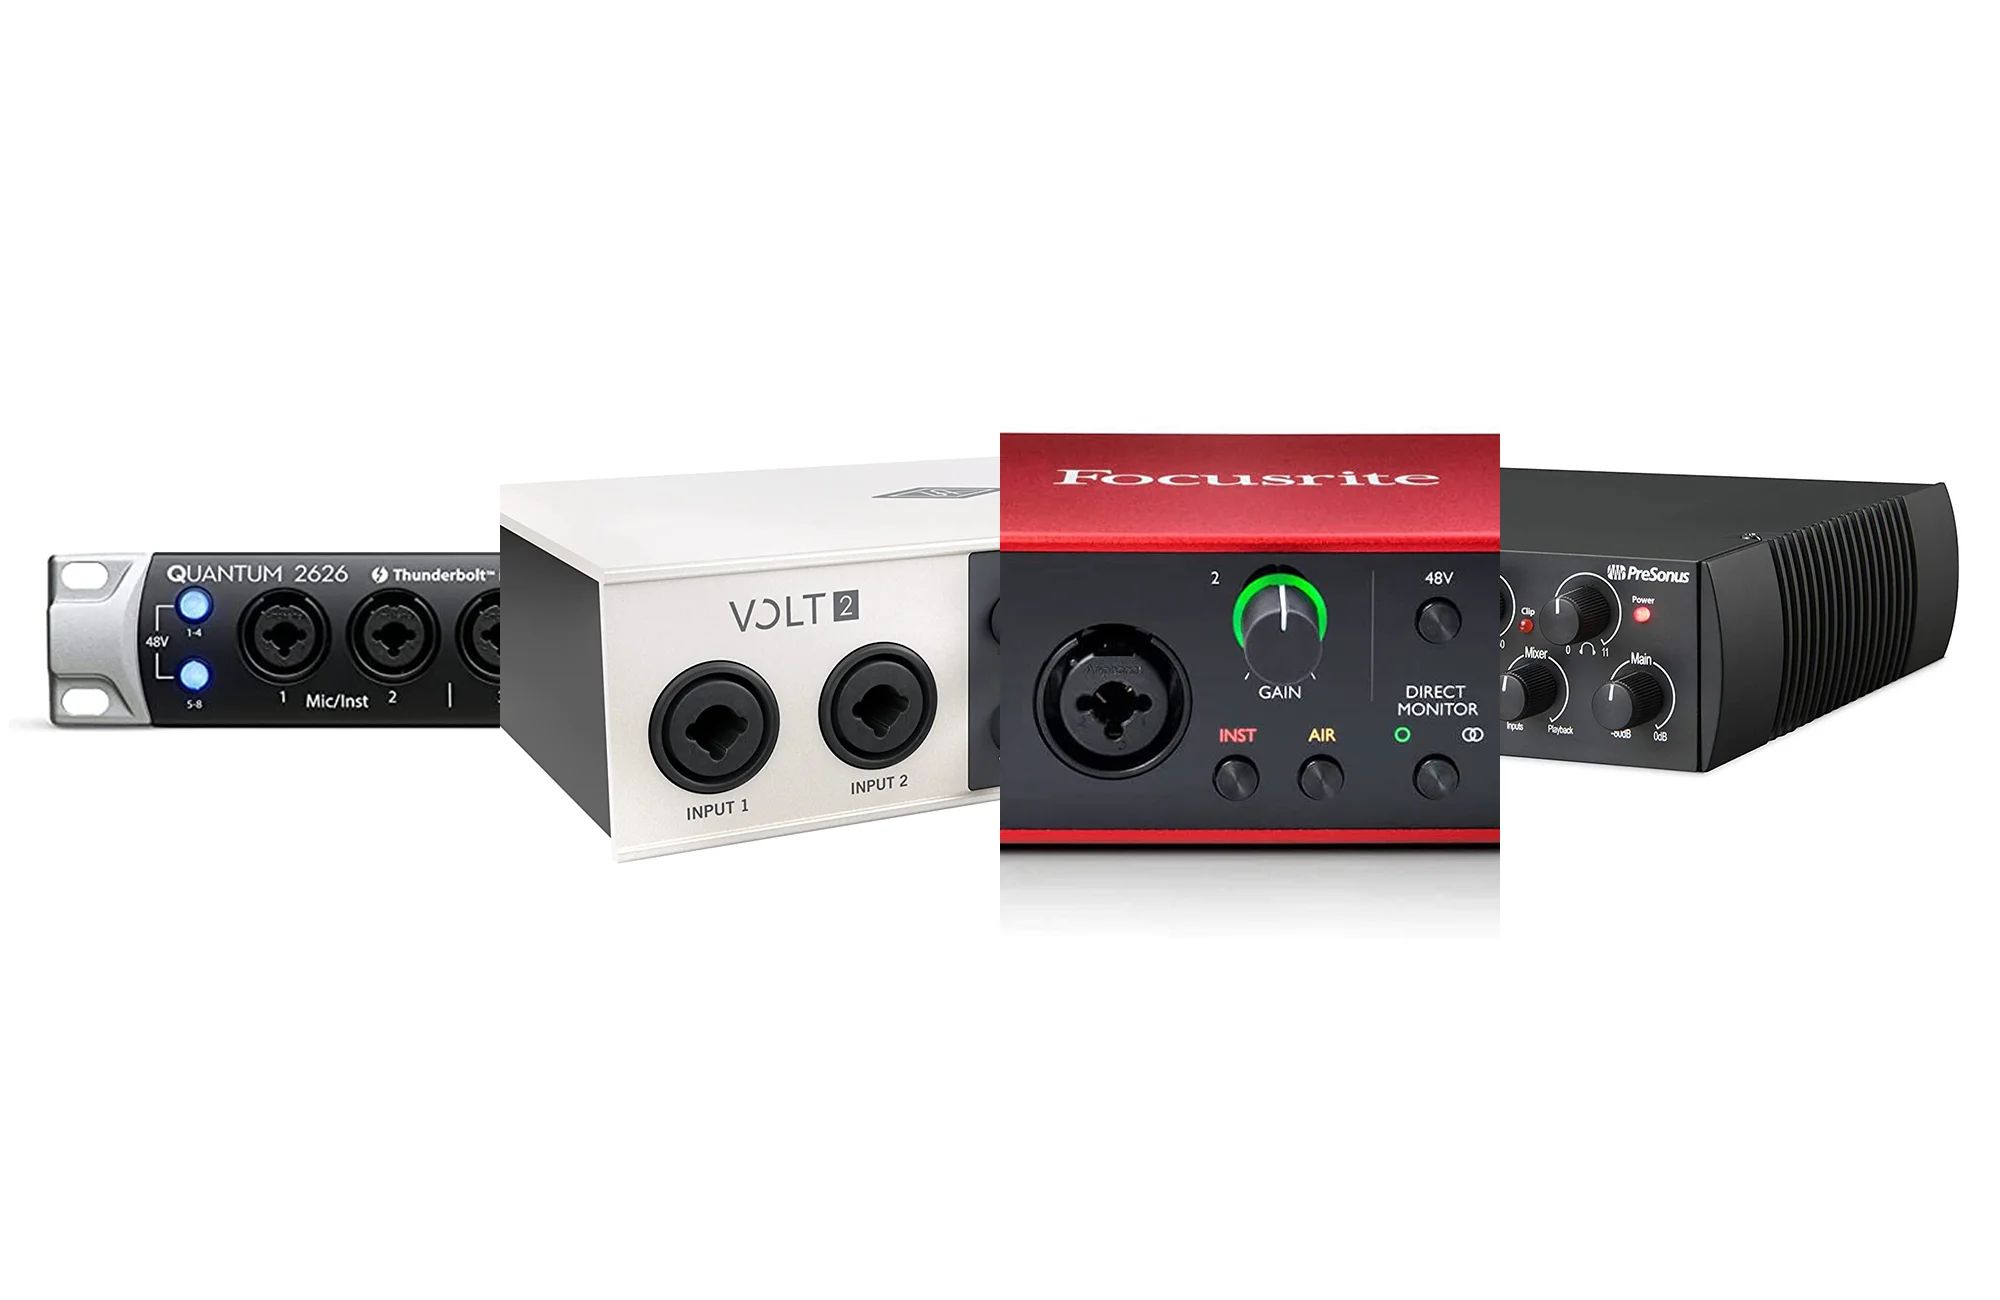
- Locate the Audio Inputs: The Focusrite Scarlett audio interface typically features combination inputs that support both XLR and 1/4″ TRS connections. Identify the appropriate input for your gaming headset, considering whether it uses a 3.5mm audio jack, USB, or other connection types.
- Connect the Gaming Headset: Depending on your gaming headset’s connection options, use the suitable cable or adapter to connect it to the designated input on the Focusrite Scarlett. Ensure a secure connection to prevent audio interruptions during your gaming sessions.
- Adjust Input Settings: Once your gaming headset is connected, access the Focusrite Control software or hardware interface to configure the input settings. You may need to adjust the gain, phantom power, or input type to optimize the audio signal from your gaming headset.
- Test the Connection: After connecting your gaming headset to the Focusrite Scarlett, perform a quick audio test to ensure that the audio signals are being processed correctly. Play some music or a game soundtrack and listen for any distortions or irregularities in the audio output.
By successfully connecting your gaming headset to the Focusrite Scarlett, you’re now poised to experience immersive audio quality and precise communication during your gaming sessions. The seamless integration of your gaming headset with the audio interface sets the stage for the next steps, where you’ll configure the settings on your computer to fully optimize your gaming audio experience.
Step 3: Configuring Your Gaming Headset in Your Computer Settings
With your gaming headset connected to the Focusrite Scarlett, the next crucial step is to configure the audio settings on your computer to ensure seamless integration and optimal performance. Whether you’re using a Windows PC or a Mac, adjusting the computer settings can significantly enhance your gaming audio experience. Follow these steps to configure your gaming headset in your computer settings:
- Access Sound Settings: On your computer, navigate to the sound settings or audio devices menu. This can typically be found in the system settings or control panel, depending on your operating system.
- Select Default Playback Device: Identify your gaming headset among the list of available playback devices and set it as the default audio output. This ensures that all audio from your games and applications is routed through your gaming headset via the Focusrite Scarlett.
- Adjust Audio Levels: Fine-tune the volume and audio levels for your gaming headset to achieve a comfortable and immersive audio experience. You may also have the option to configure advanced audio settings, such as equalization and spatial audio effects, based on your preferences.
- Configure Microphone Settings: If your gaming headset features a built-in microphone or a detachable mic, navigate to the microphone settings on your computer. Adjust the input levels, noise cancellation, and other microphone properties to ensure clear and crisp communication with your teammates during gaming sessions.
- Test the Configuration: Once you’ve configured the audio and microphone settings, test the setup by launching your favorite game or multimedia content. Verify that the audio is being routed through your gaming headset and that the microphone is capturing your voice accurately without any issues.
By meticulously configuring your gaming headset in your computer settings, you’re poised to experience immersive audio and seamless communication during your gaming adventures. The seamless integration of your gaming headset with the computer settings, combined with the audio processing capabilities of the Focusrite Scarlett, sets the stage for an unparalleled gaming audio experience.
Step 4: Testing Your Gaming Headset with Focusrite Scarlett
After unboxing, connecting, and configuring your gaming headset with the Focusrite Scarlett, it’s time to put your setup to the test and ensure that everything is functioning as intended. Testing your gaming headset with the audio interface allows you to verify the audio quality, microphone performance, and overall functionality before diving into your favorite games. Follow these steps to conduct a comprehensive test of your gaming headset with the Focusrite Scarlett:
- Audio Playback Test: Play a variety of audio content, including music, game soundtracks, and multimedia, to gauge the audio quality delivered through your gaming headset. Listen for clarity, depth of sound, and the ability to discern subtle audio details that contribute to an immersive gaming experience.
- Microphone Test: Utilize voice communication applications or in-game chat features to test the microphone performance of your gaming headset. Speak into the microphone and solicit feedback from friends or teammates to ensure that your voice comes through clearly and without distortion.
- Audio Recording Test: If your gaming headset features a microphone, consider recording a brief audio clip to assess the recording quality and the absence of any unwanted background noise or interference.
- Gameplay Test: Launch your favorite games and engage in gameplay to experience the full potential of your gaming headset with the Focusrite Scarlett. Pay attention to the spatial audio, directional cues, and overall immersion facilitated by the audio interface and your headset.
- Adjustments and Fine-Tuning: Based on the test results, make any necessary adjustments to the audio settings, microphone properties, or equalization to optimize the performance of your gaming headset with the Focusrite Scarlett.
By thoroughly testing your gaming headset with the Focusrite Scarlett, you can ensure that your setup delivers exceptional audio quality, precise communication, and an immersive gaming experience. The testing phase allows you to address any potential issues and fine-tune the settings to achieve the optimal audio performance, setting the stage for countless hours of enjoyable gaming with superior audio fidelity.
Conclusion
Congratulations! You’ve successfully set up your gaming headset with the Focusrite Scarlett, unlocking a world of immersive audio and crystal-clear communication for your gaming endeavors. By following the steps outlined in this guide, you’ve unboxed, connected, configured, and tested your gaming headset with the audio interface, ensuring that you’re ready to embark on thrilling gaming experiences with unparalleled audio quality.
With your gaming headset seamlessly integrated with the Focusrite Scarlett, you can now revel in the rich soundscapes of your favorite games, from the thunderous explosions to the subtle ambient sounds that add depth to your gaming environment. The precise communication facilitated by your gaming headset’s microphone, combined with the audio processing capabilities of the Focusrite Scarlett, sets the stage for seamless teamwork and engaging interactions with fellow gamers.
As you venture into the gaming world with your newly optimized audio setup, remember to periodically revisit the settings to fine-tune and personalize your audio experience. Whether it’s adjusting the audio levels, experimenting with equalization, or exploring advanced audio effects, the flexibility of your gaming headset and the Focusrite Scarlett allows you to tailor your audio experience to your preferences.
By investing time in setting up your gaming headset with the Focusrite Scarlett, you’ve elevated the audio quality of your gaming setup, immersing yourself in the captivating worlds of your favorite games with enhanced fidelity and precision. Embrace the power of high-quality audio as you embark on epic quests, competitive battles, and cooperative missions, knowing that every sonic detail is faithfully reproduced through your meticulously configured gaming headset and the Focusrite Scarlett audio interface.
Now, armed with superior audio performance and seamless communication, you’re ready to conquer new challenges, forge lasting alliances, and savor every moment of your gaming adventures with an audio experience that truly elevates your gameplay.


