Introduction
Introduction
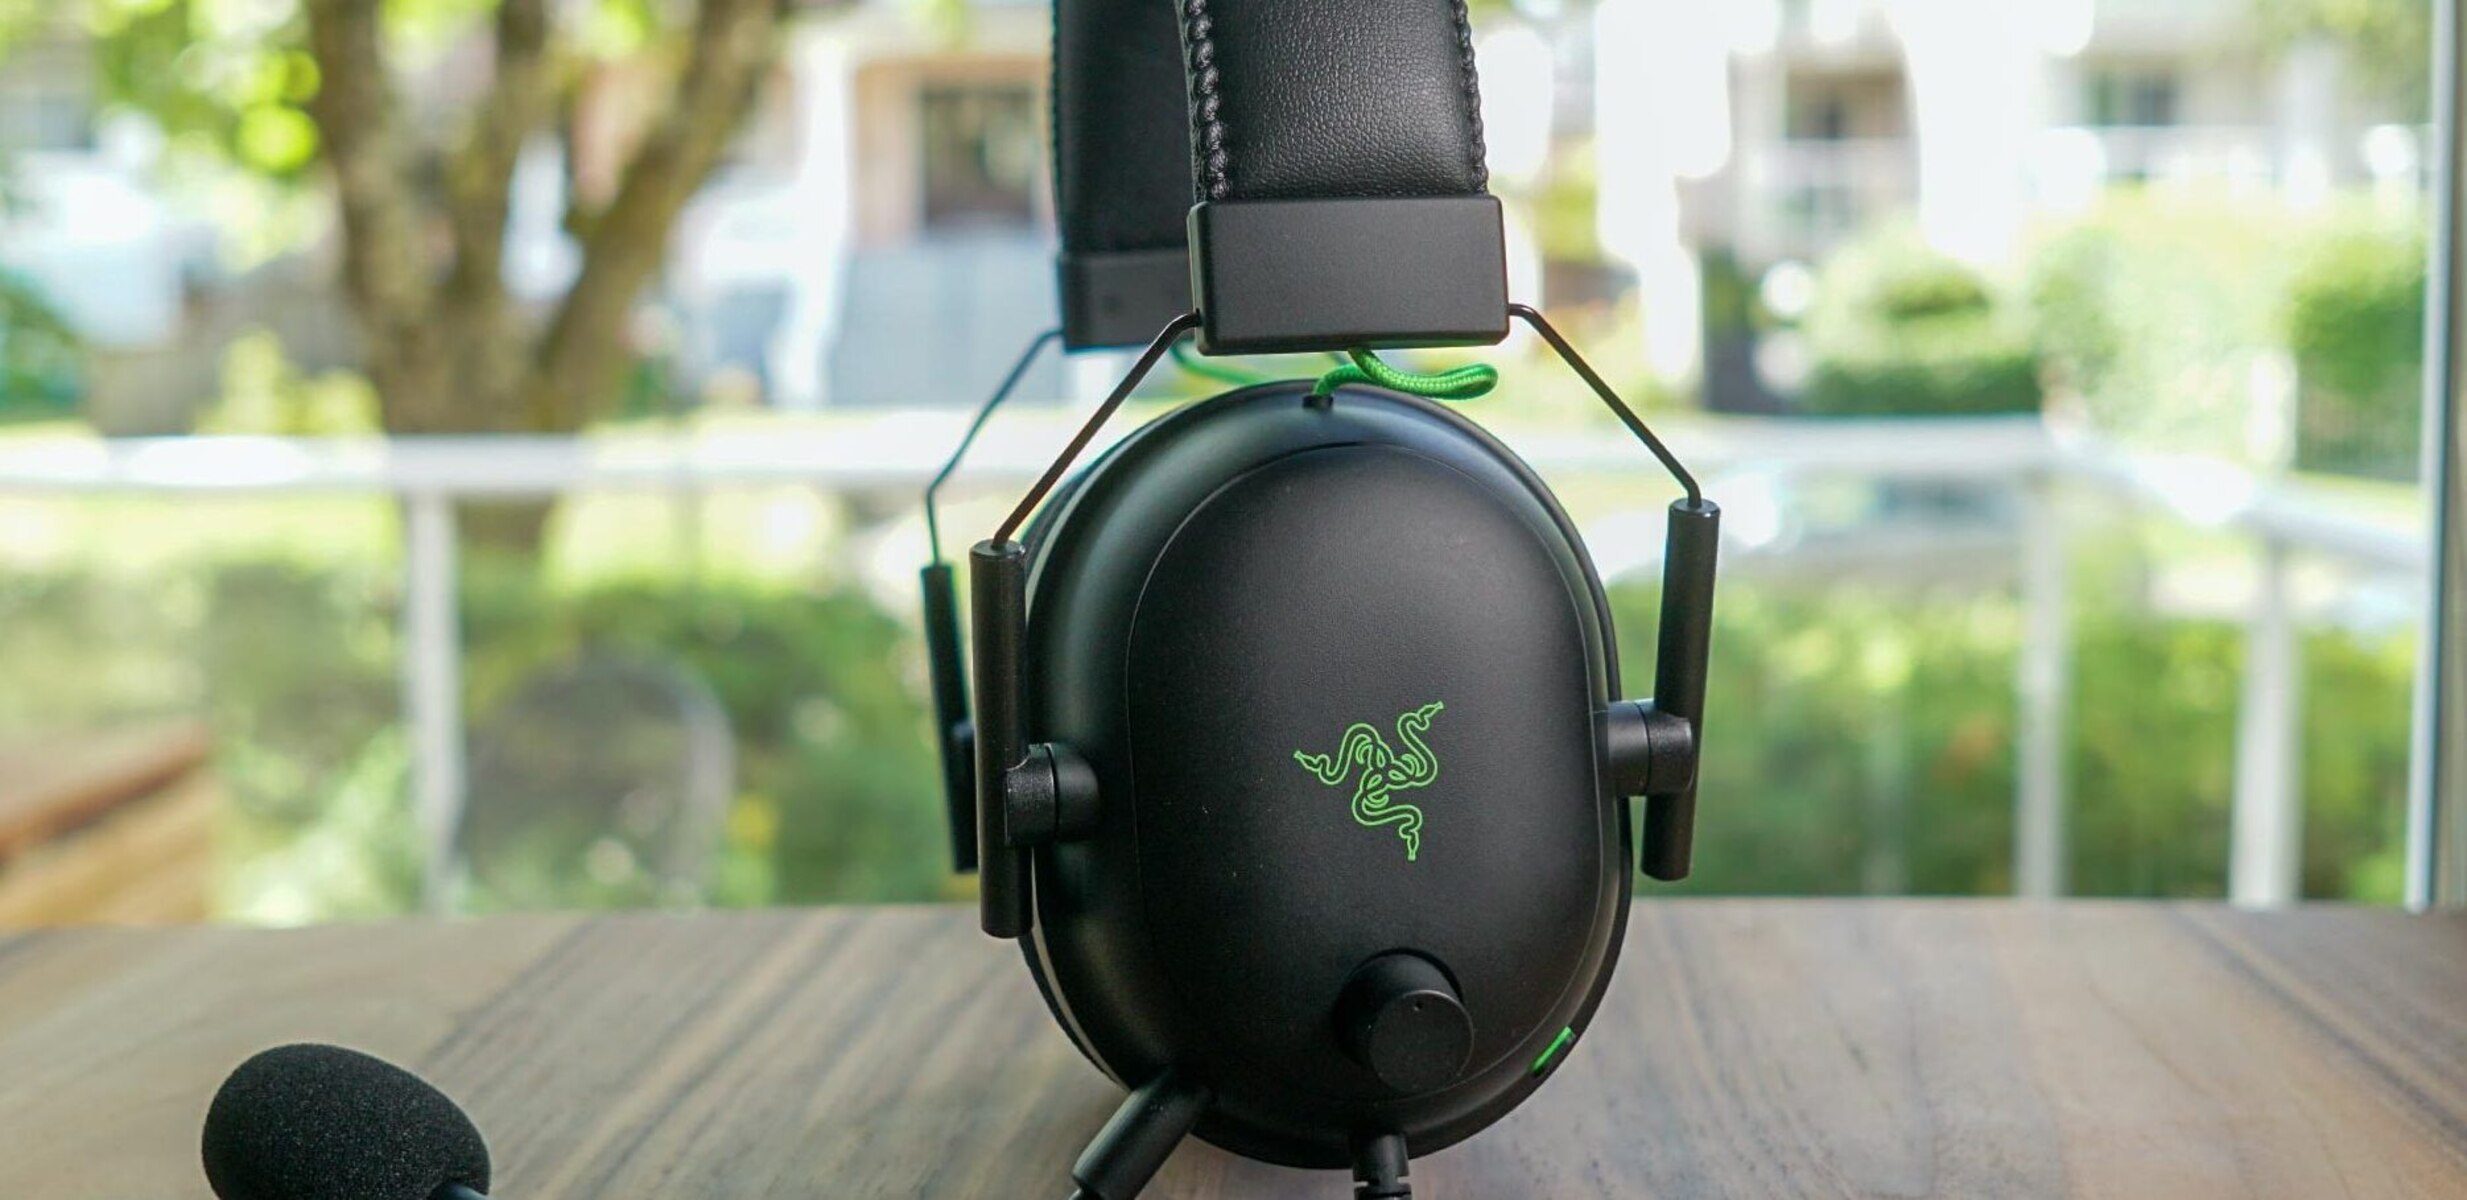
Gaming headsets are essential accessories for any avid gamer, providing immersive audio and clear communication with fellow players. However, like any electronic device, they are susceptible to wear and tear over time. Whether it's a loose cable, malfunctioning microphone, or worn-out ear pads, knowing how to troubleshoot and repair your gaming headset can save you both time and money. In this guide, we'll explore the common issues that gamers encounter with their headsets and provide step-by-step instructions on how to address and resolve these issues effectively.
A malfunctioning headset can be a frustrating obstacle to an enjoyable gaming experience. When faced with headset problems, it's crucial to approach the situation with patience and a systematic troubleshooting process. By understanding the inner workings of your headset and following the appropriate repair techniques, you can extend the lifespan of your device and continue to enjoy high-quality audio and seamless communication during gaming sessions.
Throughout this guide, we'll cover various aspects of headset repair, from assessing the problem to cleaning the headset, checking the cables, replacing the ear pads, fixing the microphone, and testing the repairs. By the end of this comprehensive tutorial, you'll be equipped with the knowledge and skills to tackle common headset issues with confidence, ensuring that your gaming headset remains in optimal condition for countless gaming adventures.
So, let's dive into the world of gaming headset repair and discover the practical solutions that will help you restore your headset to its former glory. Whether you're a casual gamer or a competitive esports enthusiast, mastering the art of headset maintenance and repair is a valuable skill that can enhance your gaming experience and prolong the lifespan of your beloved gaming accessory. Let's embark on this repair journey and equip ourselves with the expertise needed to overcome headset challenges and get back to gaming with crystal-clear audio and seamless communication.
Assessing the Problem
Before diving into the repair process, it’s essential to accurately assess the issues plaguing your gaming headset. Common problems include audio irregularities, microphone malfunctions, and physical wear and tear. By conducting a thorough assessment, you can pinpoint the specific areas that require attention and determine the most effective course of action.
Identifying Audio Issues:
When troubleshooting audio problems, pay close attention to the sound quality and balance in both ear cups. Uneven volume, crackling sounds, or complete audio loss in one or both sides indicate potential issues with the headset’s internal wiring, speaker components, or audio jacks. Additionally, distorted or muffled audio may stem from debris accumulation or damaged ear pads.
Evaluating Microphone Functionality:
If your headset features a microphone, test its functionality by recording audio and assessing the clarity and consistency of the sound. Common microphone issues include distorted or muffled transmission, intermittent audio input, or complete microphone failure. These problems can arise from damaged microphone components, loose connections, or software configuration issues.
Inspecting Physical Wear:
Physical wear and tear manifest as visible damage to the headset’s exterior, including frayed cables, cracked casings, or worn-out ear pads. Additionally, loose or damaged cable connections can lead to audio and microphone irregularities. By thoroughly examining the headset for physical damage, you can address these issues proactively and prevent further deterioration.
Once you’ve identified the specific problems affecting your gaming headset, you’ll be better equipped to proceed with the appropriate repair techniques. In the following sections, we’ll delve into the step-by-step processes for cleaning the headset, checking the cables, replacing the ear pads, fixing the microphone, and testing the repairs. By systematically addressing each aspect of headset maintenance and repair, you can restore your gaming headset to optimal functionality and immerse yourself in uninterrupted gaming experiences.
Cleaning the Headset
Regular cleaning is essential for maintaining the optimal performance and hygiene of your gaming headset. Over time, dust, sweat, and debris can accumulate on the ear pads, causing discomfort and compromising audio quality. Additionally, the microphone and audio jacks may collect dirt and grime, affecting their functionality. By incorporating a simple cleaning routine into your headset maintenance, you can prolong its lifespan and ensure a pristine gaming experience.
Materials Needed:
- Clean, lint-free microfiber cloth
- Mild liquid soap or specialized headset cleaning solution
- Cotton swabs
- Compressed air duster (optional)
Cleaning the Ear Pads:
Begin by removing the ear pads from the headset, following the manufacturer’s instructions if necessary. Use a clean, lint-free microfiber cloth lightly dampened with water and a small amount of mild liquid soap to gently wipe the surface of the ear pads. Avoid saturating the pads with excess moisture. For leather or faux leather ear pads, consider using a specialized headset cleaning solution for optimal care. Once cleaned, allow the ear pads to air dry completely before reattaching them to the headset.
Sanitizing the Headband and Casing:
Using a clean microfiber cloth and mild soap solution, wipe the headband and casing of the headset to remove any accumulated dirt, sweat, or oils. For hard-to-reach areas and crevices, lightly moisten a cotton swab with the cleaning solution and gently maneuver it to dislodge debris. If available, a compressed air duster can be used to remove dust from the nooks and crannies of the headset, ensuring thorough cleanliness.
Cleaning the Microphone and Audio Jacks:
Gently wipe the microphone and audio jacks with a clean, slightly dampened cloth to remove any dirt or residue that may impede their functionality. Exercise caution to avoid applying excessive moisture to these components, and allow them to dry completely before using the headset.
By incorporating these simple cleaning practices into your headset maintenance routine, you can preserve the comfort, audio quality, and longevity of your gaming headset. Clean ear pads and a sanitized headband not only enhance your gaming experience but also contribute to a hygienic and enjoyable gaming environment. With the headset refreshed and free of debris, you can fully immerse yourself in gaming sessions, confident in the optimal performance of your headset.
Checking the Cables
Ensuring the integrity of the cables is crucial in maintaining the functionality and audio quality of your gaming headset. Over time, cables can become frayed, damaged, or disconnected, leading to audio irregularities and microphone malfunctions. By conducting a thorough inspection of the headset’s cables and connectors, you can identify and address potential issues, thereby prolonging the lifespan of your device and optimizing its performance.
Visual Inspection:
Begin by visually examining the entire length of the headset’s cables, paying close attention to areas near the connectors and any points of frequent bending or movement. Look for signs of fraying, exposed wires, or kinks in the cable insulation. Additionally, inspect the connectors for any visible damage or looseness. Identifying these visual cues can provide valuable insights into the condition of the cables and potential areas of concern.
Testing Cable Flexibility:
Gently maneuver the cables, particularly near the connectors and strain relief points, to assess their flexibility and resistance to bending. Excessive stiffness or rigidity in these areas may indicate cable damage or weakened insulation. Conversely, overly loose or wobbly connectors can suggest internal cable disconnections. By gauging the flexibility and structural integrity of the cables, you can pinpoint potential weak points that require attention.
Audio and Microphone Testing:
Connect the headset to a compatible audio source and test the audio output in both ear cups. Listen for any crackling, static, or intermittent sound, which may indicate cable-related issues. Additionally, test the microphone functionality by recording audio and assessing the clarity and consistency of the transmission. Any irregularities in audio or microphone performance during testing can signal potential cable or connector problems.
Cable Maintenance and Care:
To maintain the longevity of the cables, avoid excessive bending, twisting, or pulling, especially near the connectors. When storing the headset, loosely coil the cables to prevent kinks and tangles. Furthermore, periodically inspect and clean the connectors to remove any debris or oxidation that may hinder connectivity.
By conducting a comprehensive assessment of the headset’s cables and connectors, you can proactively address potential issues and preserve the audio integrity and microphone functionality of your gaming headset. In the subsequent sections, we’ll explore the process of replacing the ear pads, fixing the microphone, and testing the repairs, providing a holistic approach to headset maintenance and repair.
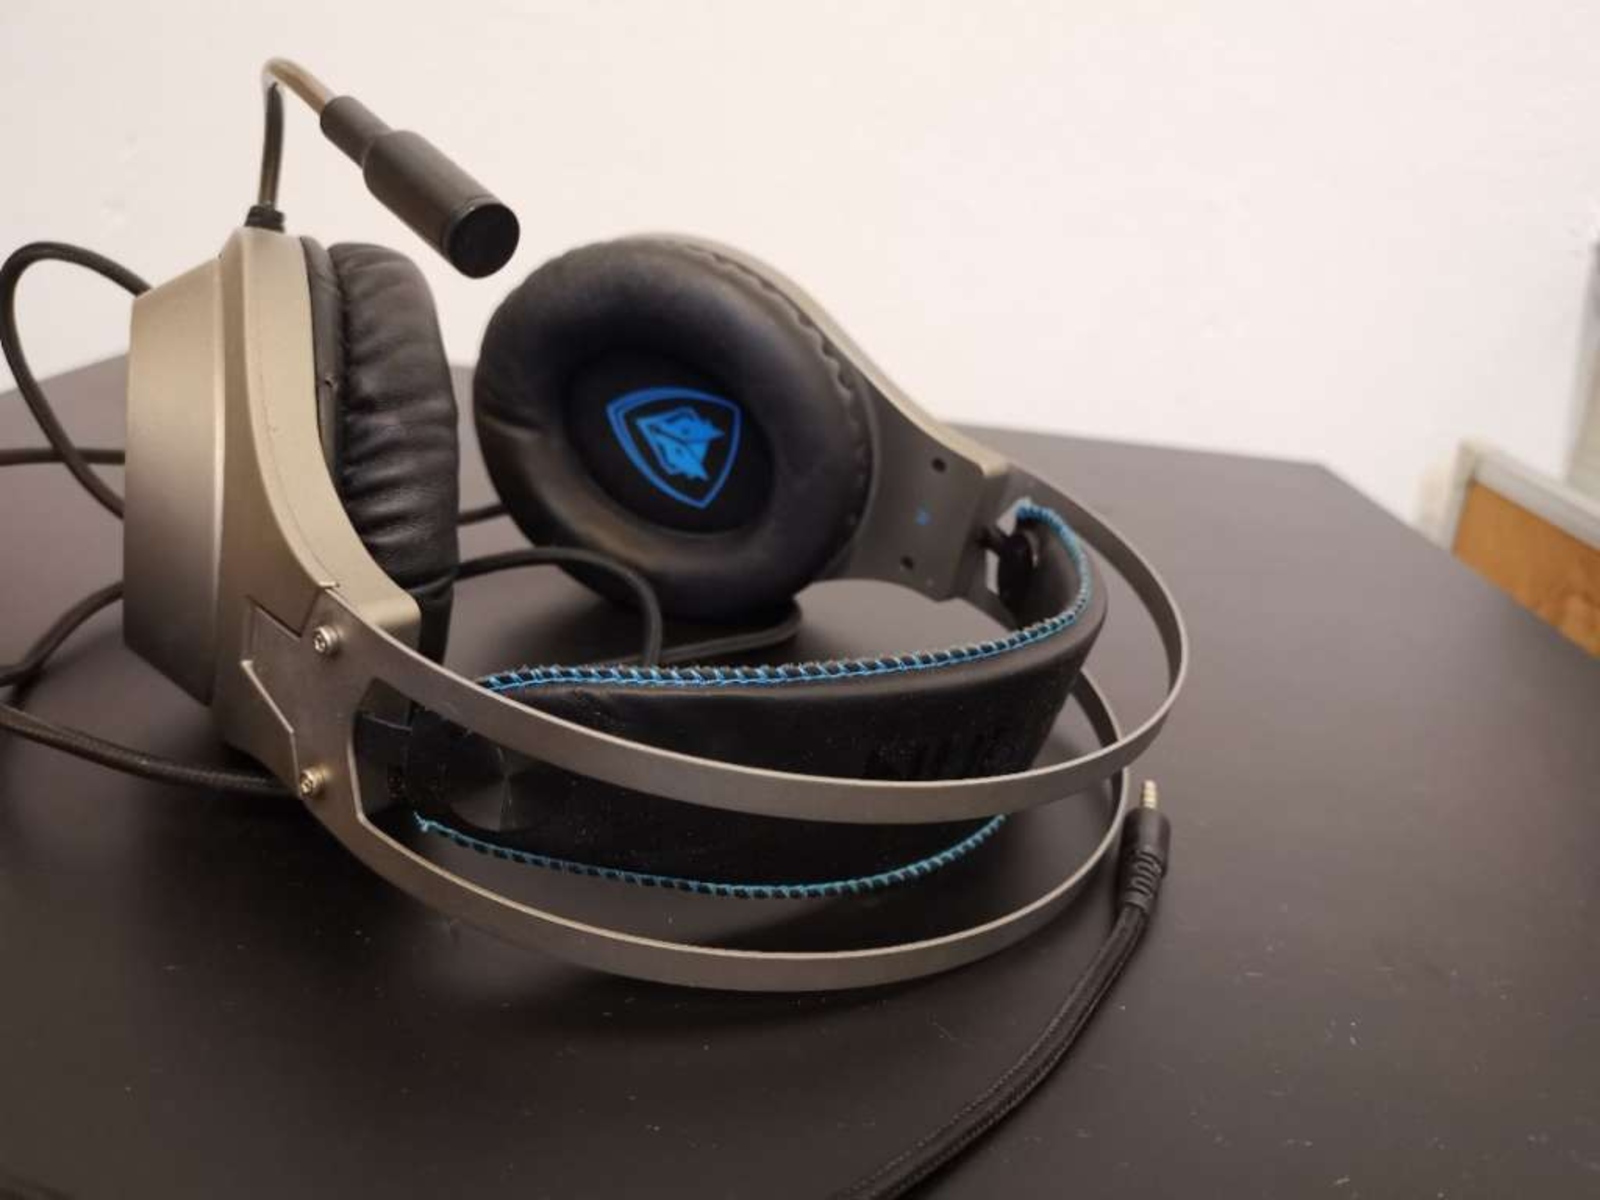
Replacing the Ear Pads
Over time, the ear pads of a gaming headset can experience wear and tear, leading to discomfort and diminished audio quality. Replacing the ear pads is a simple yet effective way to restore comfort and ensure optimal sound isolation during gaming sessions. By following the manufacturer’s guidelines and utilizing compatible replacement ear pads, you can rejuvenate your headset and enhance your overall gaming experience.
Identifying Compatible Ear Pads:
Before purchasing replacement ear pads, ensure that they are compatible with your specific gaming headset model. Manufacturers often offer original replacement parts designed to seamlessly integrate with their headsets, maintaining the intended audio performance and comfort. Alternatively, reputable third-party options may provide compatible ear pads with varying materials and designs to suit your preferences.
Removing the Old Ear Pads:
Refer to the manufacturer’s instructions or online resources for guidance on removing the existing ear pads from your headset. In most cases, the ear pads can be gently detached by carefully maneuvering them from the ear cup mounting points. Exercise caution to avoid damaging the headset’s speakers or internal components during the removal process.
Installing the New Ear Pads:
Align the replacement ear pads with the corresponding mounting points on the headset, ensuring a secure and snug fit. Apply gentle pressure to the edges of the ear pads to affix them in place, taking care to maintain an even and balanced attachment. Verify that the ear pads are properly seated and free from any obstructions that may impede their functionality.
Testing Comfort and Sound Isolation:
After replacing the ear pads, wear the headset and assess the comfort and sound isolation provided by the new ear pads. Ensure that they create a proper seal around your ears, effectively blocking out external noise and enhancing the immersion of the audio experience. Additionally, test the audio quality to confirm that the new ear pads maintain the intended sound signature of the headset.
By replacing worn-out ear pads with compatible replacements, you can revitalize the comfort and audio performance of your gaming headset, allowing for extended gaming sessions without discomfort or compromised sound quality. In the subsequent sections, we’ll explore the process of fixing the microphone, testing the repairs, and ensuring that your gaming headset remains in optimal condition for immersive gaming experiences.
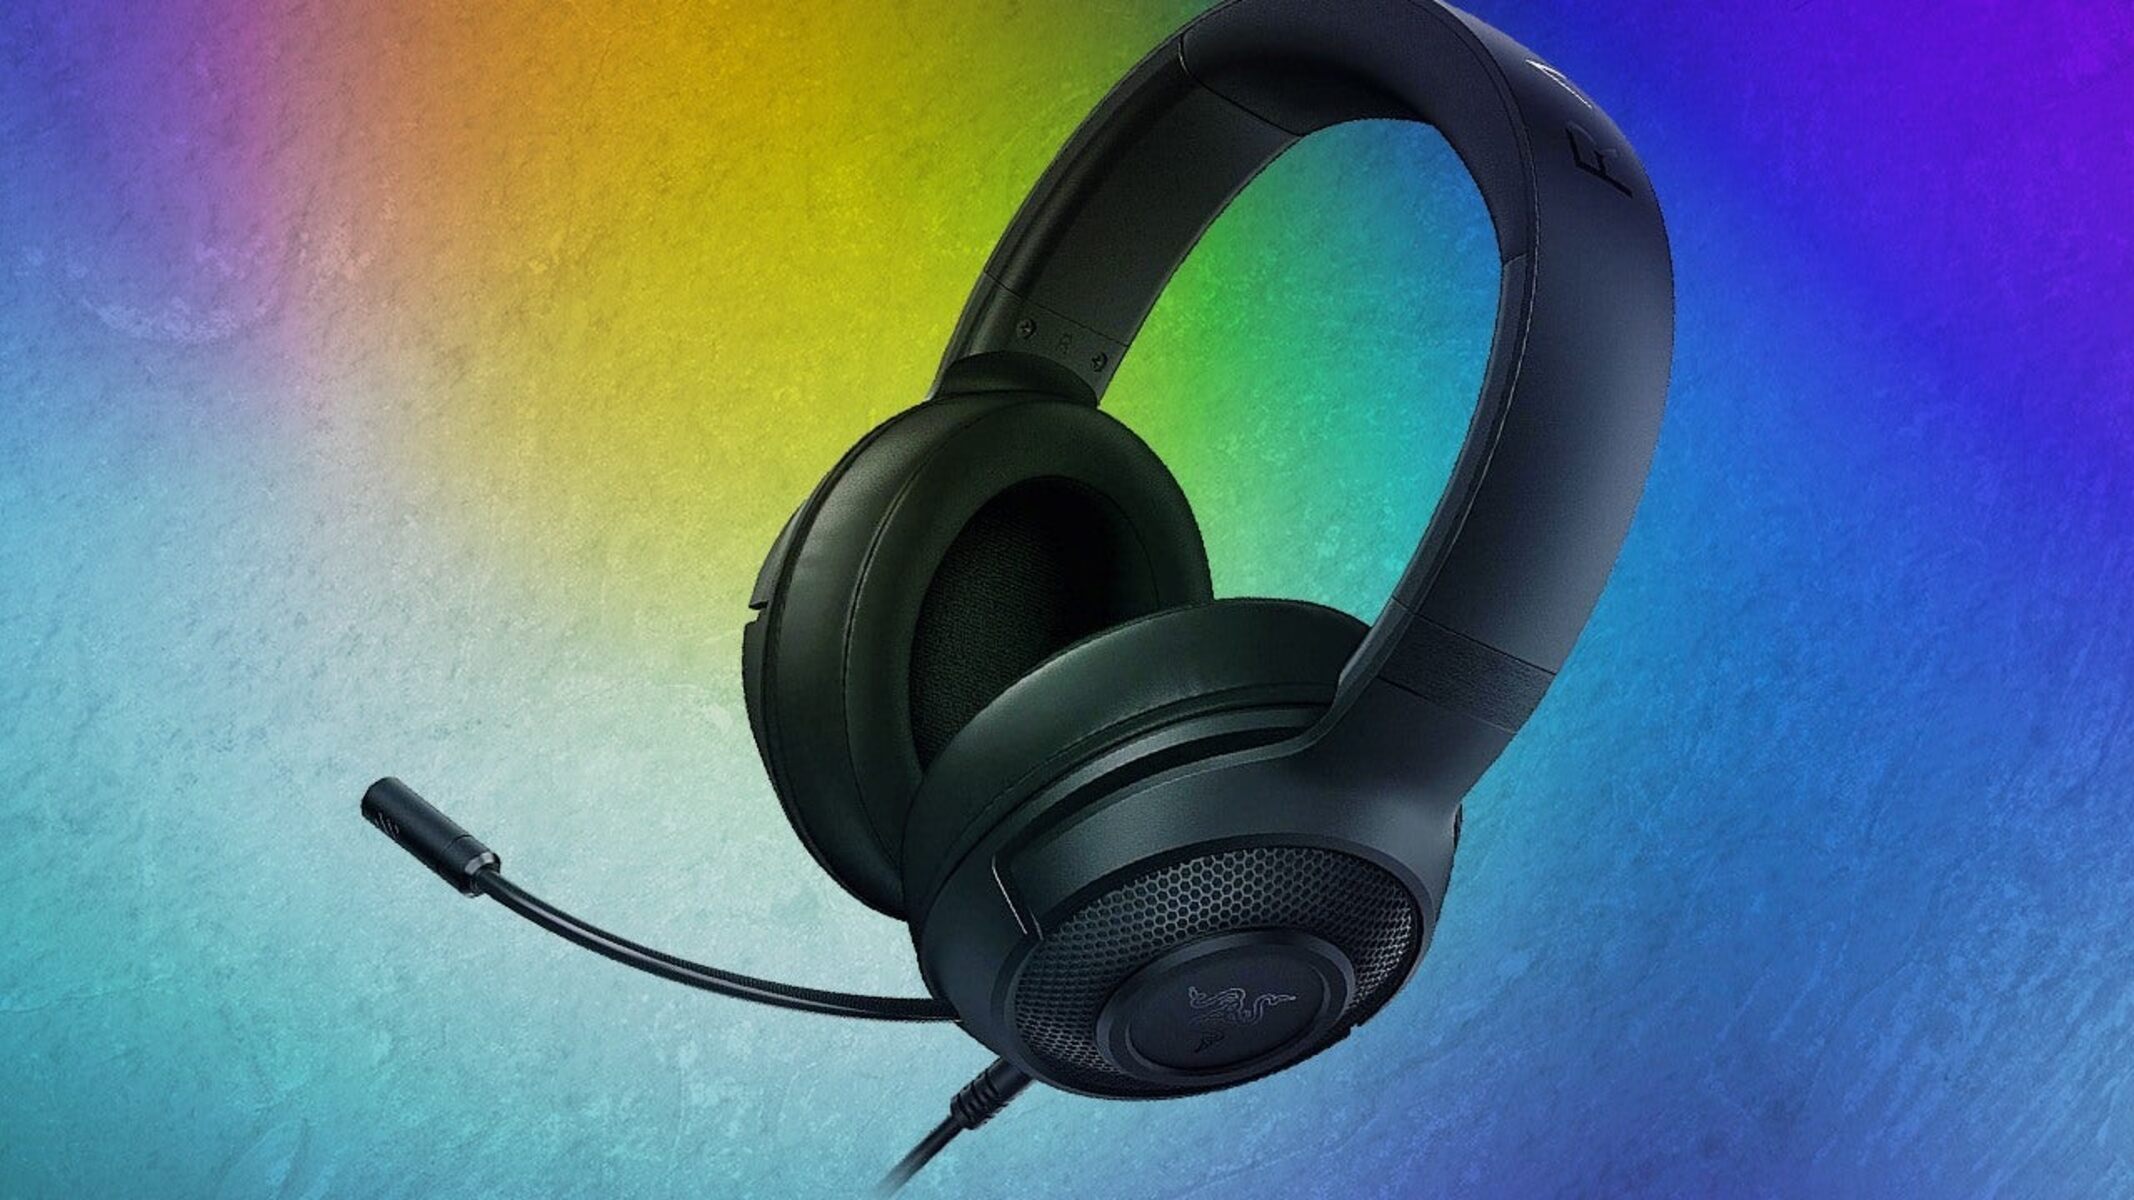
Fixing the Microphone
Ensuring the functionality of the microphone is essential for seamless communication during gaming sessions. If your gaming headset’s microphone is experiencing issues such as distorted audio, intermittent transmission, or complete malfunction, addressing these concerns promptly can enhance your gaming experience. By following specific troubleshooting steps and potential repair techniques, you can restore the microphone’s performance and engage in clear and uninterrupted communication with fellow gamers.
Assessing Connection and Settings:
Begin by verifying that the microphone is securely connected to the headset and that the connector is free from debris or damage. Additionally, check the microphone settings on your gaming platform or computer to ensure that the input levels and permissions are configured correctly. Software-related issues can sometimes impact microphone functionality and can be addressed through system settings or driver updates.
Inspecting the Microphone Boom:
If your headset features an adjustable microphone boom, examine it for any signs of physical damage, such as bends, kinks, or loose connections. Ensure that the microphone boom is positioned correctly and that the adjustable components function smoothly. Any irregularities in the microphone boom’s structure can affect its performance and may require adjustments or repairs.
Testing Microphone Input:
Record a sample of your voice using the headset’s microphone and assess the clarity, volume, and consistency of the audio input. Listen for any distortion, static, or intermittent transmission that may indicate underlying issues. Additionally, test the microphone in various applications or games to gauge its performance across different scenarios.
Microphone Component Replacement:
If the microphone continues to exhibit irregularities after troubleshooting, consider the possibility of a faulty microphone component. Depending on the headset’s design, the microphone assembly may be replaceable, allowing for a straightforward swap of the defective component with a compatible replacement. Refer to the manufacturer’s guidelines or seek professional assistance for component-level repairs if necessary.
By addressing microphone issues proactively and following the appropriate troubleshooting steps, you can restore clear and reliable communication capabilities to your gaming headset. In the subsequent sections, we’ll explore the process of testing the repairs and ensuring that your gaming headset remains in optimal condition for immersive gaming experiences.
Testing the Repairs
After performing the necessary maintenance and repair tasks on your gaming headset, it’s crucial to conduct comprehensive testing to ensure that the identified issues have been effectively addressed. Testing the repairs allows you to verify the functionality of the headset’s audio, microphone, and overall performance, providing confidence in the success of the repair efforts and the readiness of the headset for immersive gaming experiences.
Audio Playback Testing:
Connect the headset to a compatible audio source and play various types of audio content, including music, game soundtracks, and dialogue-heavy segments. Listen for balanced audio output in both ear cups, ensuring that the sound quality is clear, immersive, and free from any previously encountered irregularities such as crackling, static, or imbalanced volume levels. Additionally, test the headset’s surround sound capabilities, if applicable, to gauge the spatial audio performance.
Microphone Performance Testing:
Record and review audio samples using the headset’s microphone, assessing the clarity, volume, and consistency of the transmitted audio. Engage in voice communication with fellow gamers or utilize voice chat applications to confirm that the microphone effectively captures and transmits your voice without distortion, intermittent transmission, or background noise interference. Verify that the microphone boom’s positioning and adjustability maintain optimal transmission quality.
Comfort and Fit Assessment:
Wear the headset for an extended period to evaluate the comfort and fit provided by the repaired components, such as the replaced ear pads or adjusted microphone boom. Ensure that the headset remains comfortable during prolonged use and that the ear pads create a proper seal around your ears, contributing to sound isolation and an immersive audio experience without discomfort or pressure points.
Long-Term Durability Consideration:
As part of the testing process, consider the long-term durability and reliability of the repaired components. Assess the stability of cable connections, the resilience of replaced parts, and the overall structural integrity of the headset. By evaluating the repairs with a focus on long-term performance, you can gain confidence in the headset’s continued functionality and durability.
By systematically testing the repairs and assessing the performance of the gaming headset across various usage scenarios, you can confirm the successful resolution of identified issues and ensure that the headset is ready for uninterrupted gaming experiences. With a renewed focus on audio quality, microphone performance, and overall comfort, your gaming headset is poised to deliver an immersive and reliable gaming experience, allowing you to fully engage in your favorite games with confidence and clarity.