Introduction
Introduction
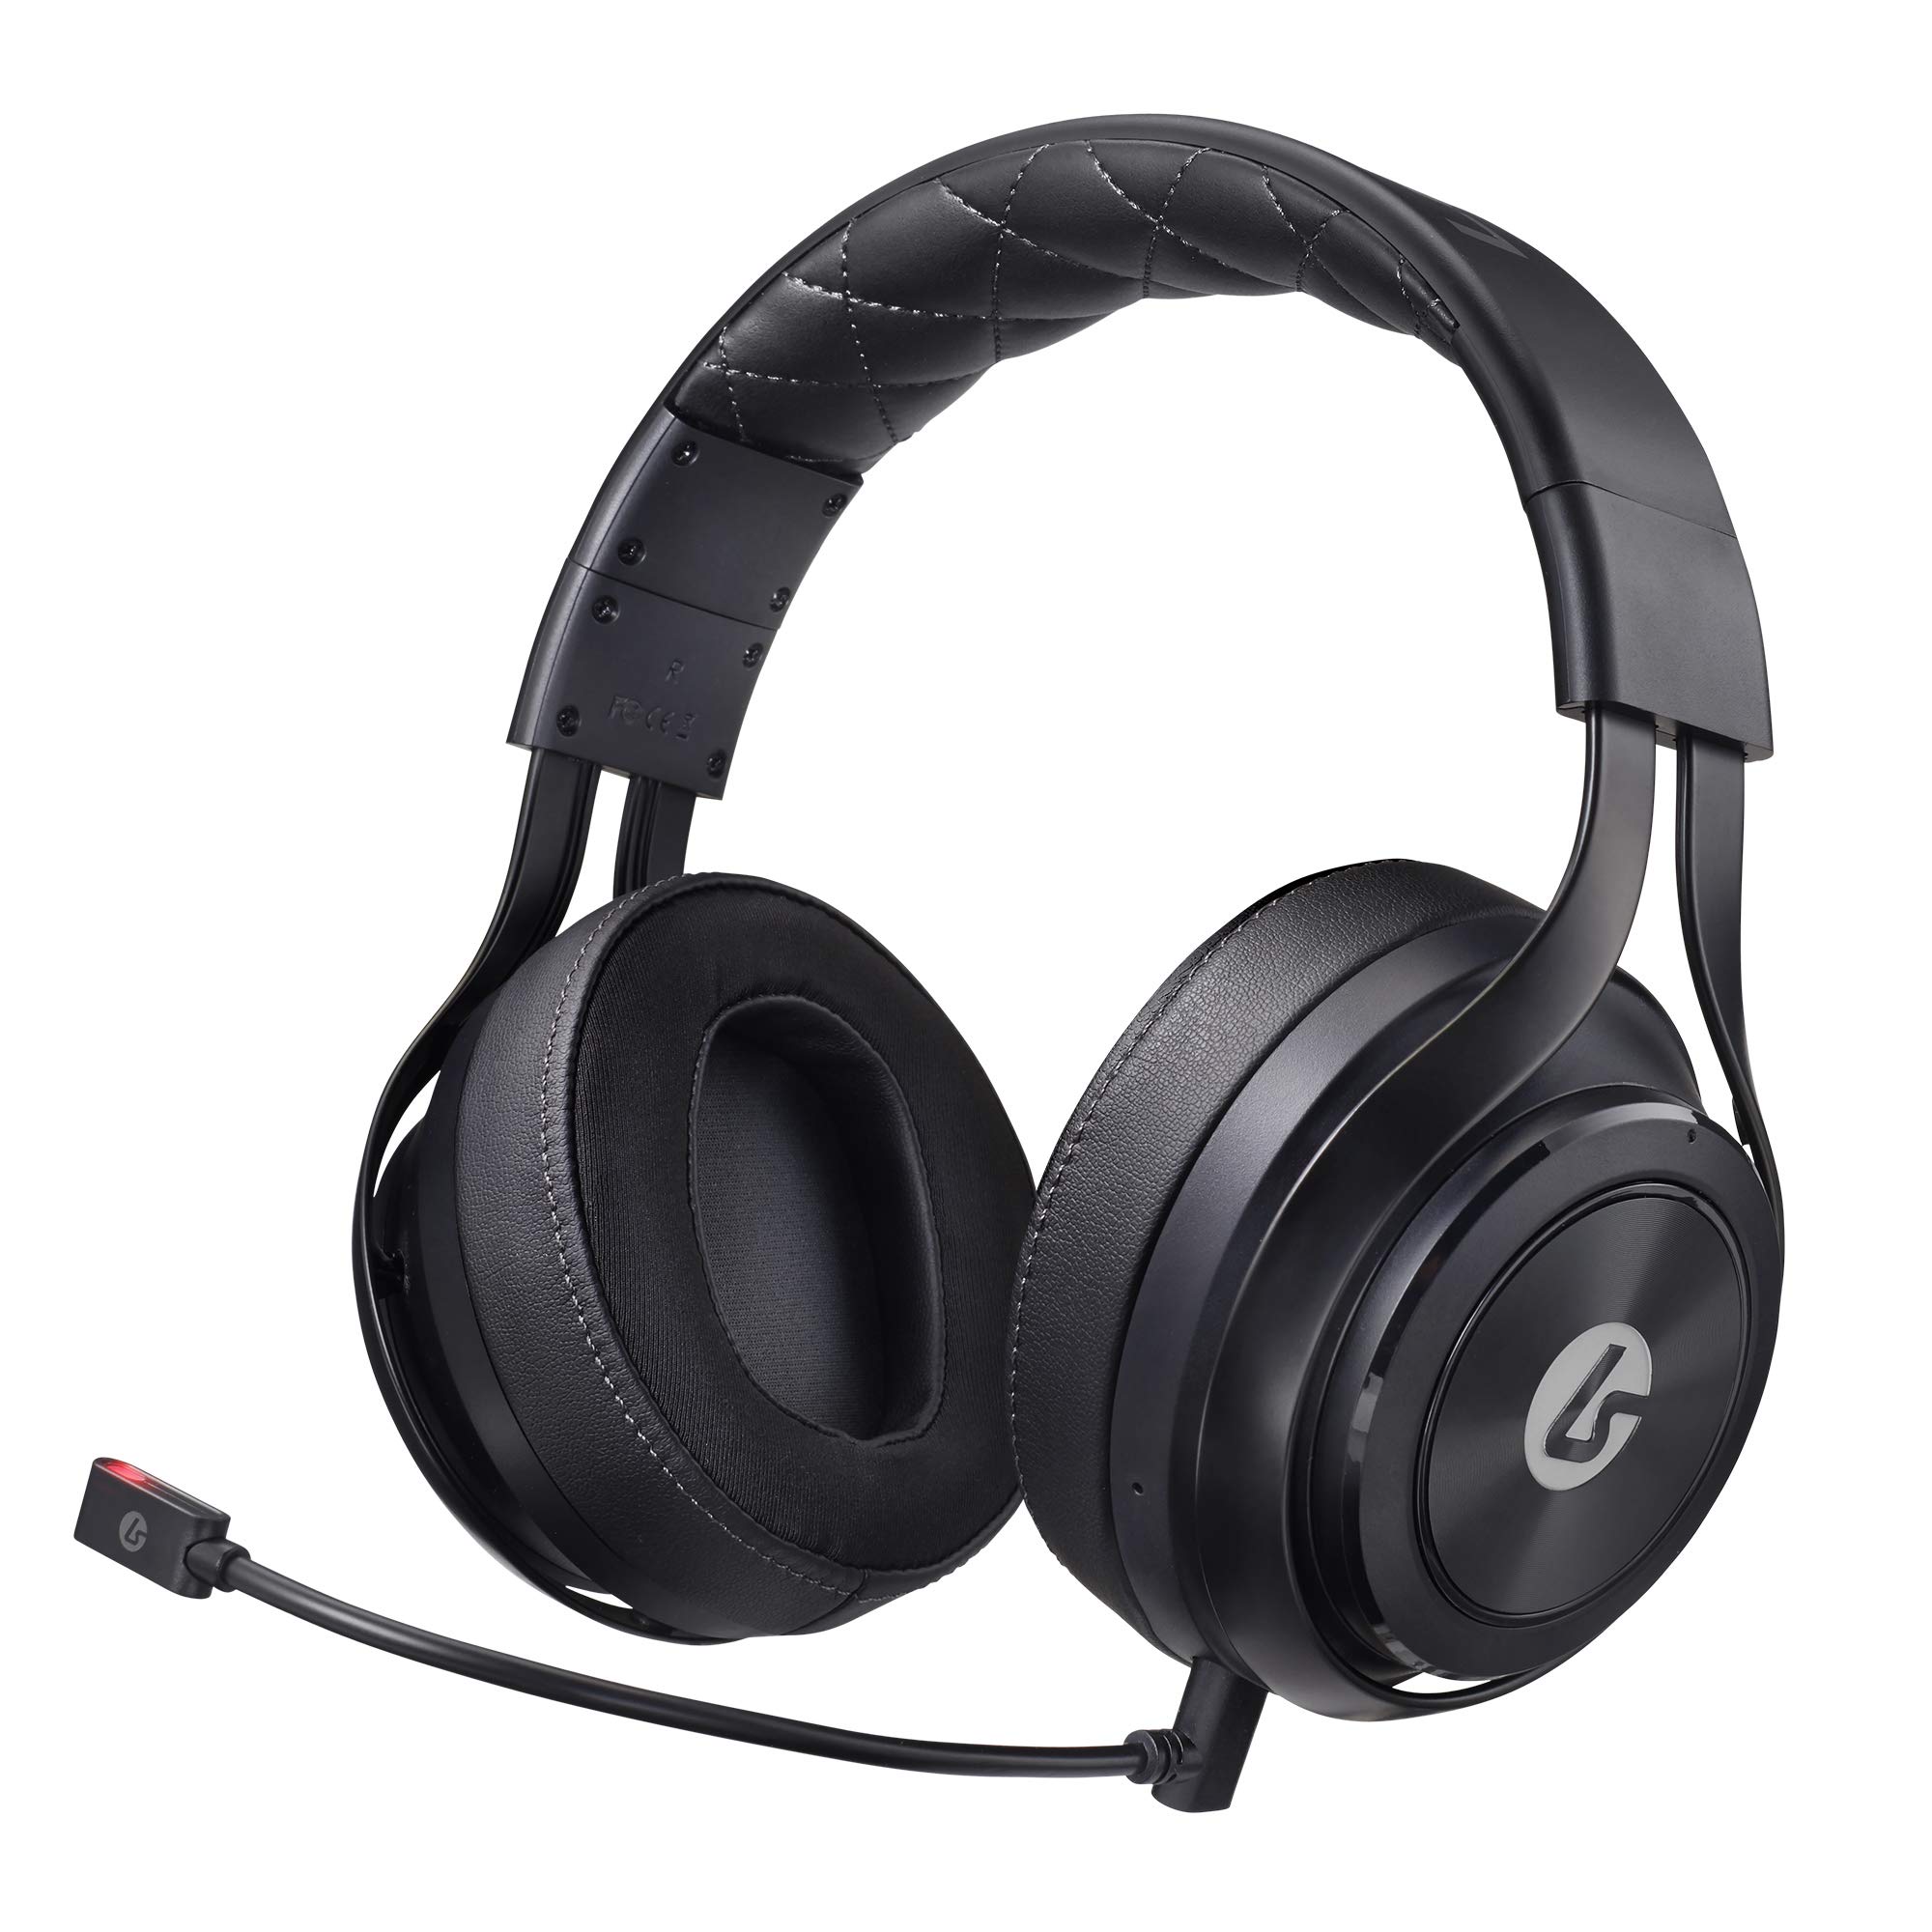
Gaming headsets are essential accessories for an immersive gaming experience, providing crystal-clear audio and seamless communication with fellow gamers. However, like any electronic device, they are susceptible to wear and tear, with damaged wires being a common issue. When the wires of a gaming headset become frayed or severed, it can be frustrating and disruptive to your gaming sessions. Fortunately, with a few simple steps and the right tools, you can easily repair the wire on your gaming headset and restore it to its optimal functionality.
In this comprehensive guide, we will walk you through the process of fixing the wire on your gaming headset, empowering you to take matters into your own hands and avoid the need for costly replacements. By following the steps outlined in this article, you will be able to swiftly and effectively address the wire damage, ensuring that your headset is back in action in no time.
Whether you're an avid gamer, a casual player, or someone who simply enjoys using a gaming headset for various multimedia activities, knowing how to address wire damage is a valuable skill. By learning the techniques presented here, you can extend the lifespan of your gaming headset and continue to enjoy high-quality audio without unnecessary interruptions.
Now, let's delve into the process of assessing the damage and gathering the necessary tools to embark on this repair journey. With a positive mindset and a willingness to learn, you'll soon be well-equipped to tackle the wire repair and get back to your gaming adventures with a fully functional headset.
Assessing the Damage
Assessing the Damage
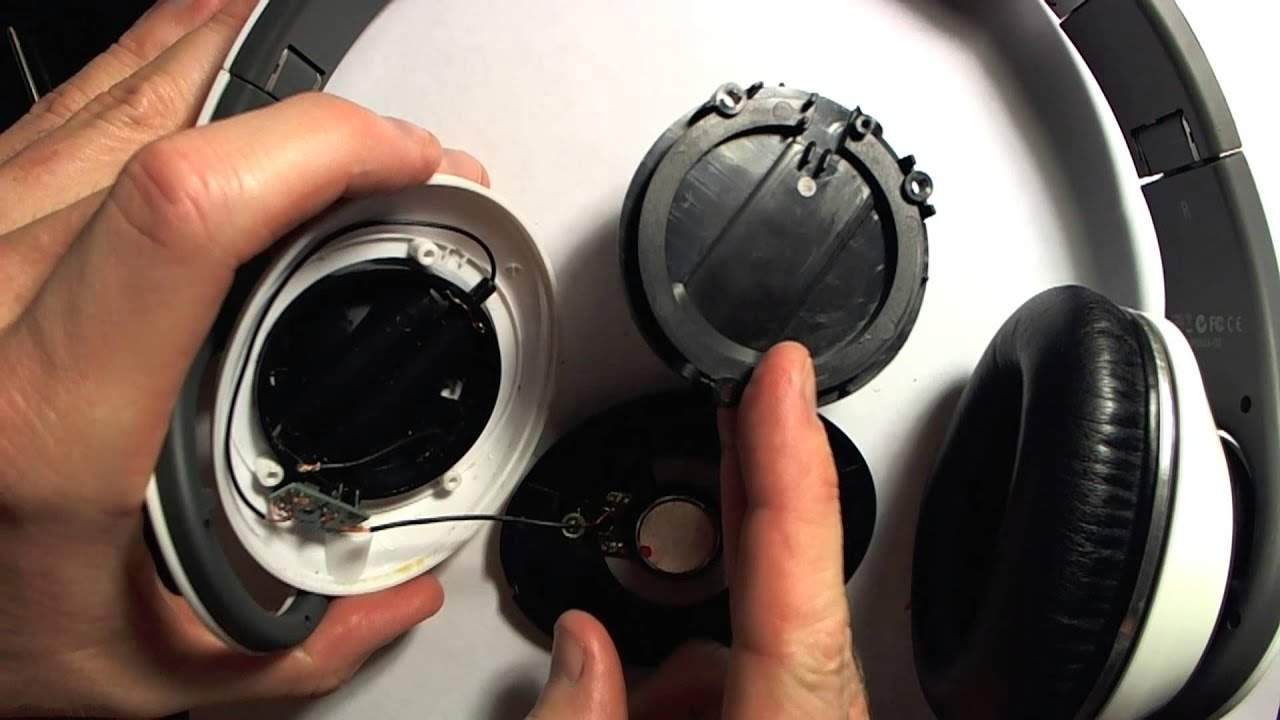
Before diving into the repair process, it’s crucial to assess the extent of the damage to the wire on your gaming headset. This initial step will provide valuable insights into the specific areas that require attention and help you determine the most effective approach for the repair.
Begin by carefully examining the entire length of the headset’s wire, paying close attention to any visible signs of wear, fraying, or breakage. Common areas of vulnerability include the points where the wire meets the headset’s ear cups and the connector that plugs into the gaming device. Additionally, gently flex the wire along its length to detect any hidden damage that may not be immediately apparent.
As you conduct this visual and tactile inspection, take note of any areas where the protective outer layer of the wire has worn off, exposing the internal conductive wires. If there are any visible breaks or exposed wires, it’s essential to proceed with caution to prevent further damage or injury during the repair process.
Furthermore, consider testing the headset while gently adjusting the wire in different positions. If you notice intermittent audio cuts or static noise during this test, it’s a strong indicator of wire damage affecting the headset’s functionality. By carefully evaluating these aspects, you’ll gain a comprehensive understanding of the wire’s condition and be better equipped to address the specific areas requiring repair.
Remember, a thorough assessment of the damage sets the stage for a successful repair process, enabling you to approach the subsequent steps with clarity and precision. With a clear picture of the wire’s condition in mind, you can confidently proceed to gather the necessary tools for the repair, a crucial next step in restoring your gaming headset to its optimal state.
Gathering the Necessary Tools
Gathering the Necessary Tools
Once you’ve assessed the damage to the wire on your gaming headset, the next step involves gathering the essential tools and materials required for the repair process. Having the right equipment at your disposal will streamline the repair and ensure that you can address the wire damage effectively.
The following tools and materials are commonly needed for repairing a damaged wire on a gaming headset:
- Soldering Iron: This tool is essential for rejoining severed wires and ensuring a secure connection. A low-wattage soldering iron is recommended to prevent excessive heat from damaging delicate components.
- Solder and Flux: High-quality solder and flux are indispensable for creating durable and reliable connections between the wires, restoring the electrical conductivity essential for the headset’s functionality.
- Wire Strippers: These tools enable you to carefully remove the insulation from the damaged sections of the wire, preparing them for soldering and splicing.
- Heat Shrink Tubing: Utilized to insulate and protect the soldered connections, heat shrink tubing provides a reliable barrier against moisture and physical damage.
- Electrical Tape: While not as robust as heat shrink tubing, electrical tape can be used to secure and insulate the repaired sections of the wire, providing an additional layer of protection.
- Replacement Connector (if necessary): If the damage extends to the connector that plugs into the gaming device, having a replacement connector on hand will allow for a complete repair.
- Small Phillips Head Screwdriver: In cases where the wire is connected to the headset’s ear cups via screws, a small Phillips head screwdriver will be essential for accessing and reattaching the wires.
By ensuring that you have these tools and materials readily available, you’ll be well-prepared to execute the repair with precision and confidence. Before proceeding to the repair phase, it’s advisable to organize the workspace, ensuring a clean and well-lit environment to facilitate the intricate tasks involved in wire repair. With the necessary tools in hand and a clear understanding of the wire’s condition, you’re poised to embark on the repair process and restore your gaming headset to full functionality.
Repairing the Wire
Repairing the Wire
With a comprehensive assessment of the wire damage and the necessary tools at your disposal, you’re now ready to initiate the repair process. Follow these step-by-step instructions to effectively repair the wire on your gaming headset:
- Prepare the Workspace: Begin by setting up a clean and well-lit workspace, ensuring that you have ample room to maneuver and organize the tools and materials required for the repair.
- Trim and Strip the Wires: Carefully trim away the damaged sections of the wire, ensuring that you expose a sufficient length of the conductive wires within. Use wire strippers to remove the insulation from the exposed wires, preparing them for soldering.
- Solder the Connections: Apply a small amount of flux to the exposed wires, and use the soldering iron to carefully join and secure the wires together. Ensure that the connections are sturdy and that the solder adheres evenly, creating a reliable bond.
- Insulate the Connections: Slide heat shrink tubing over the soldered connections and apply heat using a heat gun or a lighter to shrink the tubing, providing insulation and protection for the repaired area. Alternatively, if heat shrink tubing is unavailable, carefully wrap the connections with electrical tape, ensuring a secure covering.
- Reattach the Connector (if necessary): If the wire damage extends to the connector that plugs into the gaming device, carefully replace the connector, ensuring that the connections are secure and the wires are reattached according to the manufacturer’s specifications.
- Test the Repaired Wire: Once the repair is complete, carefully test the headset by plugging it into the gaming device and ensuring that the audio is clear and uninterrupted. Gently manipulate the wire to check for any signs of instability or audio distortion, confirming that the repair has been successful.
By following these steps with precision and care, you can effectively address the wire damage and restore your gaming headset to optimal functionality. It’s important to approach each task methodically, taking the time to ensure that the connections are secure and the repaired wire is insulated against potential damage. With the wire repair successfully completed, you can now proceed to the final phase: testing the headset to confirm its restored performance.
Testing the Headset
Testing the Headset
Following the meticulous repair of the wire on your gaming headset, it’s crucial to conduct thorough testing to ensure that the functionality and audio quality have been fully restored. The testing phase allows you to verify the success of the repair and make any necessary adjustments before resuming your gaming or multimedia activities.
Here are the essential steps to effectively test your repaired gaming headset:
- Audio Playback Test: Connect the repaired headset to your gaming device and play audio content, such as music or a game with distinct sound effects. Pay close attention to the clarity and balance of the audio, ensuring that both ear cups deliver consistent sound without any distortion or irregularities.
- Microphone Test: If your gaming headset is equipped with a microphone, engage in a test call or use voice recording software to assess the microphone’s functionality. Speak into the microphone and listen to the playback, confirming that your voice is captured clearly and without any interference.
- Wire Flexibility Test: Gently manipulate the repaired section of the wire, flexing it in various directions while the headset is in use. This test helps to ensure that the repaired connections remain stable and that the wire can withstand normal movements without compromising the audio signal.
- Extended Usage Test: Use the repaired gaming headset for an extended period, engaging in your typical gaming or multimedia activities. Pay attention to any signs of discomfort or audio issues that may arise during prolonged use, ensuring that the repair holds up under regular usage conditions.
During the testing phase, it’s essential to maintain a keen awareness of the headset’s performance, focusing on both audio output and the stability of the repaired wire connections. By conducting these tests systematically, you can confidently confirm that the repair has been successful and that your gaming headset is once again fully functional.
If any issues are identified during the testing phase, revisit the repaired sections of the wire and ensure that the connections are secure and properly insulated. Making any necessary adjustments at this stage will contribute to a seamless and reliable repair, allowing you to enjoy uninterrupted audio and communication through your gaming headset.
Conclusion
Conclusion
Repairing the wire on your gaming headset is a rewarding endeavor that empowers you to extend the lifespan of your valuable accessory and resume your immersive gaming experiences without interruptions. By following the steps outlined in this guide and approaching the repair process with patience and precision, you have successfully restored your gaming headset to optimal functionality.
Throughout the repair journey, you’ve learned the importance of assessing the extent of the wire damage, gathering the necessary tools, and executing the repair with meticulous attention to detail. This hands-on experience has not only equipped you with practical skills but has also instilled confidence in your ability to address similar issues in the future, saving both time and resources.
As you tested the repaired headset, you confirmed that the audio quality, microphone functionality, and wire stability met your expectations, validating the effectiveness of the repair process. This thorough testing phase ensured that your gaming headset is fully prepared to deliver an immersive and seamless audio experience, enhancing your gaming adventures and multimedia activities.
Remember, the knowledge and skills you’ve gained from this repair endeavor can be applied to various electronic devices, allowing you to troubleshoot and address wire damage with confidence and expertise. By taking a proactive approach to maintenance and repair, you can prolong the lifespan of your electronic accessories and minimize the need for costly replacements.
With your gaming headset now restored to its optimal state, you can immerse yourself in captivating audio landscapes, communicate effortlessly with fellow gamers, and enjoy uninterrupted entertainment. The satisfaction of successfully repairing your gaming headset serves as a testament to your resourcefulness and determination to overcome technical challenges.
As you continue your gaming journey, remember that the skills and knowledge acquired through this repair process are valuable assets. Embrace the opportunity to further explore and enhance your understanding of electronic devices, and be prepared to tackle future repair tasks with confidence and expertise.