Introduction
Understanding Realtek Audio Manager
Realtek Audio Manager is a crucial tool for configuring and optimizing audio settings on your computer. Whether you're a casual gamer, a professional streamer, or simply enjoy immersive sound experiences, understanding how to properly set up your gaming headset using Realtek Audio Manager can significantly enhance your audio quality and overall gaming experience. Realtek Audio Manager provides a range of customizable options that allow you to fine-tune your audio output, including equalization, environment effects, and microphone settings. By leveraging the features of Realtek Audio Manager, you can ensure that your gaming headset delivers crisp, clear sound and seamless communication with your teammates.
In this guide, we will walk you through the process of connecting your gaming headset to your computer, configuring the audio settings within Realtek Audio Manager, and testing your headset to ensure optimal performance. Additionally, we will address common troubleshooting issues that may arise during the setup process. By the end of this tutorial, you will have the knowledge and confidence to harness the full potential of your gaming headset with Realtek Audio Manager.
So, let's dive into the intricacies of Realtek Audio Manager and learn how to harness its power to elevate your gaming audio experience. Whether you're a seasoned tech enthusiast or a newcomer to the world of audio customization, this guide will equip you with the essential know-how to maximize the performance of your gaming headset using Realtek Audio Manager. Let's get started!
Understanding Realtek Audio Manager
Realtek Audio Manager is a powerful software application that provides users with a wide array of tools for managing audio settings on their computers. It serves as the control panel for Realtek audio drivers, allowing users to customize their audio output to suit their specific preferences and hardware configurations. Whether you are using a desktop PC, a laptop, or a custom-built gaming rig, Realtek Audio Manager plays a pivotal role in ensuring high-quality audio performance.
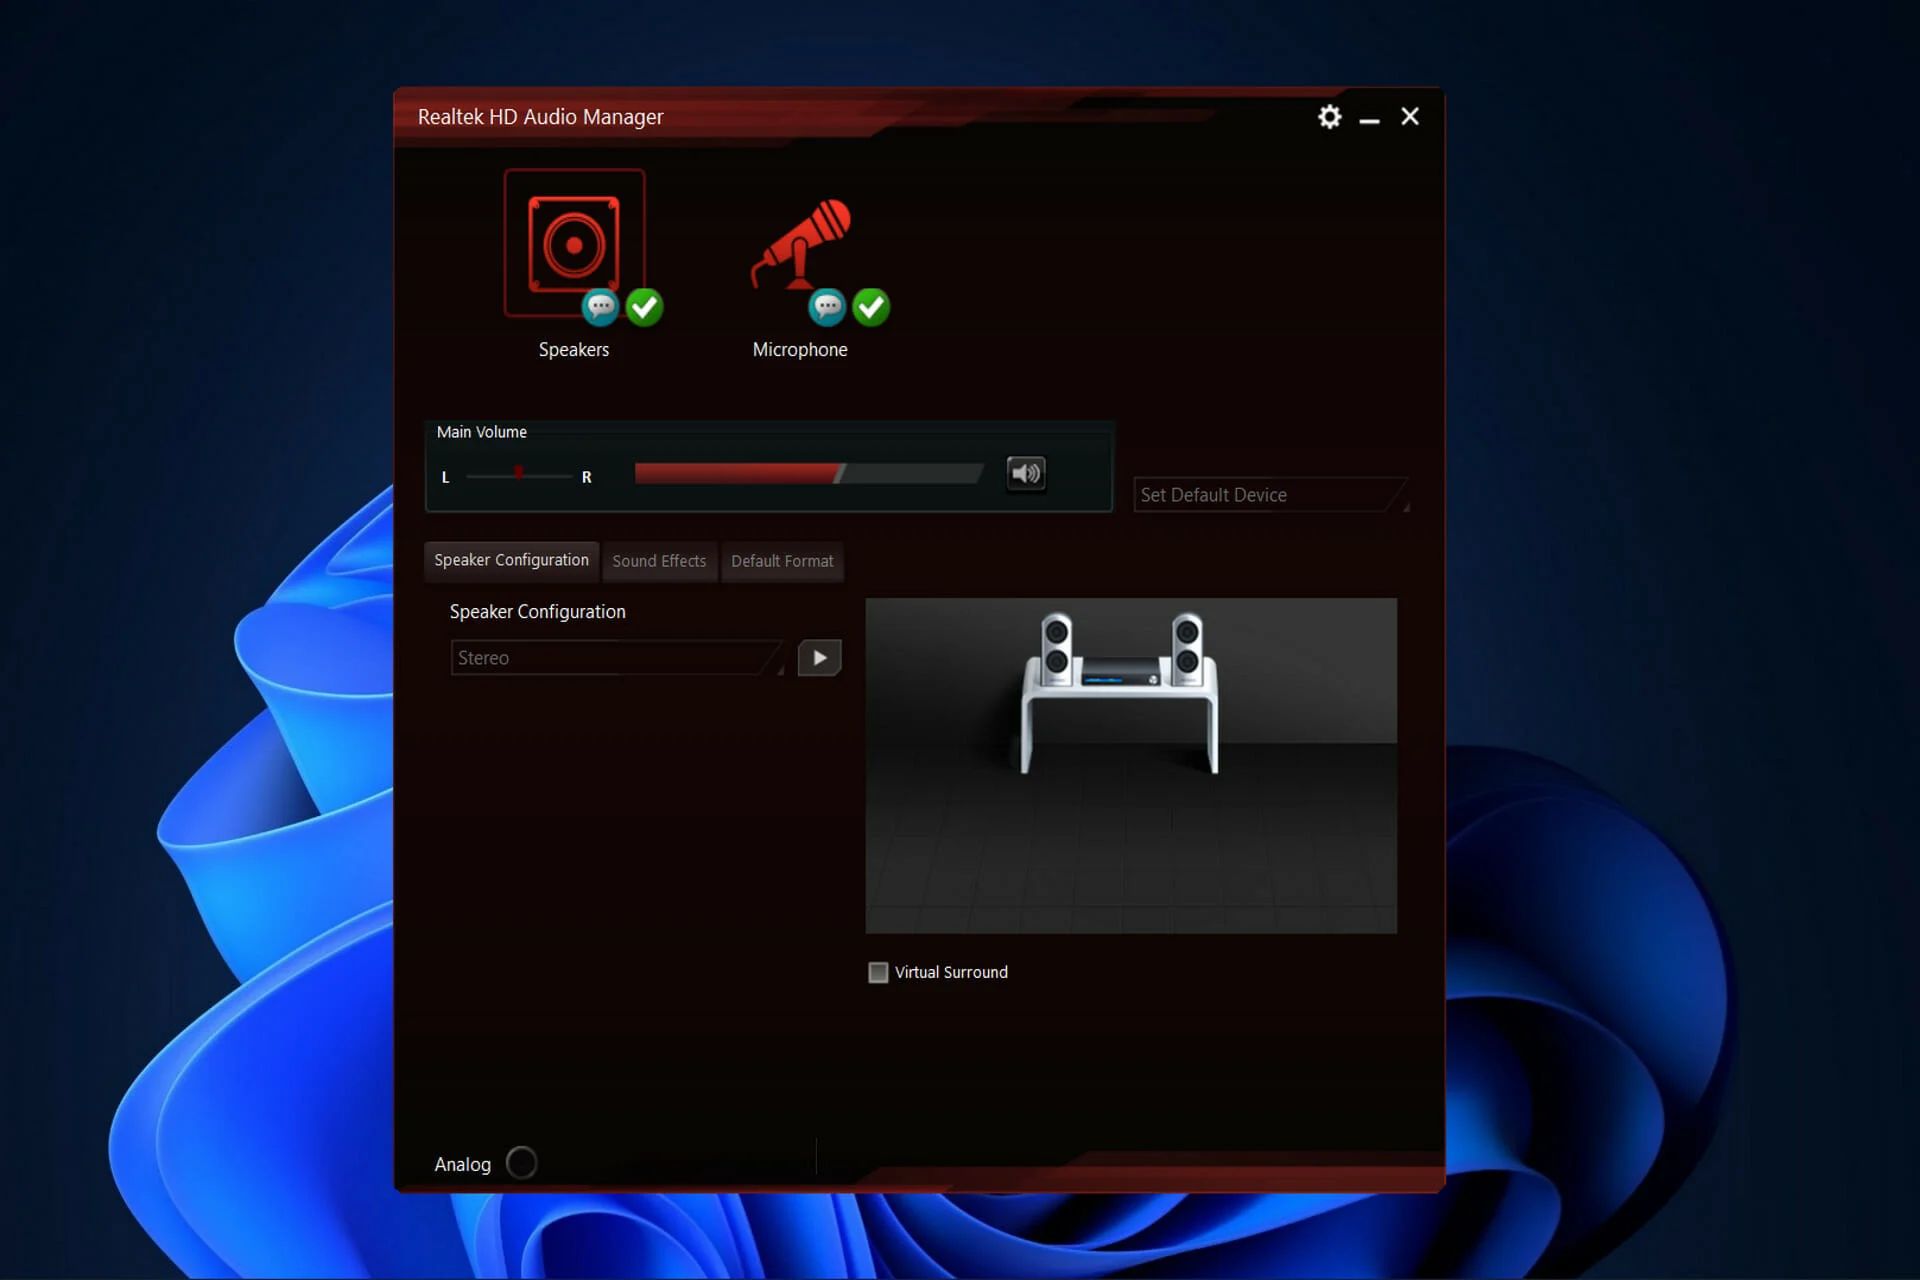
One of the key features of Realtek Audio Manager is its intuitive user interface, which presents users with a comprehensive set of options for adjusting audio parameters. From speaker configuration to microphone settings, the software offers a centralized platform for fine-tuning various aspects of audio playback and recording. This level of control is particularly beneficial for gamers, as it enables them to optimize their gaming headsets for immersive soundscapes and clear communication during online gameplay.
Realtek Audio Manager also includes an equalizer function, allowing users to modify the frequency response of their audio output. This feature is invaluable for tailoring the sound profile to individual preferences, whether you prefer enhanced bass for a more impactful gaming experience or a balanced audio spectrum for music and multimedia consumption. Additionally, the software offers environmental effects, such as room correction and virtual surround sound, which can further enrich the audio experience, particularly in gaming scenarios where spatial awareness is crucial.
Furthermore, Realtek Audio Manager provides users with extensive microphone configuration options, including noise suppression, acoustic echo cancellation, and microphone boost. These settings are indispensable for gamers who rely on clear and distortion-free voice communication while gaming or streaming. By leveraging Realtek Audio Manager, users can ensure that their gaming headsets deliver optimal microphone performance, facilitating seamless interaction with teammates and audiences.
Overall, Realtek Audio Manager serves as a versatile tool for customizing and optimizing audio output on Windows-based systems. Its user-friendly interface, coupled with a diverse range of audio adjustment options, makes it an essential component for anyone seeking to elevate their audio experience, particularly in the realm of gaming and multimedia entertainment.
Connecting Your Gaming Headset
Before delving into the intricacies of Realtek Audio Manager, it is essential to ensure that your gaming headset is properly connected to your computer. The process of connecting a gaming headset may vary depending on the type of headset and the available audio ports on your computer. Here are the general steps to connect your gaming headset:
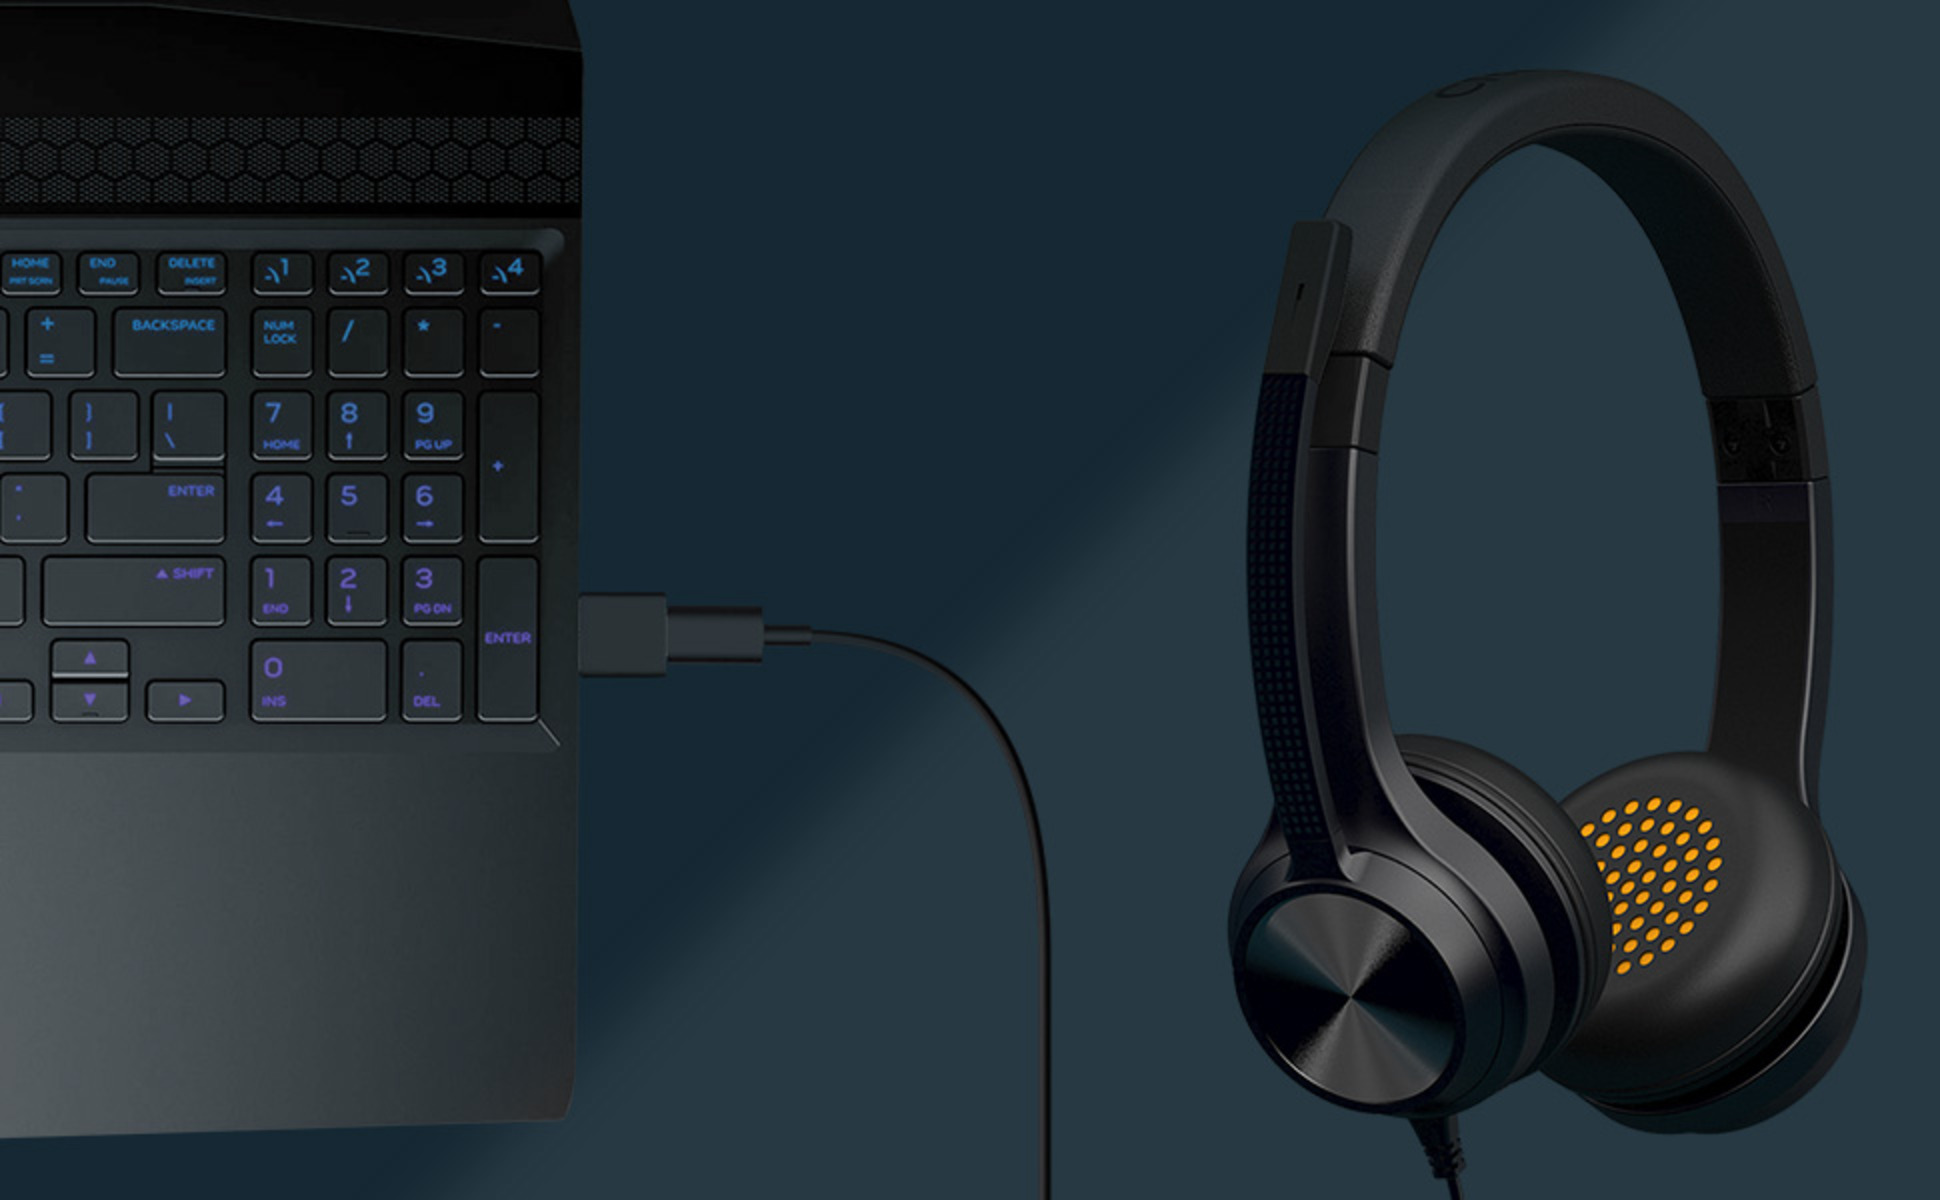
- Identify the audio ports: Most gaming headsets utilize a 3.5mm audio jack for connecting to the computer. Some high-end headsets may also feature USB connectivity for enhanced audio performance.
- Locate the appropriate audio ports on your computer: Depending on your computer’s configuration, you may find separate audio jacks for headphones and microphones, or a combined audio jack that supports both functions.
- Connect the headset to the audio ports: Plug the headset’s audio jack into the corresponding headphone or microphone port on your computer. If your headset uses a USB connection, simply insert the USB connector into an available USB port.
- Ensure a secure connection: Once the headset is plugged in, ensure that the connection is secure to prevent audio distortions or intermittent connectivity issues.
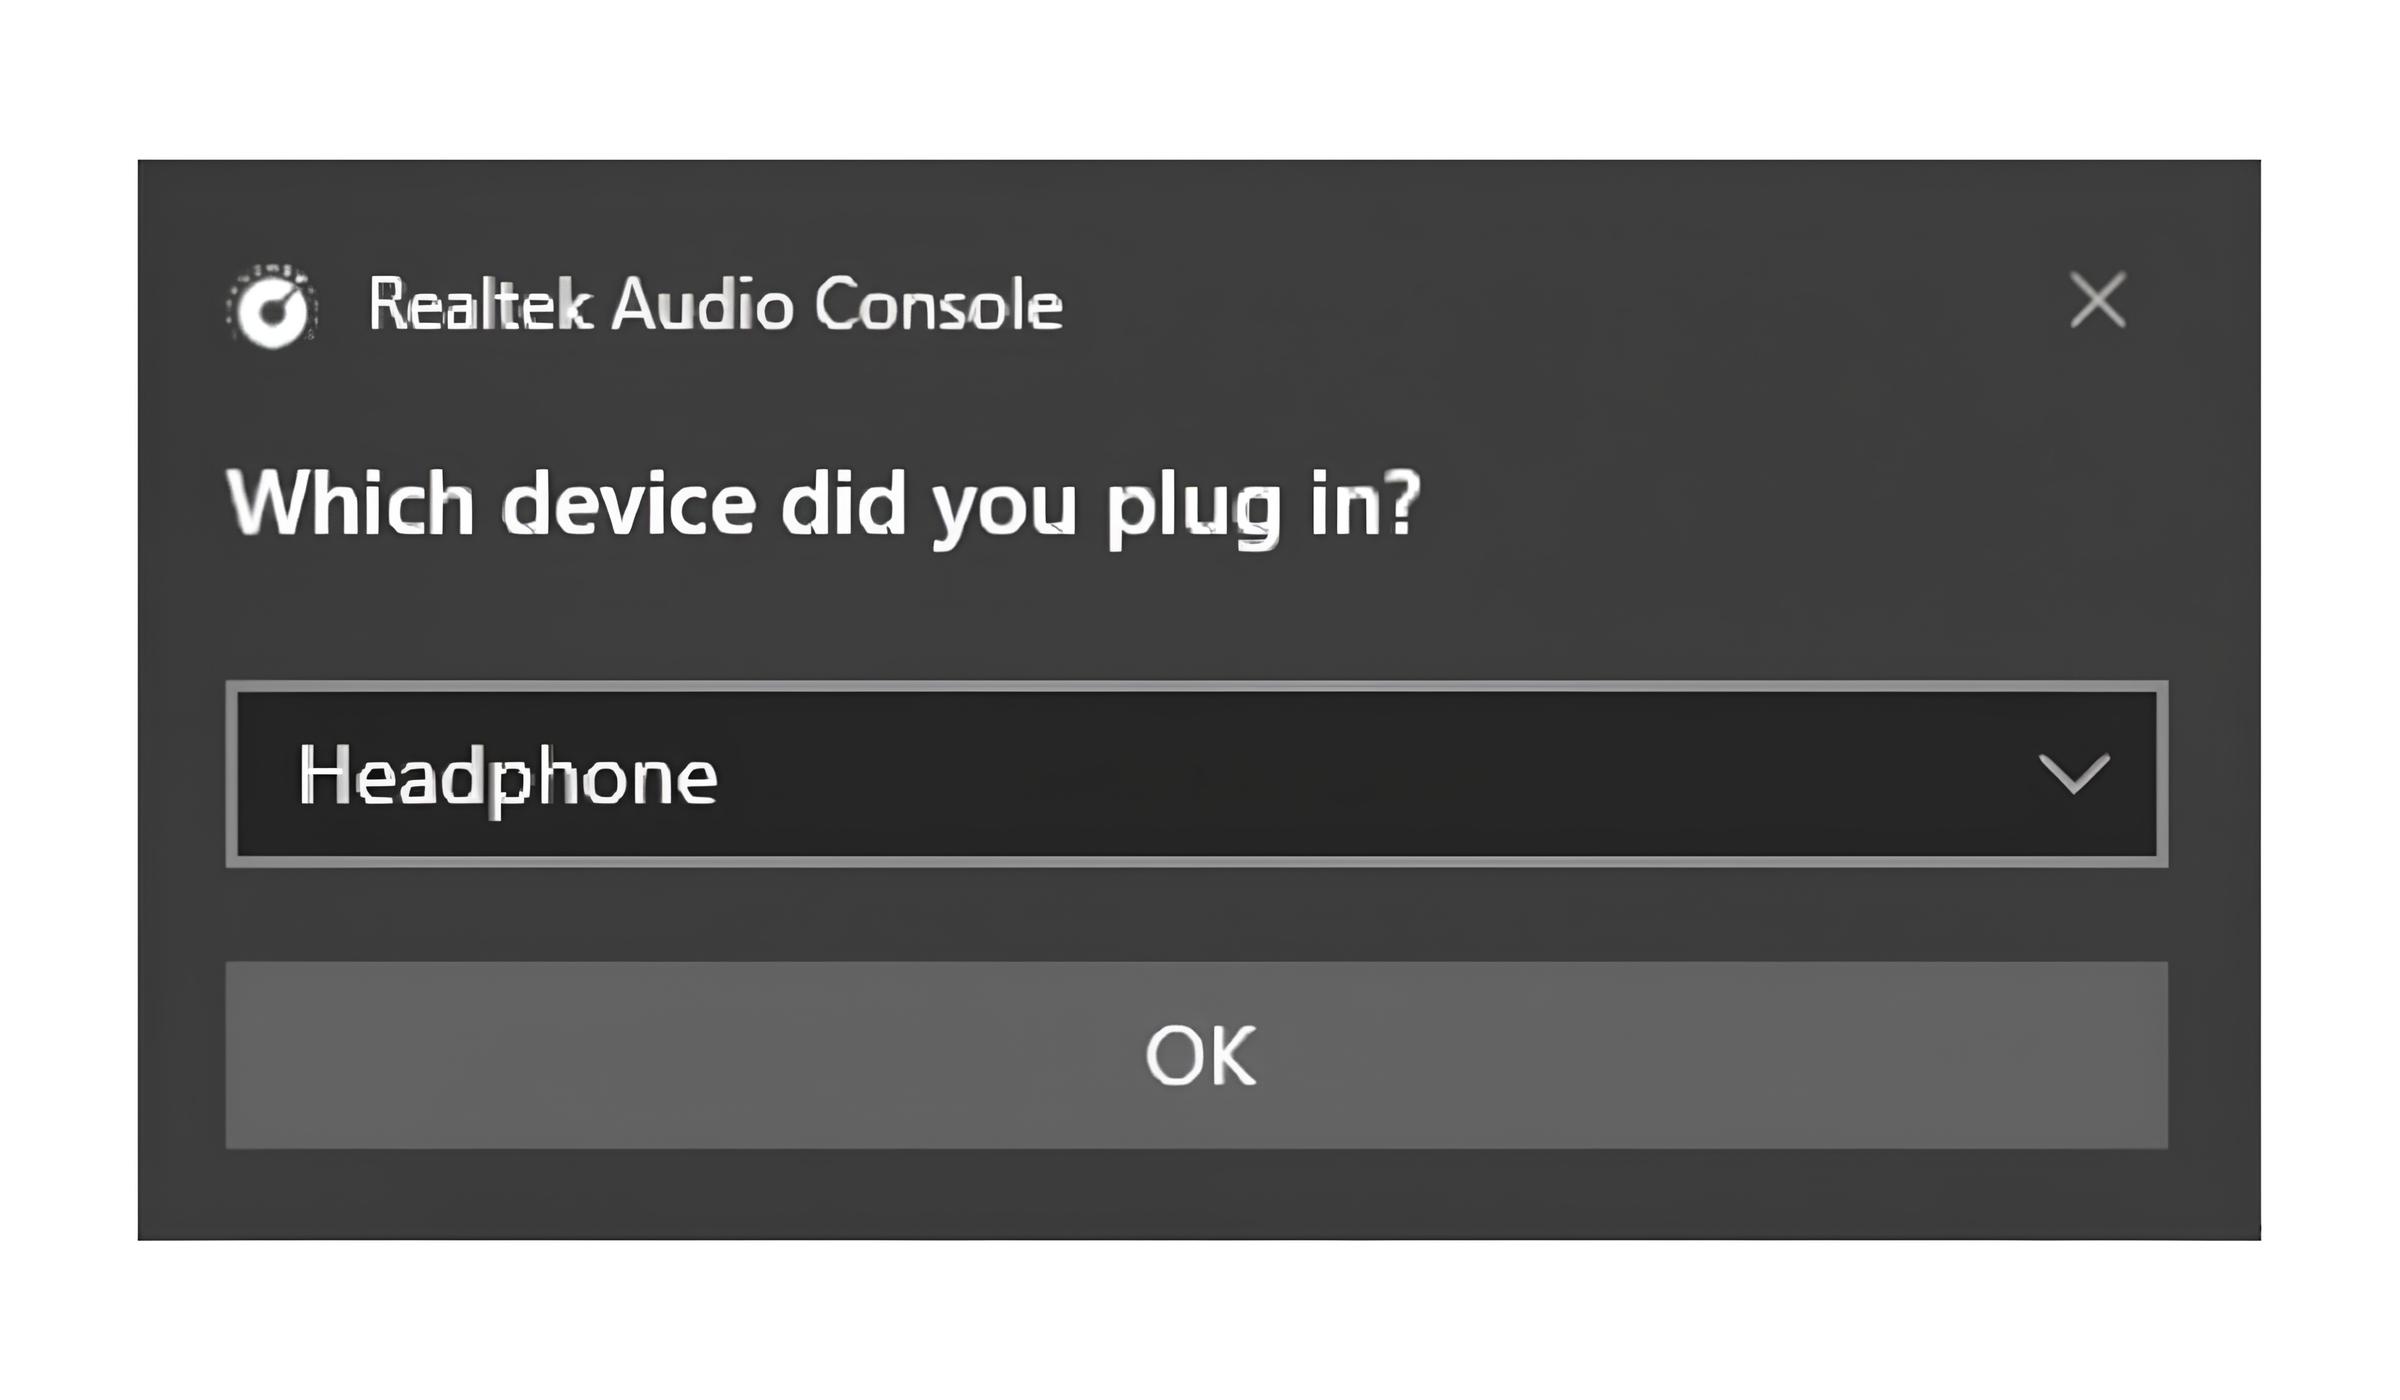
After connecting your gaming headset to the computer, it is important to verify that the computer recognizes the headset as the default audio input and output device. This can typically be done through the computer’s sound settings or the Realtek Audio Manager interface, which we will explore in the subsequent sections.
By establishing a solid physical connection between your gaming headset and the computer, you set the stage for leveraging Realtek Audio Manager’s capabilities to optimize the audio performance of your headset. With the headset properly connected, you are ready to proceed with configuring the audio settings to suit your preferences and gaming requirements.
Configuring Audio Settings
Once your gaming headset is connected to your computer, the next crucial step is to configure the audio settings using Realtek Audio Manager. This software provides a host of customizable options that enable you to fine-tune the audio output and microphone settings to align with your gaming preferences and communication needs. Here’s a comprehensive guide to configuring the audio settings:
- Accessing Realtek Audio Manager: Launch the Realtek Audio Manager application on your computer. You can typically access it from the system tray or by searching for “Realtek Audio Manager” in the Windows search bar.
- Speaker Configuration: Navigate to the speaker configuration settings within Realtek Audio Manager to select the appropriate audio output setup. Whether you are using stereo headphones, a surround sound headset, or a dedicated gaming speaker system, Realtek Audio Manager allows you to specify the optimal speaker configuration for your setup.
- Equalizer Settings: Utilize the built-in equalizer to adjust the frequency response of your audio output. This feature enables you to enhance bass, tweak treble levels, and fine-tune the overall sound profile to suit your audio preferences, whether for gaming, music, or multimedia consumption.
- Environmental Effects: Explore the environmental effects options, such as room correction and virtual surround sound, to create an immersive audio environment tailored to your gaming experience. These effects can heighten spatial awareness and simulate realistic audio environments, enhancing your overall gaming immersion.
- Microphone Configuration: Access the microphone settings to optimize the performance of your gaming headset’s microphone. Adjust parameters such as noise suppression, acoustic echo cancellation, and microphone boost to ensure clear and distortion-free voice communication during gaming sessions or live streaming.
By leveraging the customization options within Realtek Audio Manager, you can tailor the audio output and microphone performance of your gaming headset to meet your specific requirements, whether for competitive gaming, content creation, or casual entertainment. The ability to fine-tune these settings empowers you to create an audio environment that enhances your overall gaming experience and communication clarity.
With the audio settings configured to your preferences, you are now poised to test the performance of your gaming headset and ensure that the adjustments made through Realtek Audio Manager have resulted in an optimized audio experience.
Testing Your Headset
After configuring the audio settings using Realtek Audio Manager, it is essential to conduct thorough testing to ensure that your gaming headset delivers the desired audio quality and microphone performance. The testing phase allows you to evaluate the impact of the adjustments made within Realtek Audio Manager and make any additional refinements as needed. Here’s a comprehensive approach to testing your headset:
- Audio Playback Test: Play audio content, such as music, gaming soundscapes, or multimedia, to assess the impact of the configured audio settings. Listen for clarity, balance, and the presence of any environmental effects that contribute to an immersive audio experience. Pay attention to the frequency response, spatial positioning of audio elements, and overall fidelity.
- Equalizer Assessment: If you have adjusted the equalizer settings within Realtek Audio Manager, test the impact of these adjustments by playing audio content with varying frequency ranges. Evaluate the bass response, midrange clarity, and high-frequency details to determine if the equalizer settings align with your audio preferences.
- Environmental Effects Evaluation: Engage in gaming sessions or multimedia experiences that benefit from environmental effects, such as virtual surround sound. Assess the spatial awareness, directional audio cues, and overall immersion provided by these effects, ensuring that they enhance your gaming or entertainment experience.
- Microphone Performance Test: Initiate voice communication or recording using the headset’s microphone to evaluate its performance. Assess the clarity of your voice, the suppression of background noise, and the absence of echo or distortion. Verify that the microphone settings configured through Realtek Audio Manager contribute to clear and articulate voice reproduction.
Throughout the testing phase, take note of any areas where the audio performance or microphone quality may require further adjustments. Real-time evaluation of the headset’s performance in various scenarios, such as gaming, music playback, and voice communication, allows you to fine-tune the settings within Realtek Audio Manager to achieve an optimal audio experience.
By actively engaging in the testing process, you gain valuable insights into the impact of Realtek Audio Manager’s configurations on your gaming headset’s performance. This hands-on approach empowers you to make informed decisions regarding the audio settings, ensuring that your gaming headset delivers the intended audio fidelity and microphone clarity across diverse usage scenarios.
Troubleshooting Common Issues
While setting up and configuring a gaming headset using Realtek Audio Manager, users may encounter common issues that can impact audio performance and overall functionality. Understanding how to troubleshoot these issues is essential for ensuring a seamless and optimal gaming headset experience. Here are some common issues and troubleshooting steps:
- No Audio Output: If you experience a lack of audio output from your gaming headset, first ensure that the headset is properly connected to the computer. Check the audio ports and connections to verify that the headset is recognized as the default audio device. Additionally, confirm that the volume settings within Realtek Audio Manager are appropriately configured to enable audio playback.
- Microphone Not Detected: If the headset’s microphone is not detected or fails to capture audio input, inspect the microphone connection and settings within Realtek Audio Manager. Ensure that the microphone is selected as the default recording device and that its volume levels are appropriately adjusted. Additionally, check for any physical damage or obstructions that may impede the microphone’s functionality.
- Audio Distortion or Artifacts: When encountering audio distortion, crackling, or artifacts during playback, review the equalizer settings within Realtek Audio Manager. Adjust the equalizer presets or custom settings to mitigate any frequency-specific issues that may be causing audio anomalies. Additionally, inspect the headset’s audio connection for any loose or damaged components that could contribute to distorted audio output.
- Driver Compatibility Issues: In some cases, compatibility issues between the gaming headset’s drivers and Realtek audio drivers may arise. Ensure that both the headset’s drivers and Realtek audio drivers are up to date. Updating drivers can resolve compatibility conflicts and improve overall audio performance.
When troubleshooting these common issues, it is important to approach the process systematically, starting with the physical connections and then proceeding to software configurations within Realtek Audio Manager. Additionally, consulting the user manual or support resources provided by the gaming headset manufacturer can offer specific guidance for addressing headset-related issues.
By systematically addressing common issues through troubleshooting steps, users can effectively resolve audio and microphone-related challenges, ensuring that their gaming headset operates optimally in conjunction with Realtek Audio Manager. The troubleshooting process empowers users to identify and rectify potential obstacles that may hinder the headset’s performance, ultimately enhancing the overall audio experience.