Introduction
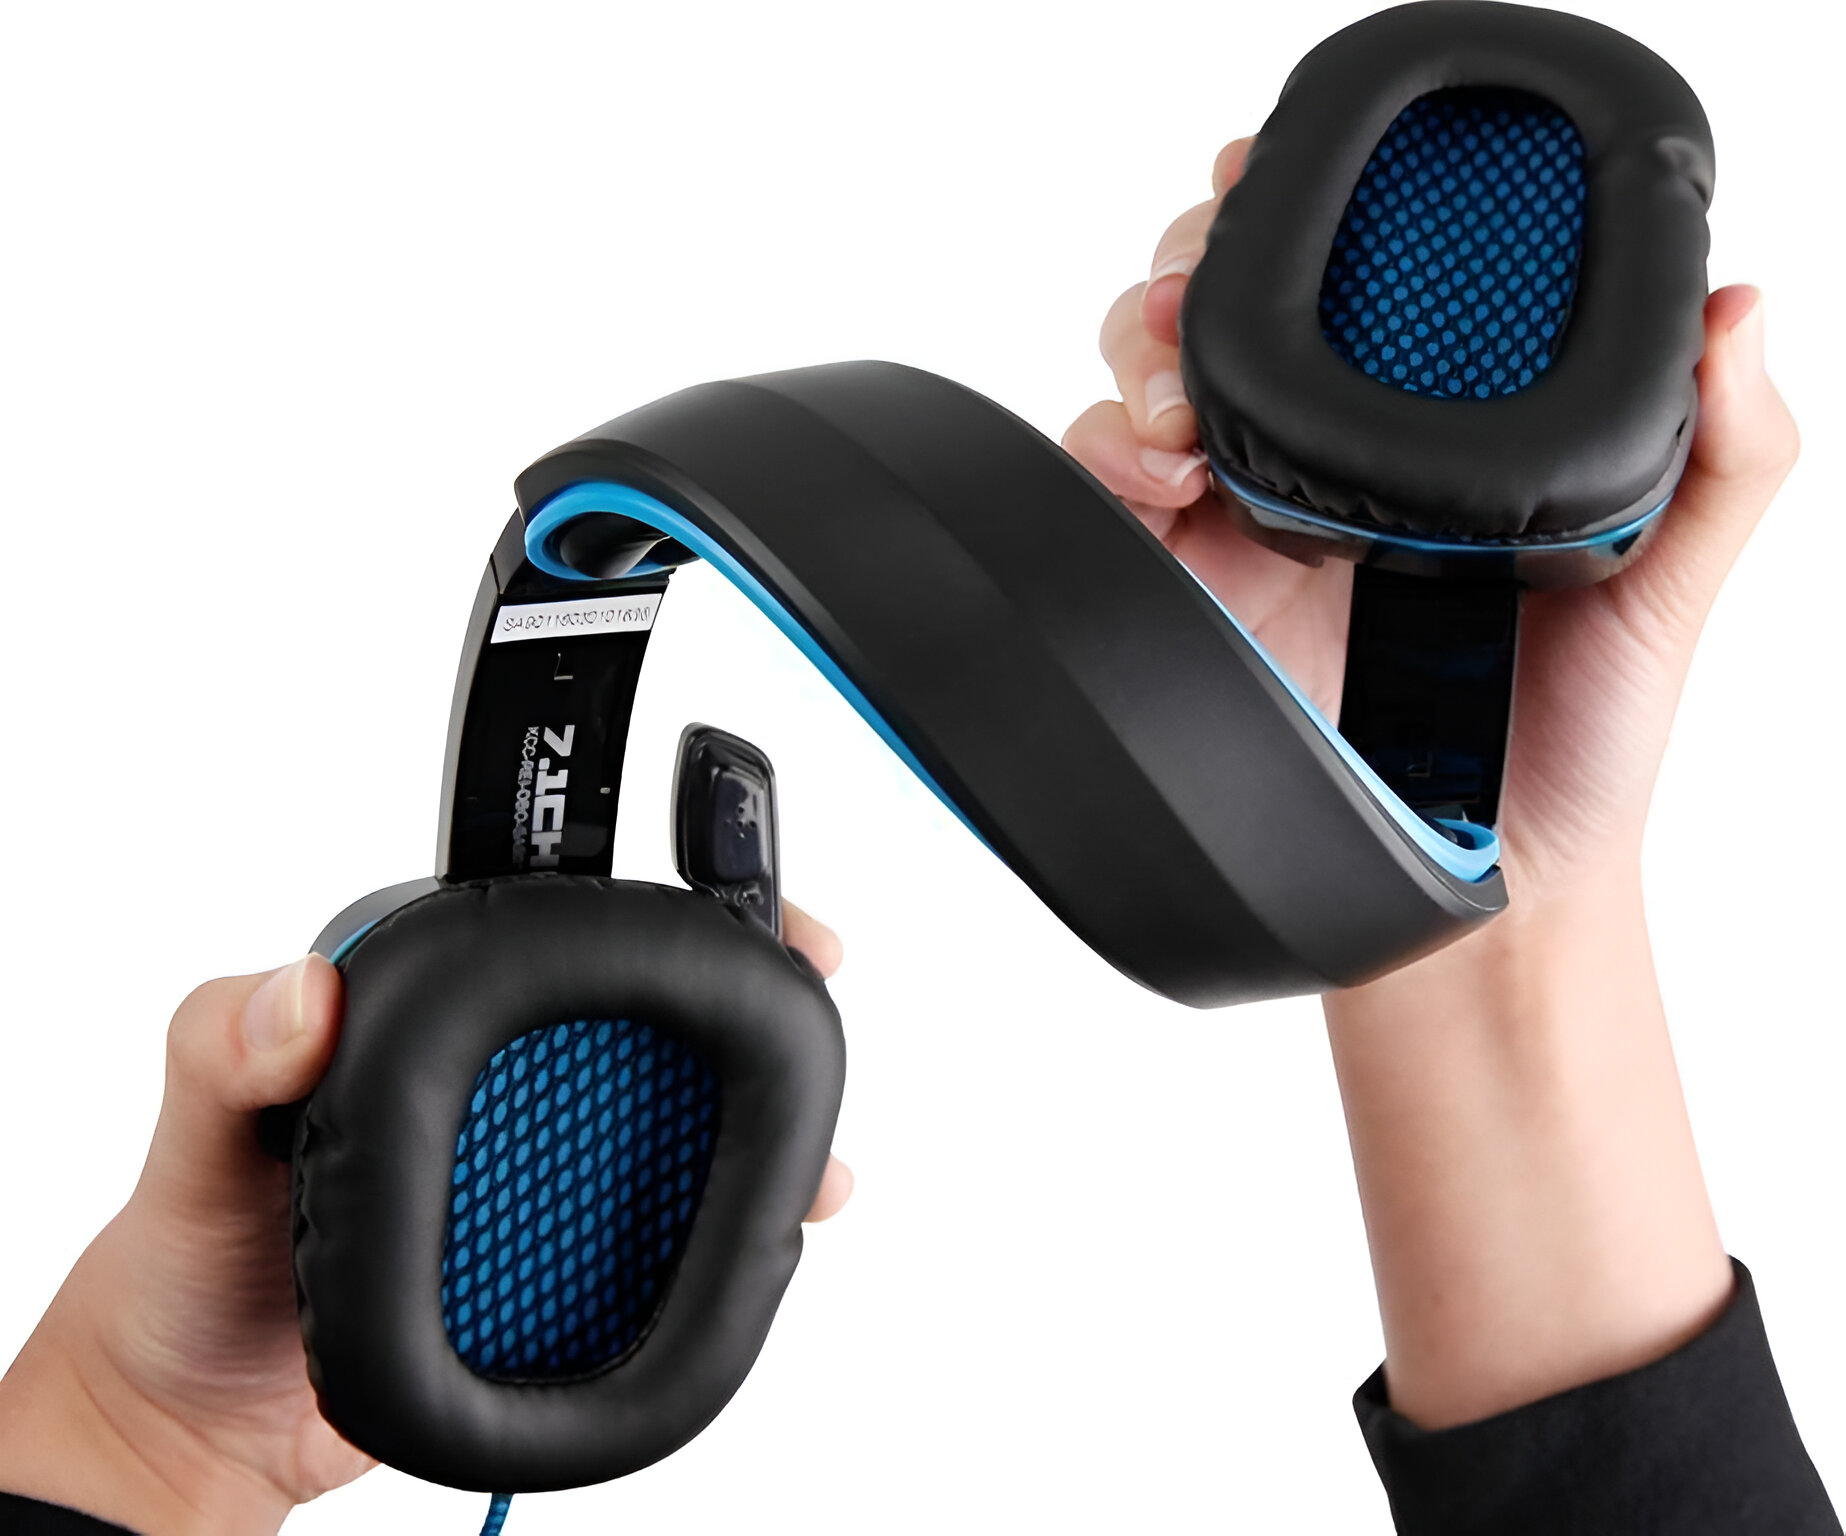
Introducing the Sades L9 Gaming Headset
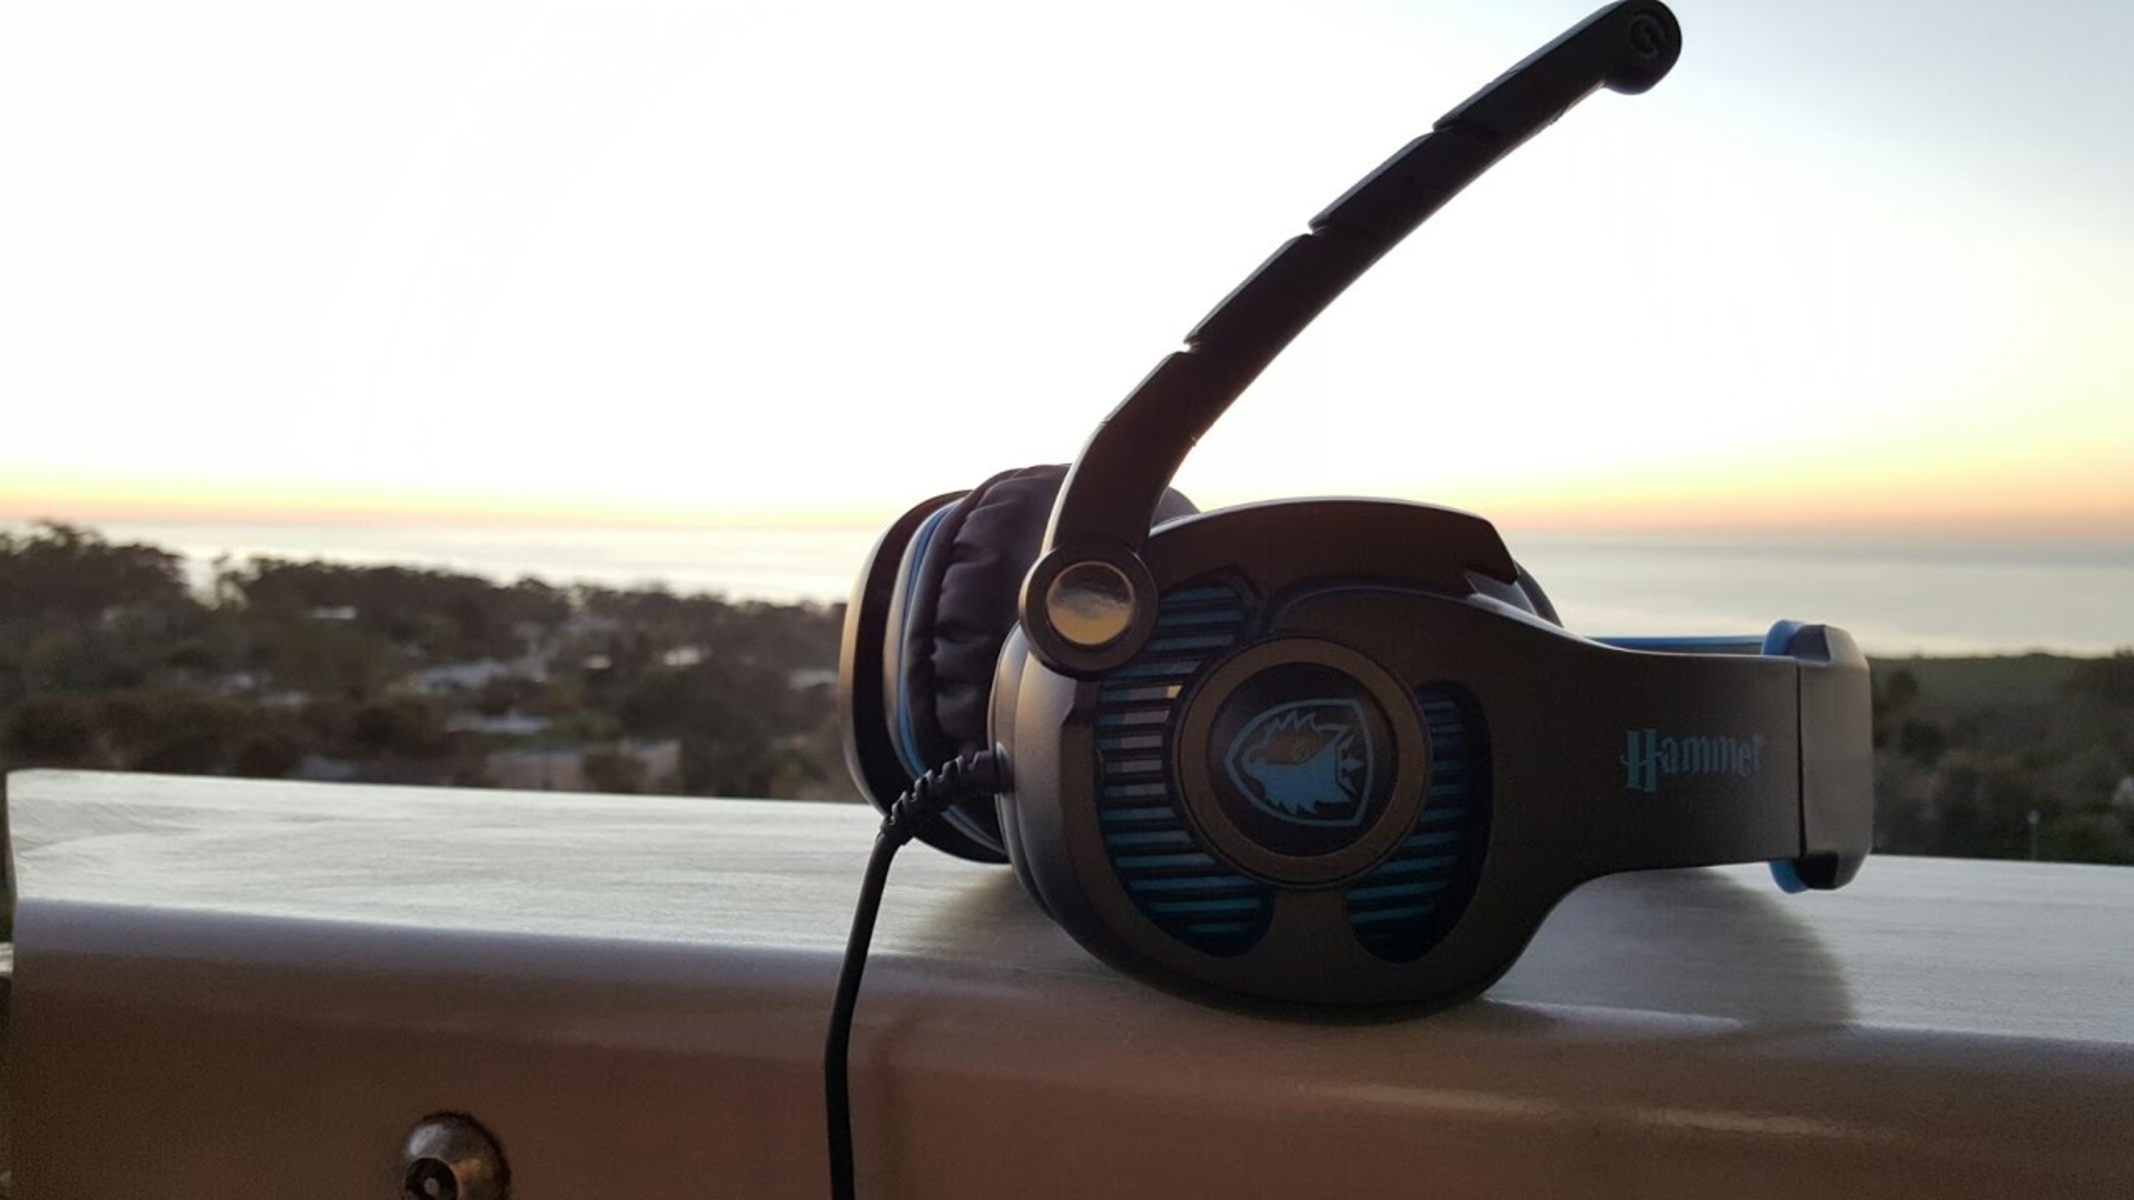
The Sades L9 gaming headset is a top-tier audio accessory crafted to elevate your gaming experience to new heights. With its sleek design, superior sound quality, and comfortable fit, this headset is a must-have for any avid gamer. Whether you're immersed in the intense action of first-person shooters or exploring vast open worlds, the Sades L9 delivers crystal-clear audio and immersive surround sound, allowing you to hear every subtle detail and communicate effectively with your teammates.
This article will guide you through the process of checking the connection of your Sades L9 gaming headset when connected to both a PC and a gaming console. Additionally, we'll provide troubleshooting tips to help you address any potential issues that may arise during the setup process. By the end of this guide, you'll have the knowledge and confidence to ensure that your Sades L9 headset is properly connected and optimized for an exceptional gaming experience.
So, let's dive into the world of seamless connectivity and superior audio performance as we explore the intricacies of the Sades L9 gaming headset and how to maximize its potential when connected to your gaming devices.
Checking the Connection on PC
Connecting your Sades L9 gaming headset to your PC is a straightforward process that ensures you can fully immerse yourself in the gaming experience. Follow these steps to verify that your headset is properly connected to your PC:
-
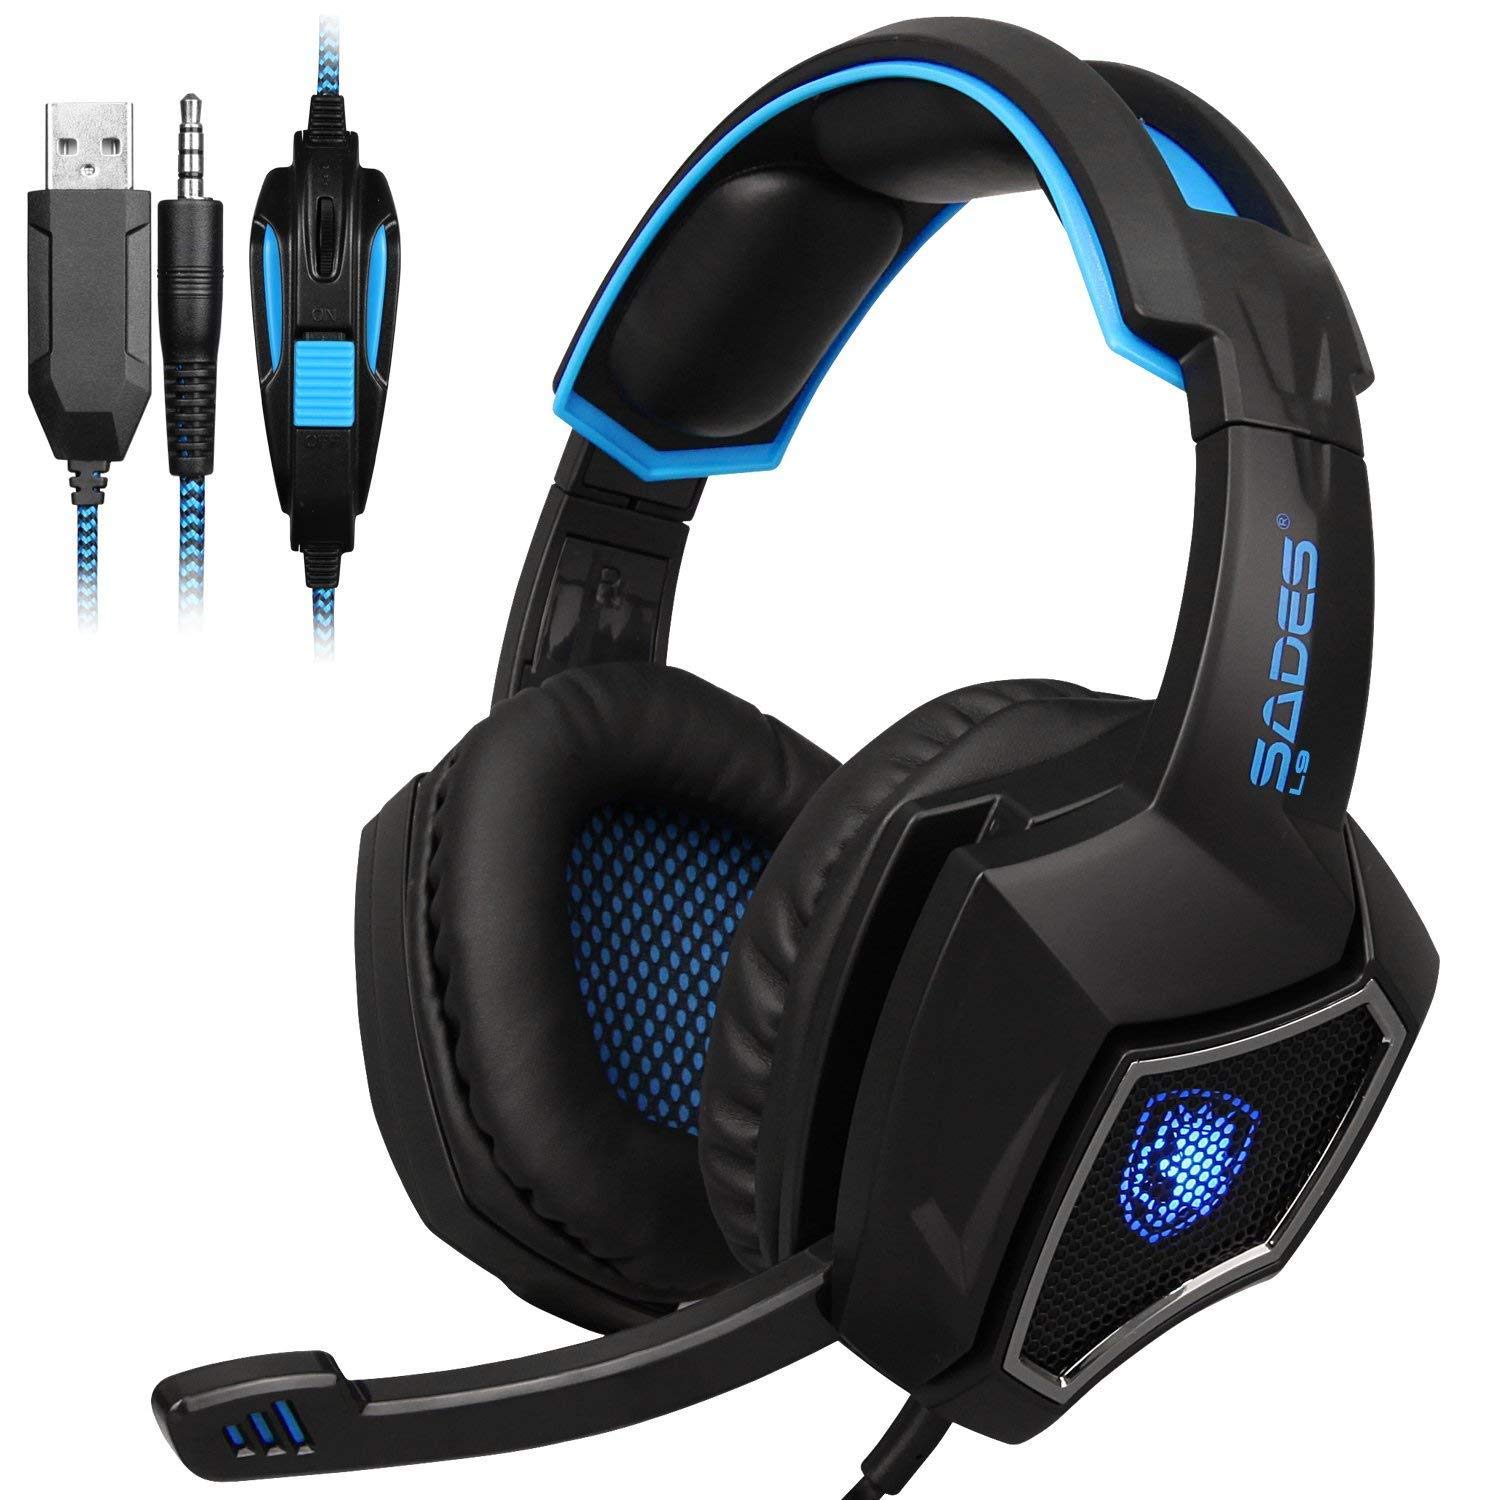
Physical Connection: Begin by ensuring that the headset is securely plugged into the appropriate audio and microphone jacks on your PC. The Sades L9 headset typically utilizes a standard 3.5mm audio jack for audio output and a separate 3.5mm jack for the microphone input. Confirm that both connectors are firmly inserted into the corresponding ports on your PC.
-
Device Recognition: Once the physical connection is established, navigate to your PC's audio settings. Check to see if the Sades L9 headset is recognized as an audio output device. In the sound settings, select the Sades L9 headset as the default playback device to ensure that audio is routed through the headset when it’s connected.
-
Microphone Configuration: Verify that the headset’s microphone is also recognized by your PC. Access the microphone settings and confirm that the Sades L9 headset microphone is detected and selected as the default recording device. This step is crucial for enabling clear communication with other players during gaming sessions.
If you’ve completed these steps and confirmed that the physical connection and device recognition are in order, your Sades L9 gaming headset should be successfully connected to your PC, allowing you to enjoy high-quality audio and seamless communication while gaming.
Checking the Connection on Console
Ensuring that your Sades L9 gaming headset is properly connected to your gaming console is essential for experiencing immersive audio and seamless communication during gameplay. Here’s a step-by-step guide to verifying the connection of your headset on a gaming console:
-
Physical Connection: Begin by connecting the headset to the appropriate audio output on your gaming console. The Sades L9 gaming headset typically utilizes a 3.5mm audio jack for audio output. Ensure that the headset’s audio connector is securely plugged into the corresponding port on your console.
-
Microphone Setup: If your gaming console supports microphone input, connect the Sades L9 headset’s microphone to the designated port. This step is crucial for enabling voice chat and in-game communication with other players.
-
Device Configuration: Access the audio settings on your gaming console and ensure that the Sades L9 headset is recognized as the default audio output device. This ensures that the audio from your games is routed through the headset, providing an immersive gaming experience.
By following these steps and confirming that the physical connection, microphone setup, and device configuration are properly configured, you can be confident that your Sades L9 gaming headset is successfully connected to your gaming console. This ensures that you can fully enjoy the rich audio quality and seamless communication features offered by the headset during your gaming sessions.
Troubleshooting Tips
While connecting your Sades L9 gaming headset to your PC or gaming console is typically straightforward, you may encounter occasional issues that can hinder the setup process. Here are some troubleshooting tips to address common connectivity challenges and ensure a seamless gaming experience:
-
Check Cable Connections: If you’re experiencing audio issues, verify that the headset’s audio and microphone cables are securely plugged into the corresponding ports on your PC or gaming console. Loose connections can result in audio disruptions or microphone malfunctions.
-
Update Audio Drivers: Ensure that your PC’s audio drivers are up to date. Outdated drivers can lead to compatibility issues with the Sades L9 headset, impacting audio quality and device recognition. Visit the manufacturer’s website or use a driver update utility to install the latest audio drivers for your PC.
-
Adjust Audio Settings: Access the audio settings on your PC or gaming console and verify that the Sades L9 headset is selected as the default audio output and microphone input device. Adjust the audio levels and microphone sensitivity to optimize the headset’s performance during gaming sessions.
-
Test on Another Device: If you’re encountering persistent issues, test the Sades L9 headset on another compatible device to determine if the problem is specific to a particular system. This can help isolate the source of the connectivity issue and guide troubleshooting efforts.
By following these troubleshooting tips, you can effectively address common connectivity challenges and ensure that your Sades L9 gaming headset is seamlessly integrated with your gaming setup. These proactive measures empower you to optimize the headset’s performance and enjoy uninterrupted audio and communication features while gaming.
Conclusion
In conclusion, ensuring that your Sades L9 gaming headset is properly connected to your PC or gaming console is essential for maximizing your gaming experience. By following the steps outlined in this guide, you can confidently verify the connection of your headset and address any potential issues that may arise during the setup process.
From checking the physical connections and device recognition on your PC to confirming the audio and microphone setup on your gaming console, each step plays a crucial role in establishing a seamless and immersive audio experience. Troubleshooting tips provided in this guide offer valuable insights into addressing common connectivity challenges, empowering you to optimize the performance of your Sades L9 gaming headset.
With the Sades L9 headset properly connected and configured, you can immerse yourself in the captivating audio landscapes of your favorite games while communicating effectively with your teammates. The seamless integration of the headset with your gaming devices ensures that you can enjoy crystal-clear audio, immersive surround sound, and reliable communication features, enhancing your overall gaming experience.
By leveraging the knowledge and troubleshooting techniques presented in this guide, you can overcome connectivity obstacles and unlock the full potential of your Sades L9 gaming headset, ultimately elevating your gaming sessions to new heights of audio excellence and seamless communication.