Introduction
Are you ready to elevate your gaming experience on the Xbox One S by immersing yourself in the captivating audio of your favorite games? Connecting a gaming headset to your Xbox One S allows you to enjoy high-quality sound, communicate with other players, and dive into the intricate details of the game environment. Whether you're a seasoned gamer or just getting started, understanding how to connect a gaming headset to your Xbox One S is essential for maximizing your gaming enjoyment.
In this comprehensive guide, you'll learn the step-by-step process of connecting your gaming headset to your Xbox One S. From checking the compatibility of your headset to making audio adjustments, we'll cover everything you need to know to seamlessly integrate your headset with your gaming console. By following these instructions, you'll be ready to embark on your gaming adventures with crystal-clear audio and seamless communication.
So, grab your favorite gaming headset, power up your Xbox One S, and let's dive into the exciting world of immersive gaming audio. Whether you're gearing up for intense multiplayer battles or exploring captivating single-player adventures, having a reliable and well-connected gaming headset will enhance every aspect of your gaming experience. Let's ensure that you're fully equipped to make the most of your gaming headset and unleash the full potential of your Xbox One S.
Step 1: Check the Compatibility of Your Gaming Headset
Before diving into the process of connecting your gaming headset to the Xbox One S, it's crucial to ensure that your headset is compatible with the console. Compatibility issues can lead to frustrating experiences, such as audio distortion, microphone malfunctions, or the inability to establish a connection altogether. To avoid these setbacks, follow these steps to verify the compatibility of your gaming headset:
- Review the Xbox One S Compatibility: Start by checking the official compatibility list provided by Xbox for gaming headsets. This list outlines the specific headsets that are designed to work seamlessly with the Xbox One S. If your headset is listed, you can proceed with confidence, knowing that it has been optimized for use with your console.
- Check the Connection Type: Determine the connection type of your gaming headset. Some headsets utilize a 3.5mm audio jack, while others may require a USB connection or a separate adapter. Ensure that your Xbox One S controller or console supports the specific connection type of your headset.
- Verify Mic Compatibility: If your gaming headset features a microphone, confirm that it is compatible with the Xbox One S. Certain headsets may require additional settings or adapters to enable microphone functionality on the console.
By conducting these compatibility checks, you can preemptively address any potential issues that may arise during the connection process. This proactive approach will help you avoid frustration and ensure a smooth integration of your gaming headset with the Xbox One S. Once you've confirmed the compatibility of your headset, you're ready to proceed to the next step and establish the physical connection between your headset and the Xbox One S controller.
Step 2: Connect the Headset to the Xbox One S Controller
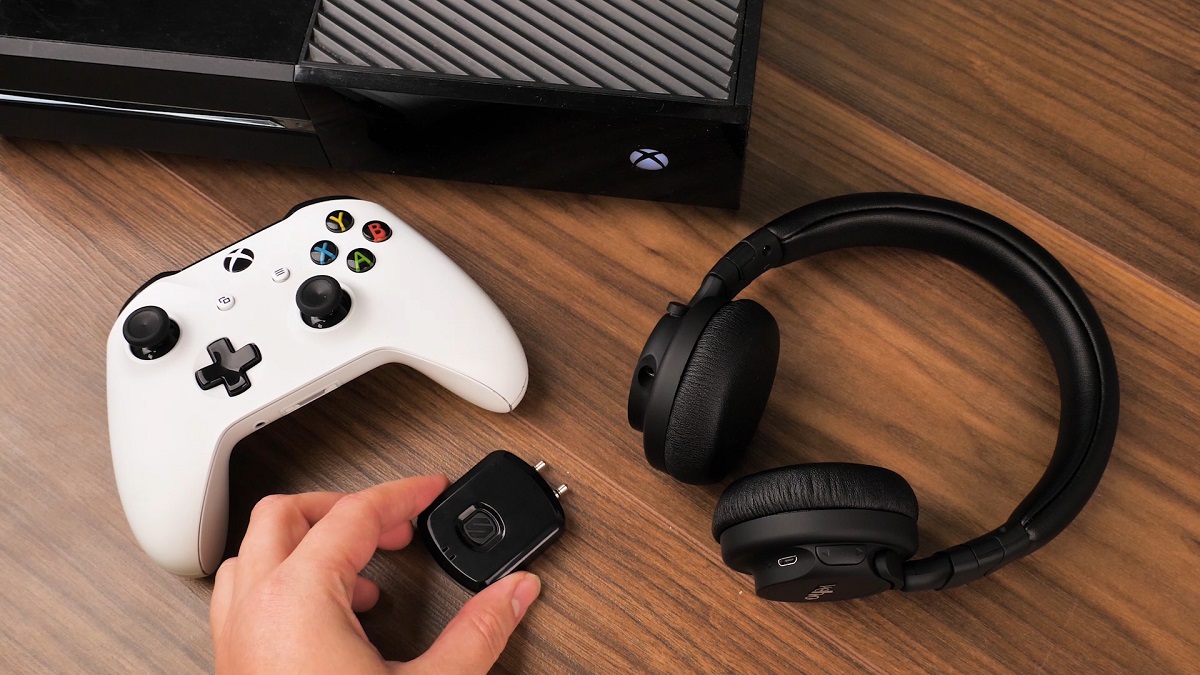
Now that you’ve verified the compatibility of your gaming headset with the Xbox One S, it’s time to establish a physical connection between the headset and the controller. This process may vary depending on the type of headset you have, so follow these general steps to connect your gaming headset to the Xbox One S controller:
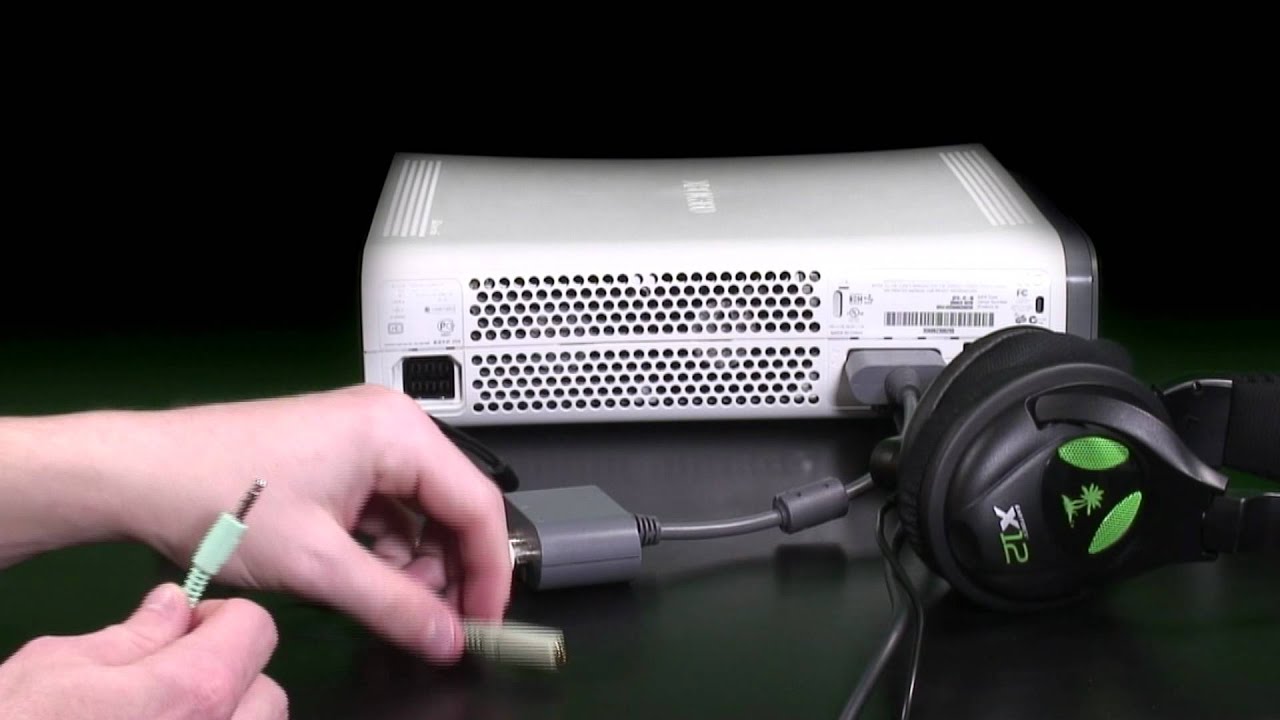
- Locate the 3.5mm Audio Jack: If your gaming headset utilizes a 3.5mm audio jack, identify the corresponding port on your Xbox One S controller. This port is typically located at the bottom of the controller, near the center. Ensure that the controller is powered on and ready for the connection process.
- Insert the Audio Jack: Gently insert the 3.5mm audio jack of your gaming headset into the designated port on the Xbox One S controller. Apply steady pressure to ensure a secure connection, but avoid using excessive force that could potentially damage the port or the headset’s jack.
- Adjust the Headset Volume: Once the headset is connected, adjust the volume settings on the headset itself to a comfortable level. Some headsets feature inline volume controls, while others may require adjustments directly through the Xbox One S console or controller.
- Secure the Connection: After connecting the headset, ensure that the audio jack is securely plugged into the controller. A loose connection can lead to audio disruptions or the inability to transmit sound effectively.
By following these steps, you’ll establish a reliable physical connection between your gaming headset and the Xbox One S controller. This connection sets the stage for immersive audio experiences and seamless communication during your gaming sessions. With the headset securely connected, you’re ready to proceed to the next step and fine-tune the audio settings on your Xbox One S to optimize the performance of your gaming headset.
Step 3: Adjust Audio Settings on Xbox One S
Once your gaming headset is physically connected to the Xbox One S controller, it’s essential to configure the audio settings on the console to ensure optimal performance and an immersive gaming experience. By adjusting these settings, you can fine-tune the audio output, microphone input, and overall sound balance to suit your preferences. Follow these steps to adjust the audio settings on your Xbox One S:
- Access the Xbox One S Settings: Navigate to the home screen of your Xbox One S and select the “Settings” option. This will provide access to a range of system settings, including those related to audio and sound output.
- Open the Audio Settings: Within the Settings menu, locate and select the “Display & Sound” option. From there, you can access the audio settings that govern the output and input devices connected to your Xbox One S.
- Configure Headset Audio: Look for specific options related to headset audio settings. This may include the ability to adjust the headset volume, enable or disable microphone monitoring, and fine-tune the balance between game audio and chat audio.
- Test the Audio Output: Utilize the built-in audio testing features on the Xbox One S to ensure that the headset is transmitting sound correctly. This can help you identify any potential issues with the audio output and make necessary adjustments.
- Adjust Microphone Settings: If your gaming headset features a microphone, access the microphone settings within the Xbox One S menu. Here, you can adjust the microphone sensitivity, enable voice feedback, and configure other microphone-related options.
By carefully adjusting the audio settings on your Xbox One S, you can tailor the sound output and microphone input to match your preferences and ensure a seamless gaming experience. These settings allow you to fine-tune the audio balance, enhance communication with other players, and immerse yourself in the rich soundscapes of your favorite games. With the audio settings optimized, you’re ready to move on to the next step and test the headset to confirm that everything is functioning as intended.
Step 4: Test the Headset and Make Necessary Adjustments
After connecting and adjusting the audio settings for your gaming headset on the Xbox One S, it’s crucial to thoroughly test the headset to ensure that both the audio output and microphone input are functioning as intended. By conducting a comprehensive test, you can identify any potential issues and make the necessary adjustments to deliver an optimal gaming experience. Follow these steps to test your headset and make any required adjustments:
- Audio Output Test: Launch a game or multimedia application on your Xbox One S to test the audio output of your gaming headset. Pay attention to the clarity, volume, and spatial positioning of the sound. Ensure that both the left and right audio channels are functioning correctly.
- Microphone Test: Initiate a voice chat or use the built-in microphone testing features on your Xbox One S to verify the functionality of the headset’s microphone. Speak into the microphone and confirm that your voice is being transmitted clearly to other players.
- Adjust Sound Balance: If you notice any imbalance between game audio and chat audio, return to the audio settings on your Xbox One S to fine-tune the sound balance. This ensures that you can hear in-game audio and communicate with other players without one overpowering the other.
- Check for Audio Distortions: Listen for any distortions, crackling, or static in the audio output of your headset. If you encounter any issues, consider adjusting the volume levels, checking the physical connection, or troubleshooting potential interference sources.
- Confirm Microphone Sensitivity: Test the microphone sensitivity by speaking at varying volumes and distances from the microphone. Adjust the microphone sensitivity settings on your Xbox One S to ensure that your voice is captured clearly without picking up excessive background noise.
By thoroughly testing your gaming headset and making the necessary adjustments, you can address any potential issues and fine-tune the audio and microphone settings to deliver an immersive and seamless gaming experience. This proactive approach ensures that your headset is fully optimized for use with your Xbox One S, allowing you to enjoy crystal-clear audio and effective communication with other players during your gaming sessions.
Conclusion
Congratulations! By following the step-by-step process outlined in this guide, you’ve successfully connected your gaming headset to your Xbox One S, ensuring that you’re poised to experience immersive audio and seamless communication during your gaming adventures. From checking the compatibility of your headset to fine-tuning the audio settings, you’ve taken the necessary steps to optimize the performance of your gaming headset and integrate it seamlessly with your Xbox One S.
With your gaming headset securely connected to the Xbox One S controller, you’ve opened the door to a world of rich, detailed soundscapes that will enhance every gaming experience. Whether you’re navigating intense multiplayer battles, exploring captivating single-player narratives, or immersing yourself in the intricacies of virtual worlds, your gaming headset will serve as a reliable companion, delivering high-quality audio and enabling effective communication with other players.
Remember, as you continue to use your gaming headset with the Xbox One S, don’t hesitate to revisit the audio settings, test the headset’s functionality, and make adjustments as needed. This proactive approach will ensure that your gaming headset consistently delivers exceptional audio performance, allowing you to stay fully immersed in the gaming environment and maintain clear communication with fellow players.
Now, armed with a deep understanding of how to connect and optimize your gaming headset for the Xbox One S, you’re ready to embark on thrilling gaming experiences with a newfound level of audio immersion and communication capabilities. Whether you’re seeking competitive victories, unraveling captivating narratives, or simply enjoying the immersive audio of your favorite games, your gaming headset and Xbox One S are now perfectly aligned to elevate every aspect of your gaming journey.
So, power up your Xbox One S, don your gaming headset, and prepare to be transported into the captivating realms of your favorite games, where every sound and communication exchange will be enriched by the seamless connection between your headset and console.