Introduction
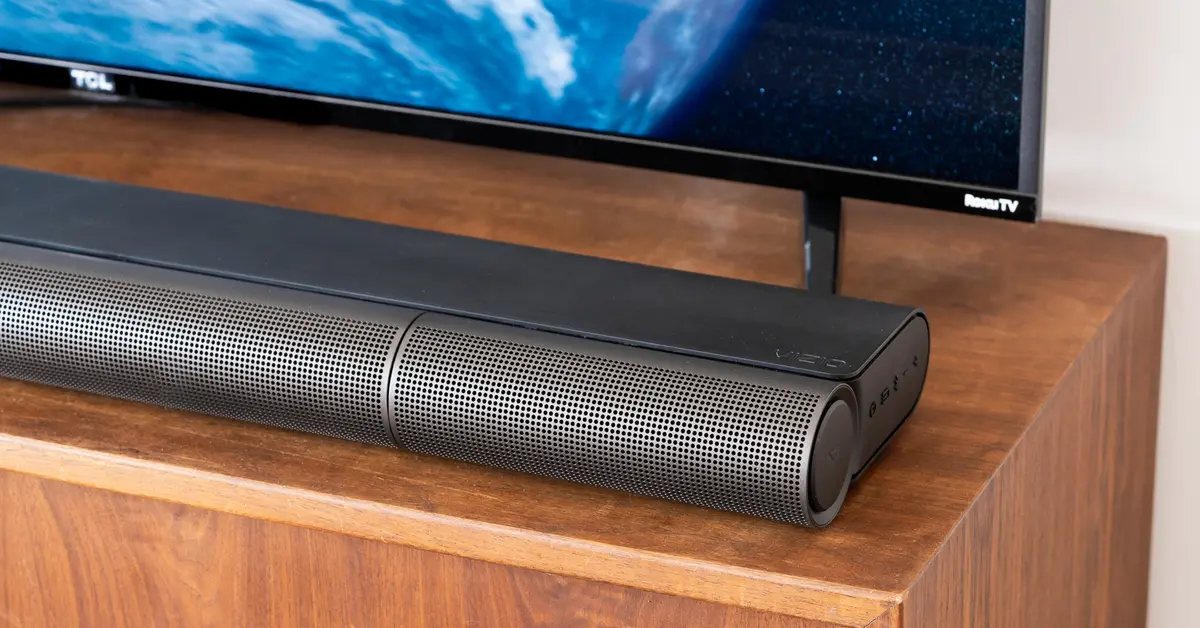
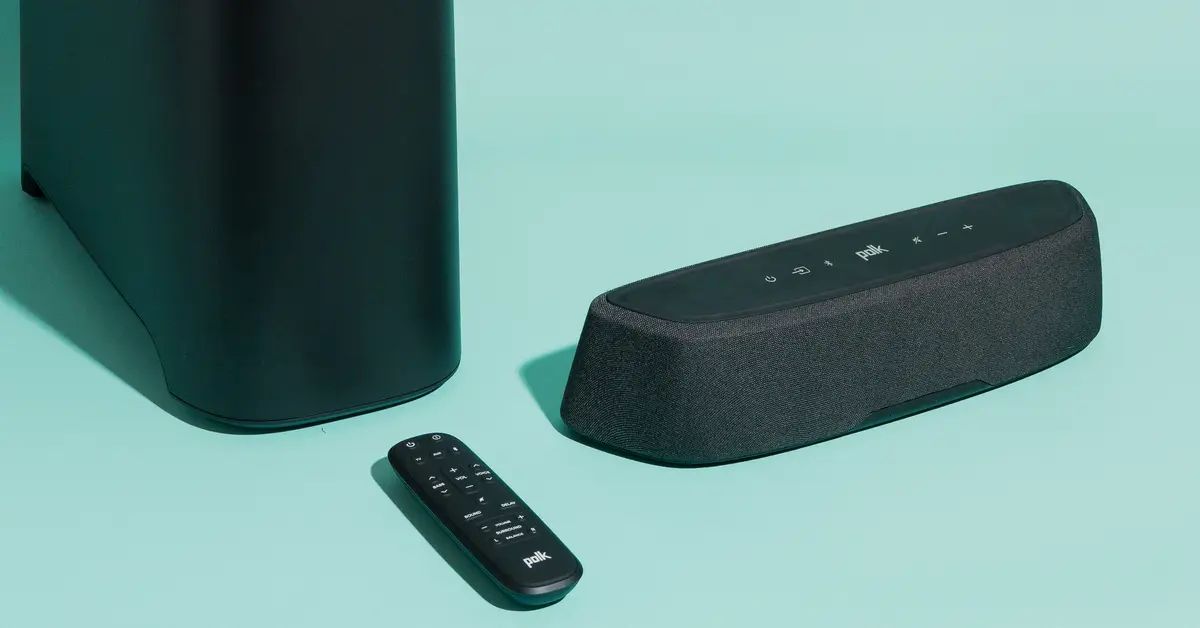
When it comes to enhancing the audio experience of your TV, a soundbar is a popular choice. A soundbar is a sleek and compact speaker system that delivers immersive sound quality, making your movie nights or gaming sessions even more enjoyable. But what is the best way to connect a soundbar to your TV?
In this article, we will explore various connection options to help you find the ideal method for your setup. Whether you’re a tech-savvy individual looking for the best audio quality or a casual TV watcher seeking simplicity, we’ve got you covered.
Before diving into the specific connection options, it’s important to note that the available connections may vary depending on the model of your TV and soundbar. It’s recommended to consult the user manuals or manufacturer’s websites for detailed instructions relevant to your specific devices.
Now, let’s take a closer look at some of the different methods for connecting your soundbar to your TV.
HDMI Connection
One of the most popular and versatile methods for connecting a soundbar to a TV is through an HDMI connection. HDMI (High Definition Multimedia Interface) cables provide both high-quality audio and video transmission in a single cable, making it a convenient option.
To establish an HDMI connection between your soundbar and TV, follow these steps:
- Ensure that both your soundbar and TV have HDMI ports. Most modern TVs and soundbars are equipped with at least one HDMI port, but it’s always good to double-check.
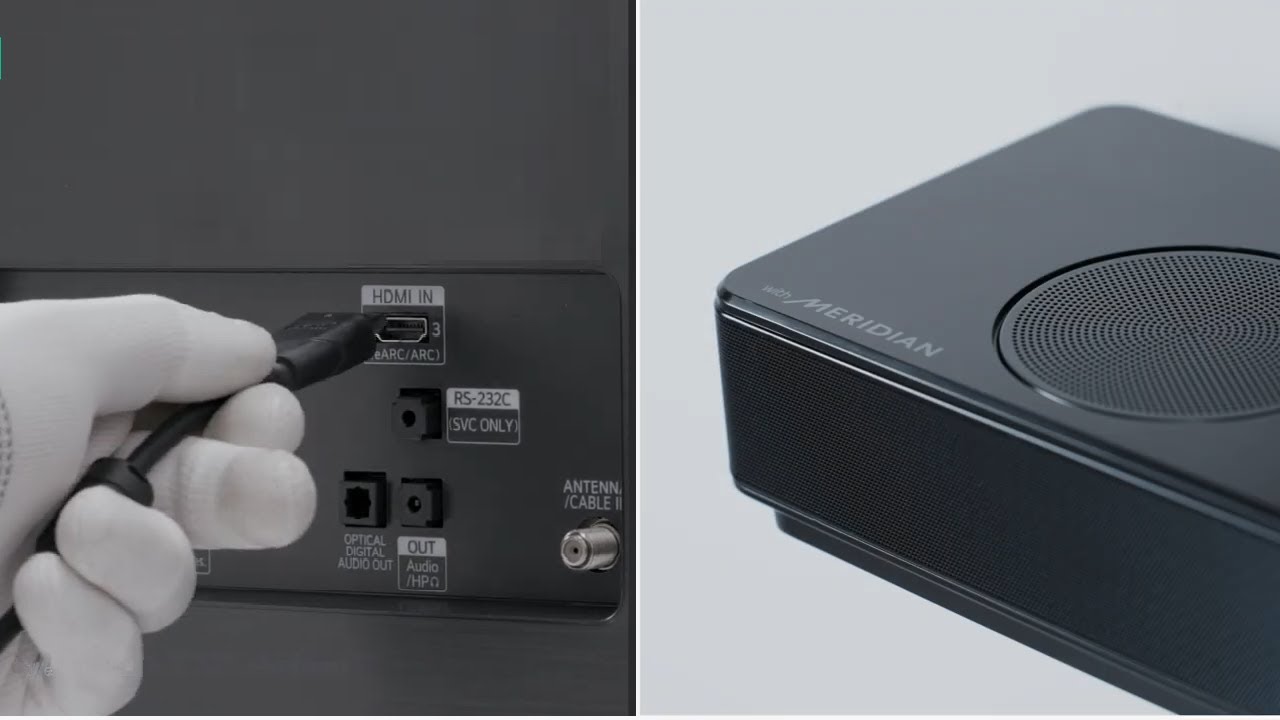
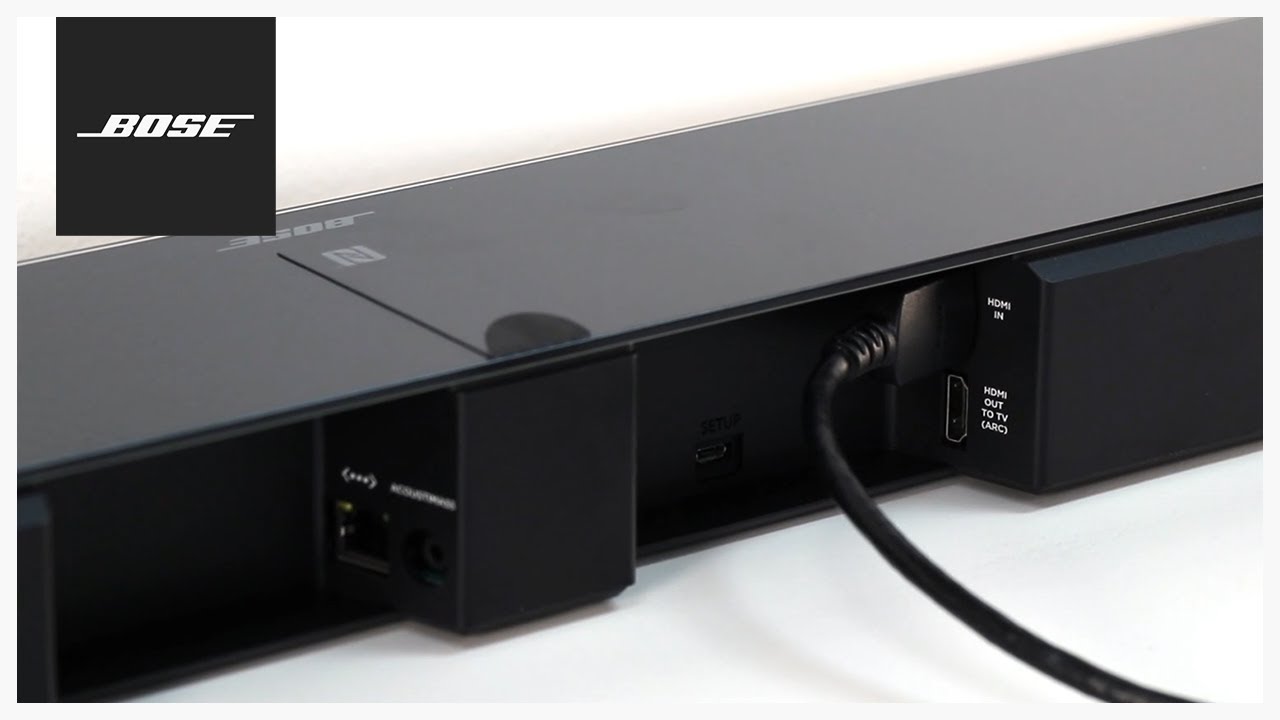
- Connect one end of the HDMI cable to the HDMI OUT port on the soundbar and the other end to an available HDMI IN port on your TV.
- On your TV, navigate to the settings menu and select the audio output option. Choose “HDMI” or “External Speakers” as the audio output source.
- Turn on your soundbar and select the appropriate HDMI input source using the soundbar’s remote control or buttons. This may be labeled as “HDMI,” “ARC,” or a specific HDMI port number.
Once the HDMI connection is established, your soundbar should start receiving audio signals from your TV. The advantage of using an HDMI connection is that it supports high-quality audio formats like Dolby Atmos and DTS:X, providing a truly immersive audio experience.
Furthermore, HDMI-CEC (Consumer Electronics Control) allows you to control the soundbar’s volume and power using your TV’s remote control. This eliminates the need for multiple remotes and provides a seamless user experience.
While HDMI connections offer excellent audio quality and convenience, there are a few considerations to keep in mind. Some older TVs may not support ARC (Audio Return Channel) through HDMI, which is essential for two-way audio communication between the TV and soundbar.
In such cases, it’s recommended to check if your soundbar has HDMI ARC compatibility and connect the HDMI OUT port of the soundbar to the HDMI IN port of the TV that supports ARC. This will ensure that audio signals are sent from the TV to the soundbar, allowing you to enjoy the soundbar’s enhanced audio performance.
Optical Audio Connection
If your TV and soundbar don’t have HDMI ports or you prefer an alternative connection method, an optical audio connection is another viable option. Optical audio cables, also known as TOSLINK cables, transmit digital audio signals using light, delivering high-quality audio to your soundbar.
To establish an optical audio connection, follow these steps:
- Ensure that both your TV and soundbar have optical audio ports. The optical audio port on your TV is usually labeled as “Optical Out” or “Digital Audio Out,” while the optical audio port on the soundbar is often labeled as “Optical In” or “Digital In.”
- Insert one end of the optical audio cable into the optical audio port on the TV and the other end into the optical audio port on the soundbar.
- On your TV, go to the audio settings menu and select the audio output source. Choose “Digital Audio Out” or “Optical Out” as the audio output option.
- Power on your soundbar and select the appropriate input source using the soundbar’s remote control or buttons. This may be labeled as “Optical,” “D-In,” or something similar.
Once the optical audio connection is established, your soundbar will receive the audio signals from your TV, enabling you to enjoy enhanced sound quality for your favorite movies, TV shows, or games.
One advantage of the optical audio connection is its compatibility with various audio formats, including Dolby Digital and DTS. Additionally, optical cables are immune to electrical interference, ensuring a clean and uninterrupted audio signal.
However, it’s important to note that optical audio cables can only transmit audio signals and not video. If you need to transmit both audio and video signals, an HDMI connection would be a better option.
Another consideration when using an optical audio connection is that it does not support advanced audio formats like Dolby Atmos, which require HDMI connections. If you prioritize immersive audio technologies, HDMI may be a more suitable choice.
Lastly, some older TVs may require you to manually enable the optical audio output in the settings menu. Refer to your TV’s user manual for instructions on how to enable this feature if necessary.
RCA Connection
If you have an older TV or soundbar that lacks HDMI or optical audio ports, the RCA connection is a reliable and straightforward method to connect your soundbar. RCA (Radio Corporation of America) cables, also known as analog audio cables, transmit audio signals using red and white connectors.
To establish an RCA connection between your TV and soundbar, follow these steps:
- Check if both your TV and soundbar have RCA ports. The RCA output is commonly found on the back of the TV, while the RCA input is often located on the soundbar.
- Connect the red RCA plug to the red RCA output on the TV and the white RCA plug to the white RCA output. Ensure that the colors match the corresponding ports.
- Insert the other end of the RCA cables into the corresponding red and white input ports on the soundbar.
- Power on your soundbar and select the appropriate input source using the soundbar’s remote control or buttons. This may be labeled as “AUX,” “Analog,” or similar.
Once the RCA connection is established, your soundbar will receive the audio signals from your TV, providing an enhanced audio experience compared to the TV’s built-in speakers.
While RCA connections are simple and reliable, it’s important to note that they are analog connections. This means that they may not provide the same level of audio quality and clarity as digital connections like HDMI or optical audio. However, for casual TV watching and basic audio needs, RCA connections can still deliver satisfactory results.
Additionally, RCA cables are not as versatile as HDMI or optical audio cables since they can only transmit analog audio signals. If you require advanced audio formats like Dolby Digital or DTS, HDMI or optical audio connections would be recommended.
It’s also essential to check if your TV has RCA output ports, as some newer models may not provide this connection option. If your TV lacks RCA ports, consider using alternate connections like HDMI or optical audio.
Lastly, keep in mind that RCA connections require the use of separate cables for audio and video transmission. If you need to transmit both audio and video, it’s advisable to opt for a connection method that supports both simultaneously, such as HDMI.
Bluetooth Connection
If you prefer a wireless connection that offers convenience and flexibility, a Bluetooth connection is a suitable option for connecting your soundbar to your TV. Bluetooth technology allows for the wireless transmission of audio signals from your TV to the soundbar.
To establish a Bluetooth connection between your TV and soundbar, follow these steps:
- Ensure that both your TV and soundbar support Bluetooth capability. Most modern TVs and soundbars are equipped with Bluetooth functionality, but it’s important to double-check.
- On your TV, go to the settings menu and enable Bluetooth. This option might be under the audio or connectivity section, depending on your TV model.
- Put your soundbar in pairing mode by pressing and holding the Bluetooth or pairing button on the soundbar or using the remote control.
- On your TV, search for available Bluetooth devices and select your soundbar from the list of available devices.
- Once the connection is established, you can start playing audio on your TV, and the sound will be wirelessly transmitted to the soundbar.
The Bluetooth connection offers a lot of flexibility as it allows you to position the soundbar anywhere within the Bluetooth range of your TV without the need for physical cables. This makes it convenient for those who want to avoid cable clutter or have limited space.
However, it’s important to note that Bluetooth connections may have limitations. The sound quality can be affected by factors such as distance, obstacles, and interference from other wireless devices. Additionally, Bluetooth may introduce a slight audio delay, which can be noticeable when watching videos or playing games.
Bluetooth connections are most suitable for casual TV watching, listening to music, or even streaming audio from mobile devices. If you’re looking for an immersive home theater experience or require high-quality audio, you may want to consider other connection options like HDMI or optical audio.
Lastly, it’s important to check the Bluetooth compatibility of your TV and soundbar. Different versions of Bluetooth (e.g., Bluetooth 4.0, 5.0) may offer different capabilities and levels of audio quality. Make sure both devices support a compatible Bluetooth version for optimal performance.
HDMI ARC (Audio Return Channel)
The HDMI ARC (Audio Return Channel) is a feature available on most modern TVs and soundbars that simplifies the audio connection process. With HDMI ARC, you can transmit audio signals from your TV to the soundbar using a single HDMI cable, eliminating the need for additional audio cables.
To set up an HDMI ARC connection between your TV and soundbar, follow these steps:
- Make sure that both your TV and soundbar have HDMI ARC ports. The HDMI ARC port on your TV is usually labeled as “HDMI ARC” or “ARC,” while the HDMI ARC port on the soundbar might be labeled similarly.
- Connect one end of an HDMI cable to the HDMI ARC port on your TV and the other end to the HDMI ARC port on the soundbar.
- Check the TV’s audio settings menu and enable the HDMI ARC feature. This option may be located in the audio or connectivity settings.
- Ensure that your soundbar is powered on and set to the appropriate input source, which may be labeled as “HDMI ARC” or “ARC.”
Once the HDMI ARC connection is established, the audio signals from your TV will be automatically routed to the soundbar, enhancing the sound quality for your viewing experience.
The HDMI ARC feature offers added convenience by allowing you to control the soundbar’s volume using your TV’s remote control. This simplifies the operation and eliminates the need for an additional remote to control the soundbar’s audio settings.
It’s important to note that HDMI ARC uses the same HDMI cable that transmits video signals from your TV to other devices, such as gaming consoles or Blu-ray players. The HDMI ARC eliminates the need for a separate audio cable, reducing cable clutter and simplifying the setup process.
However, not all HDMI ports support ARC functionality. On your TV, make sure to connect the HDMI cable to the designated HDMI ARC port for the audio return channel to work properly.
Additionally, some older TVs may not support HDMI ARC. In such cases, you can refer to your soundbar’s manual to explore alternative connection options, such as optical audio or RCA cables, to connect your TV and soundbar for audio playback.
If your soundbar has HDMI ARC compatibility but your TV doesn’t, you can still use the HDMI ARC port on the soundbar to enjoy superior sound quality by connecting other devices directly to the soundbar while connecting the soundbar to the TV using another method like optical audio or RCA cables.
Wi-Fi Connection
A Wi-Fi connection is a convenient option for connecting your soundbar to your TV, especially if you prefer a wireless setup. With a Wi-Fi connection, you can stream audio wirelessly from your TV or other devices directly to the soundbar.
To set up a Wi-Fi connection between your TV and soundbar, follow these steps:
- Ensure that both your TV and soundbar have built-in Wi-Fi capabilities. Most modern smart TVs and soundbars come equipped with Wi-Fi connectivity.
- On your soundbar, access the Wi-Fi settings menu. This can usually be done through the soundbar’s remote control, buttons, or companion app.
- Activate the Wi-Fi pairing mode on your soundbar. This may involve pressing a button or navigating through the menu options.
- On your TV, navigate to the audio settings menu and select the soundbar as the audio output source. This process may vary depending on your TV model and operating system.
Once the Wi-Fi connection is established, your soundbar will be able to receive audio signals wirelessly from your TV. This allows you to enjoy high-quality sound without the need for physical cables.
A Wi-Fi connection also offers additional advantages beyond cable-free convenience. You can enjoy multi-room audio functionality, allowing you to create a whole-home audio system by syncing your soundbar with other compatible speakers in different rooms.
In addition to TV audio, a Wi-Fi connection enables you to stream media content directly to your soundbar from various online sources. This includes music streaming services, podcasts, and internet radio, expanding your audio options beyond what’s available on your TV.
It’s important to note that Wi-Fi connections may require a stable and reliable network connection for optimal performance. Ensure that your Wi-Fi signal is strong and that your network is capable of handling the data transfer requirements of streaming audio content.
If you encounter connectivity issues or prefer a more direct audio connection, you can consider combining a Wi-Fi connection with other connection options like HDMI or optical audio. This way, you can switch between different connection methods based on your preference or specific audio needs.
Lastly, it’s important to consider the compatibility between your TV, soundbar, and the Wi-Fi streaming protocols they support. Both devices should be compatible with the same Wi-Fi standards (e.g., 802.11n or 802.11ac) to ensure seamless and stable audio streaming.
Considerations for Connecting Soundbar to TV
When connecting a soundbar to your TV, there are several considerations to keep in mind to ensure the best audio experience. Here are some important factors to consider:
- Compatibility: Ensure that your TV and soundbar have compatible connection ports. Check the user manuals or manufacturer’s websites to confirm the available ports and connection options for both devices.
- Audio Formats: Consider the audio formats supported by your soundbar and TV. If you want to enjoy advanced audio formats like Dolby Atmos or DTS:X, ensure that your chosen connection method (such as HDMI) supports these formats.
- Audio Settings: Familiarize yourself with the audio settings on both your TV and soundbar. Adjustments such as volume levels, equalizer settings, and audio presets can significantly enhance your audio experience.
- Space and Placement: Consider the physical space available and the placement options for your soundbar. Ensure that the soundbar fits properly in your TV setup and is positioned optimally to deliver balanced and immersive sound.
- Cable Management: Plan your cable management to avoid messy cables and potential tripping hazards. Use cable clips, cable covers, or cable management systems to keep your setup organized and safe.
- Remote Control: If you prefer convenience, consider the compatibility between your TV and soundbar when it comes to remote control functions. HDMI-CEC or similar features allow you to control the soundbar’s volume and power using your TV’s remote.
- Future Expansion: Anticipate future needs and consider the flexibility of your chosen connection method. Ensure that your soundbar and TV have additional ports or connectivity options to accommodate future devices or upgrades.
By taking these considerations into account, you can ensure a seamless and enjoyable experience when connecting your soundbar to your TV. Experiment with different connection options and audio settings to find the setup that best suits your preferences and audio needs.
Conclusion
Connecting a soundbar to your TV is a great way to enhance your audio experience and immerse yourself in your favorite movies, shows, or games. With various connection options available, you can find the best method that suits your setup and preferences.
Whether you opt for an HDMI connection for high-quality audio and video transmission, an optical audio connection for simplicity, an RCA connection for compatibility with older devices, a Bluetooth connection for wireless convenience, or a Wi-Fi connection for versatile streaming capabilities, each method has its own advantages and considerations.
When connecting your soundbar to your TV, it’s crucial to consider compatibility, audio formats, settings, space, cable management, remote control options, and future expansion possibilities. By taking these factors into account, you can optimize your audio setup and create a personalized entertainment environment.
Remember to consult the user manuals or manufacturer’s websites for specific instructions relevant to your TV and soundbar models. This will help ensure a seamless and successful connection process.
Ultimately, the choice of connection method depends on your preferences, the capabilities of your devices, and your desired audio experience. Whether you’re a tech enthusiast seeking the highest audio quality or a casual viewer seeking simplicity, there’s a connection option suitable for you.
Experiment with different connection methods and audio settings to find the setup that delivers the best sound quality and meets your specific needs. Sit back, relax, and enjoy immersive audio with your newly connected soundbar and TV.


