Introduction
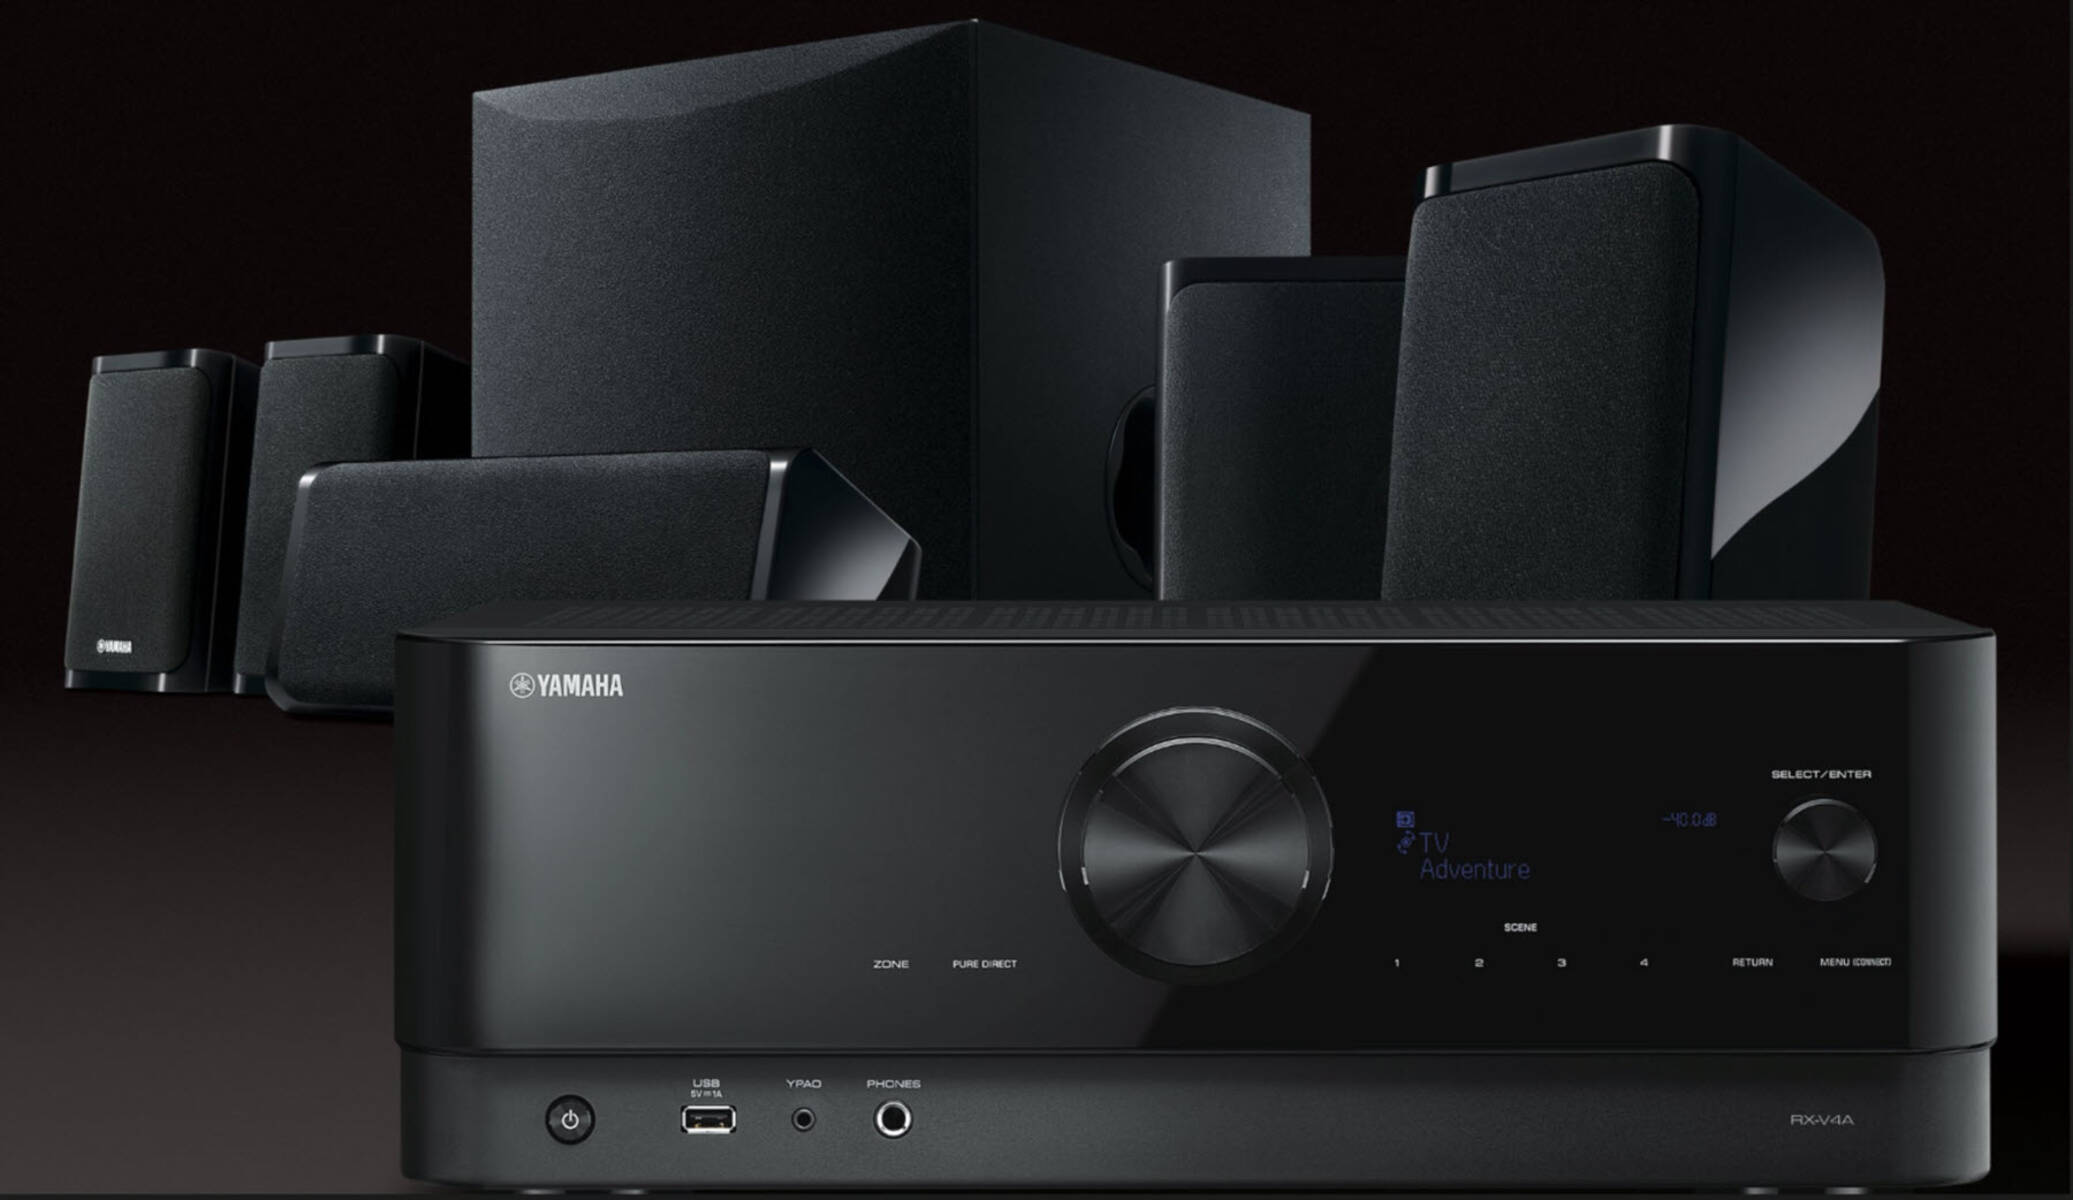
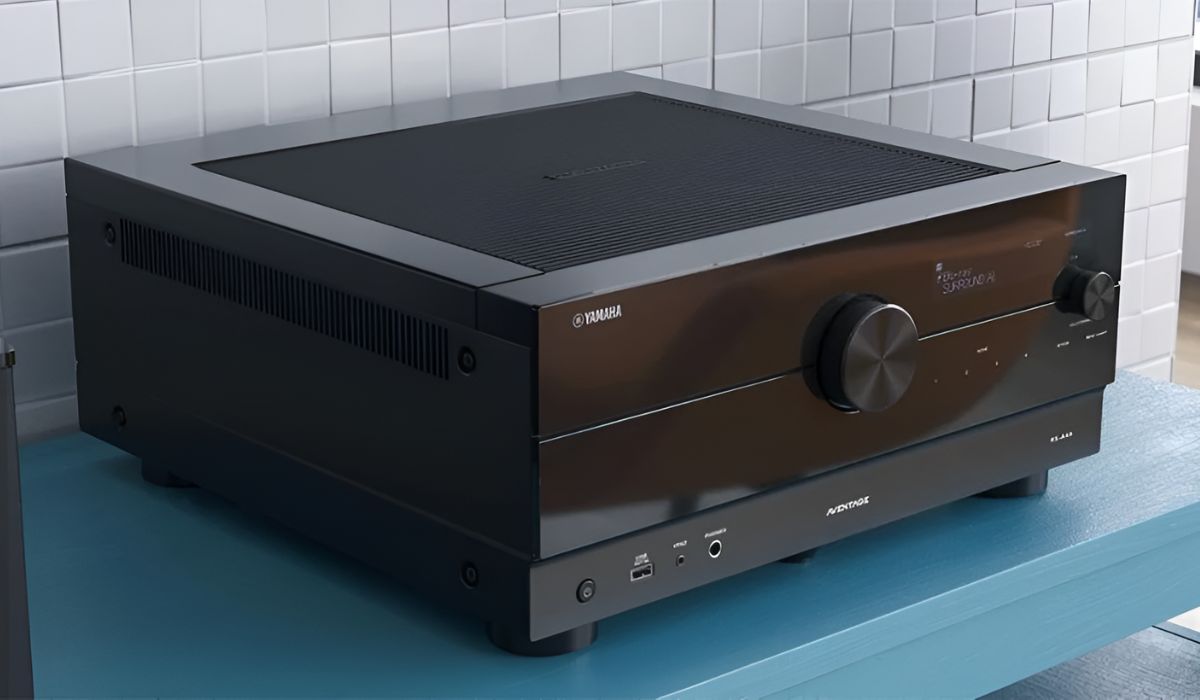
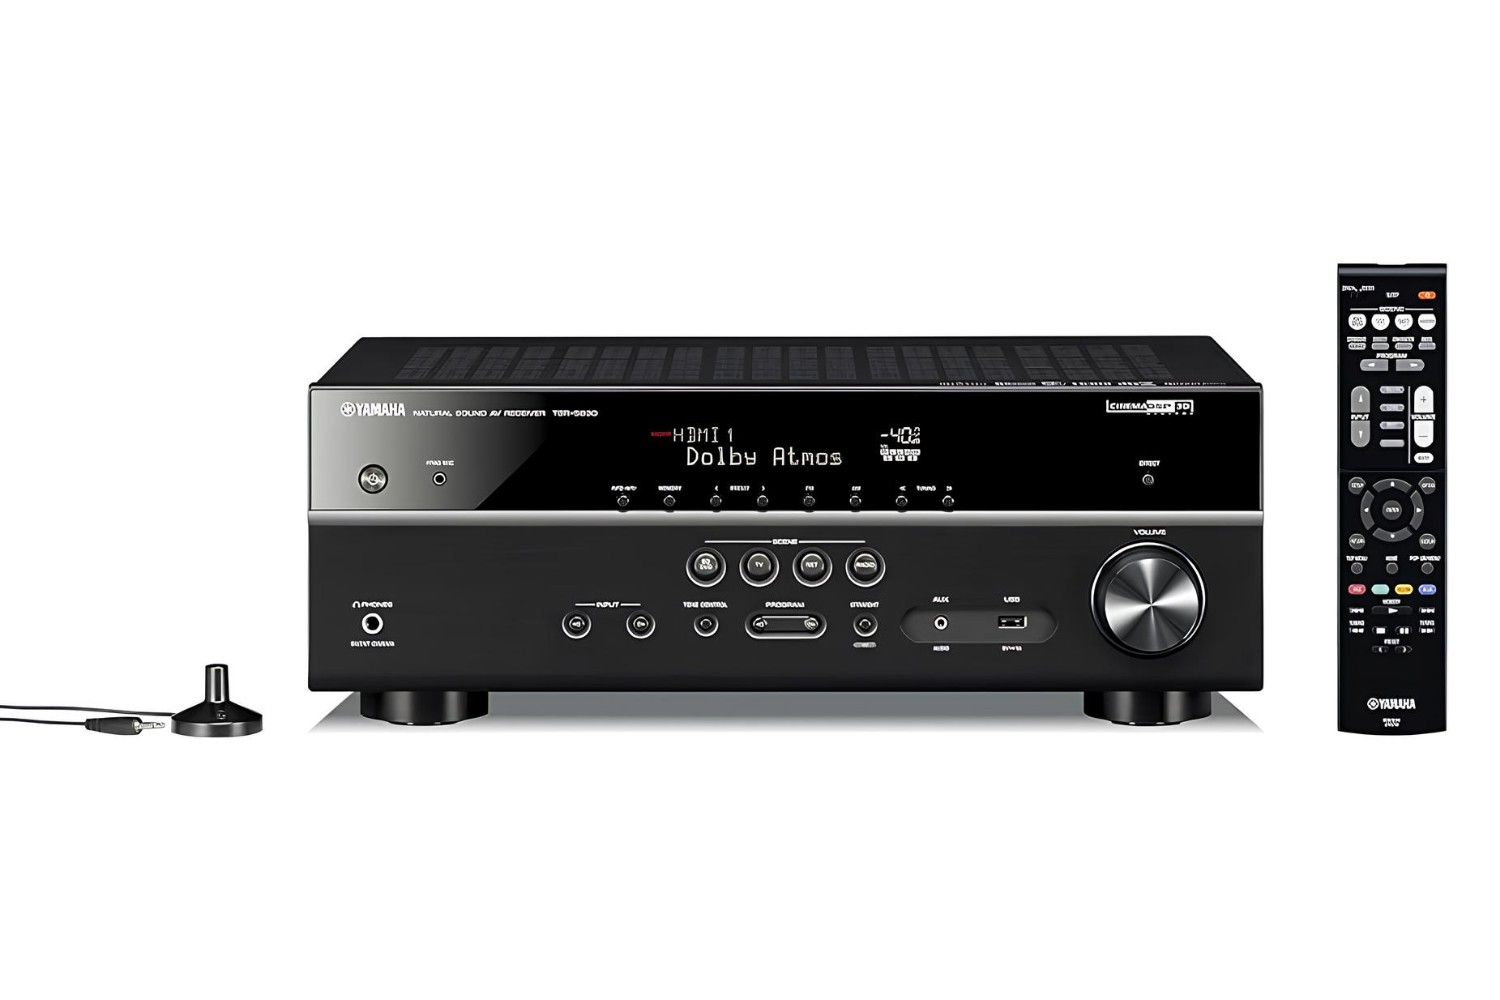
Welcome to the world of surround sound systems! If you’re the proud owner of a Yamaha surround sound system, you’re in for an immersive audio experience like no other. As you dive into the world of setting up your system for optimal performance, one question that might come to mind is: What Hz should I set my crossover on my Yamaha surround sound system?
The crossover is a crucial element in your surround sound system that determines the frequency range each speaker is responsible for reproducing. It ensures a seamless transition between speakers, delivering a balanced and cohesive audio output.
Setting the correct crossover frequency is essential for achieving the best possible sound quality and immersive experience while watching movies, listening to music, or playing games. But how do you determine the ideal crossover frequency for your system?
In this article, we will explore everything you need to know about setting the crossover frequency on your Yamaha surround sound system. We will discuss the factors to consider, provide recommendations, and offer tips to optimize your system’s performance. By the end, you’ll have the knowledge and confidence to fine-tune your system and enjoy an audio experience like never before.
Understanding the Crossover on Your Yamaha Surround Sound System
Before we delve into how to set the crossover frequency on your Yamaha surround sound system, it’s important to understand what the crossover actually is and how it functions.
The crossover is a built-in electronic circuit that divides the audio signal into different frequency ranges and sends each range to the appropriate speaker. In a surround sound system, it ensures that the low-frequency sounds are directed to the subwoofer, while the mid to high-frequency sounds are distributed among the other speakers, such as the center, front, and surround speakers.
Yamaha surround sound systems typically have a variable crossover that allows you to adjust the frequency range for each speaker. This flexibility enables you to tailor the audio output according to your room’s acoustics and personal preferences.
By setting the crossover frequency correctly, you can ensure that each speaker operates within its ideal frequency range, resulting in a seamless and balanced audio experience. If the crossover frequency is set too high or too low, it can lead to issues like an overly boomy or thin sound, localization of bass, or gaps in the frequency response.
To optimize the performance of your Yamaha surround sound system, it’s crucial to have a clear understanding of the crossover and how it affects the audio output. The next section will explore the importance of finding the right crossover frequency and its impact on your listening experience.
The Importance of Having the Right Crossover Frequency
Setting the correct crossover frequency on your Yamaha surround sound system is vital for several reasons. It directly affects the balance, clarity, and overall quality of the audio output, allowing you to fully immerse yourself in your favorite movies, music, and games.
One of the key benefits of having the right crossover frequency is achieving a seamless integration of sound between the different speakers in your surround sound system. Each speaker is designed to reproduce a specific range of frequencies, and if the crossover frequency is set too high or too low, there can be a mismatch in the frequency response, resulting in an uneven and disjointed soundstage.
For example, if the crossover frequency for the subwoofer is set too low, the main speakers may struggle to reproduce low-frequency sounds, resulting in a thin and lacking bass response. On the other hand, if the crossover frequency is set too high, the main speakers might attempt to reproduce low-frequency sounds, leading to distortion and a loss of clarity in the mid and high-frequency ranges.
Having the right crossover frequency also helps to prevent localization of bass. When low-frequency sounds are concentrated in the subwoofer, it creates a more realistic sound experience, as low-frequency sounds are non-directional. This ensures that the bass sounds are spread evenly throughout the listening area, enhancing the overall immersion.
Furthermore, the right crossover frequency allows each speaker to operate within its optimal range, reducing the chances of driver fatigue and distortion. This ensures that the speakers can reproduce sound accurately and with maximum efficiency, resulting in cleaner and more detailed audio reproduction.
Overall, having the right crossover frequency on your Yamaha surround sound system is crucial for achieving a balanced and cohesive audio output. It ensures that each speaker plays its role effectively, delivering the best possible performance and creating a truly immersive listening experience.
Factors to Consider When Setting the Crossover Frequency
When determining the ideal crossover frequency for your Yamaha surround sound system, there are several factors to consider. These factors will help you fine-tune the audio output and achieve the best possible sound quality. Let’s take a look at some of the key factors:
1. Speaker Size and Capability: Each speaker in your surround sound system has different size and capability in reproducing frequencies. Larger speakers, such as floor-standing or bookshelf speakers, can handle lower frequencies better than smaller satellite or surround speakers. Consider the specifications of each speaker and adjust the crossover frequency accordingly to ensure they are operating within their optimal range.
2. Room Acoustics: The characteristics of your room, such as its size, shape, and materials, can affect the way sound travels and is perceived. Larger rooms tend to have more bass resonances, while smaller rooms may require a higher crossover frequency to compensate for lack of bass response. Experimenting with different crossover settings can help you find the sweet spot that complements your room’s acoustics.
3. Listening Position: Your listening position plays a crucial role in how you perceive sound. If you are sitting close to the speakers, a lower crossover frequency may be suitable for a more immersive experience. However, if you are seated at a distance or in a larger room, a higher crossover frequency might be necessary to maintain the balance between the speakers.
4. Subwoofer Capability: The capabilities of your subwoofer, such as its frequency response and power handling, should also be taken into account. Adjust the crossover frequency to ensure that the subwoofer is handling the lower frequencies effectively without straining or distorting the sound.
5. Personal Preference: Ultimately, your personal preference and listening preferences should factor into your decision. Experiment with different crossover frequencies to find the setting that delivers the most enjoyable and immersive audio experience for you.
Considering these factors when setting the crossover frequency on your Yamaha surround sound system will help you find the balance between speakers, optimize the performance, and achieve the best possible audio quality for your individual setup and preferences.
How to Determine the Ideal Crossover Frequency for Your System
Finding the ideal crossover frequency for your Yamaha surround sound system involves a combination of experimentation, listening tests, and fine-tuning. Here are some steps to help you determine the optimal crossover frequency:
1. Start at the Recommended Range: Check the user manual or specifications of your Yamaha surround sound system to find the recommended crossover frequency range. This range is typically a good starting point for your adjustments.
2. Set a Midpoint Crossover Frequency: Begin by setting a crossover frequency in the middle of the recommended range. For example, if the recommended range is 80Hz to 120Hz, start with a crossover frequency of 100Hz.
3. Test with Different Types of Content: Play various types of content, such as movies, music, and games, that have a wide range of frequencies. Listen carefully to determine if the bass is well-balanced, if the mid and high frequencies sound clear, and if there are any gaps or overlaps in the sound. Adjust the crossover frequency up or down by small increments to find the sweet spot.
4. Pay Attention to Bass Localization: During the testing process, pay attention to how the bass sounds in relation to different speakers. If you notice that the bass is too localized in the subwoofer or the main speakers, adjust the crossover frequency accordingly to achieve a more seamless integration and a more natural soundstage.
5. Fine-tune Based on Room Acoustics: Consider the characteristics of your room and how they may impact the sound reproduction. If you notice excessive bass resonance or lack of bass response in certain areas of the room, adjust the crossover frequency to compensate for these room acoustics variations.
6. Trust Your Ears: Ultimately, your own listening experience and preferences should guide your adjustments. Experiment with different crossover frequencies, listen carefully, and trust your ears to find the crossover frequency that delivers the most satisfying and immersive audio experience for your specific Yamaha surround sound system and listening environment.
Remember, finding the ideal crossover frequency may require some patience and time as you fine-tune your settings. It’s a process of trial and error, but the result will be a sound that delights and captivates your senses.
Recommendations for Setting the Crossover Frequency on Your Yamaha Surround Sound System
When it comes to setting the crossover frequency on your Yamaha surround sound system, there are some recommendations that can help you achieve optimal performance and enhance your audio experience. Consider the following suggestions:
1. Start with the Manufacturer’s Recommendations: Begin by checking the manufacturer’s recommendations or user manual for your Yamaha surround sound system. This will provide you with a recommended range for the crossover frequency. Starting within this range will give you a solid foundation for further adjustments.
2. Use a Subwoofer Crossover Setting: If your Yamaha surround sound system has a dedicated subwoofer crossover setting, utilize it. This feature allows you to direct the low-frequency sounds specifically to the subwoofer, ensuring a more accurate and robust bass response.
3. Experiment with Different Frequencies: It’s important to experiment with different crossover frequencies to find the ideal balance and blend between your speakers. Begin by setting the crossover frequency near the midpoint of the recommended range and make incremental adjustments based on your listening preferences and room acoustics.
4. Consider Room Size and Shape: The size and shape of your room can have a significant impact on the sound quality and bass response. In larger rooms, you may need to increase the crossover frequency to compensate for the increased space, while smaller rooms may benefit from a lower crossover frequency to ensure a balanced soundstage.
5. Maintain Consistency in Speaker Size: For optimal sound reproduction, it’s best to maintain consistency in speaker size across your surround sound system. This helps to ensure a seamless transition between speakers and prevents any gaps or overlaps in the frequency response. If possible, choose speakers that have a similar frequency response, making it easier to set a cohesive crossover frequency.
6. Trust Your Ears: While technical recommendations and guidelines are helpful, ultimately, trust your ears. Listen carefully to the audio output as you make adjustments to the crossover frequency. Pay attention to the clarity, balance, and cohesion of the sound. Make changes based on what sounds best to you and suits your personal preferences.
By following these recommendations, you’ll be able to set the crossover frequency on your Yamaha surround sound system to achieve optimal audio performance and create an immersive listening experience that brings your entertainment to life.
The Impact of Setting the Wrong Crossover Frequency
Setting the wrong crossover frequency on your Yamaha surround sound system can have a significant impact on the overall sound quality and listening experience. It’s important to understand the potential consequences of incorrect crossover settings to ensure you optimize your system’s performance.
1. Imbalanced Sound: One of the noticeable effects of setting the wrong crossover frequency is an imbalanced sound. If the crossover frequency is set too high, the main speakers may struggle to reproduce low-frequency sounds, resulting in a thin and lacking bass response. Conversely, if the crossover frequency is set too low, the main speakers might attempt to reproduce low frequencies, leading to distortion and a loss of clarity in the mid and high-frequency ranges. The result is an imbalanced sound where some frequencies overpower others, resulting in an unnatural audio experience.
2. Localization of Bass: A critical aspect of setting the crossover frequency is avoiding bass localization. Low-frequency sounds are non-directional and should be predominantly handled by the subwoofer. If the crossover frequency is set too high, the bass may become localized, leading to a disjointed listening experience. It’s essential to ensure that the low-frequency sounds are appropriately directed to the subwoofer for an optimal, integrated bass response throughout your listening area.
3. Gaps or Overlaps in Frequency Response: Incorrect crossover settings may result in gaps or overlaps in the frequency response, where certain frequencies are not efficiently reproduced. This can lead to a deficiency or excess of sound in specific frequency ranges, compromising the overall audio quality. For example, if the crossover frequency between the subwoofer and main speakers is not properly set, some bass frequencies may be missing, leading to an incomplete and unsatisfactory listening experience.
4. Distorted Sound and Driver Fatigue: If the crossover frequency is set too high, causing the main speakers to reproduce frequencies beyond their capabilities, it can result in distortion and even damage to the speaker drivers. Over time, this can lead to driver fatigue and a degradation in sound quality. It’s crucial to set the crossover frequency within the appropriate range for each speaker to ensure they operate within their optimal performance levels.
By setting the wrong crossover frequency, you risk compromising the balance, clarity, and overall quality of your audio output. Understanding and avoiding these negative impacts will help you fine-tune your Yamaha surround sound system for an immersive and satisfying listening experience.
Tips for Optimizing Your Surround Sound System’s Crossover Settings
Optimizing the crossover settings on your Yamaha surround sound system is crucial for achieving the best audio performance. Here are some useful tips to help you optimize your system’s crossover settings:
1. Understand Speaker Specifications: Familiarize yourself with the specifications of your speakers, including their frequency response range and power handling capabilities. This knowledge will guide you in setting appropriate crossover frequencies for each speaker.
2. Follow Manufacturer Recommendations: Refer to the user manual or manufacturer recommendations for suggested crossover frequency ranges. Starting within these ranges can provide a solid foundation for fine-tuning your settings.
3. Utilize Test Tones: Many surround sound systems feature built-in test tones that can be played through individual speakers. Use these test tones to identify any imbalances between speakers and adjust the crossover frequencies accordingly to achieve a more even sound distribution.
4. Experiment with Placement: Speaker placement can significantly impact the sound quality and bass response. Adjusting the position of your speakers, including the subwoofer, can help optimize the crossover settings. To minimize localization of bass, try placing the subwoofer near the front soundstage or experiment with different positions to find the best integration with the main speakers.
5. Consider Room Acoustics: Take the characteristics of your room into account when setting the crossover frequencies. Large rooms may benefit from higher crossover frequencies to compensate for increased space, while smaller rooms might require lower crossover frequencies to maintain balance and prevent overwhelming bass response.
6. Fine-tune Based on Listening Tests: Regularly conduct listening tests to assess the audio quality of your system. Pay attention to the balance, clarity, and seamlessness of the sound. Make subtle adjustments to the crossover frequencies and re-evaluate until you achieve an audio balance that suits your preferences.
7. Use EQ Settings: Utilize the EQ (Equalizer) settings available on your surround sound system. These settings can help fine-tune the frequency responses of individual speakers, compensating for any room-related acoustical issues and further optimizing the crossover settings.
8. Trust Your Ears: Ultimately, trust your own ears because audio preferences can vary among individuals. While technical guidelines and recommendations are helpful, your personal listening experience and preferences should be the ultimate guide in setting the crossover frequencies that deliver the most satisfying sound quality for you.
By following these tips, you can optimize the crossover settings on your Yamaha surround sound system, ensuring a balanced soundstage, immersive listening experience, and optimal audio performance.
Conclusion
Setting the crossover frequency on your Yamaha surround sound system is a critical step in achieving optimal audio performance and creating an immersive listening experience. Finding the right balance between speakers, considering factors such as room acoustics and personal preferences, is key to optimizing your system’s crossover settings.
Understanding the purpose of the crossover, its impact on sound quality, and the potential consequences of incorrect settings is essential. By setting the crossover frequency correctly, you can ensure that each speaker operates within its optimal range, resulting in a balanced, seamless audio output.
Factors such as speaker size, room acoustics, and personal preference should all be taken into account when determining the ideal crossover frequency. Experimentation, careful listening tests, and adjustments based on your own ears will help you fine-tune your settings for the best possible sound experience.
Remember to follow manufacturer recommendations, take advantage of test tones and EQ settings, and consider the placement of your speakers to optimize your crossover settings. Trust your ears and pay attention to the balance, clarity, and integration of sound to achieve the most satisfying results.
With the right crossover frequency, you can unlock the full potential of your Yamaha surround sound system and enjoy a truly immersive audio experience. So, set those crossover frequencies, fine-tune your settings, and embark on a journey of audio bliss!


