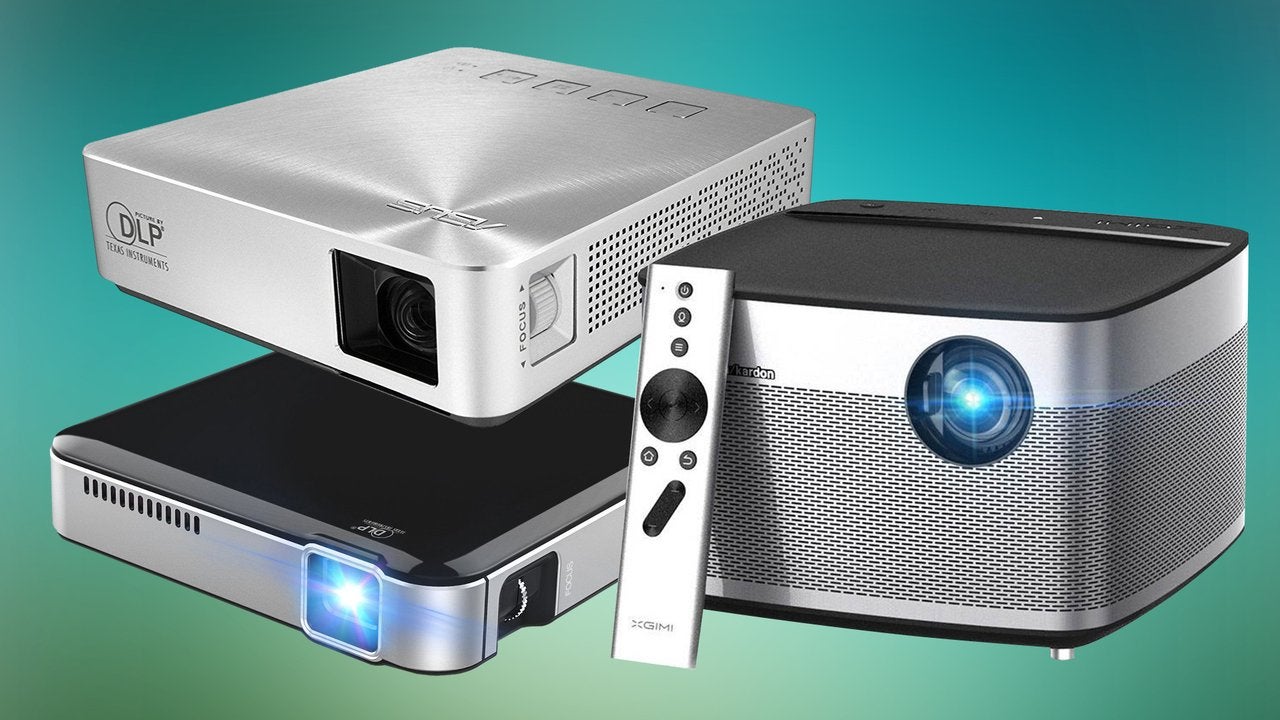
Introduction
Setting up a home theater projector can transform your living space into a cinematic experience, bringing your favorite movies, TV shows, and sports events to life on a big screen. Whether you're a movie buff, a gaming enthusiast, or simply looking to upgrade your entertainment setup, installing a home theater projector can elevate your viewing experience to new heights. In this comprehensive guide, we will walk you through the step-by-step process of wiring a home theater projector, from choosing the ideal location to adjusting the projector settings for optimal performance.
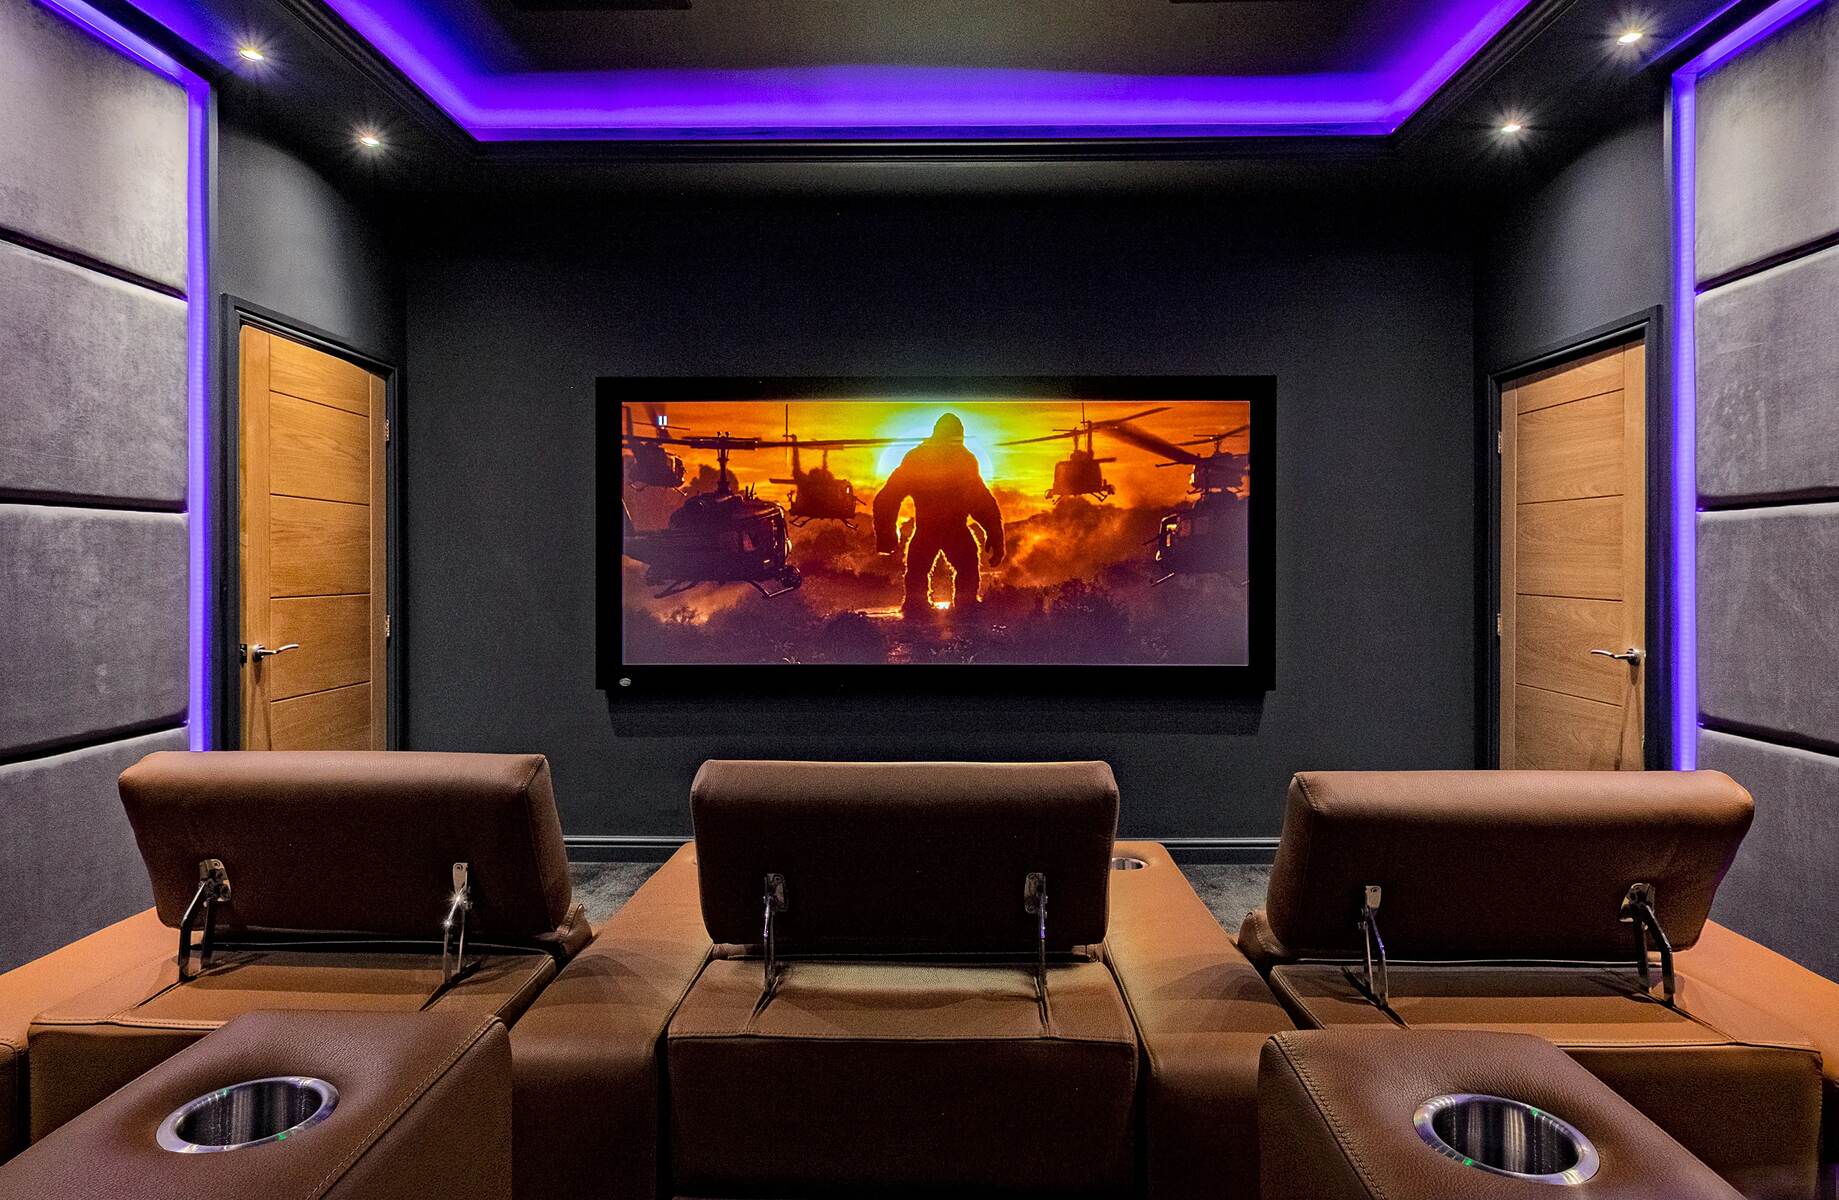
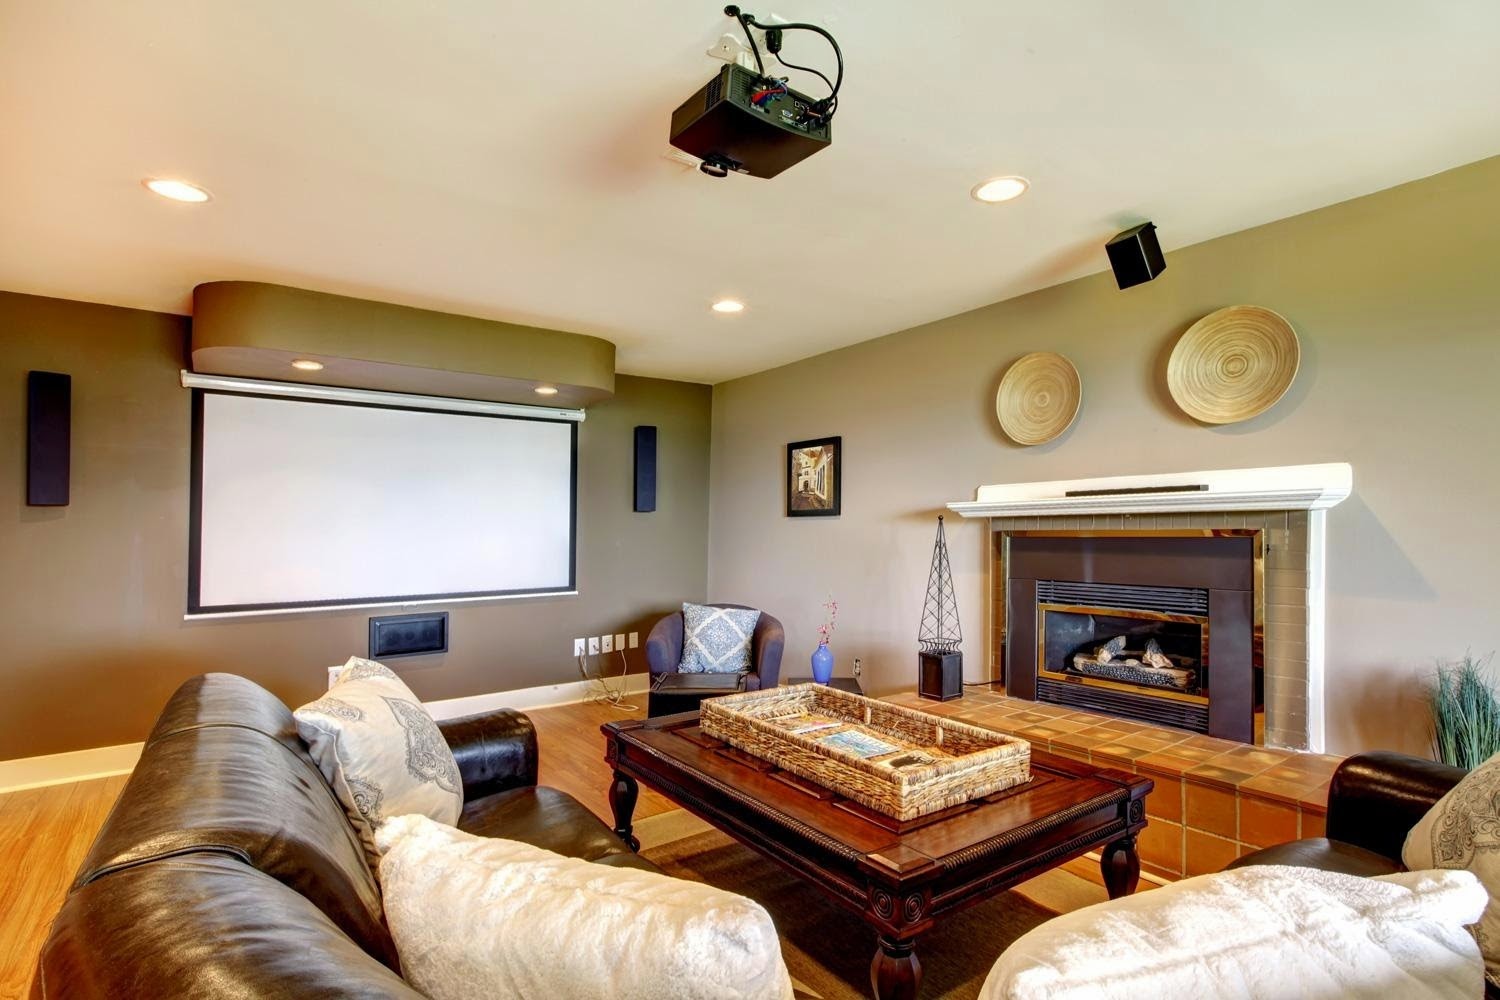
A home theater projector offers a larger and more immersive viewing experience compared to a traditional TV, making it a popular choice for home entertainment systems. By projecting images onto a blank wall or a dedicated screen, projectors create a theater-like atmosphere in your own home, perfect for cozy movie nights, gaming marathons, or hosting friends and family for a memorable viewing experience.
Before diving into the technical aspects of wiring your home theater projector, it's essential to consider the layout of your space, the available mounting options, and the connectivity requirements for seamless integration with your audiovisual equipment. With the right setup and proper wiring, you can enjoy stunning visuals and immersive sound that rival the movie theater experience, all within the comfort of your own home.
In the following sections, we will explore the key steps involved in wiring a home theater projector, including selecting the optimal location, mounting the projector, connecting it to power, audio, and video sources, adjusting the settings, and conducting a comprehensive test to ensure everything is functioning as intended. By following these steps, you can create a captivating home theater setup that delivers impressive picture quality and immersive audio, setting the stage for countless hours of entertainment and enjoyment. Let's dive into the exciting world of home theater projectors and bring the magic of the big screen into your home.
Choosing the Right Location
When setting up a home theater projector, selecting the ideal location is a crucial first step in creating an immersive viewing environment. The chosen location will determine the viewing experience, the ease of installation, and the overall aesthetic of your home theater setup. Here are important considerations to keep in mind when choosing the right location for your projector:
- Room Size and Layout: Assess the dimensions and layout of the room where the projector will be installed. Consider the viewing distance, ceiling height, and available wall space for projecting the image. A larger room may accommodate a bigger screen size, while a smaller room may require a more compact setup for optimal viewing.
- Ambient Light Conditions: Evaluate the ambient light conditions in the room. Ideally, the chosen location should minimize ambient light to enhance image clarity and contrast. Rooms with controlled lighting or the ability to use blackout curtains can provide an optimal viewing environment.
- Projection Surface: Determine the type of surface onto which the projector will display the images. A blank white wall, a retractable screen, or a fixed projector screen are popular options. The chosen surface should be smooth, flat, and free from any obstructions that could distort the projected image.
- Seating Arrangement: Consider the seating arrangement and viewing angles within the room. The projector should be positioned to provide unobstructed views from the seating area, ensuring that everyone can enjoy a clear and immersive viewing experience.
Additionally, take into account the proximity to power outlets, audio equipment, and video sources when selecting the location for your projector. Ensuring easy access to power and connectivity points can streamline the installation process and minimize the need for extensive wiring.
By carefully evaluating these factors, you can identify the optimal location for your home theater projector, creating a captivating viewing space that maximizes visual impact and delivers an unparalleled entertainment experience for you and your audience.
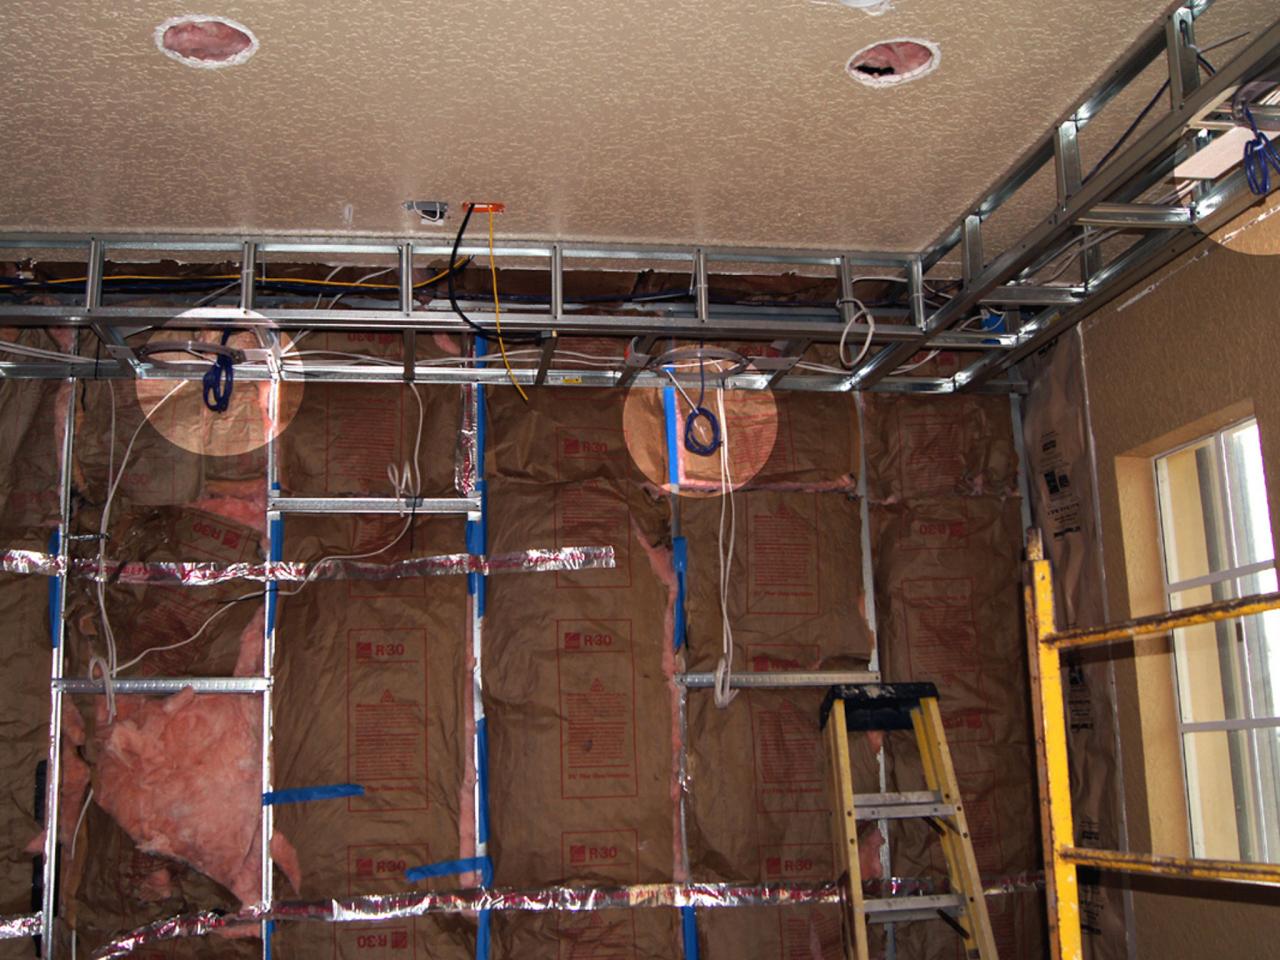
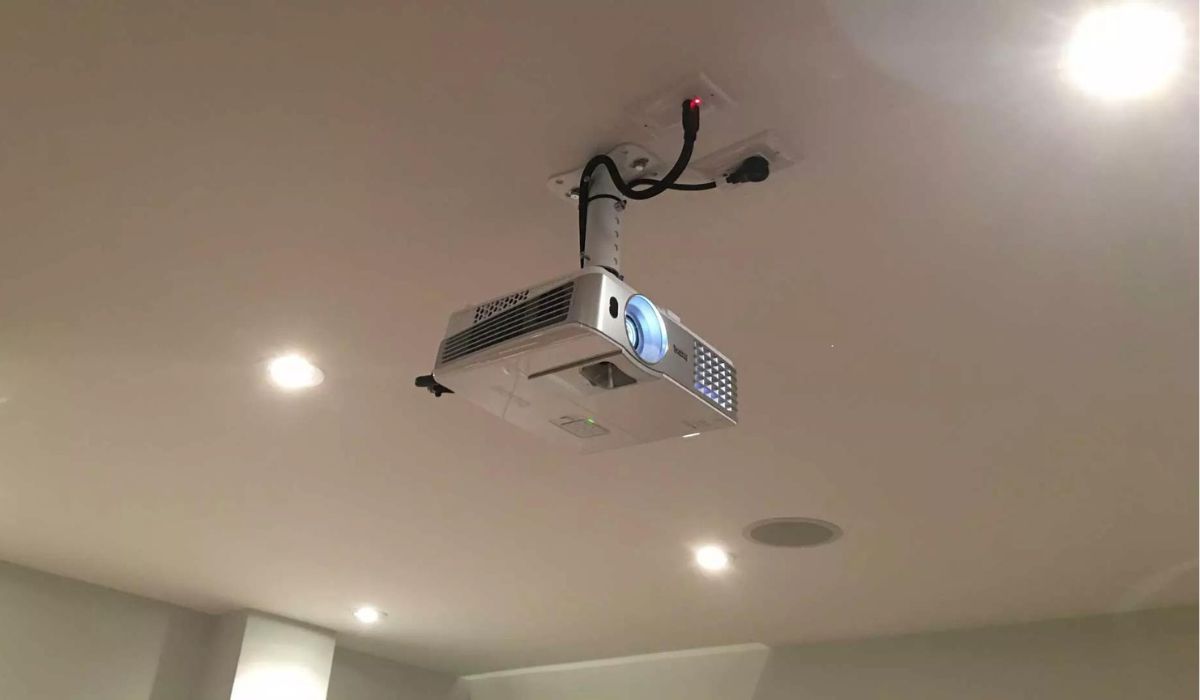
Mounting the Projector
Once you have identified the ideal location for your home theater projector, the next step is to mount the projector securely for optimal viewing and performance. Proper mounting not only ensures a stable and aligned projection but also contributes to the overall aesthetics of your home theater setup. Here’s a step-by-step guide to mounting your projector:
- Ceiling or Wall Mount: Determine whether you will mount the projector on the ceiling or a wall. Ceiling mounts are popular for creating a streamlined look and minimizing obstructions, while wall mounts offer flexibility in positioning and accessibility for maintenance.
- Mounting Bracket Selection: Choose a compatible mounting bracket that supports the weight and dimensions of your projector. Ensure that the bracket provides adjustable tilt and swivel options to achieve the desired projection angle and alignment.
- Locating Ceiling Joists or Wall Studs: If mounting to the ceiling or wall, locate the ceiling joists or wall studs to ensure a secure anchor point for the mounting bracket. Using a stud finder can help identify the optimal mounting positions.
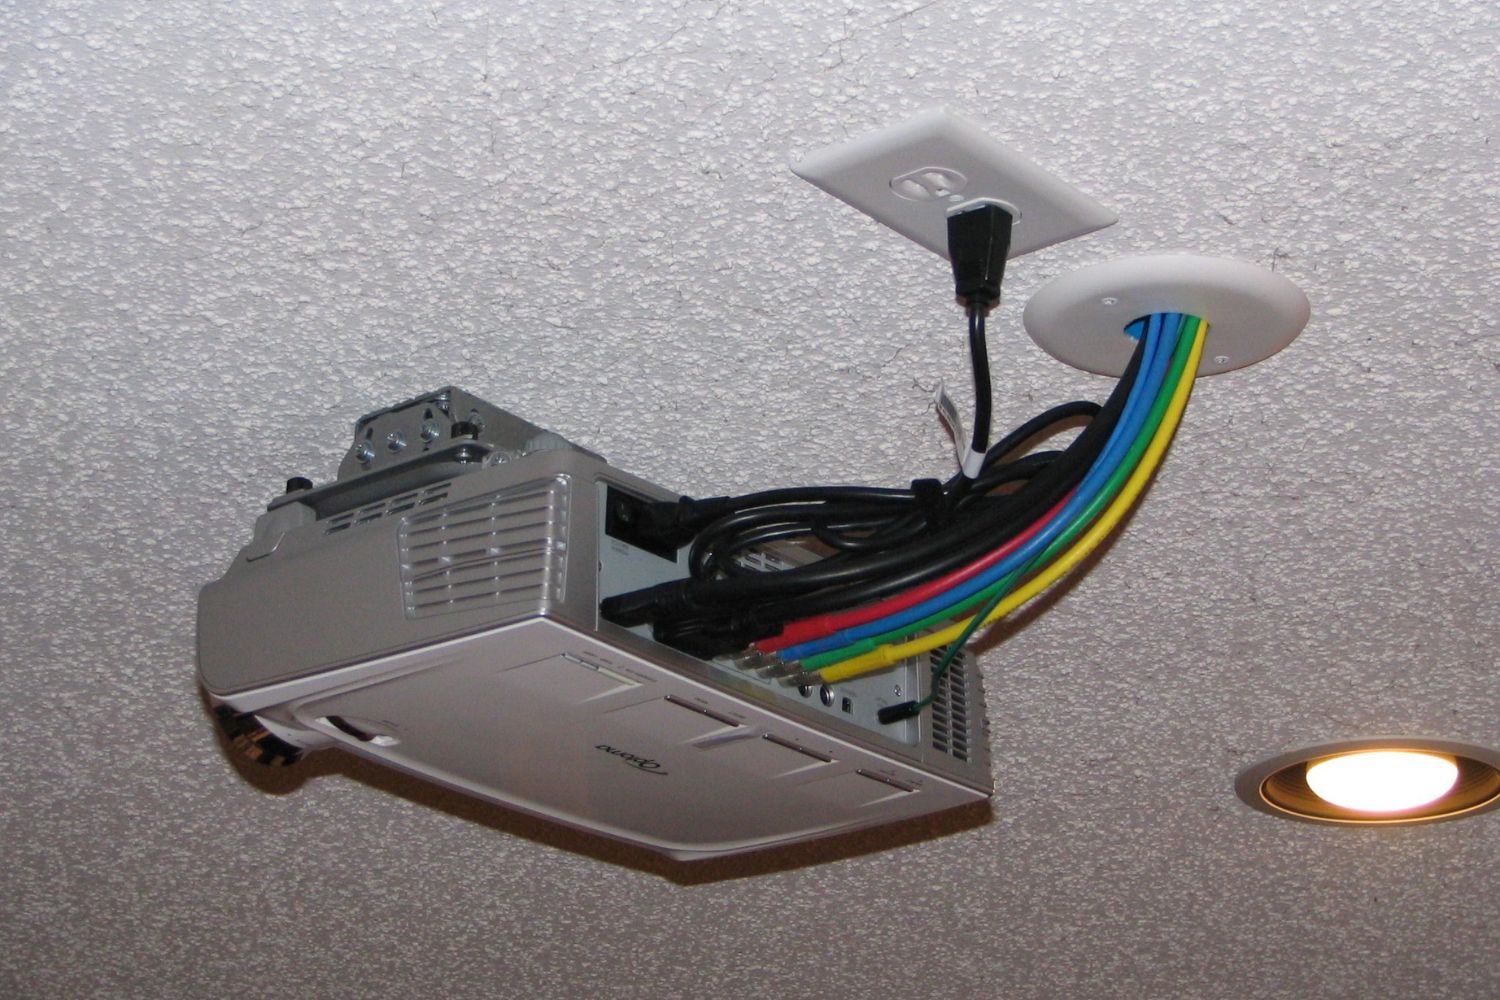
- Routing Cables: Plan the cable routing from the projector to the audiovisual components, considering the most discreet and organized path to conceal the cables and minimize visual clutter.
- Securing the Projector: Carefully attach the mounting bracket to the ceiling or wall, following the manufacturer’s instructions. Then, securely mount the projector onto the bracket, ensuring that it is level and stable.
During the mounting process, pay attention to the projector’s distance from the projection surface, aiming for the desired screen size and aspect ratio. Additionally, consider the ventilation and cooling requirements of the projector to prevent overheating when mounted in a fixed position.
By following these mounting guidelines, you can position your home theater projector with precision and confidence, creating a visually striking focal point that complements your entertainment space while delivering stunning visuals for an immersive viewing experience.
Connecting the Projector to Power
Once the projector is securely mounted, the next essential step is to connect it to a reliable power source. Proper power connectivity is crucial for ensuring the functionality and performance of your home theater projector. Here’s a detailed guide on connecting your projector to power:
- Power Outlet Selection: Identify a nearby power outlet that can supply the necessary voltage and current for the projector. Avoid overloading the outlet with multiple high-power devices to prevent electrical issues.
- Power Cable Length: Choose a power cable of sufficient length to reach the selected outlet from the projector’s mounting location. Ensure that the cable is safely routed and secured to prevent tripping hazards or accidental disconnection.
- Surge Protection: Consider using a surge protector or a dedicated power conditioner to safeguard the projector from voltage spikes and electrical disturbances, providing added protection for sensitive electronic components.
- Grounding: Verify that the power outlet and the projector’s power cable are properly grounded to minimize the risk of electrical hazards and ensure safe operation of the equipment.
- Power-On Test: After connecting the power cable, perform a preliminary power-on test to verify that the projector receives electrical power and that the indicator lights or display screen indicate successful power supply.
It is essential to follow the manufacturer’s guidelines and safety recommendations when connecting the projector to power to prevent electrical hazards and equipment damage. Additionally, consider the power consumption and standby power modes of the projector to optimize energy efficiency and minimize operating costs over time.
By establishing a secure and reliable power connection, you can ensure that your home theater projector is ready to deliver captivating visuals and immersive entertainment experiences, setting the stage for countless hours of enjoyment in your personalized cinematic space.
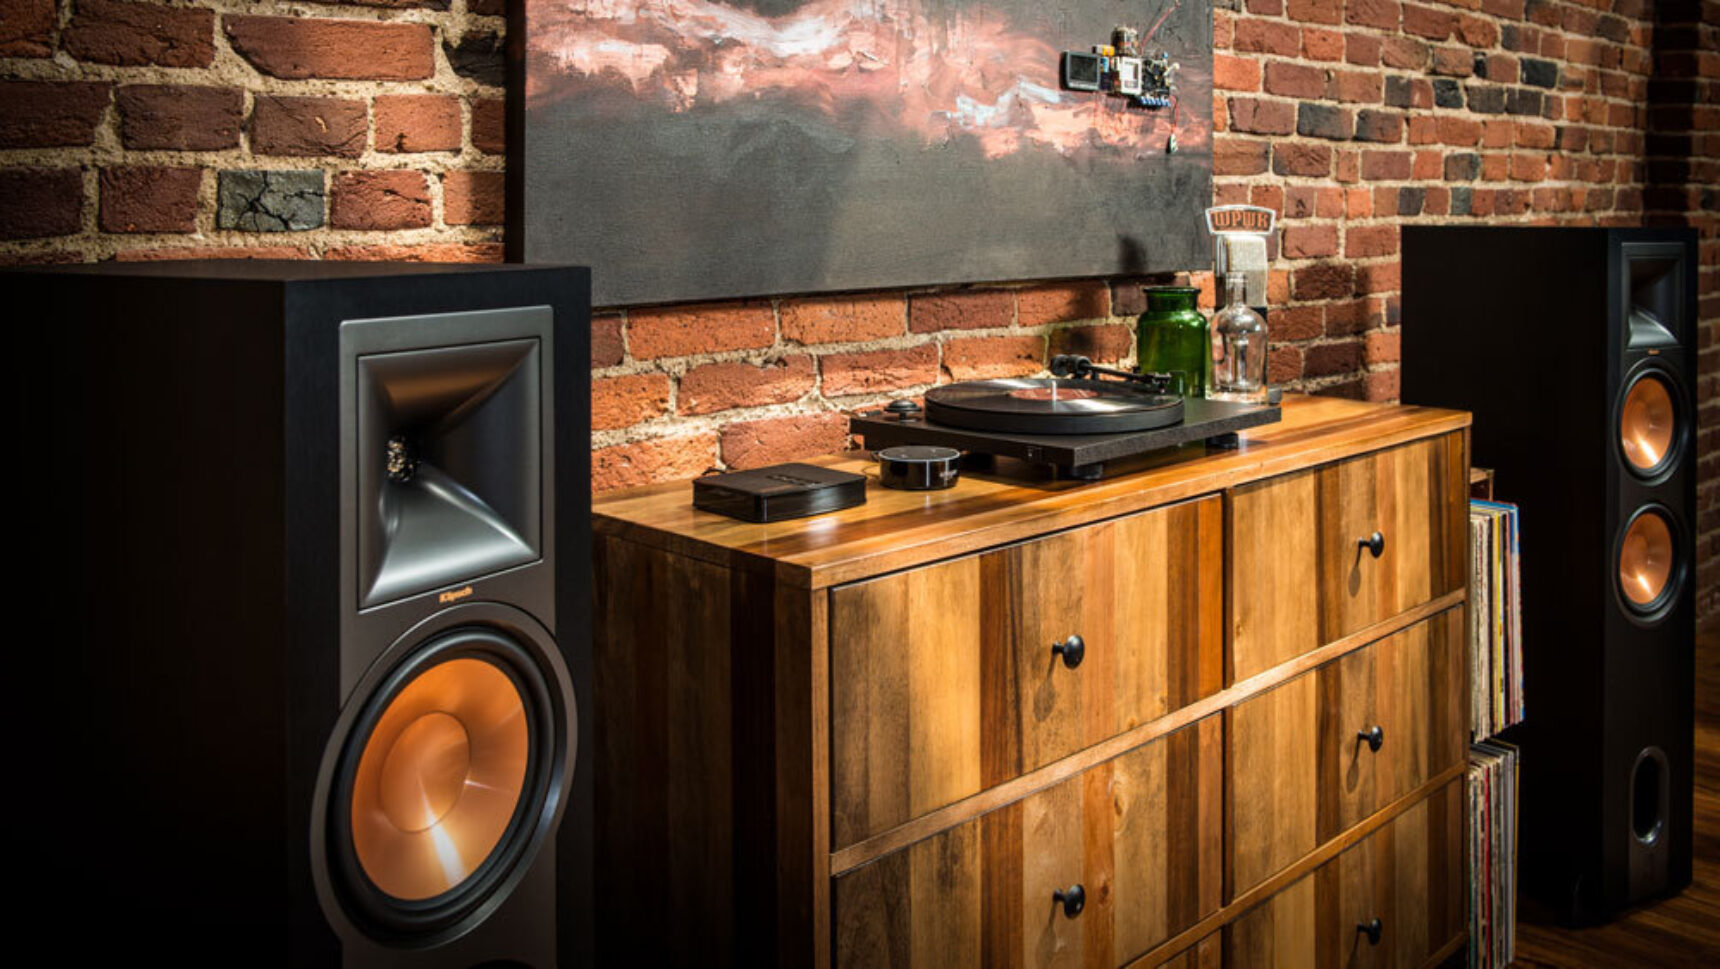
Connecting the Projector to Audio
Connecting your home theater projector to high-quality audio equipment is essential for creating a truly immersive cinematic experience. Whether you prefer crisp dialogue, thunderous sound effects, or vibrant musical scores, integrating audio seamlessly with your projector enhances the overall impact of your entertainment setup. Here’s a comprehensive guide to connecting your projector to audio sources:
- Audio Output Options: Identify the available audio output options on your projector, such as built-in speakers, audio output jacks, or HDMI/ARC (Audio Return Channel) connectivity. Understanding the available audio output interfaces will help you determine the most suitable connection method.
- External Audio Devices: If your projector lacks built-in speakers or if you seek enhanced audio performance, consider connecting external audio devices, such as soundbars, surround sound systems, or dedicated amplifiers, to your projector for superior sound reproduction.
- Audio Cable Selection: Choose the appropriate audio cables based on the available connectivity options. Common audio cables include HDMI, optical (Toslink), RCA, and 3.5mm audio cables, each offering distinct advantages for transmitting audio signals to compatible audio equipment.
- Configuration Settings: Access the projector’s audio settings menu to configure the audio output format, volume levels, and audio processing features to align with your audio equipment and personal preferences.
- Audio Synchronization: Ensure that the audio output from the projector is synchronized with the video playback to avoid audio-visual discrepancies, especially when using external audio devices that may introduce latency.
By establishing a seamless audio connection with your home theater projector, you can elevate the auditory dimension of your viewing experience, immersing yourself in rich, dynamic soundscapes that complement the stunning visuals on the big screen. Whether you’re enjoying blockbuster movies, thrilling games, or captivating multimedia presentations, the integration of high-quality audio enhances the emotional impact and realism of the content, delivering an unforgettable entertainment experience.
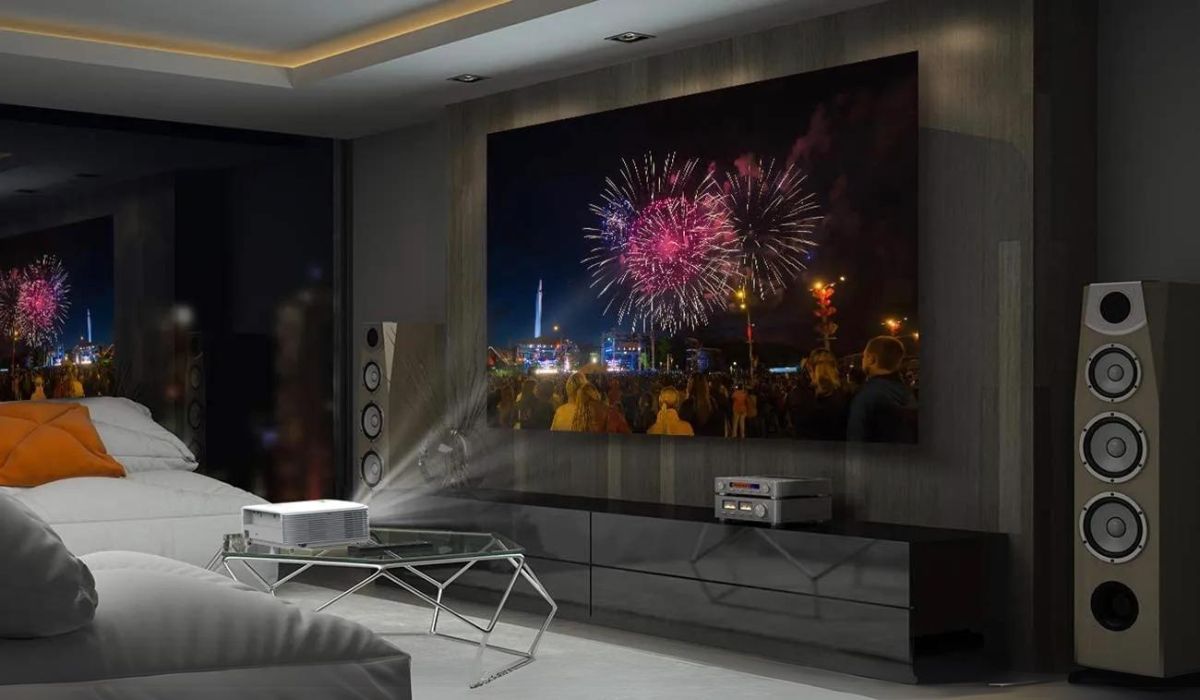
Connecting the Projector to Video Sources
Linking your home theater projector to various video sources is essential for accessing a diverse range of entertainment content, including movies, TV shows, gaming, and multimedia presentations. By establishing seamless connections with video sources, you can unlock the full potential of your projector, delivering stunning visuals from multiple devices. Here’s a detailed guide to connecting your projector to video sources:
- HDMI Connectivity: Utilize HDMI cables to connect high-definition video sources, such as Blu-ray players, gaming consoles, streaming devices, and cable/satellite boxes, to the projector. HDMI offers superior digital video and audio transmission, supporting high-resolution content with minimal signal degradation.
- VGA or DVI Connections: For legacy devices or computers with analog video outputs, consider using VGA or DVI cables to establish connections with the projector. These interfaces can accommodate standard-definition video signals and are suitable for older equipment.
- Wireless Video Transmission: Explore wireless video transmission solutions, such as Wi-Fi-enabled projectors, media streaming devices, or wireless HDMI kits, to eliminate the need for physical cable connections, providing greater flexibility in positioning and accessing video content.
- Multiple Input Ports: If your projector features multiple input ports, such as HDMI, VGA, and USB, take advantage of the versatility to connect various video sources simultaneously, enabling quick switching between different devices without frequent cable swapping.
- Source Selection and Configuration: Access the projector’s input settings to select the appropriate video source and configure the display parameters, including aspect ratio, resolution, and color settings, to optimize the visual output for each connected device.
By establishing robust connections with a diverse array of video sources, you can unleash the full potential of your home theater projector, accessing an extensive library of multimedia content with stunning clarity and vibrancy. Whether you’re indulging in cinematic blockbusters, immersive gaming experiences, or multimedia presentations, the seamless integration of video sources enriches your entertainment repertoire, offering endless possibilities for visual enjoyment.
Adjusting the Projector Settings
Optimizing the settings of your home theater projector is crucial for achieving exceptional visual performance and tailoring the viewing experience to suit your preferences and environment. By adjusting the projector settings with precision, you can enhance image quality, color accuracy, and overall viewing comfort. Here’s a comprehensive guide to adjusting the settings of your projector:
- Keystone Correction: Utilize keystone correction features to rectify image distortion caused by the projector’s angle relative to the projection surface. Keystone adjustment ensures a rectangular, distortion-free image, even if the projector is not perfectly aligned with the screen.
- Aspect Ratio Selection: Choose the appropriate aspect ratio setting to match the content being displayed. Whether it’s widescreen movies (16:9), traditional TV broadcasts (4:3), or other formats, selecting the correct aspect ratio ensures accurate image proportions and eliminates unnecessary black bars.
- Color Calibration: Access the color settings menu to fine-tune color temperature, saturation, and hue to achieve natural and vibrant color reproduction. Adjusting color parameters can significantly enhance the visual impact of the projected images, making them more lifelike and engaging.
- Brightness and Contrast Adjustment: Customize the projector’s brightness and contrast levels to suit the ambient light conditions in the viewing environment. Balancing these settings optimizes image clarity, detail visibility, and dynamic range, resulting in a captivating viewing experience.
- Noise Reduction and Image Enhancement: Explore the projector’s advanced image processing features, such as noise reduction and image enhancement algorithms, to refine image sharpness, reduce visual artifacts, and improve overall picture quality for a more immersive viewing experience.
Additionally, consider the projector’s eco-mode settings, lamp life, and power-saving features to optimize energy efficiency and prolong the lifespan of the projector’s lamp or light source. By fine-tuning these settings, you can minimize operating costs and contribute to a more sustainable and eco-friendly entertainment setup.
By meticulously adjusting the settings of your home theater projector, you can unlock its full potential, delivering breathtaking visuals that captivate your senses and transport you into the heart of the action. Whether you’re enjoying cinematic masterpieces, thrilling sports events, or immersive gaming adventures, personalized projector settings elevate your viewing experience to new heights.
Testing the Projector
After completing the installation and adjusting the settings of your home theater projector, thorough testing is essential to ensure that the system functions optimally and delivers the intended visual and auditory experience. Conducting comprehensive tests allows you to identify any potential issues, fine-tune the setup, and make any necessary adjustments for a seamless and immersive viewing experience. Here’s a detailed guide to testing your projector:
- Power-On and Initialization: Start by powering on the projector and allowing it to initialize. Verify that the projector’s indicator lights, display screen, and cooling fans operate as expected, indicating successful power supply and proper functionality.
- Image Alignment and Focus: Project a test image or a calibration pattern onto the screen and assess the alignment, focus, and clarity of the projected image. Adjust the projector’s position and lens focus if necessary to achieve a sharp and well-centered image with uniform brightness.
- Color and Contrast Evaluation: Display a variety of content, including colorful images, high-definition videos, and dark scenes, to evaluate color accuracy, contrast levels, and black levels. Ensure that the projected images exhibit vibrant colors, deep blacks, and adequate shadow detail for a captivating visual experience.
- Audio Performance Check: Test the audio output from the projector’s built-in speakers or connected audio devices. Assess the sound quality, volume levels, and spatial imaging to confirm that the audio complements the visual experience and delivers immersive soundscapes.
- Input Source Switching: Cycle through the various connected video sources, such as Blu-ray players, gaming consoles, and streaming devices, to verify seamless input source switching and compatibility. Confirm that the projector accurately detects and displays content from each source without signal loss or distortion.
As part of the testing process, consider engaging in real-world usage scenarios, such as streaming movies, playing video games, or viewing multimedia presentations, to gauge the projector’s performance under typical viewing conditions. Pay attention to factors like motion handling, input lag, and overall viewing comfort to ensure a satisfying and immersive entertainment experience.
By meticulously testing your home theater projector, you can fine-tune its performance, identify any potential issues, and make informed adjustments to optimize the viewing experience. Whether you’re indulging in cinematic spectacles, thrilling gaming sessions, or multimedia content, rigorous testing ensures that your projector delivers captivating visuals and immersive audio, setting the stage for countless hours of entertainment and enjoyment.