Introduction
Smart speakers have become increasingly popular over the years, revolutionizing the way we interact with technology. These devices, equipped with voice assistants like Amazon Alexa or Google Assistant, can play music, answer questions, control smart home devices, and much more. However, purchasing a smart speaker can be an expensive investment.
But what if you could turn your existing aux speaker into a smart speaker? With the help of Raspberry Pi, a small and affordable single-board computer, you can transform your ordinary speaker into a smart device with voice command capabilities.
Raspberry Pi offers endless possibilities for DIY enthusiasts and tech-savvy individuals. Not only can it be used for educational purposes or home automation projects, but it can also be utilized to enhance your audio experience by transforming your aux speaker into a smart speaker.
In this step-by-step guide, we will walk you through the process of converting your aux speaker into a smart speaker using Raspberry Pi. By following these instructions, you will be able to enjoy the benefits of a smart speaker without breaking the bank.
What is a Smart Speaker?
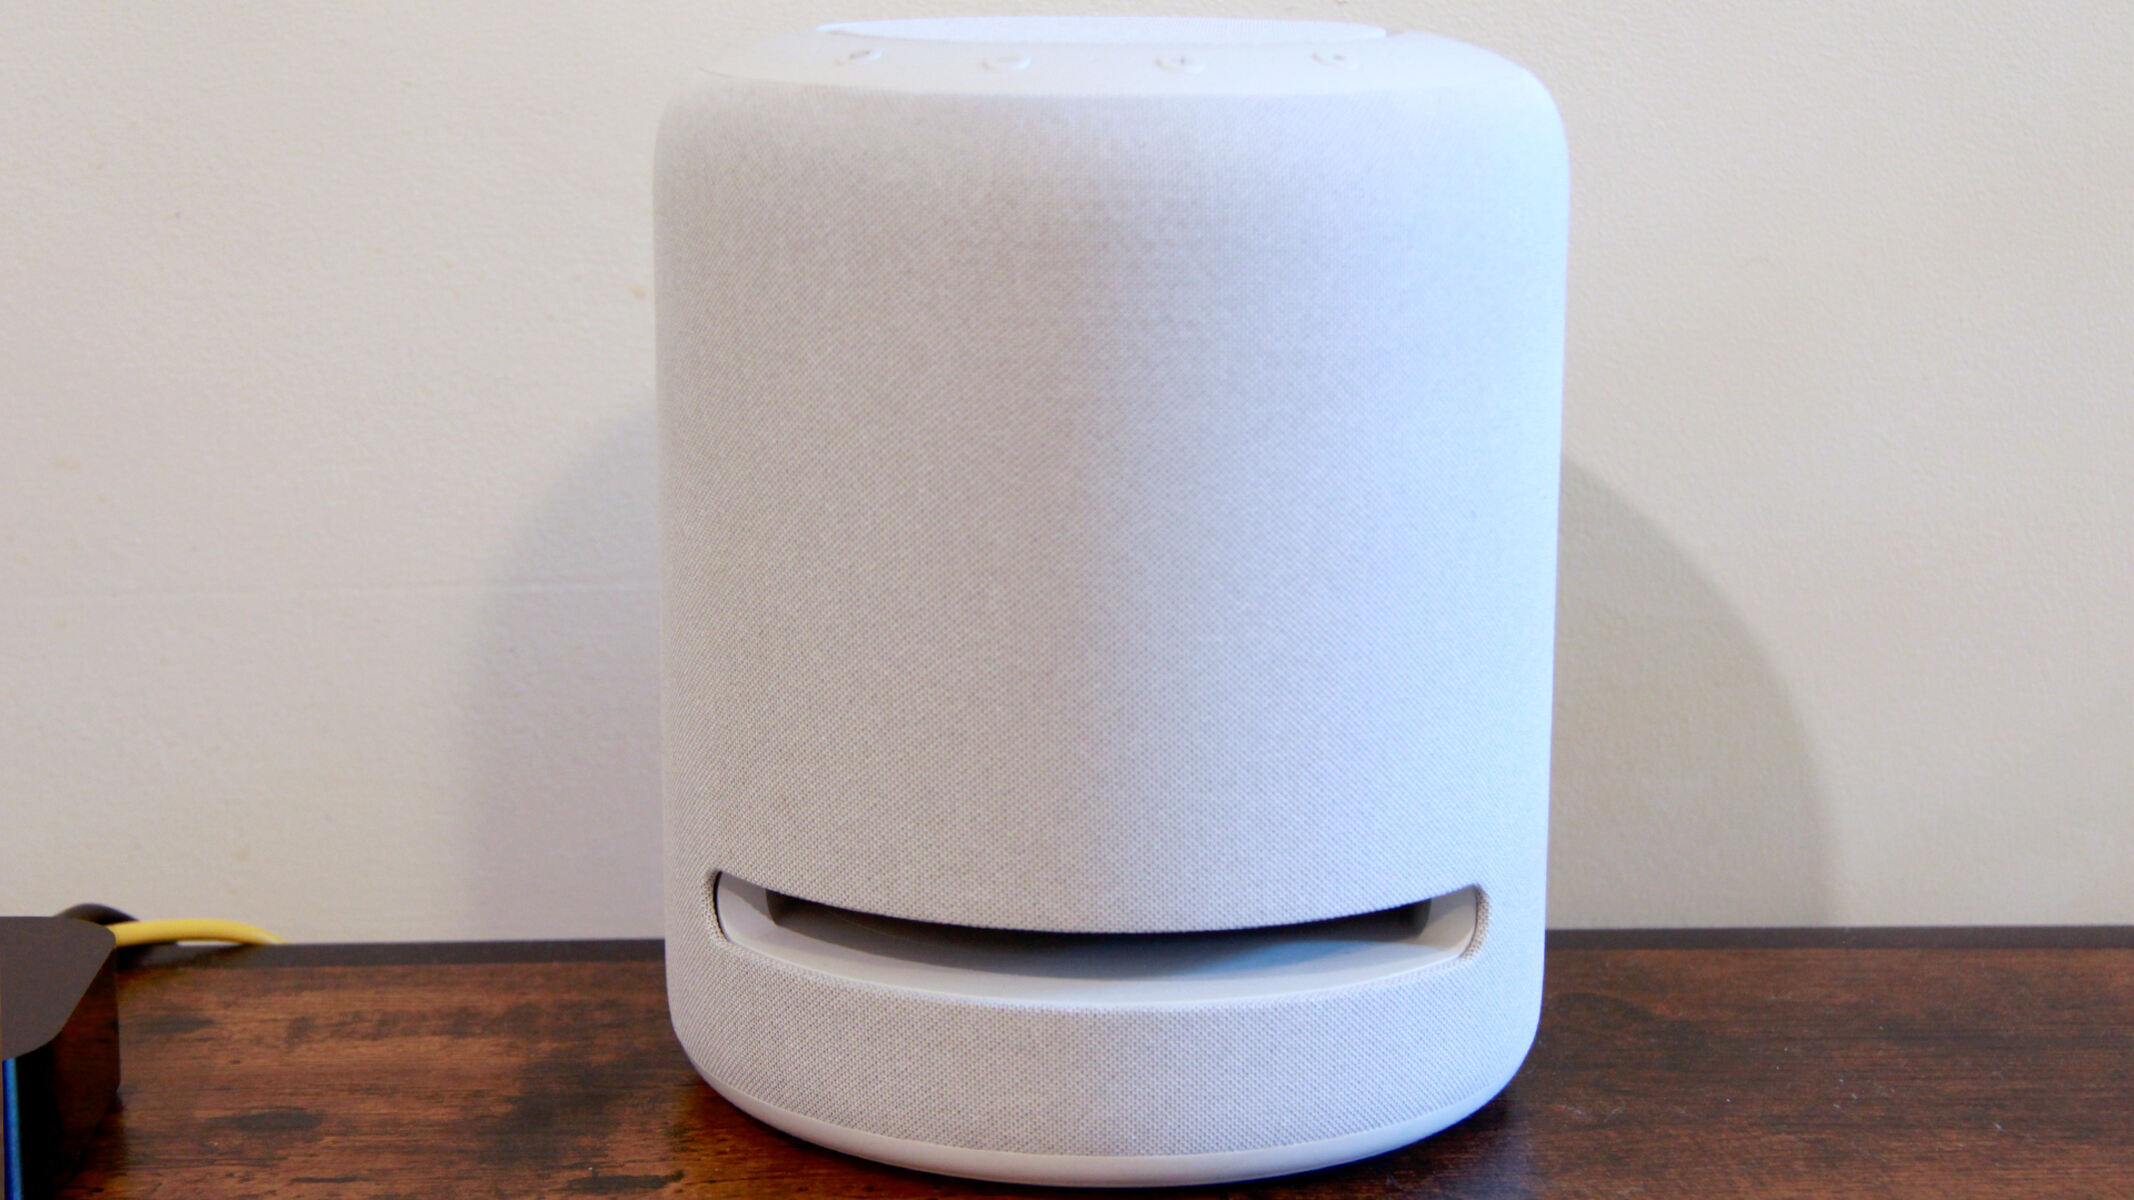
A smart speaker is a wireless device that combines the functionality of a traditional speaker with the intelligence of a virtual assistant. It is designed to respond to voice commands and perform various tasks to simplify our daily lives.
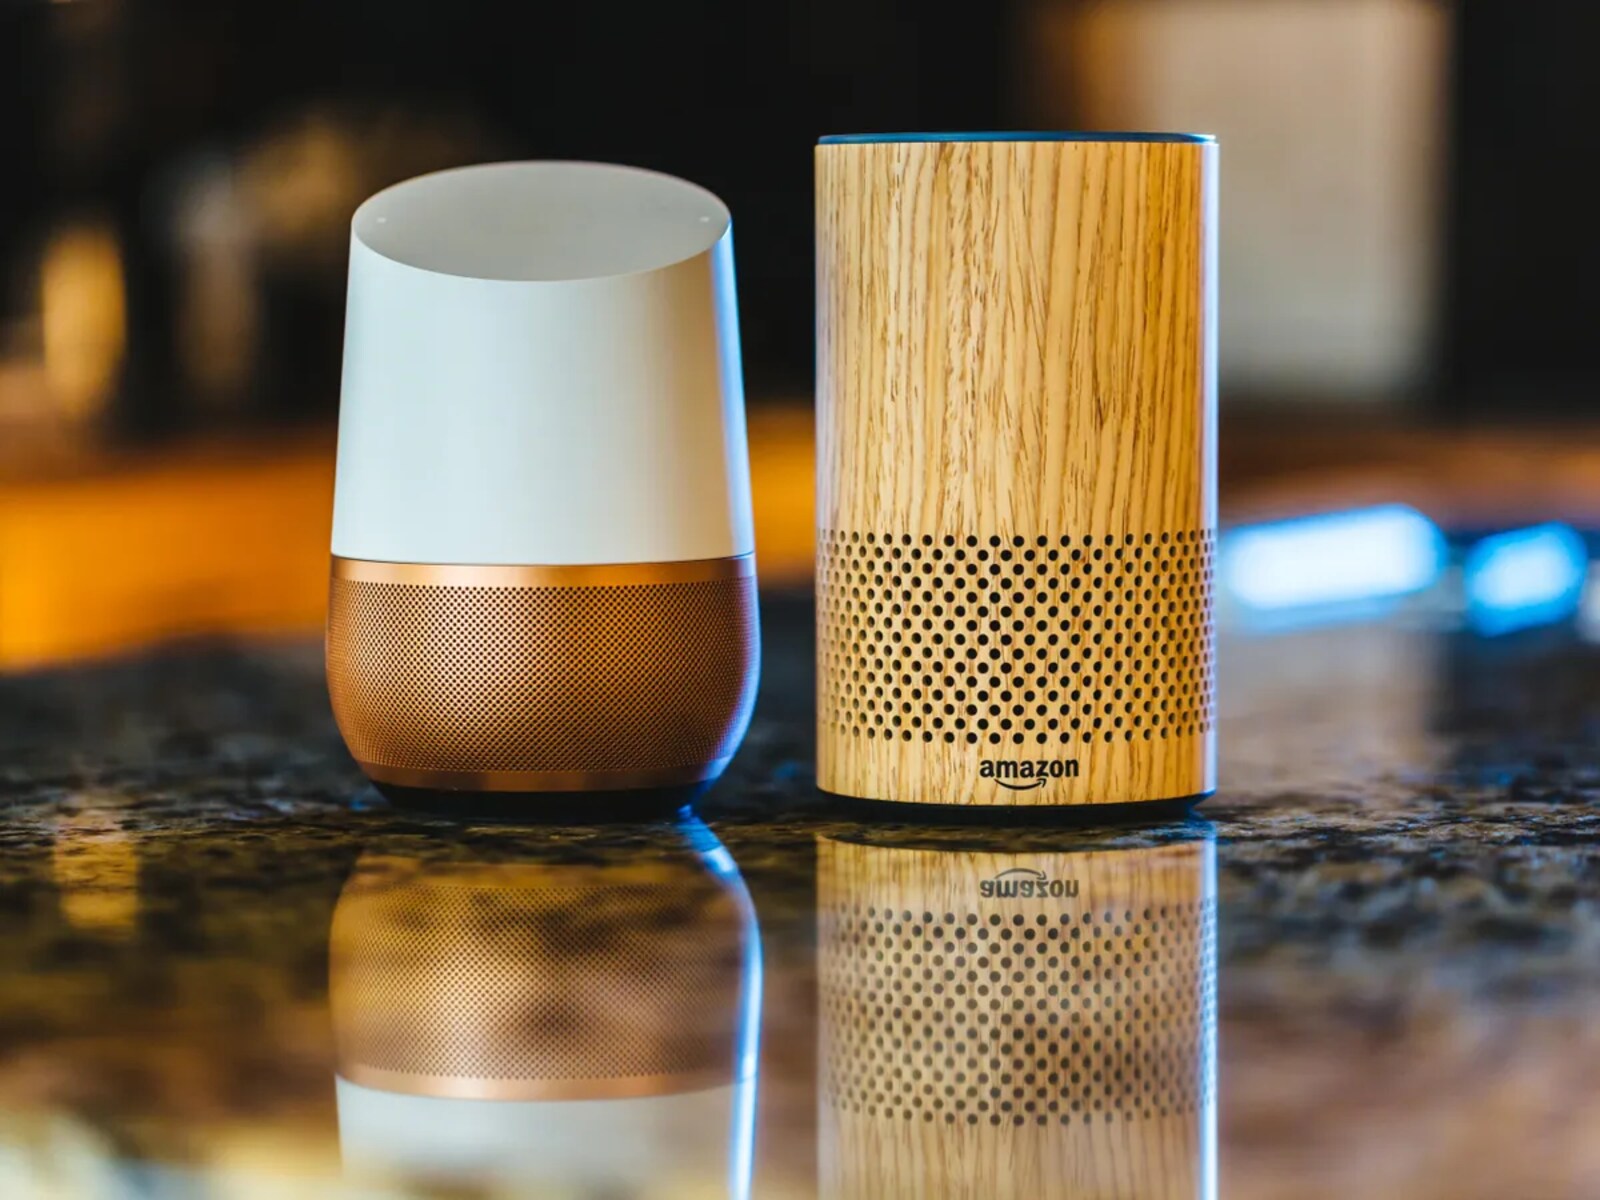
These smart devices typically come equipped with voice assistants like Amazon Alexa, Google Assistant, or Apple’s Siri, which allow users to control the speaker and interact with other compatible smart devices using just their voice. This hands-free convenience makes smart speakers popular among users of all ages.
Smart speakers offer a wide range of features and capabilities. They can play music, podcasts, or audiobooks from popular streaming services like Spotify, Apple Music, or Amazon Music. They can answer questions, provide real-time weather updates, set alarms and reminders, and even tell jokes or engage in casual conversations.
One of the key functionalities of a smart speaker is its ability to control smart home devices. Whether it’s adjusting the temperature of a smart thermostat, turning on lights, or locking doors, users can simply speak commands to their smart speaker, eliminating the need for manual control.
Moreover, smart speakers can serve as a hub for other smart devices, allowing users to create routines or scenes that automate multiple actions with a single command. For example, you can set up a “Goodnight” routine that turns off the lights, locks the doors, and plays relaxing music, all triggered by a voice command.
The popularity of smart speakers continues to rise as more manufacturers introduce their own versions with advanced features and integrations. These devices have quickly become an essential part of the smart home ecosystem, transforming the way we interact with technology in our everyday lives.
Overview of Raspberry Pi
Raspberry Pi is a credit card-sized single-board computer that was originally designed to promote the teaching of basic computer science in schools. However, its affordability, versatility, and user-friendly interface have made it a popular choice for a wide range of DIY projects.
The Raspberry Pi Foundation, the organization behind the development of Raspberry Pi, has released several models over the years, each with different specifications and capabilities. These models feature a processor, RAM, storage options, and various connectivity options, allowing users to customize their Raspberry Pi to suit their specific needs.
One of the biggest advantages of Raspberry Pi is its low cost, making it accessible to a wide range of users. Despite its small size, it is capable of running a full-fledged operating system and can handle a variety of tasks, from basic computing to more complex projects.
Raspberry Pi runs on Linux-based operating systems, such as Raspbian, which is the official operating system provided by the Raspberry Pi Foundation. It also supports other popular operating systems like Ubuntu and Windows 10 IoT Core.
With its GPIO (General Purpose Input/Output) pins, Raspberry Pi allows users to connect and control external devices and sensors, making it ideal for projects involving automation, robotics, and Internet of Things (IoT) applications.
In addition to its hardware capabilities, Raspberry Pi has a vibrant online community that provides extensive documentation, tutorials, and support. This community-driven ecosystem ensures that users always have access to the latest information and resources, making it easier to learn and explore the endless possibilities of Raspberry Pi.
Overall, Raspberry Pi provides an affordable and versatile platform for DIY enthusiasts, hobbyists, and developers who want to bring their ideas to life. Its compact size, powerful performance, and easy-to-use interface make it an excellent choice for transforming your aux speaker into a smart speaker.
Materials Needed
To turn your aux speaker into a smart speaker using Raspberry Pi, you will need the following materials:
- Raspberry Pi board – Choose the model that best suits your needs and budget. The Raspberry Pi 3 or Raspberry Pi 4 are popular choices.
- MicroSD card – This will serve as the storage medium for the operating system and software.
- Power supply – Make sure to use a suitable power supply that meets the power requirements of your Raspberry Pi model.
- USB microphone – To capture your voice commands and enable voice recognition.
- HDMI cable – Required for connecting Raspberry Pi to a display for initial setup.
- USB keyboard and mouse – For configuring the Raspberry Pi and installing software.
- Wifi dongle (optional) – If your Raspberry Pi model does not have built-in Wi-Fi, you will need a USB Wi-Fi dongle for wireless connectivity.
- Aux speaker – The speaker you want to convert into a smart speaker. Ensure it has an audio jack or compatibility with the audio output of the Raspberry Pi.
In addition to these materials, you will need access to a computer or laptop with an SD card reader, internet connectivity, and a basic understanding of how to work with electronics and follow instructions.
By gathering these materials, you will be well-prepared to proceed with the process of transforming your aux speaker into a smart speaker using the Raspberry Pi board.
Step 1: Setting up the Raspberry Pi
Before you can begin the process of converting your aux speaker into a smart speaker, you need to set up your Raspberry Pi. Follow these steps to get started:
- Start by connecting the HDMI cable from the Raspberry Pi to a display device, such as a monitor or TV. This will allow you to see the Raspberry Pi’s interface and perform the initial setup.
- Next, connect the USB keyboard and mouse to the available USB ports on the Raspberry Pi.
- Insert the microSD card into the designated slot on the Raspberry Pi. This card will hold the operating system and software.
- Connect the power supply to the micro USB port on the Raspberry Pi to power it on.
- Once the Raspberry Pi is powered on, you will see the graphical interface on the connected display. Follow the on-screen instructions to configure the basic settings, including language, time zone, and password.
- If you are using a Raspberry Pi model without built-in Wi-Fi, connect the Wi-Fi dongle to one of the USB ports.
- After configuring the basic settings, it is recommended to perform system updates. Open the Terminal application and run the command “sudo apt-get update” followed by “sudo apt-get upgrade” to download and install the latest updates for your Raspberry Pi.
- At this point, your Raspberry Pi is ready to be configured further for the smart speaker setup.
Setting up the Raspberry Pi is an essential first step before proceeding with the installation of the operating system and software. Ensure that you have completed the above steps accurately and have a properly functioning Raspberry Pi.
Step 2: Installing the Operating System
Once you have set up your Raspberry Pi hardware, the next step is to install the operating system. Here’s how you can do it:
- Visit the official Raspberry Pi website and download the preferred operating system for your Raspberry Pi model. The most commonly used operating system is Raspbian.
- Insert the microSD card into your computer or laptop with an SD card reader.
- Using a disk imaging utility like Etcher, flash the downloaded operating system image onto the microSD card.
- Once the flashing process is complete, eject the microSD card and insert it back into the Raspberry Pi.
- Power on the Raspberry Pi by connecting the power supply.
- The Raspberry Pi will boot up, and you will be prompted to log in with the username “pi” and password “raspberry” (default credentials for Raspbian).
- Upon successful login, you will be directed to the desktop environment of the operating system.
By following these steps, you have successfully installed the operating system on your Raspberry Pi. It is important to ensure that you have selected the correct operating system image and have properly flashed it onto the microSD card. This will ensure that your Raspberry Pi is ready for the next steps in the smart speaker setup.
Step 3: Configuring the Raspberry Pi
Once the operating system is installed on your Raspberry Pi, the next step is to configure it to ensure optimal performance and compatibility. Follow these steps to configure your Raspberry Pi:
- Click on the “Raspberry Pi” icon in the top-left corner of the screen and go to “Preferences” > “Raspberry Pi Configuration”.
- In the “System” tab, you can change the hostname of your Raspberry Pi to a unique name that will be used to identify it on your network.
- Under the “Interfaces” tab, enable the interfaces you will need for your smart speaker setup. For example, if you plan to connect via Wi-Fi, ensure that the “Wi-Fi” option is enabled.
- In the “Performance” tab, you can adjust the CPU and GPU memory allocations based on your specific requirements and available resources. The default settings are usually sufficient for most applications.
- Go to the “Localisation” tab to set your preferred language, time zone, and keyboard layout.
- Once you have made the necessary configuration changes, click “OK” to apply the settings.
- It is recommended to reboot the Raspberry Pi for the changes to take effect. You can do this by clicking on the power icon in the menu and selecting “Reboot”.
By following these steps, you have successfully configured your Raspberry Pi. These configurations will ensure that your Raspberry Pi is ready for the next steps in setting up your smart speaker.
Step 4: Setting up the Audio Output
Configuring the audio output of your Raspberry Pi is an important step to ensure that your smart speaker will produce high-quality sound. Here’s how you can set up the audio output:
- Make sure your aux speaker is connected to the audio jack or the appropriate audio output of your Raspberry Pi.
- Click on the volume icon in the top-right corner of the screen and select “Audio Device Settings”.
- In the “Output Device” section, select the appropriate audio output option. If you are using the audio jack, choose “Headphones”. If you are using an HDMI connection with an audio-enabled display, choose “HDMI”.
- Adjust the volume level according to your preference using the volume slider.
Additionally, you can access the “Audio Settings” menu under the “Preferences” > “Audio Settings” to further customize the audio output settings, such as equalizer settings or audio device selection.
By completing these steps, you have successfully set up the audio output of your Raspberry Pi. This ensures that your smart speaker will provide clear and high-quality sound when it is operational.
Step 5: Installing Voice Assistant Software
Now that your Raspberry Pi is configured and the audio output is set up, it’s time to install voice assistant software to enable the smart features of your speaker. Follow these steps to install the voice assistant software:
- Open the Terminal application on your Raspberry Pi.
- Update the repository lists by running the command “
sudo apt-get update“. - Install the required dependencies for the voice assistant software by running the command “
sudo apt-get install <package-name>“. The specific package to install will depend on the voice assistant software you choose to use. For example, if you are using Google Assistant, you will need to install the required packages for it. - Download and install the voice assistant software. Different voice assistant options are available, such as Google Assistant, Amazon Alexa, or Mycroft AI. Follow the installation instructions provided by the voice assistant software’s documentation.
- Once the installation is complete, you may need to configure the voice assistant by following the setup wizard or editing the configuration files, depending on the chosen software.
- Make sure to test the voice assistant to verify that it is working correctly. You can issue voice commands to your Raspberry Pi and check if the voice assistant responds appropriately.
Once you have completed these steps, you will have successfully installed the voice assistant software on your Raspberry Pi. This software will enable the smart features of your speaker and allow you to interact with it using voice commands.
Step 6: Connecting the Raspberry Pi to the Speaker
Now that you have installed the voice assistant software on your Raspberry Pi, it’s time to connect the Raspberry Pi to your aux speaker. Follow these steps to establish the connection:
- Ensure that your Raspberry Pi and the speaker are both powered off.
- Locate the audio output on the Raspberry Pi board, which is usually a 3.5mm audio jack.
- Connect one end of the aux cable to the audio output of the Raspberry Pi.
- Connect the other end of the aux cable to the input of your aux speaker. This could be a 3.5mm audio jack or another type of input depending on the speaker.
- Make sure the connection is secure and snug.
If your speaker supports other connection methods, such as Bluetooth or USB, you can explore those options as well. However, for a basic setup, the audio jack connection is commonly used.
Once you have connected the Raspberry Pi to the speaker, you are ready to proceed with the next steps in configuring the software and testing your newly created smart speaker. This connection will allow the Raspberry Pi to send audio output to the speaker, enabling you to hear the responses and playback from the voice assistant software.
Step 7: Configuring the Software
With the Raspberry Pi connected to your speaker, the next step is to configure the voice assistant software to ensure optimal performance and functionality. Follow these steps to configure the software:
- Access the configuration files or settings menu of the installed voice assistant software. The location and method may vary depending on the software you are using.
- Configure the microphone settings. Ensure that the correct input device is selected for the microphone. If using a USB microphone, it should be listed as an available option.
- Set up the audio output settings. Choose the appropriate output device as the speaker you have connected to the Raspberry Pi.
- Enable any additional features or integrations you desire, such as music streaming services, smart home device controls, or custom routines.
- Save and apply the configuration changes.
It’s important to consult the documentation or user guide provided by the specific voice assistant software you have installed for detailed instructions on configuration settings specific to that software.
Once you have completed the configuration, your smart speaker is ready to use. You can now interact with the voice assistant through voice commands and enjoy the smart features it offers.
Take some time to explore the available settings and customize your smart speaker according to your preferences. You can adjust the voice volume, language preferences, and other options to enhance your user experience.
Remember to test the functionality of your smart speaker to ensure that it is responding accurately to your voice commands and providing the desired outcomes.
By following these steps, you have successfully configured the software for your smart speaker, allowing it to perform tasks and provide information based on your voice commands.
Step 8: Testing and Troubleshooting
After configuring the software, it’s important to test your smart speaker to ensure everything is functioning as expected. Here are some steps to test and troubleshoot your smart speaker:
- Issue voice commands to the speaker and observe the response from the voice assistant. Check if the assistant accurately recognizes and interprets your commands.
- Verify that the audio is playing through the connected speaker. Adjust the volume settings if necessary.
- Test the capabilities of the voice assistant by asking different types of questions and requesting various tasks like playing music, setting reminders, or controlling smart home devices.
- Ensure that the speaker can properly hear your voice commands. Test the microphone’s sensitivity by speaking at different distances and volumes.
- If you encounter any issues, consult the documentation or troubleshooting guide provided by the voice assistant software. Check for common mistakes or configurations that could be causing the problem.
- Make sure all the necessary dependencies and software packages are up to date. Run system updates or reinstall the voice assistant software if needed.
- Verify that your internet connectivity is stable as it is crucial for the voice assistant software to function properly.
- If you are experiencing difficulties with the audio output, double-check the connections between the Raspberry Pi and the speaker. Ensure both devices are properly powered and that the audio jack or other connection methods are secure.
If you are unable to troubleshoot the issue yourself, consider seeking help from online forums or communities dedicated to Raspberry Pi or the specific voice assistant software you are using. These communities are often filled with knowledgeable individuals who can provide guidance and solutions to common problems.
Regularly test and troubleshoot your smart speaker to ensure that it continues to operate smoothly. Updating the software, checking for compatibility with new updates, and addressing any hardware issues promptly will help maintain the functionality of your smart speaker.
By following these testing and troubleshooting steps, you can identify and resolve any issues affecting your smart speaker and ensure that it provides optimal performance for a seamless and enjoyable user experience.
Conclusion
Congratulations! You have successfully turned your aux speaker into a smart speaker using Raspberry Pi. By following the step-by-step guide outlined in this article, you have transformed your ordinary speaker into a voice-controlled device capable of playing music, answering questions, and controlling smart home devices.
Through the installation of the voice assistant software and configuring the Raspberry Pi, you have unlocked the potential of turning any speaker into a smart device. This DIY project not only saves you money compared to purchasing a pre-built smart speaker but also allows for customization and flexibility.
Remember to regularly update the software and test your smart speaker’s functionality to ensure it continues to deliver optimal performance. Troubleshoot any issues that may arise, utilizing online resources and communities for guidance and support.
With your newly created smart speaker, you can enjoy the convenience and benefits of voice-controlled technology in your daily life. Whether it’s playing your favorite music, setting reminders, or controlling your smart home devices, your smart speaker will be at your service, responding to your voice commands.
Feel free to explore additional features and enhancements for your smart speaker. You can integrate it with other devices and services, expand its capabilities through software updates, or customize it to suit your unique preferences and needs.
With Raspberry Pi’s versatility and the endless possibilities it offers, your smart speaker can be just the beginning of your DIY journey. Now that you have mastered the art of turning an aux speaker into a smart speaker, who knows what other creative projects you may embark on!


