Introduction
Welcome to our guide on how to set up a surround sound system for a small room. If you’re an audiophile or a movie lover, you know how crucial a high-quality sound system is for an immersive entertainment experience. Even in a small room, you can create a captivating surround sound setup that will enhance your audio journey.
Whether you want to enjoy the full impact of explosions in an action movie or feel like you’re part of the crowd at a live concert, a surround sound system can bring your entertainment to life. With the right speaker layout, speaker selection, placement, and proper calibration, you can achieve an exceptional audio experience that rivals that of a commercial movie theater.
In this guide, we will walk you through the step-by-step process of setting up a surround sound system specifically designed for small rooms. We’ll cover everything from determining the optimal speaker layout to calibrating the audio settings for the best performance.
Before we dive into the details, it’s important to note that while our focus is on small rooms, the principles and techniques discussed can be applied to larger spaces as well. So, even if you have a medium-sized or larger room, you can still benefit from the information provided.
Now, let’s get started on creating an incredible surround sound experience in your small room. Through careful planning and execution, you’ll soon be immersed in a world where the audio is as impressive as the visuals.
Determine the Optimal Speaker Layout
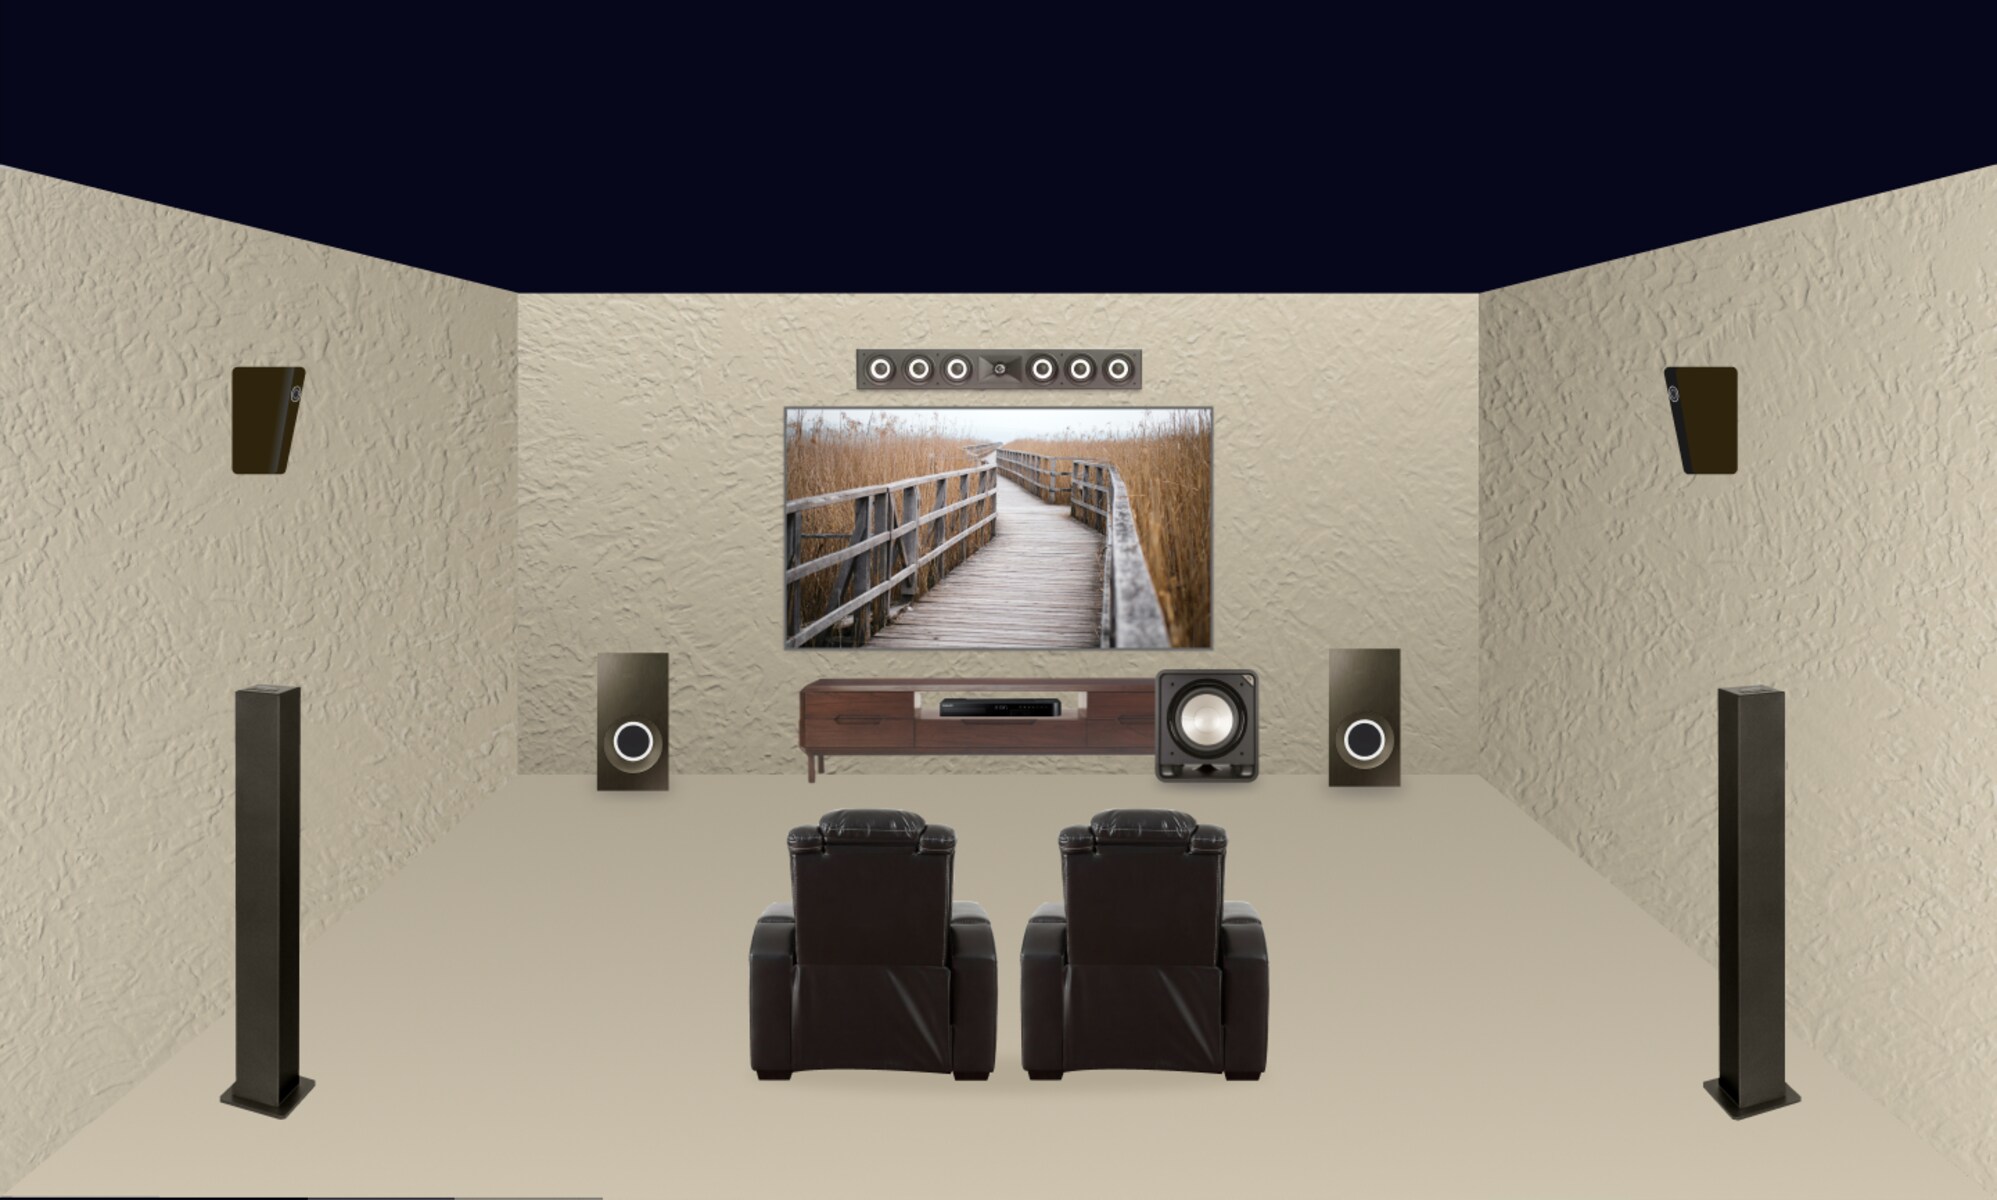
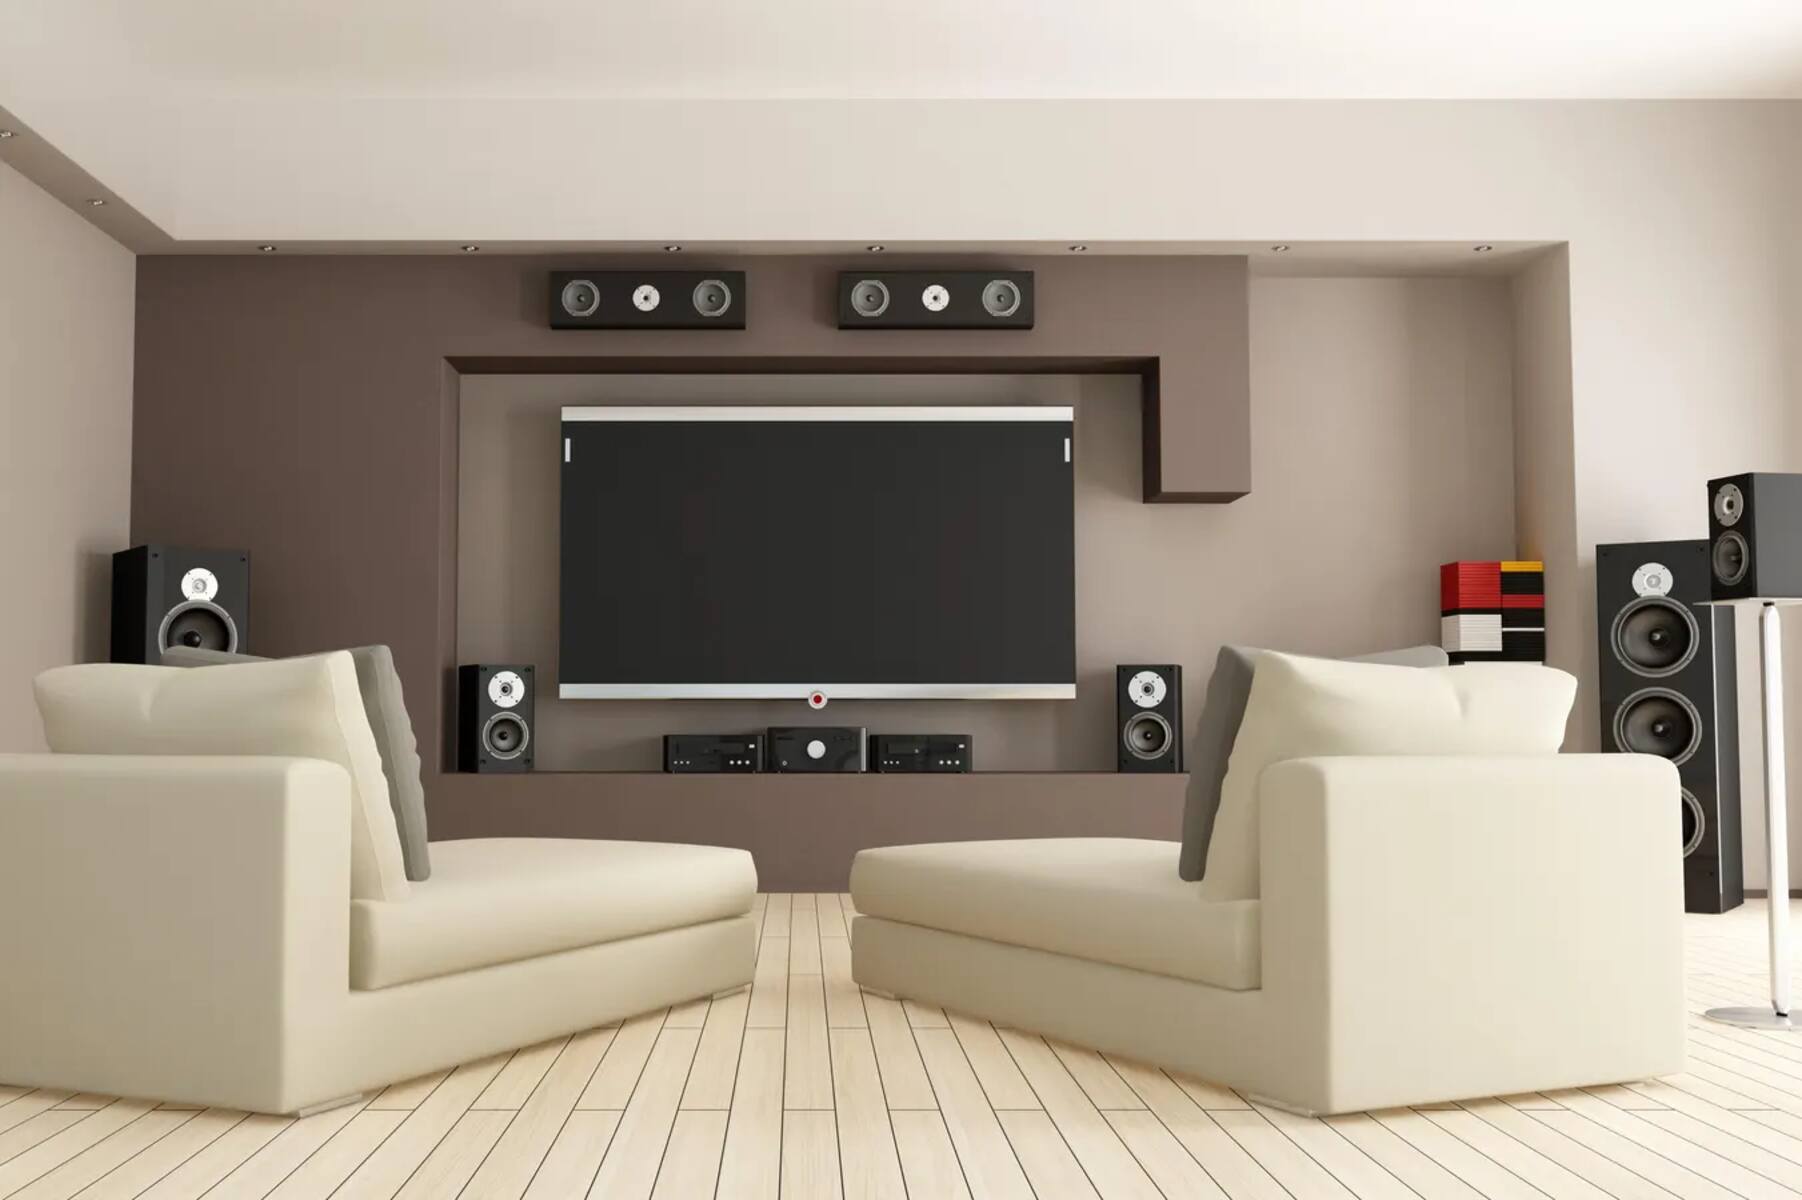
When setting up a surround sound system in a small room, determining the optimal speaker layout is crucial. The speaker layout refers to the arrangement of speakers in relation to the listener’s position. There are different configurations to choose from, but the most common ones for small rooms are the 5.1 and 7.1 setups.
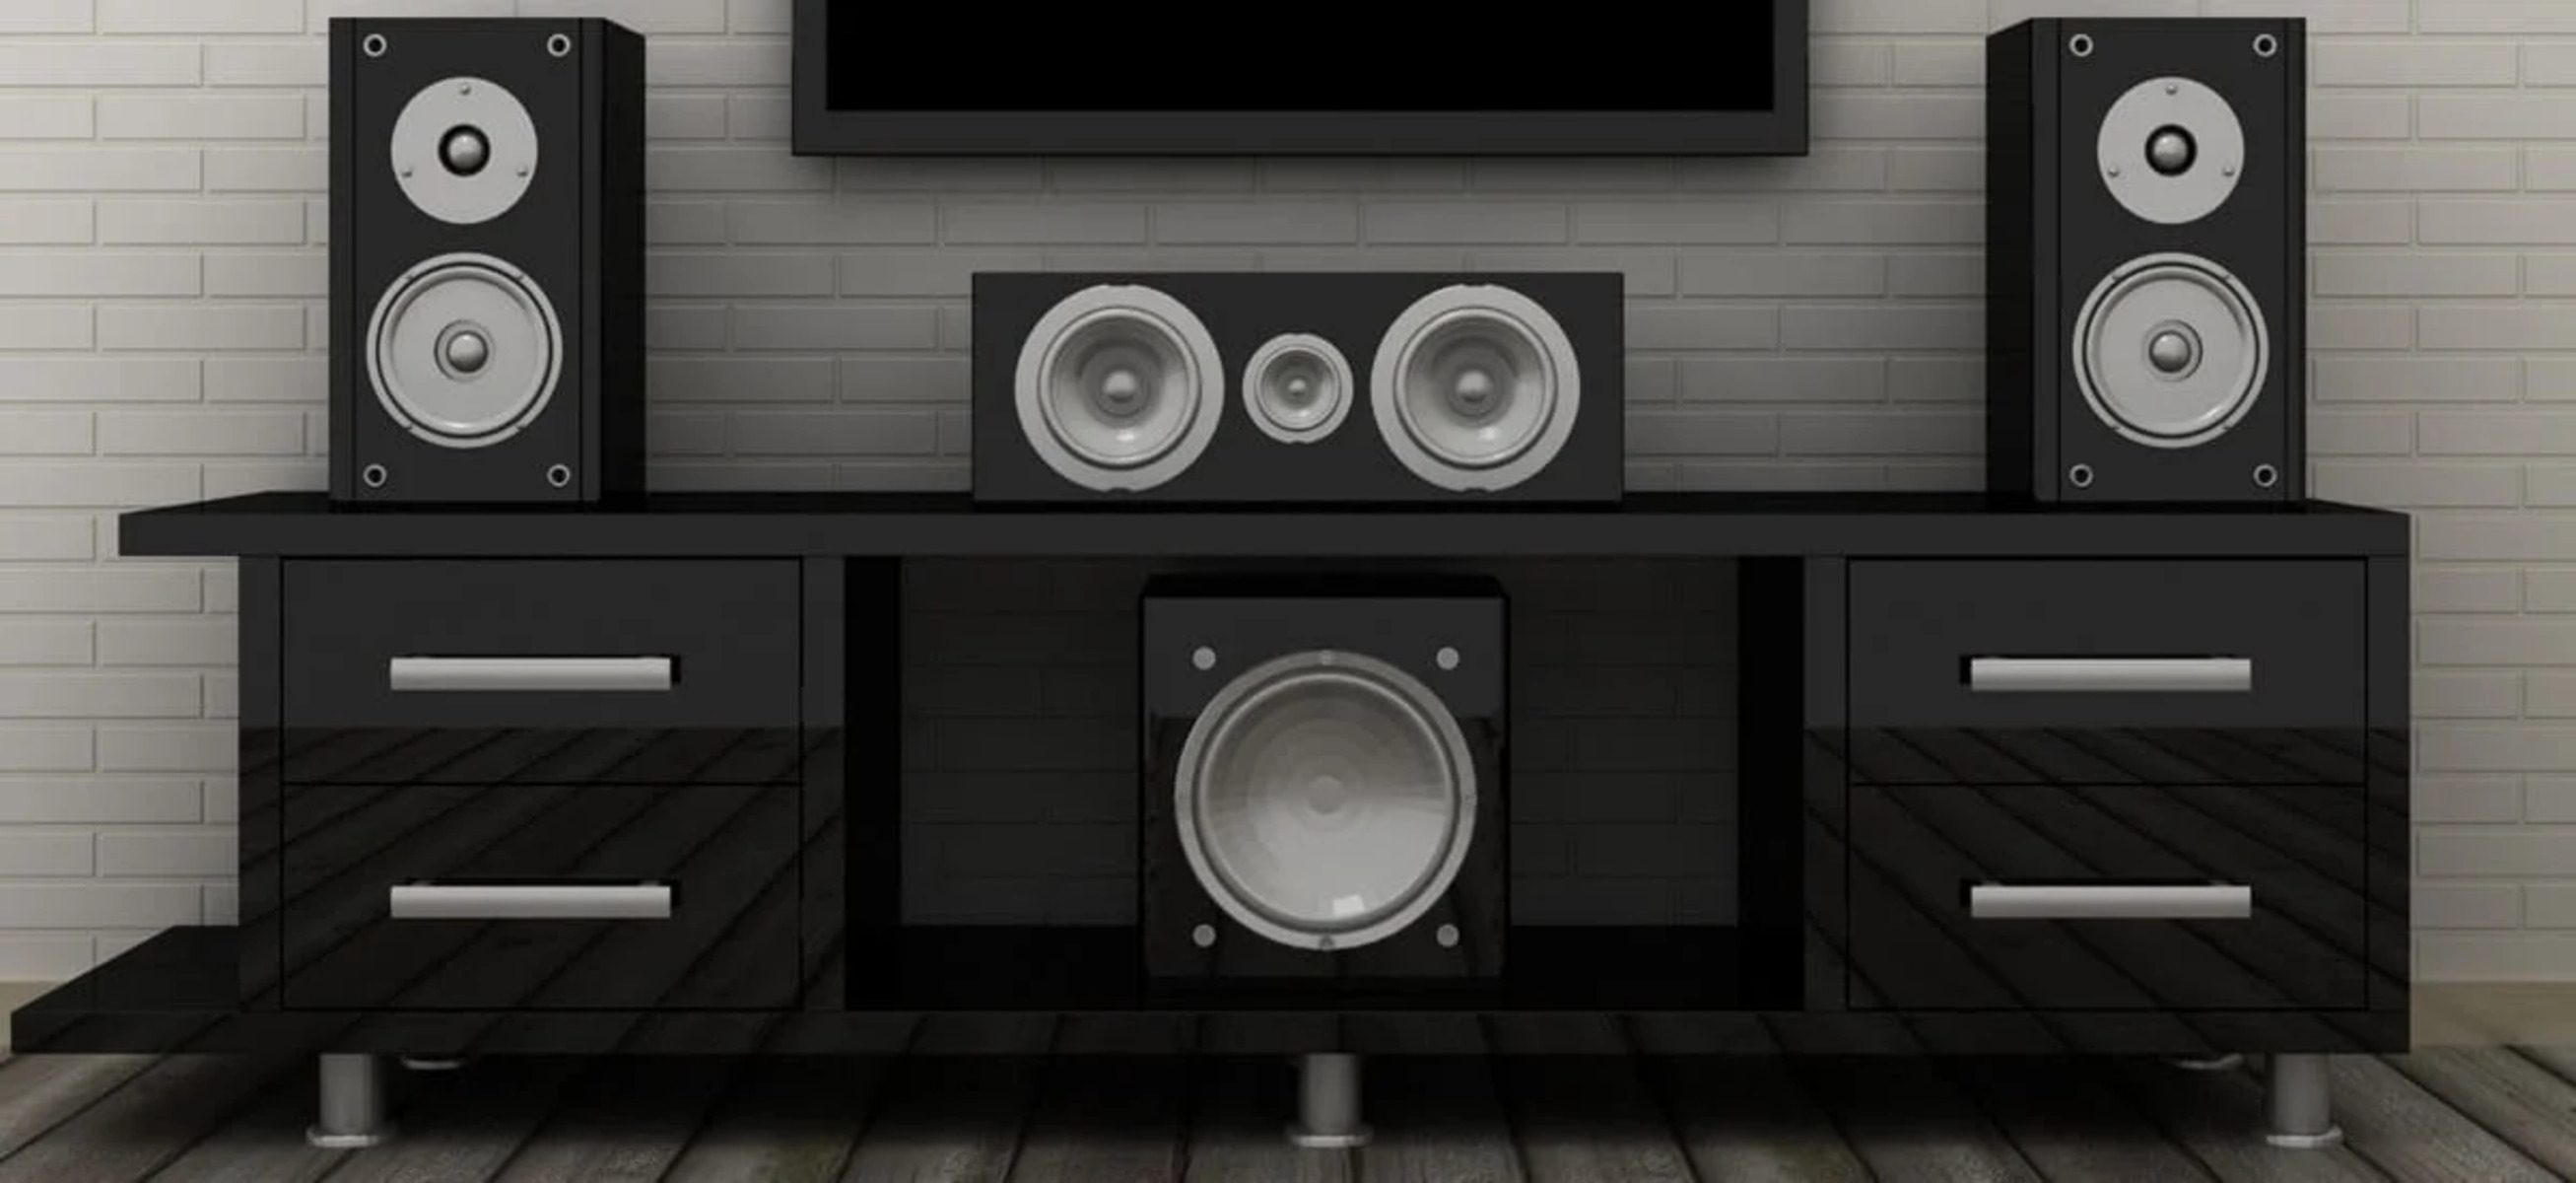
The 5.1 setup consists of five main speakers and one subwoofer. The main speakers are positioned in the front left, center, and front right positions, while the rear left and rear right speakers are placed behind the listener. The subwoofer, responsible for reproducing low-frequency sounds, can be placed anywhere in the room where it delivers the best bass response.
If you want to take your surround sound experience a step further, you can opt for the 7.1 setup. In addition to the speakers in the 5.1 setup, the 7.1 configuration includes two additional speakers placed on the sides of the room. This setup provides an even more immersive audio experience, adding depth and dimension to the soundstage.
When determining the optimal speaker layout, consider the size and shape of your room. Assess the dimensions and acoustics to determine the most suitable configuration. Keep in mind that while a 7.1 setup may offer enhanced audio, it requires more space and may not be practical in a smaller room.
Next, think about your seating arrangement. Ideally, the listener’s position should be centered between the front speakers, creating a balanced soundstage. If you have a specific seat or viewing area, ensure it is aligned with the main speakers for the best audio experience.
It’s also important to factor in the distance between the speakers and the listener. Follow the manufacturer’s recommendations for the optimal positioning, taking into consideration the room’s dimensions and the speakers’ specifications. Maintaining proper speaker placement will ensure a cohesive and accurate reproduction of sound.
Ultimately, the optimal speaker layout will depend on your preferences, room size, and budget. Take the time to research and experiment with different configurations to find the setup that suits your needs best. Once you’ve determined the ideal speaker layout, you can move on to selecting the right speakers for your small room.
Choose the Right Speakers for Your Small Room
Choosing the right speakers for your small room is essential to ensure optimal audio performance and a satisfying surround sound experience. There are various factors to consider when making your selection, including speaker size, type, and compatibility with your audio system.
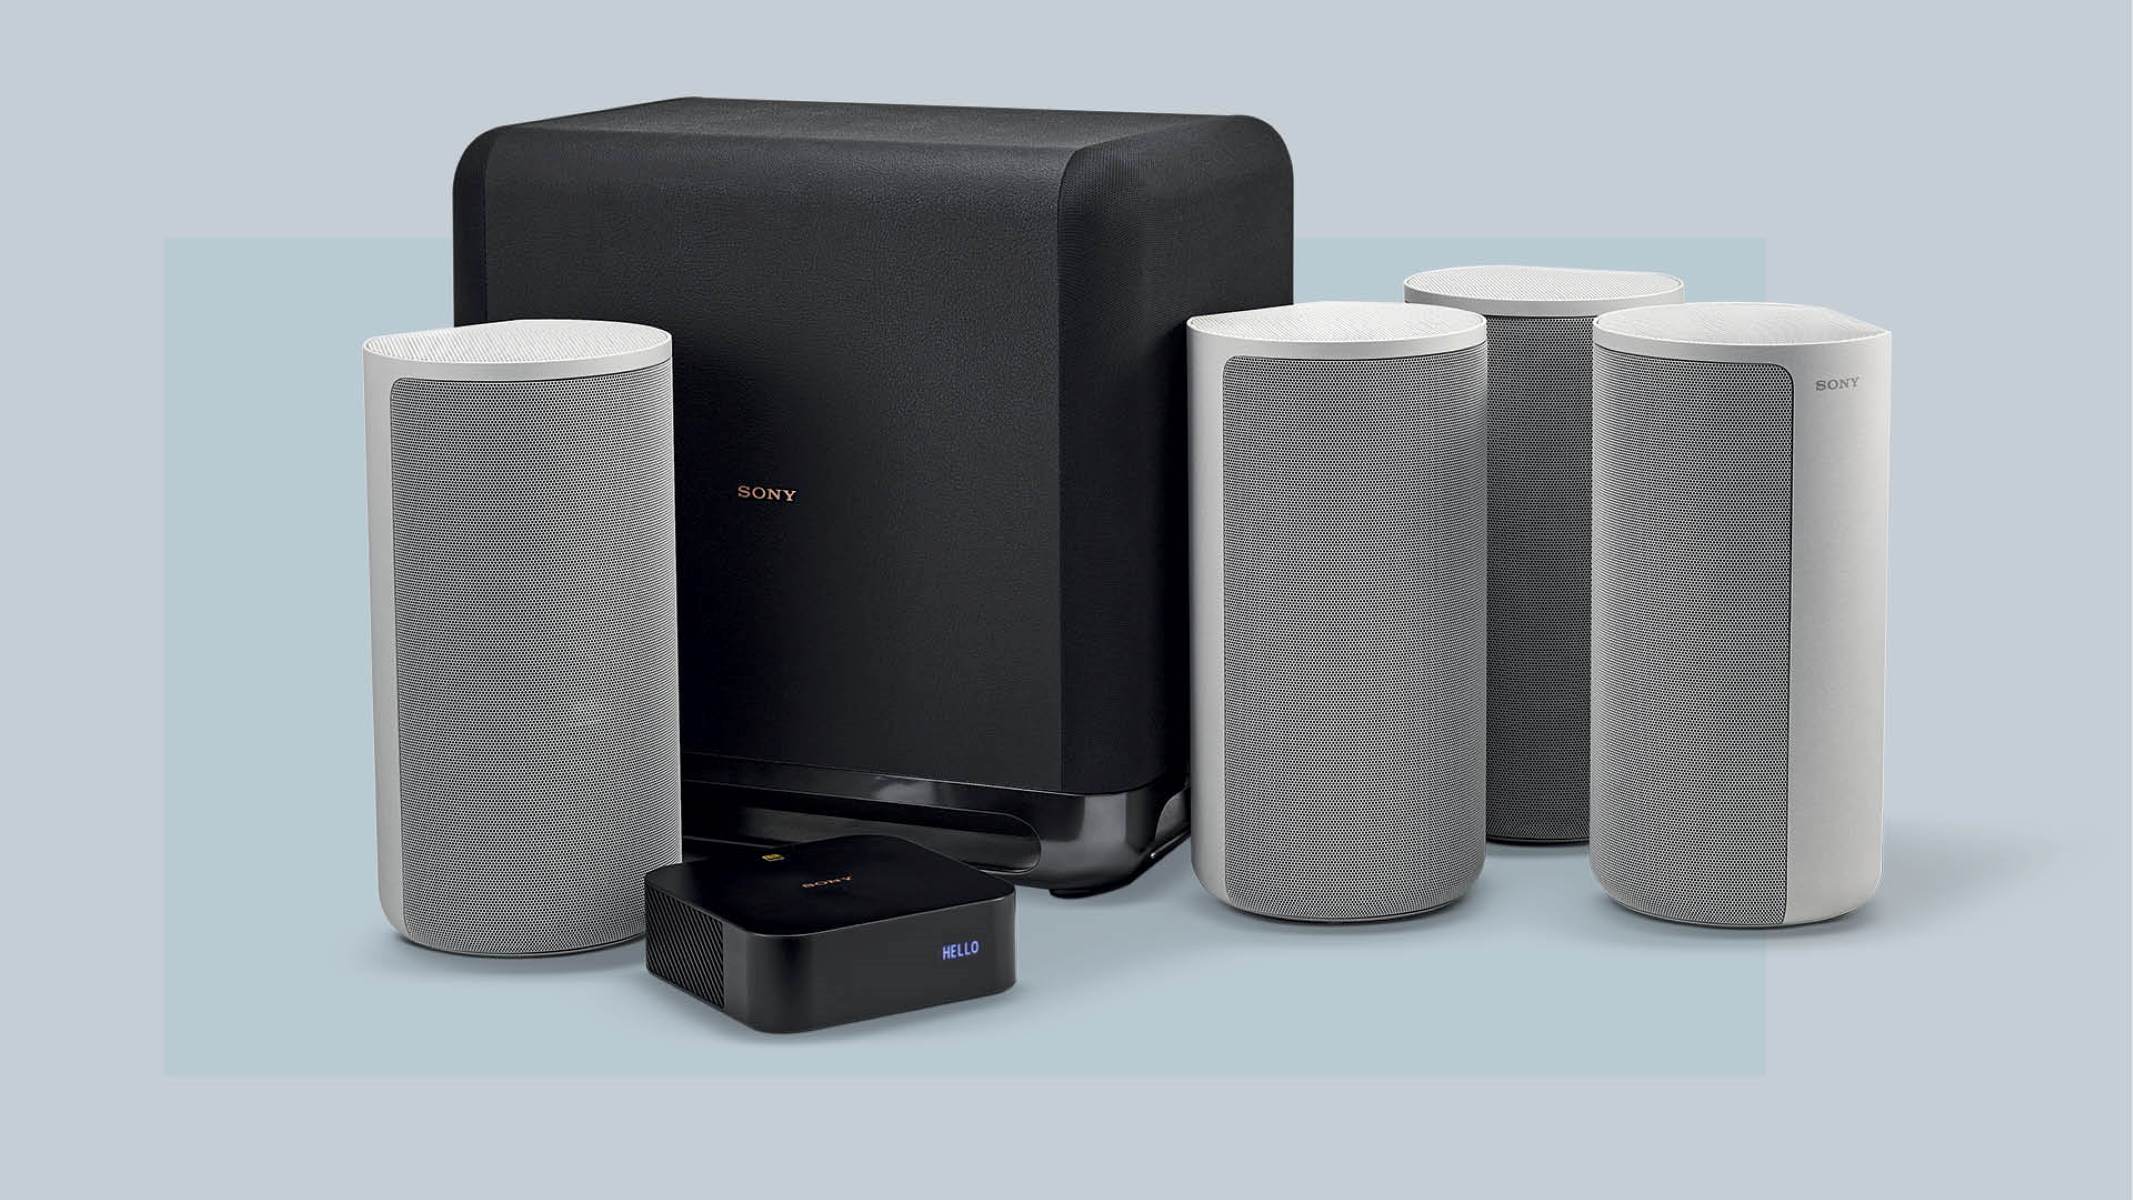
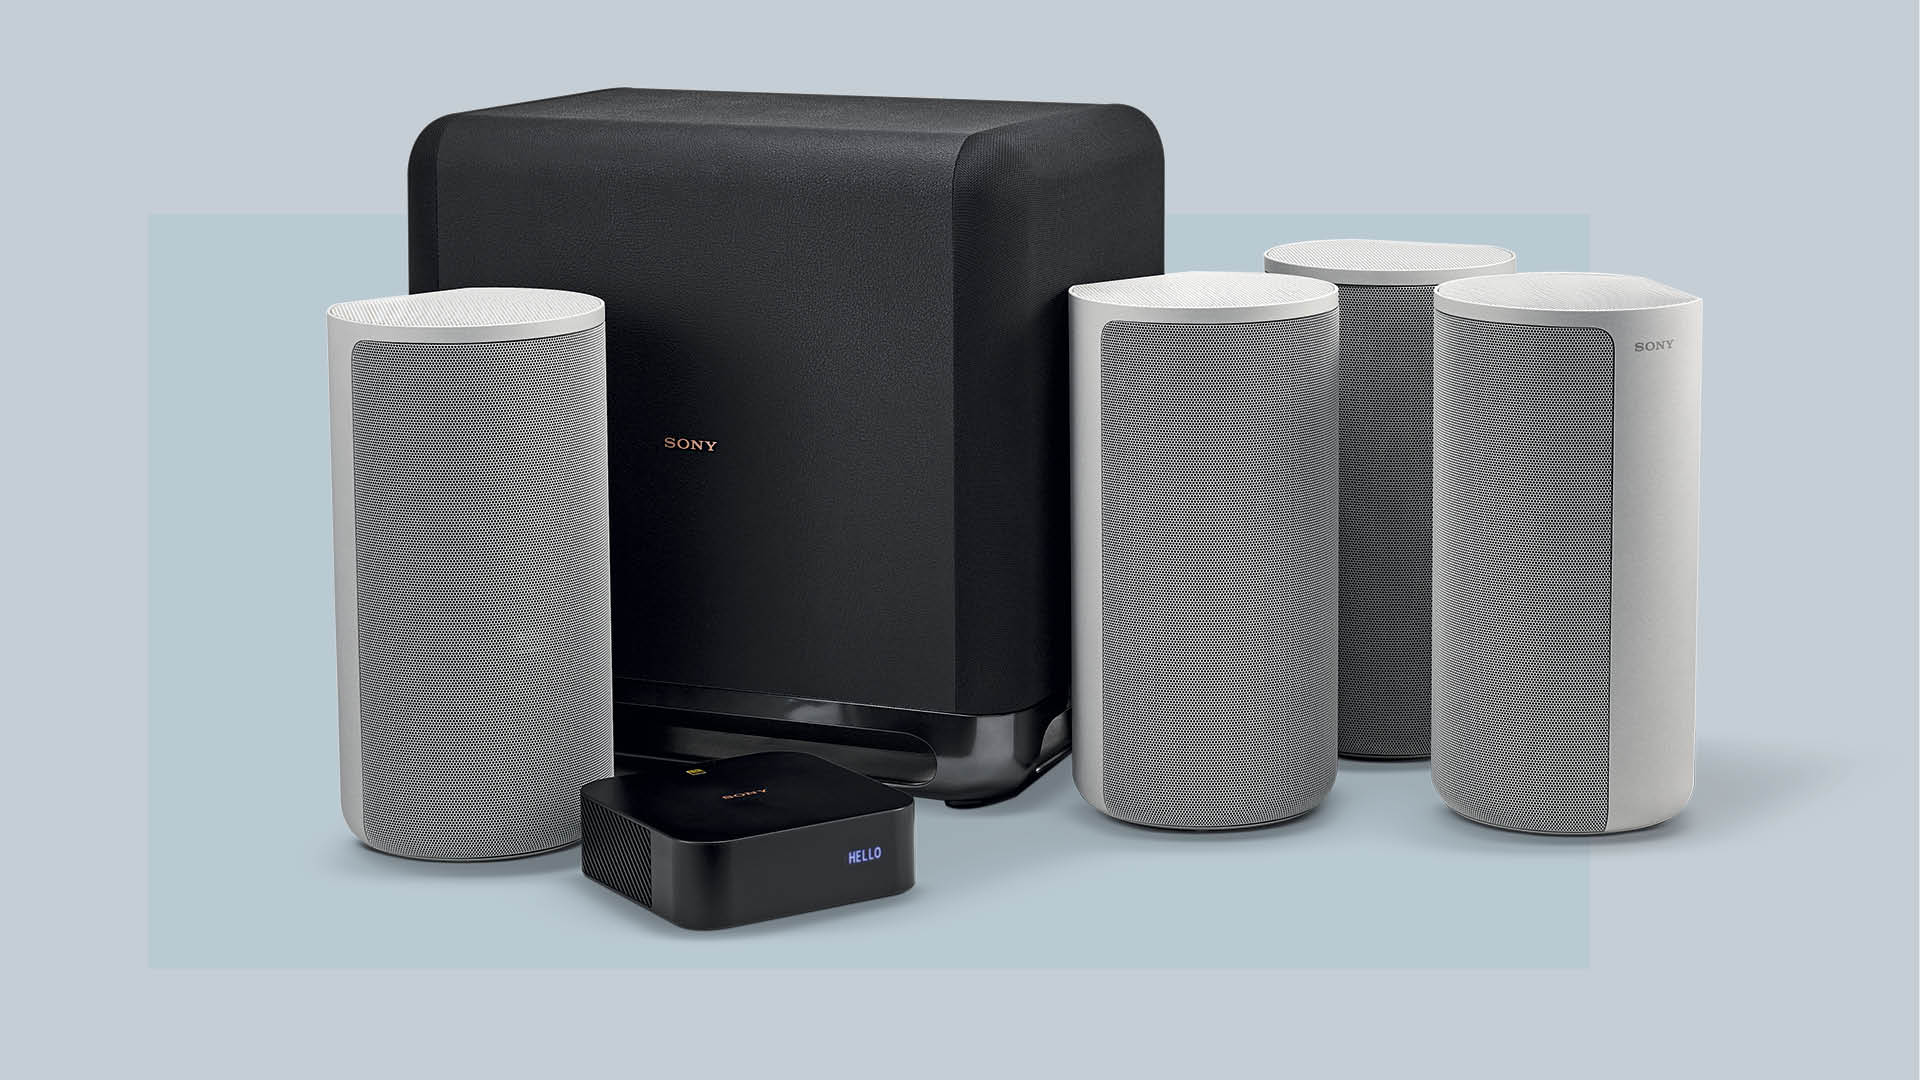
The size of your room plays a significant role in determining the appropriate size of the speakers. In a small room, compact speakers are generally recommended. These smaller speakers can deliver excellent sound quality without overwhelming the space or overpowering the listener. Look for bookshelf speakers or satellite speakers designed for compact environments.
Consider the speaker type as well. There are different types available, including floor-standing speakers, bookshelf speakers, and in-wall or in-ceiling speakers. For a small room, bookshelf speakers are often a popular choice as they offer a good balance of size, performance, and affordability. Additionally, they can be easily placed on bookshelves, stands, or mounted on walls.
When selecting speakers, it’s important to ensure compatibility with your audio system and other components. Check the power rating and impedance of the speakers to ensure they match your AV receiver’s specifications. Having a well-matched system will prevent any distortion or compatibility issues that may affect the overall sound quality.
Furthermore, consider the frequency response and sensitivity of the speakers. A wider frequency response indicates that the speakers can reproduce a broader range of audio frequencies, resulting in more detailed and accurate sound reproduction. Higher sensitivity speakers will require less power to produce the desired volume level, which can be advantageous in small rooms where space is limited.
Another crucial aspect to consider is the overall aesthetics and design of the speakers. Since you’re dealing with a small room, it’s important to choose speakers that complement the room’s décor and fit seamlessly into the space. Opt for speakers with a clean and compact design that won’t appear bulky or overpowering.
Lastly, consider your budget. There are speakers available in various price ranges, so it’s essential to determine your budget and explore options that fall within it. Remember, while it’s tempting to go for the most expensive speakers, it’s important to find a balance between your budget and the performance you desire.
By carefully considering size, type, compatibility, aesthetics, and budget, you can choose the right speakers that will deliver exceptional surround sound performance in your small room. Once you have selected the speakers, the next step is to find the ideal placement for each speaker.
Find the Ideal Placement for Each Speaker
The placement of each speaker in your surround sound system is crucial for achieving an immersive and balanced audio experience in your small room. Proper placement ensures that sound is accurately reproduced and creates a cohesive soundstage. Here are some guidelines to help you find the ideal placement for each speaker:
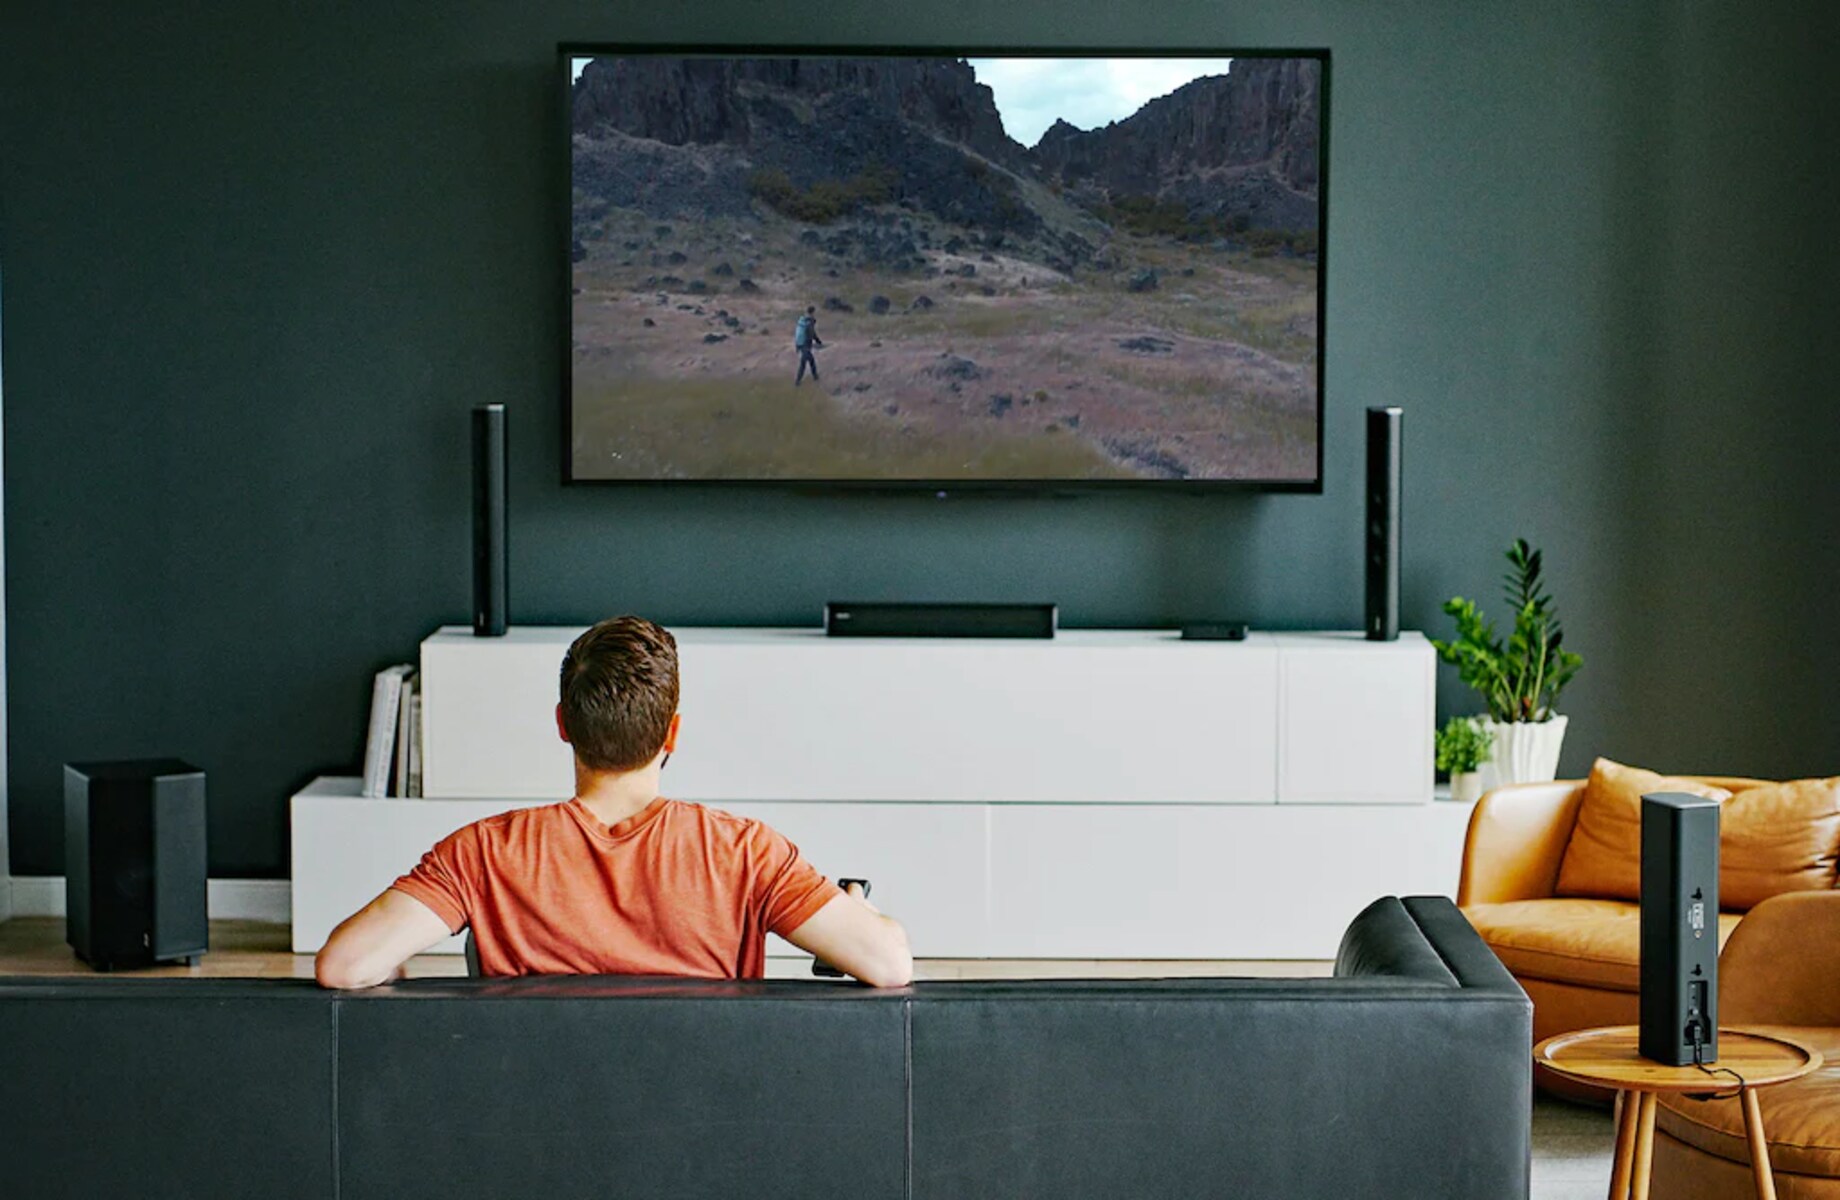
Front speakers: The front speakers, including the center channel and front left and right speakers, play a vital role in delivering dialogue, music, and sound effects. Place the center channel speaker directly below or above your TV at ear level. This positioning ensures that dialogue and on-screen effects are accurately localized. The front left and right speakers should be equidistant from the TV and your listening position. Angle them slightly towards the center of the room to create a balanced soundstage.
Rear speakers: For the rear left and right speakers, position them behind your listening area, slightly above ear level. These speakers create the surround sound effect by reproducing ambient and environmental sounds. Angle them towards your listening position to direct sound towards you. If wall-mounting is not feasible, consider using speaker stands to achieve the ideal height and placement.
Subwoofer: The subwoofer is responsible for creating deep and powerful bass tones. It is not as dependent on precise placement as the other speakers. Experiment with different positions in your room to find the spot where the bass sounds most balanced and impactful. Placing the subwoofer near a corner or against a wall often enhances bass response.
Side speakers (for a 7.1 setup): If you have opted for a 7.1 setup, the side speakers are positioned at the sides of the room, parallel to the listening area. These speakers contribute to the enveloping surround sound experience. Place them at ear level or slightly above, angled towards your listening position. Adjust the distance from your listening area to maintain balance with the other speakers.
Remember to maintain an equal distance between yourself and the front speakers to achieve a balanced soundstage. Avoid placing speakers too close to walls or corners, as this can result in sound reflections and coloration. Experiment with different placements and angles to find the arrangement that delivers the most immersive audio experience in your small room.
Once you have found the ideal placement for each speaker, the next step is to set up the AV receiver and connect your devices. Proper connection and configuration of your audio system are crucial for optimal performance, so let’s move on to the next section.
Set Up the AV Receiver and Connect Your Devices
The AV receiver is the central hub of your surround sound system, responsible for processing and amplifying audio signals from various sources. Setting up the AV receiver correctly and connecting your devices is essential for seamless operation and optimal sound quality. Here’s how to do it:
1. Positioning: Start by deciding on the ideal location for your AV receiver. Ensure that there is plenty of ventilation to prevent overheating. Also, consider accessibility for cable management and future adjustments.
2. Connecting speakers: Begin by connecting the speaker wires from each speaker to the corresponding speaker terminals on the AV receiver. Ensure that you connect the correct speaker wire to the appropriate channel (e.g., front left, front right, center, etc.) as indicated on the receiver.
3. Connecting the subwoofer: Connect the subwoofer to the designated subwoofer output on the AV receiver using a subwoofer cable. In some cases, the subwoofer may connect wirelessly, eliminating the need for a physical cable connection.
4. Connecting source devices: Determine the source devices you will be using, such as a Blu-ray player, gaming console, streaming device, or cable/satellite box. Connect each device to an available HDMI input on the AV receiver using HDMI cables. Ensure that you use high-quality HDMI cables capable of transmitting audio and video signals without degradation.
5. Connecting the TV: Connect the HDMI output of the AV receiver to the HDMI input of your TV. This allows the video signal from your source devices to pass through the AV receiver and be displayed on the TV. If your TV supports Audio Return Channel (ARC), connect the HDMI ARC port on your TV to the ARC output on the AV receiver. This allows audio from the TV to be played through the surround sound system.
6. Powering on: Before powering on the AV receiver, double-check all connections to ensure they are secure. Make sure the speaker wires are not touching each other to avoid any short circuits. Once everything is in place, plug in the AV receiver and turn it on.
7. Adjusting settings: After powering on the AV receiver, access the settings menu to configure audio and video preferences. Consult the receiver’s manual for specific instructions on adjusting settings like speaker size, crossover frequency, equalization, and audio mode. These settings can greatly impact the audio performance of your surround sound system.
By following these steps, you can set up the AV receiver and connect your devices with ease. Once everything is properly connected and configured, you can move on to the next step of calibrating the audio settings and performing a sound test to fine-tune the performance of your surround sound system.
Calibrate the Audio Settings and Perform a Sound Test
Calibrating the audio settings of your surround sound system is crucial for achieving the best sound quality and a balanced audio experience in your small room. By properly configuring the settings and performing a sound test, you can fine-tune the system to your preferences. Here’s how to calibrate the audio settings and perform a sound test:
1. Speaker distance and level: Access the speaker settings menu on your AV receiver. Measure the distance between each speaker and your listening position and input these values into the receiver. This ensures that the audio signals reach your ears at the same time, creating a cohesive soundstage. Additionally, adjust the speaker level settings to balance the volume output of each speaker relative to the reference level.
2. Crossover frequency: Set the crossover frequency for your speakers. This determines the point at which low-frequency sounds are redirected from the main speakers to the subwoofer. Experiment with different crossover frequencies to find the setting that produces the smoothest transition between the main speakers and the subwoofer while preserving the overall tonal balance.
3. Room acoustics: Consider your room’s acoustics and make necessary adjustments to compensate for any anomalies. Some AV receivers offer room correction features that can automatically analyze your room’s acoustics and adjust the audio settings accordingly. Alternatively, you can manually tweak the equalizer settings to address specific frequency response issues in your room.
4. Sound test: Once you have calibrated the audio settings, it’s time to perform a sound test. Play a variety of audio content, such as movies, music, and games, to evaluate the performance of your surround sound system. Pay attention to the clarity of dialogue, the accuracy of sound effects, and the overall balance of the audio. Make additional tweaks to the settings if necessary to achieve the desired audio experience.
5. Fine-tuning: If your AV receiver supports advanced audio processing features, such as Dolby Atmos or DTS:X, experiment with these settings to enhance the immersive audio experience. These technologies add height and dimension to the soundstage, taking your surround sound system to the next level. Adjust the settings according to your preference and the capabilities of your speakers.
Remember that the audio calibration process may require some trial and error, as every room and personal preference is different. Take the time to experiment with different settings, perform several sound tests, and trust your ears to guide you towards the best audio performance in your small room.
Once you are satisfied with the calibration and sound test results, you can sit back, relax, and enjoy the immersive surround sound experience in your small room. These audio settings can also be adjusted later if you make any changes to your room setup or speaker positioning. In the final section, we will provide some additional tips to enhance your surround sound experience.
Additional Tips for Enhancing Your Surround Sound Experience
While setting up and calibrating your surround sound system is crucial, there are additional steps you can take to further enhance your audio experience in a small room. Consider the following tips:
1. Improve room acoustics: Enhance the acoustics of your room by adding acoustic panels, rugs, curtains, and other sound-absorbing materials. This helps minimize sound reflections and echoes, resulting in cleaner and more accurate audio reproduction.
2. Optimize speaker positioning: Fine-tune the placement of your speakers by experimenting with small adjustments. Even a slight repositioning of the speakers can have a significant impact on the soundstage, imaging, and overall audio experience.
3. Use speaker isolation pads or stands: To reduce vibrations and improve sound clarity, consider using isolation pads or stands for your speakers. These accessories help prevent the transmission of vibrations from the speakers to the surfaces they are placed on, resulting in cleaner sound reproduction.
4. Invest in quality cables: While it may be tempting to skimp on cables, using high-quality cables can improve signal transmission and minimize audio degradation. Opt for cables that are specifically designed for audio applications and ensure they are properly connected and secure.
5. Experiment with audio settings: Play around with different audio settings on your AV receiver to find the optimal configuration for your preferences. Adjust parameters such as bass, treble, and surround sound modes to suit your audio tastes and the content you are enjoying.
6. Consider room size when selecting equipment: When purchasing new equipment, take your room size into account. Avoid purchasing speakers or a receiver that are too powerful for your small room, as this can result in overpowering bass and distorted sound. Choose equipment that is appropriate for your space to achieve the best audio performance.
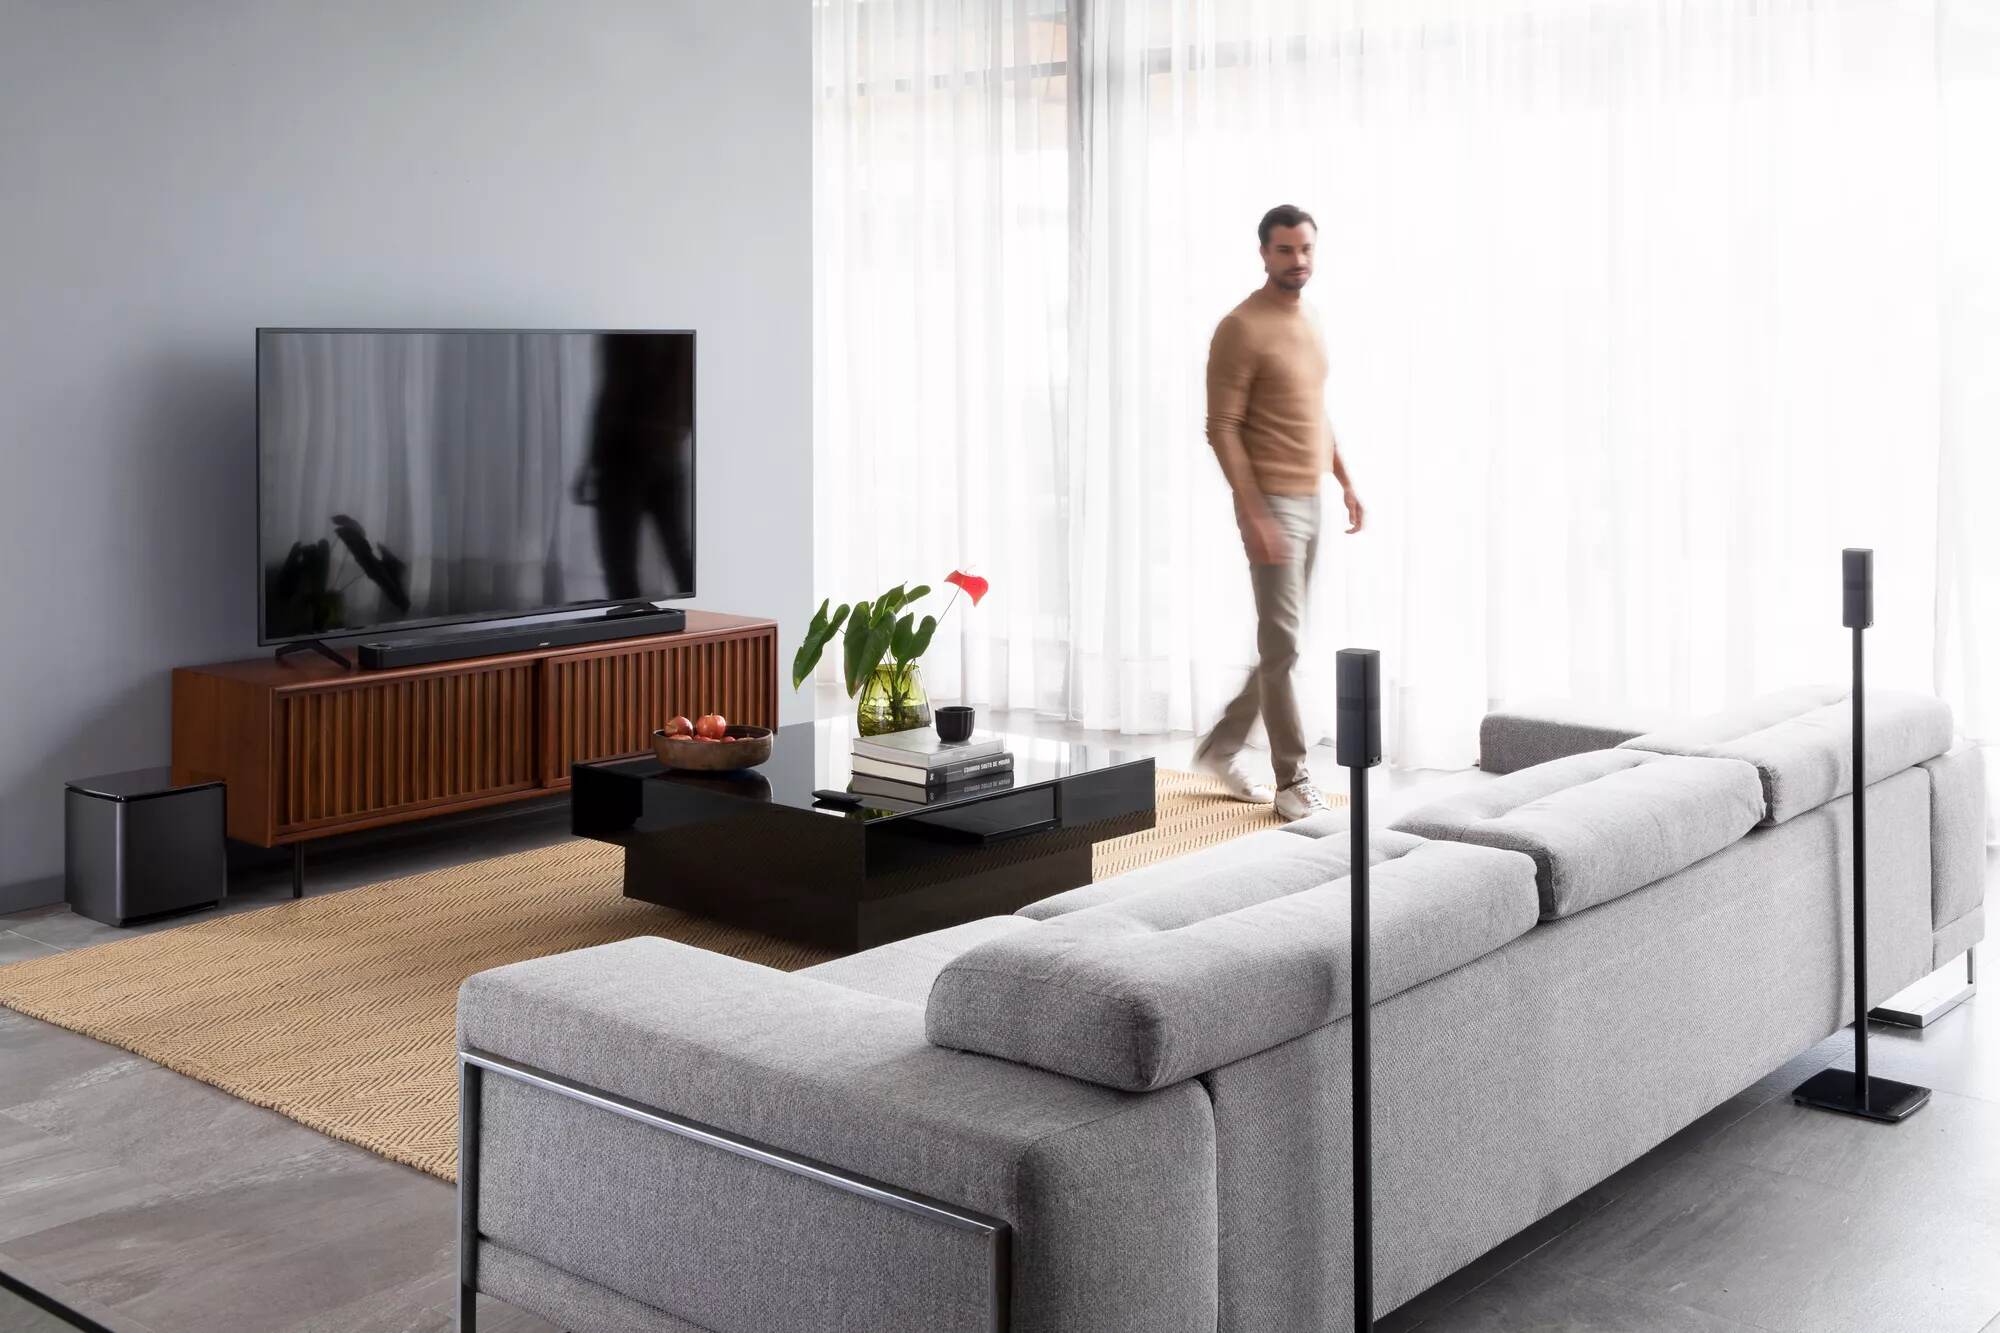
7. Position yourself in the sweet spot: Find the “sweet spot” in your room where the audio experience is optimized. Experiment with different seating positions to ensure you are positioned in the center of the surround sound stage, allowing you to fully immerse yourself in the audio experience.
8. Regularly maintain your equipment: Keep your surround sound system in proper condition by regularly cleaning the speakers, ensuring the cables are secure, and performing any necessary firmware updates or maintenance tasks on your AV receiver. This helps to maintain optimal performance and longevity of your equipment.
By following these additional tips, you can elevate your surround sound experience in a small room, immersing yourself in high-quality audio that enhances your movies, music, and gaming experiences.
With your surround sound system set up, calibrated, and enhanced, it’s time to sit back, relax, and enjoy the immersive audio experience in your small room. Whether you’re watching your favorite movies or listening to music, you’ll appreciate the impact and depth of sound that surround sound brings to your entertainment.
Conclusion
Setting up a surround sound system in a small room can seem like a daunting task, but with careful planning and execution, you can achieve a captivating audio experience that enhances your entertainment. By determining the optimal speaker layout, choosing the right speakers, finding the ideal speaker placement, setting up the AV receiver, calibrating the audio settings, and performing a sound test, you can create a surround sound system that immerses you in realistic and immersive sound.
Remember that the size of your room is not a limitation when it comes to enjoying high-quality audio. Small rooms can provide an intimate and engaging environment for a surround sound setup. By selecting compact speakers, optimizing speaker placement, and fine-tuning audio settings, you can make the most of your limited space.
Additionally, consider the acoustics of your room and make adjustments to enhance sound quality. Ensure that your AV receiver and devices are properly connected, and take advantage of advanced audio processing features. Taking these extra steps can bring your surround sound experience to a whole new level.
With the right approach and attention to detail, you can transform your small room into a personal home theater that delivers an immersive audio experience. Immerse yourself in the world of your favorite movies, music, and games, and let the surround sound system transport you to new audio dimensions.
So, go ahead and enjoy the powerful explosions, the subtle whispers, and the soaring melodies with your carefully set up surround sound system. Let the sound wrap around you, making your entertainment truly come to life.


