Introduction
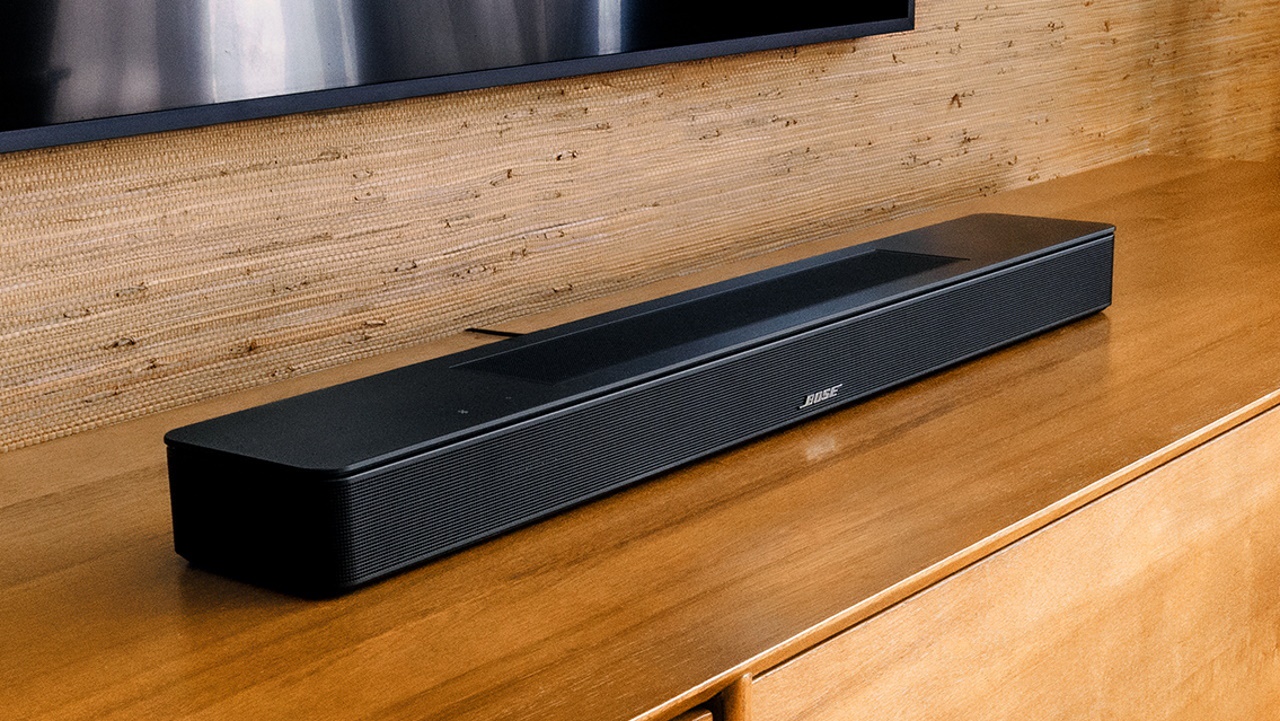
Setting up a Bose Soundbar is a great way to enhance your home entertainment experience. Whether you’re looking to improve the sound quality of your TV or create a captivating home theater system, the Bose Soundbar offers a convenient and high-quality audio solution. With its sleek design and advanced technology, the Soundbar delivers immersive sound that brings movies, music, and games to life.
In this step-by-step guide, we will walk you through the process of setting up your Bose Soundbar. From unboxing the device to connecting it to your TV and adjusting the settings, we will cover everything you need to know to get started. By following these simple steps, you’ll be enjoying crystal-clear sound in no time.
Before we begin, it’s important to note that the specific setup process may vary depending on the model of your Bose Soundbar. However, the general principles and steps outlined in this guide can be applied to most Bose Soundbar models. Make sure to refer to the user manual that came with your specific model for any additional instructions or details.
Now, let’s get started and unlock the full potential of your Bose Soundbar!
Step 1: Unpack the Bose Soundbar
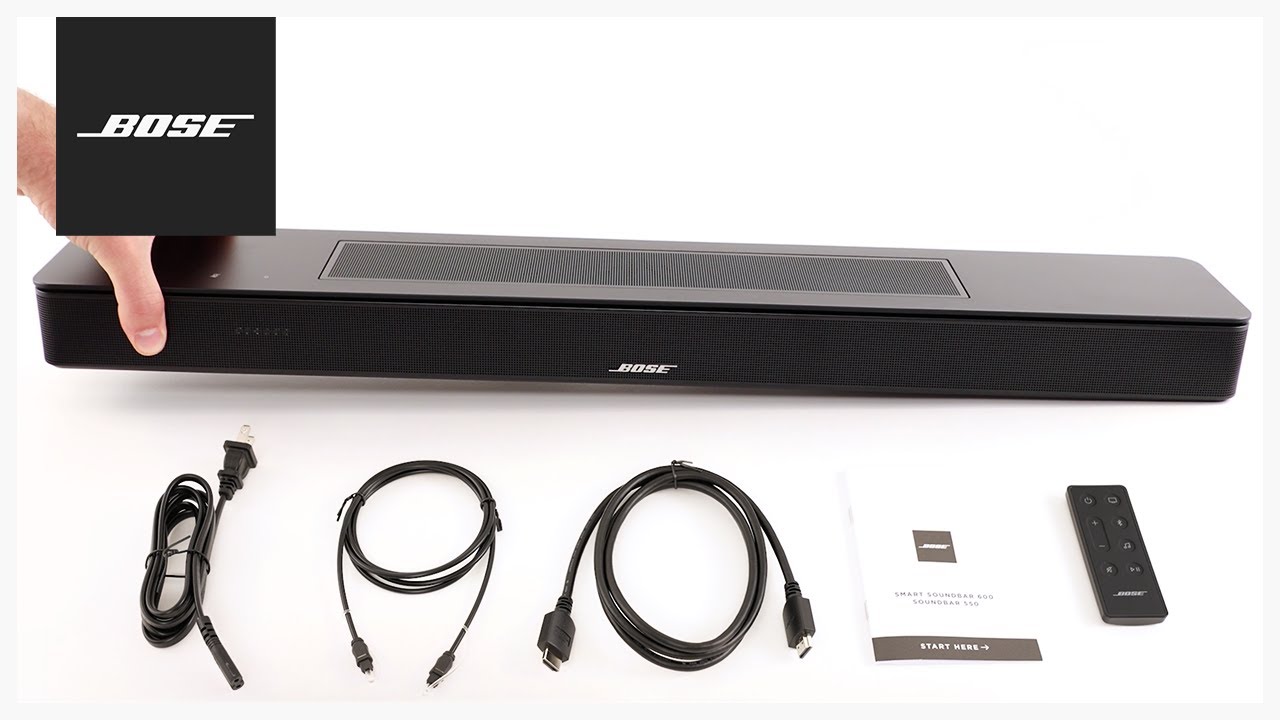
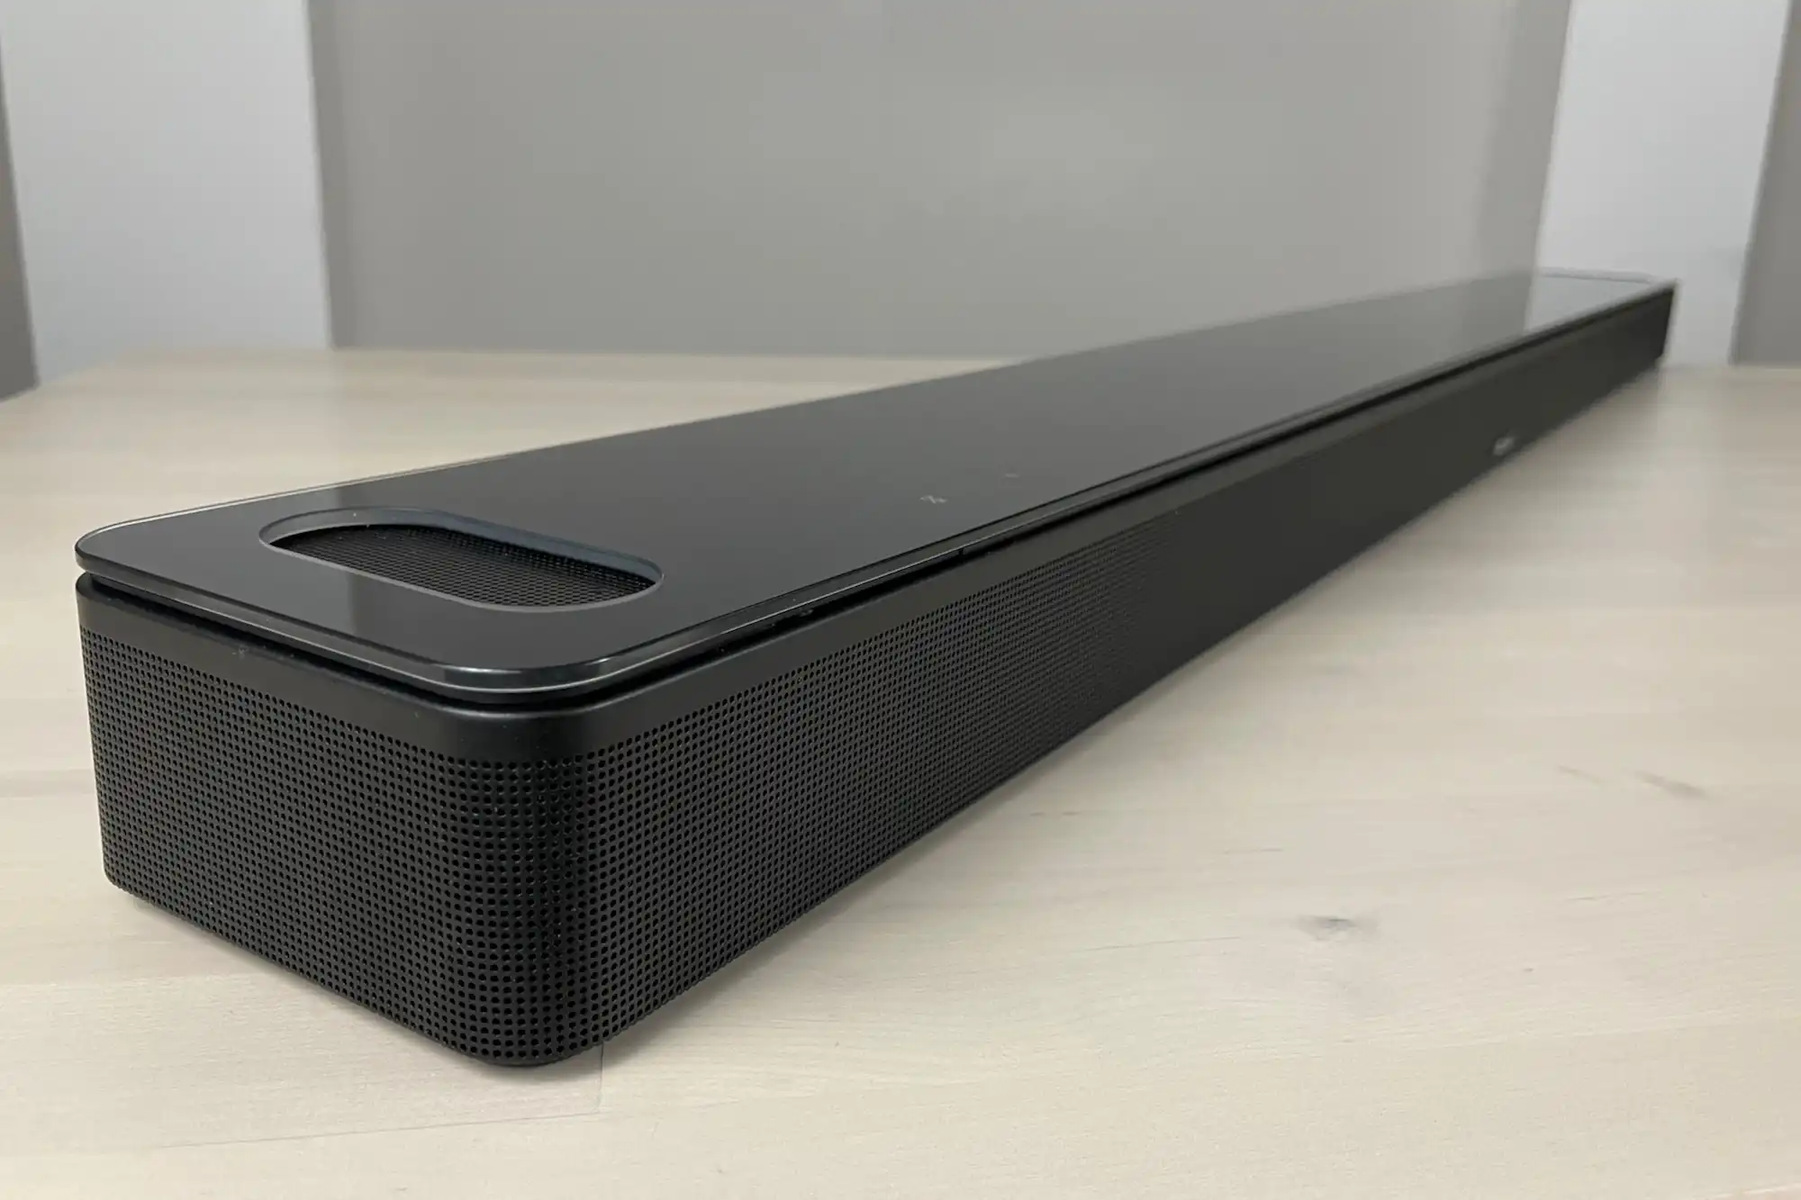
The first step in setting up your Bose Soundbar is to unpack the device. Start by locating the box that contains your Soundbar and carefully remove all the contents. Ensure that you have all the necessary components, including the Soundbar, power cable, remote control, and any other accessories that may be included.
Once you have unpacked everything, take a moment to inspect the Soundbar for any visible damage. Look for any dents, scratches, or other signs of wear that may have occurred during shipping. If you notice any issues, contact Bose customer support for further assistance.
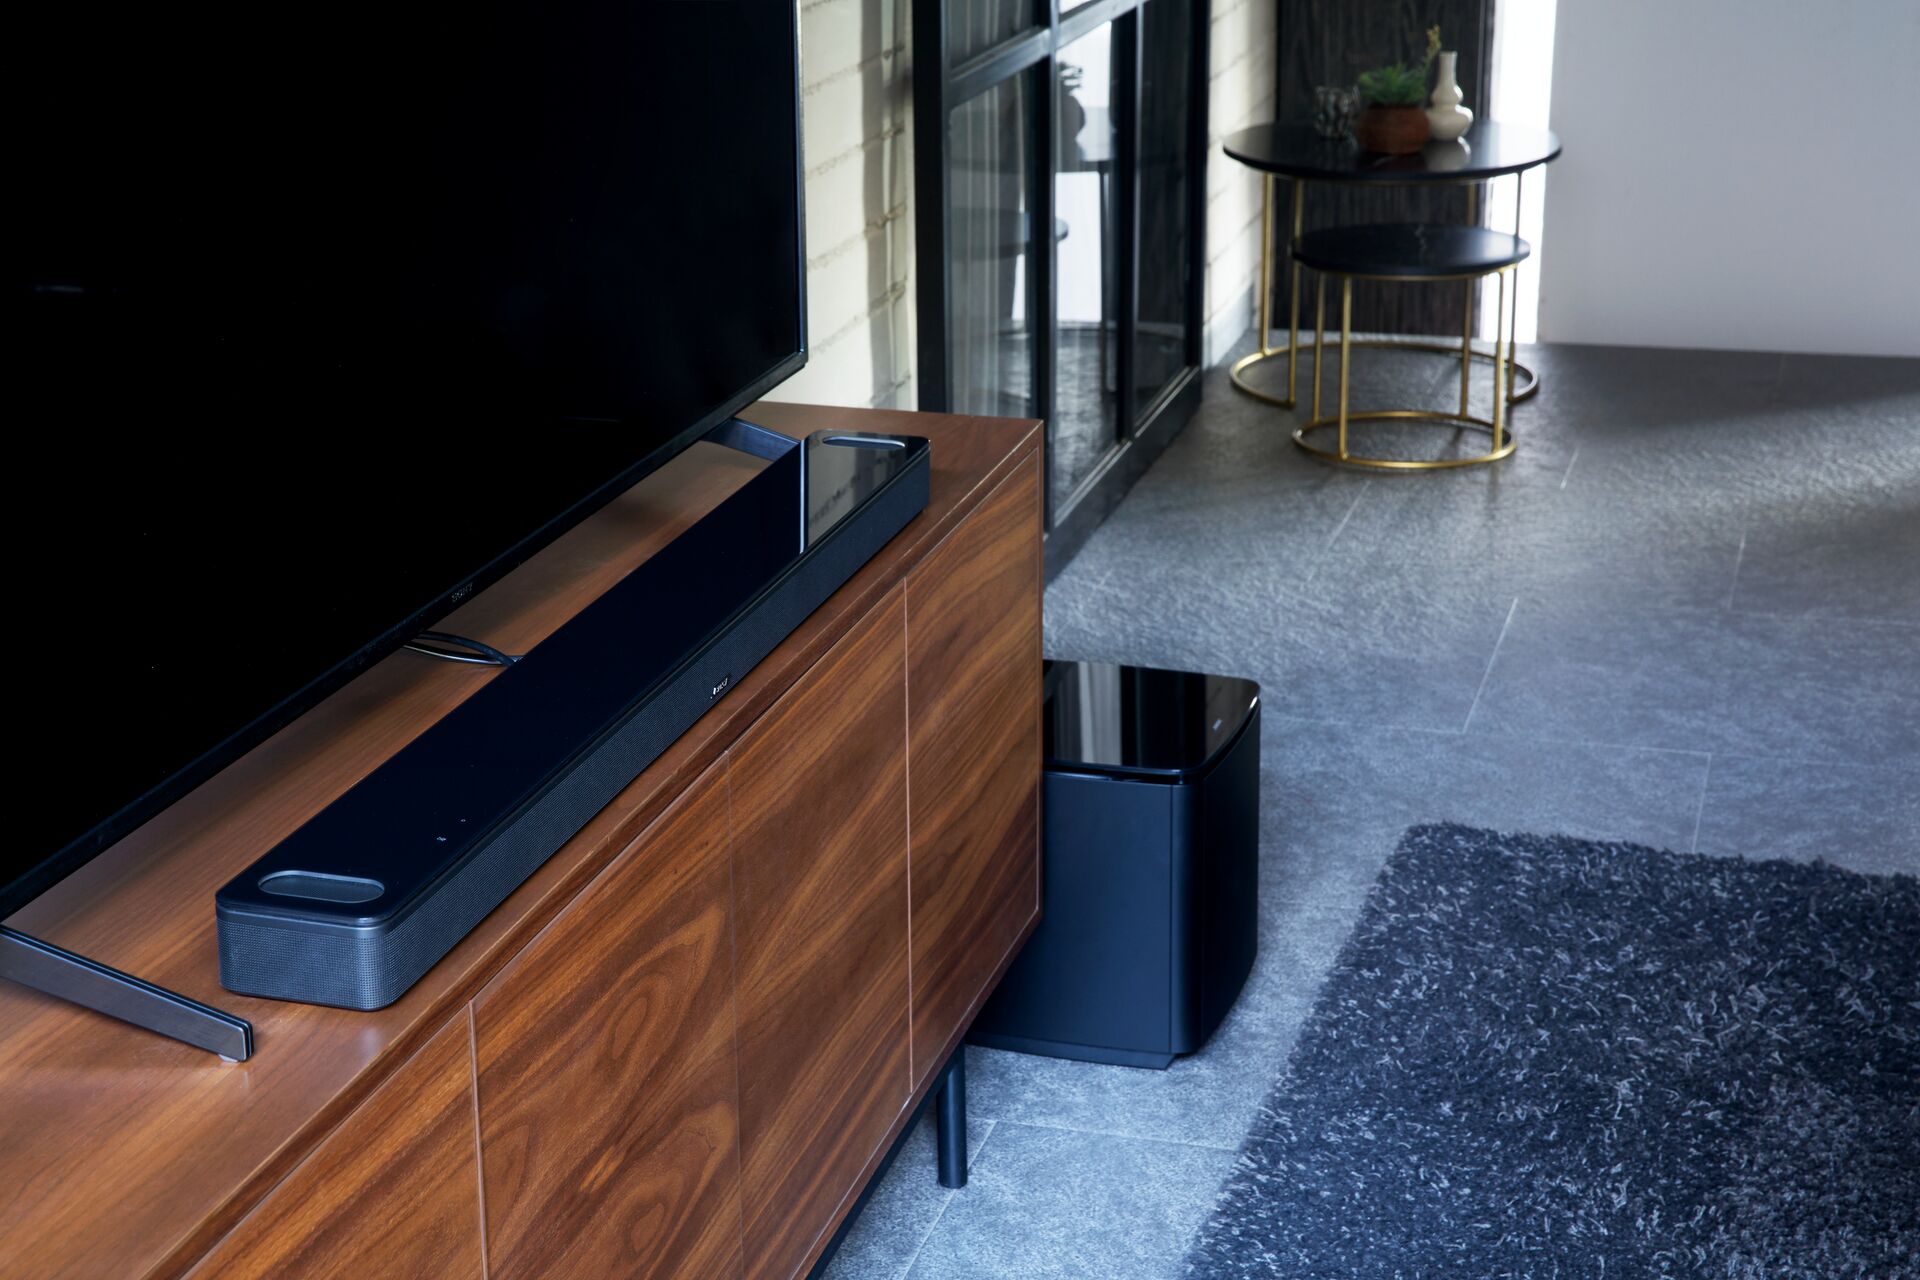
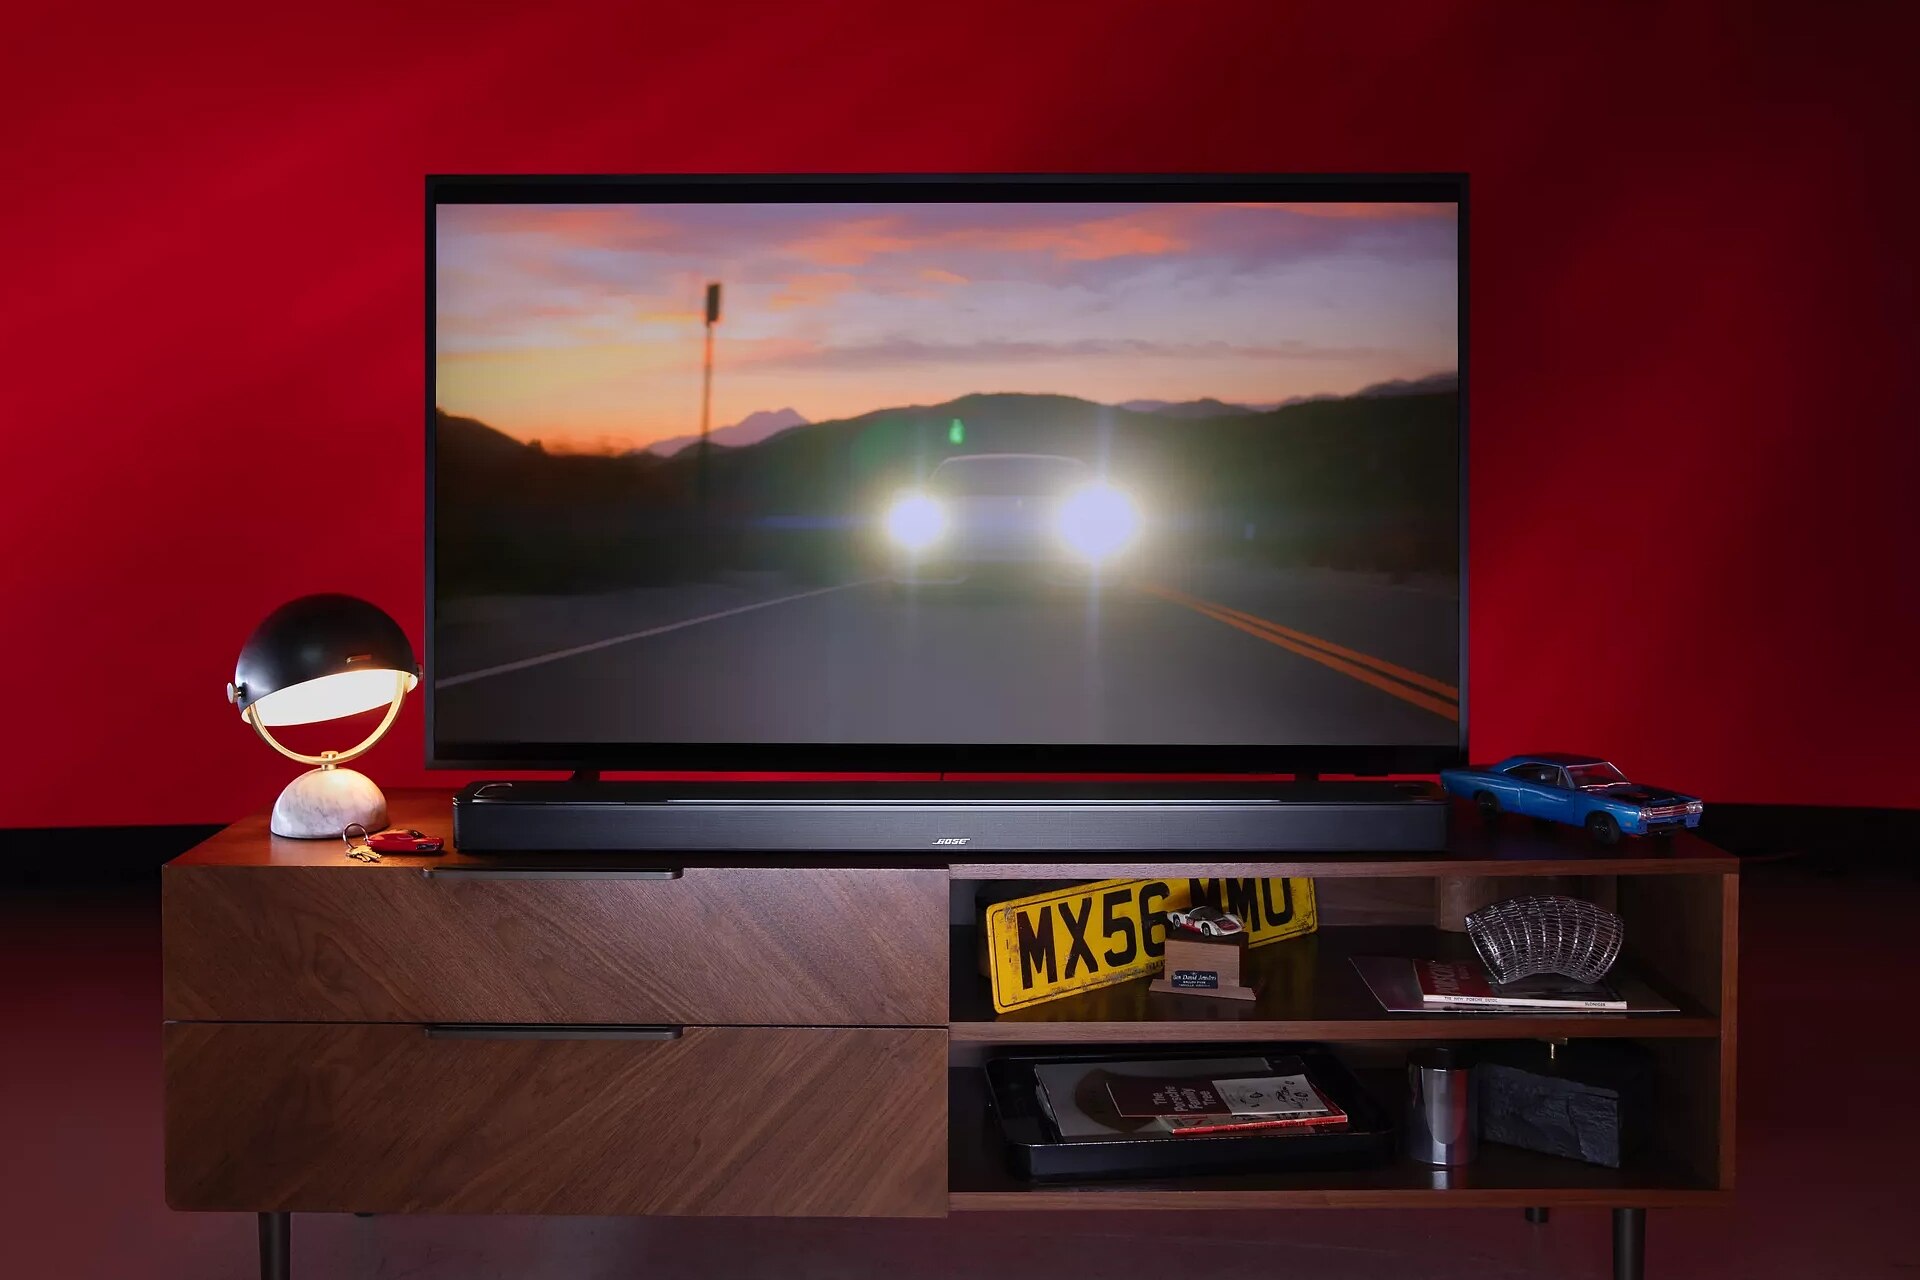
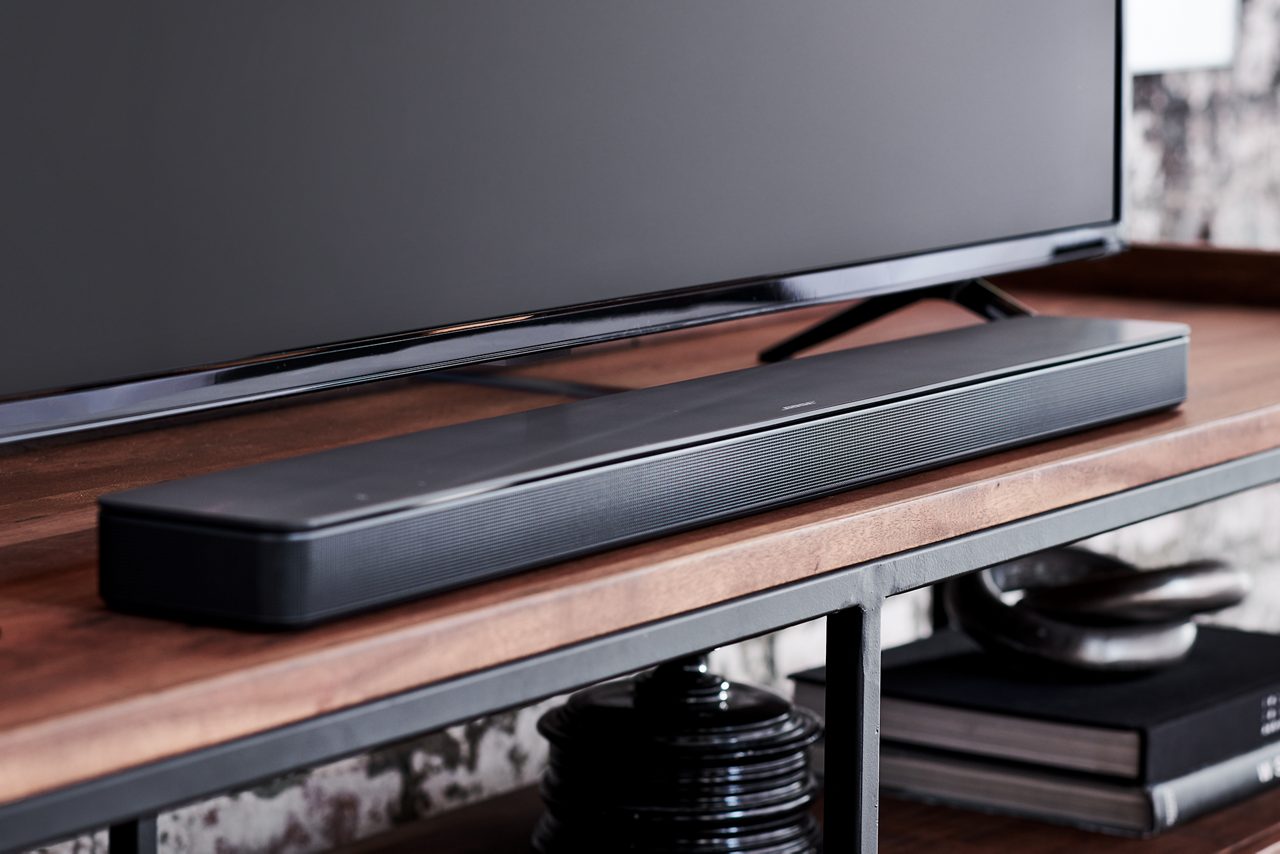
Next, find a suitable location for your Soundbar. It is recommended to place the Soundbar in front of your TV, either on a shelf or mounted on the wall. Make sure there is enough space around the Soundbar for proper ventilation to prevent overheating.
Before proceeding to the next step, ensure that you have a power outlet nearby to connect the Soundbar. Having the power source ready will save you time during the setup process.
With the Soundbar unpacked and the setup area prepared, you are ready to move on to the next step of connecting the power cable.
Step 2: Connect the Power Cable
Now that you have unpacked your Bose Soundbar and found a suitable location, it’s time to connect the power cable. The power cable is essential for powering up the Soundbar and ensuring it functions properly.
Locate the power cable that came with your Bose Soundbar. It usually has a distinct shape and is designed specifically for the Soundbar. One end of the power cable has a plug that connects to the Soundbar, while the other end has a standard three-pronged plug for connecting to a power outlet.
Take the end of the power cable with the plug designed for the Soundbar and locate the corresponding port on the back of the Soundbar. Carefully insert the plug into the port, ensuring it is firmly connected.
Next, find a nearby power outlet and insert the other end of the power cable into it. Make sure the plug is securely inserted into the outlet to establish a proper power connection. If there is a power switch on the Soundbar, turn it on to activate the device.
Once the power cable is connected and the Soundbar is powered on, you should see a power indicator light or display on the Soundbar to confirm that it is receiving power.
It is important to note that your Soundbar may have additional power options, such as battery operation or USB power. However, for the initial setup, it is recommended to use the included power cable and connect it to a power outlet for optimal performance.
With the power cable connected, you have completed the second step of setting up your Bose Soundbar. Next, we will move on to connecting the Soundbar to your TV.
Step 3: Connect the Soundbar to Your TV
Now that your Bose Soundbar is powered on, it’s time to connect it to your TV. This step is crucial for ensuring that the audio from your TV is properly transmitted to the Soundbar, resulting in an enhanced sound experience.
Start by identifying the appropriate audio output on your TV. Most modern TVs have multiple audio output options, such as HDMI ARC (Audio Return Channel), optical audio, or a headphone jack. Check your TV’s user manual or look for labeled ports on the back or side of your TV to find the suitable audio output.
Note: HDMI ARC is the recommended method for connecting your Soundbar to the TV, as it allows for both audio and control signals to be transmitted through a single HDMI cable. However, if your TV does not have an HDMI ARC port, you can use other available audio outputs.
If your TV and Soundbar both have HDMI ARC ports, connect one end of an HDMI cable to the HDMI ARC port on your TV, and the other end to the HDMI ARC port on your Soundbar. This will establish the audio connection between the two devices.
If your TV does not have HDMI ARC, you can use an optical audio cable. Connect one end of the optical audio cable to the optical audio output on your TV, and the other end to the corresponding optical audio input on your Soundbar.
If your TV only has a headphone jack, you can use a 3.5mm auxiliary cable. Connect one end of the auxiliary cable to the headphone jack on your TV, and the other end to the auxiliary input on your Soundbar.
Once you have made the necessary connections, power on your TV and Soundbar. Use your TV’s remote control to navigate to the audio settings and ensure that the output is set to the connected Soundbar. This may involve selecting the appropriate HDMI input or audio output option.
With the Soundbar successfully connected to your TV, you have completed the third step of the setup process. In the next step, we will explore how to adjust the Soundbar settings to optimize your audio experience.
Step 4: Adjust the Soundbar Settings
After connecting your Bose Soundbar to your TV, it’s time to adjust the settings to achieve the best audio quality. The Soundbar comes with various settings and features that allow you to customize the sound to your preferences.
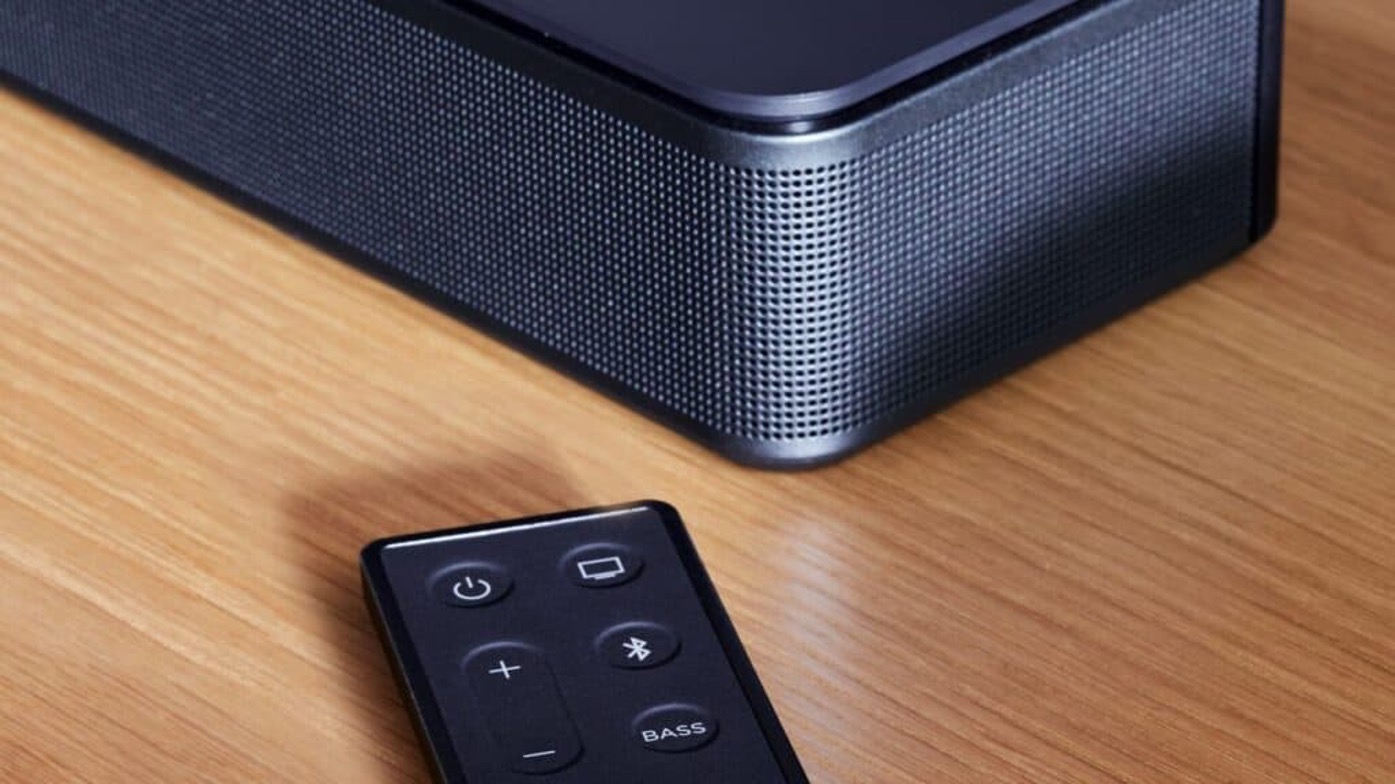
Start by using the remote control that came with your Soundbar to access the settings menu. This may involve pressing a dedicated settings button or navigating through the on-screen display using the arrow keys on the remote.
One of the essential settings to adjust is the volume level. Play some audio or video content on your TV and listen to the sound coming from the Soundbar. Increase or decrease the volume using the volume buttons on the remote until you find a comfortable and balanced audio level.
Next, explore the sound modes available on your Soundbar. Bose Soundbars often feature different sound modes, such as “Movie,” “Music,” or “Dialogue.” These modes are designed to optimize the audio for specific types of content. Experiment with different modes to find the one that suits your current activity or preference.
Additionally, some Soundbars offer advanced features like bass adjustments, virtual surround sound, or dialogue enhancement. Take the time to explore these settings and fine-tune them to your liking.
If your Soundbar supports wireless connectivity, such as Bluetooth or Wi-Fi, you may need to go through a separate setup process to connect it to your home network or pair it with other devices. Consult the user manual or online resources specific to your model to understand the setup process for these wireless features.
It’s worth noting that some Soundbars also come with a mobile app that allows you to control and adjust the settings remotely. If your Soundbar has a dedicated app, consider downloading it to further personalize your audio experience.
Once you have adjusted the settings to your satisfaction, take some time to enjoy your enhanced audio experience with movies, music, or any other content you like. Don’t hesitate to revisit the settings menu if you feel the need to make further adjustments in the future.
With the Soundbar settings adjusted, you have completed the fourth step of the setup process. In the next step, we will explore how to connect external devices to your Soundbar.
Step 5: Connect External Devices
In addition to connecting your Bose Soundbar to your TV, you can also connect external devices to enhance your audio experience. Whether you want to connect a gaming console, Blu-ray player, or music streaming device, the Soundbar offers various connection options to accommodate your needs.
Start by identifying the available input ports on your Soundbar. Common input ports include HDMI, optical audio, and auxiliary (3.5mm) inputs. Consult the user manual or look for labeled ports on the back of your Soundbar to locate the appropriate input options.
If you want to connect a gaming console or Blu-ray player, use an HDMI cable to connect the device to the HDMI input on your Soundbar. This will allow the audio from the device to be outputted through the Soundbar’s speakers.
For devices that do not have HDMI output, such as older game consoles or portable media players, you can utilize the optical audio or auxiliary inputs. Connect the device to the corresponding input on your Soundbar using the appropriate cable.
Once you have made the physical connections, switch the input source on your Soundbar to the appropriate input you have connected your external device to. Use the remote control or the control buttons on the Soundbar itself to switch between input sources.
If you have multiple devices connected to your Soundbar, you may need to label the input sources to easily identify them. Most Soundbars allow you to rename the input sources in the settings menu. Take advantage of this feature to label each input with the appropriate device name.
After connecting your external devices to the Soundbar, test the audio output by playing content from each device. Ensure that the audio is coming from the Soundbar speakers and adjust the volume accordingly.
Keep in mind that some external devices might have their own audio settings, so it’s a good idea to check their respective settings menus as well. You may need to adjust the audio output settings on the external devices to ensure optimal audio performance through the Soundbar.
With your external devices connected and functioning properly, you have completed the fifth step in setting up your Bose Soundbar. In the next and final step, we’ll conduct a sound test to ensure everything is working correctly.
Step 6: Test the Soundbar
Now that you have connected your Bose Soundbar to your TV and external devices, it’s time to test the sound and ensure everything is working as expected. By conducting a sound test, you can verify that the audio is properly outputting from the Soundbar and fine-tune any settings if necessary.
Start by selecting any audio or video content that you enjoy, such as a favorite movie, music album, or game. Play the content and listen carefully to the audio to determine if it is coming from the Soundbar speakers.
Adjust the volume level using the Soundbar’s remote control to find a comfortable and immersive audio experience. Ensure that the volume controls on the remote are responsive and that the volume changes accordingly.
During the sound test, pay attention to the sound quality and characteristics. Assess whether the bass, treble, and overall balance of the sound meet your expectations. If necessary, revisit the Soundbar settings and make adjustments to enhance specific aspects of the audio to your preference.
Take note of any anomalies or issues that you may encounter during the sound test, such as audio distortion, dropouts, or synchronization problems between the audio and video. Troubleshoot these issues by referring to the user manual, online resources, or contacting Bose customer support for assistance.
While conducting the sound test, you can also experiment with different sound modes and features of your Soundbar to see how they affect the audio quality. For example, try switching between movie mode, music mode, or dialogue mode to find the one that enhances your particular content type.
Additionally, if your Soundbar supports multi-room audio or other advanced features, you can explore those functionalities during the sound test as well. Refer to the user manual or online resources for guidance on how to utilize these features.
By conducting a thorough sound test, you can ensure that your Bose Soundbar is delivering the high-quality audio experience it is designed for. Enjoy the immersive sound and take the time to fine-tune the settings to suit your preferences.
With the sound test completed, you have successfully set up and tested your Bose Soundbar. You are now ready to enjoy a superior audio experience with your favorite content.
Conclusion
Setting up your Bose Soundbar is a straightforward process that allows you to elevate your home entertainment experience. By following the step-by-step guide outlined above, you can easily unpack your Soundbar, connect it to your TV, adjust the settings, connect external devices, and test the sound quality.
Throughout the setup process, it’s important to refer to the user manual specific to your Bose Soundbar model for any additional instructions or troubleshooting tips. The manual will provide you with detailed information to ensure a successful setup and optimal performance.
Once your Soundbar is properly connected and adjusted, enjoy the immersive sound it delivers. Whether you’re watching movies, listening to music, or playing games, the powerful and clear audio from your Soundbar will enhance your overall entertainment experience.
Remember that you can always revisit the settings and make adjustments to suit your preferences. Experiment with the different sound modes and features to fine-tune the audio output and personalize your sound experience even further.
If you encounter any difficulties or have questions during the setup process, do not hesitate to reach out to Bose customer support. They are there to assist you and provide guidance to ensure you make the most out of your Bose Soundbar.
Now, sit back, relax, and enjoy the immersive and captivating audio provided by your Bose Soundbar. Take pleasure in the enhanced sound quality and the endless entertainment possibilities it brings to your home.


