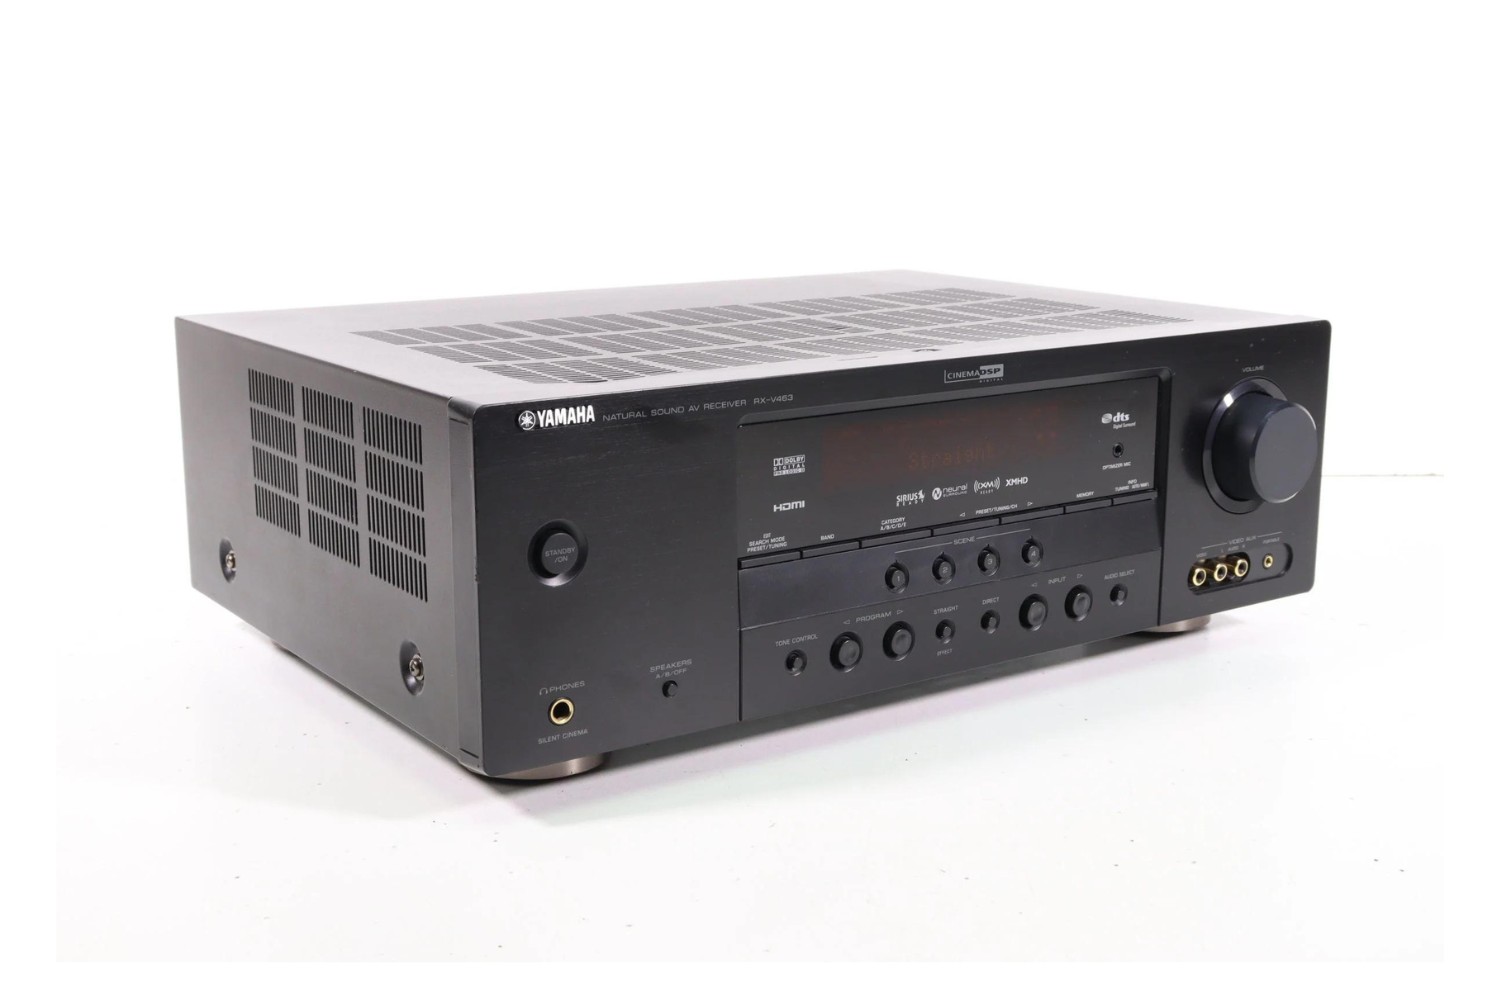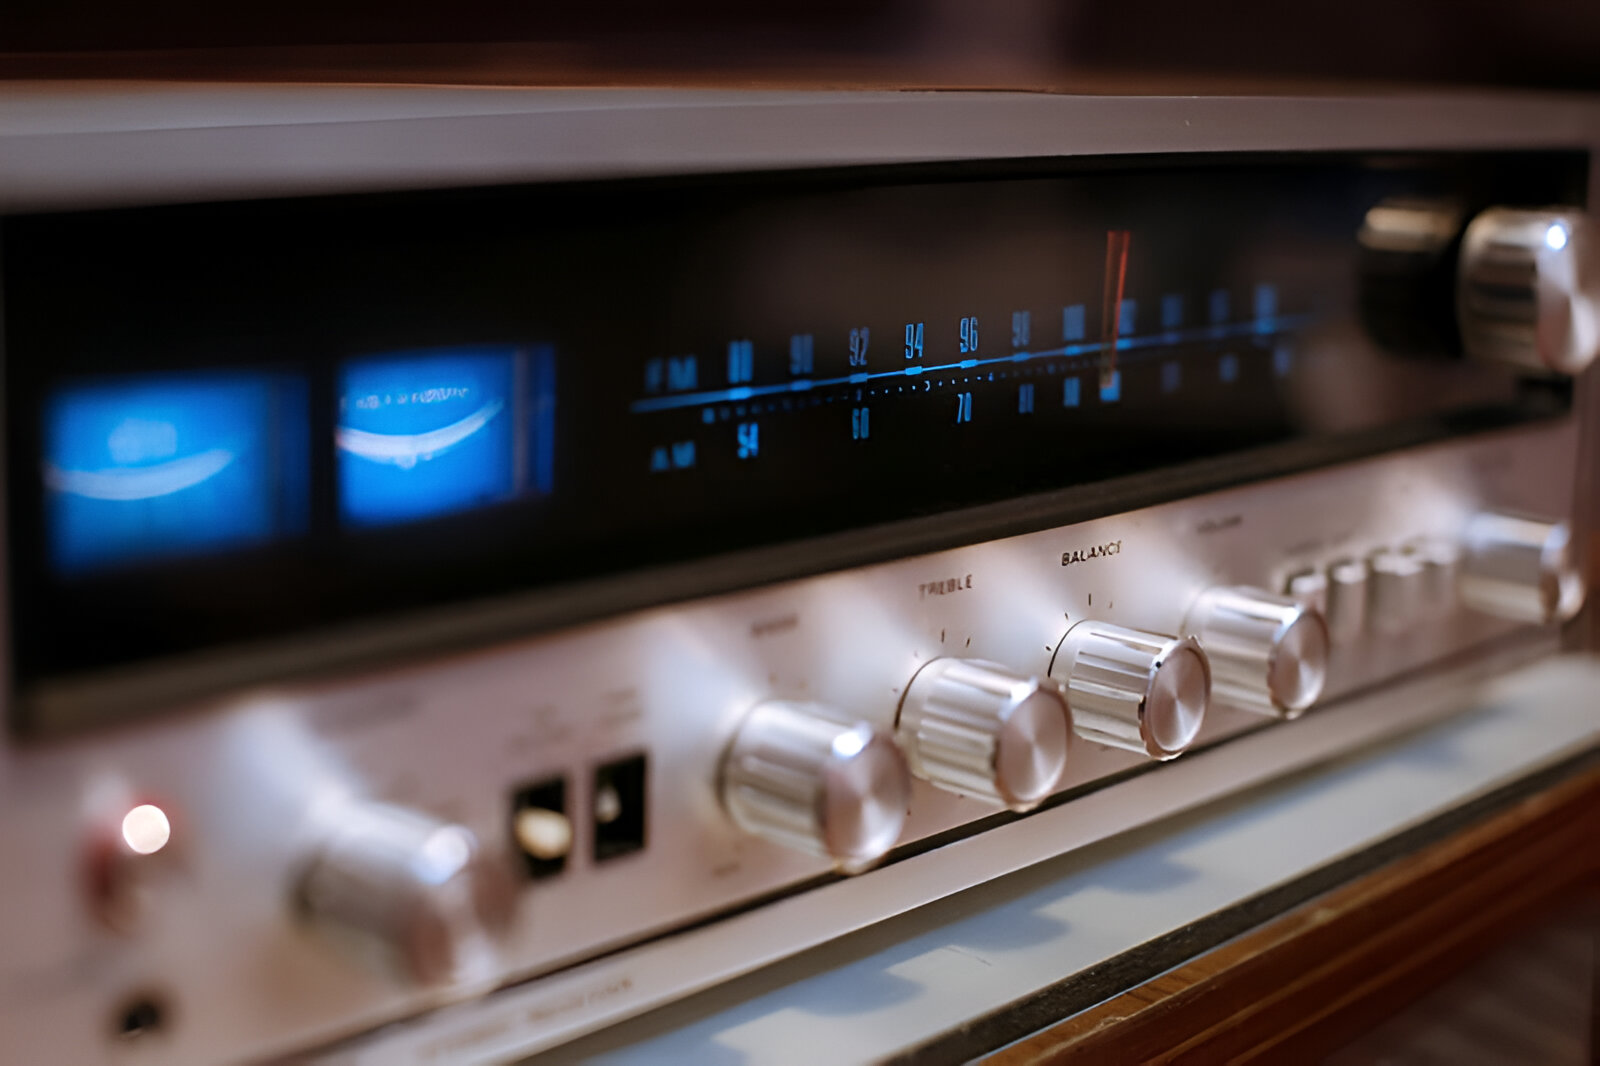
Introduction
If you've noticed unsightly scratches marring the sleek surface of your AV receiver screen, don't fret. With a few simple steps and the right materials, you can restore its pristine appearance and enjoy uninterrupted viewing once again. Whether the scratches are the result of accidental mishandling or simply the wear and tear of regular use, this guide will walk you through the process of polishing them out effectively.
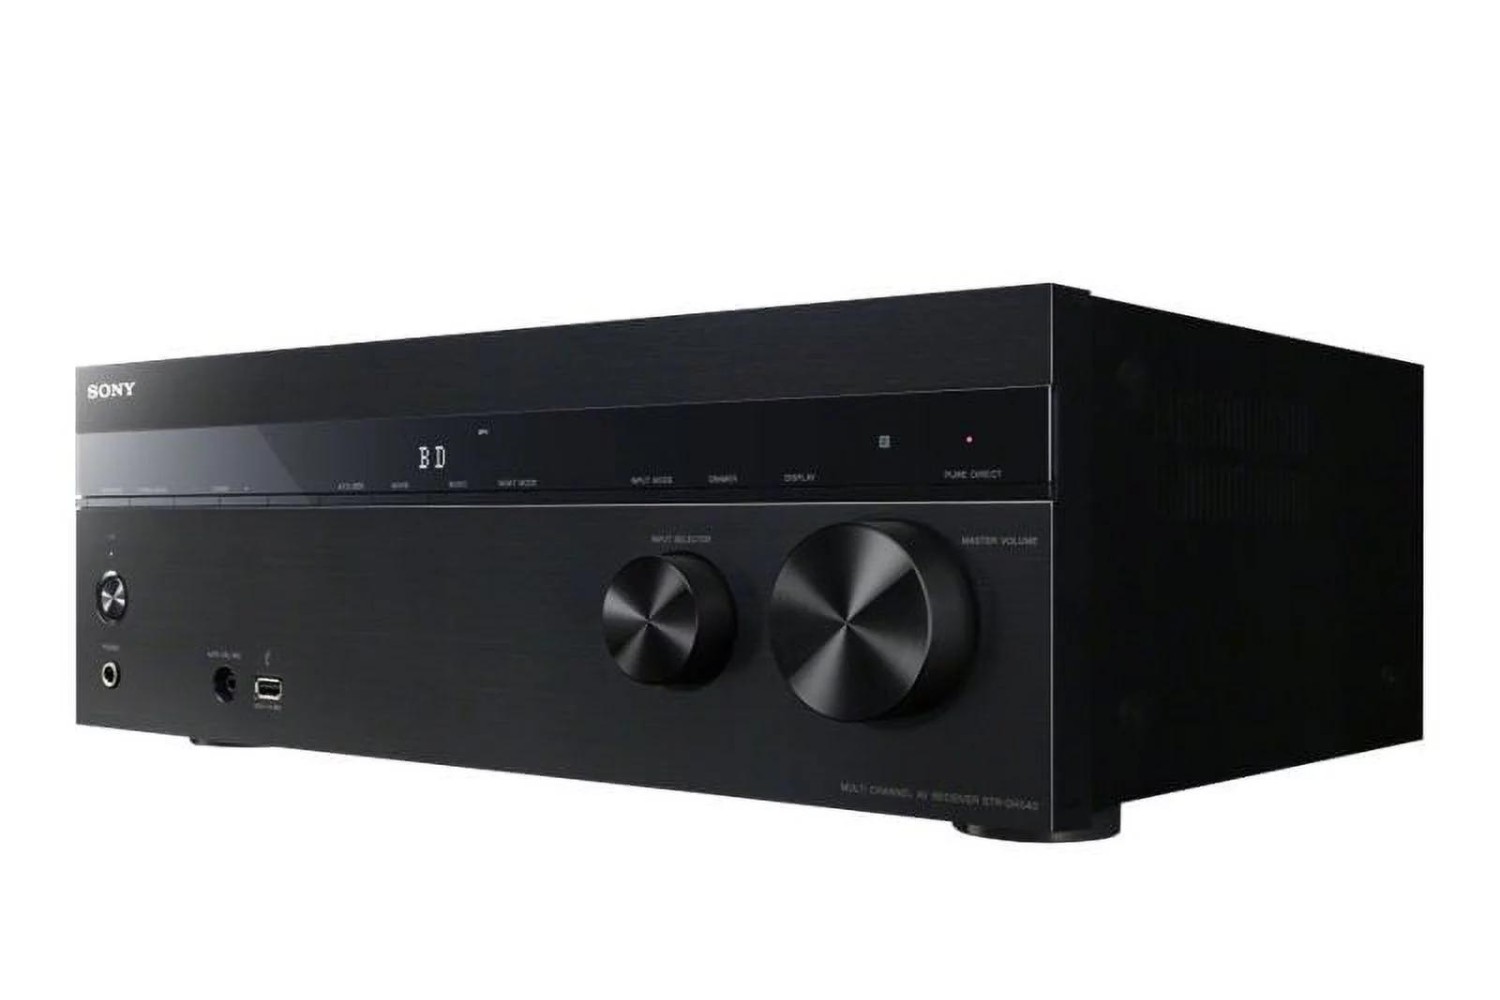
Your AV receiver is the hub of your home entertainment system, and a scratched screen can detract from the overall viewing experience. By taking the time to address these imperfections, you can not only improve the visual appeal of your setup but also ensure that the screen continues to provide clear and unobstructed display for years to come.
In the following sections, we will delve into the intricacies of understanding the nature of the scratches on your AV receiver screen, gathering the necessary materials for the task at hand, cleaning the screen to prepare it for polishing, the actual process of polishing out the scratches, and final touches and maintenance tips to keep your screen looking its best. With this comprehensive guide, you'll be equipped with the knowledge and techniques to restore your AV receiver screen to its former glory, enhancing your overall home entertainment experience. Let's dive in and rejuvenate your AV receiver screen together.
Understanding the Scratches on Your AV Receiver Screen
Before embarking on the journey to restore your AV receiver screen, it’s essential to understand the nature of the scratches that mar its surface. Scratches can vary in depth and severity, and identifying their characteristics will guide you in determining the most suitable approach for addressing them.
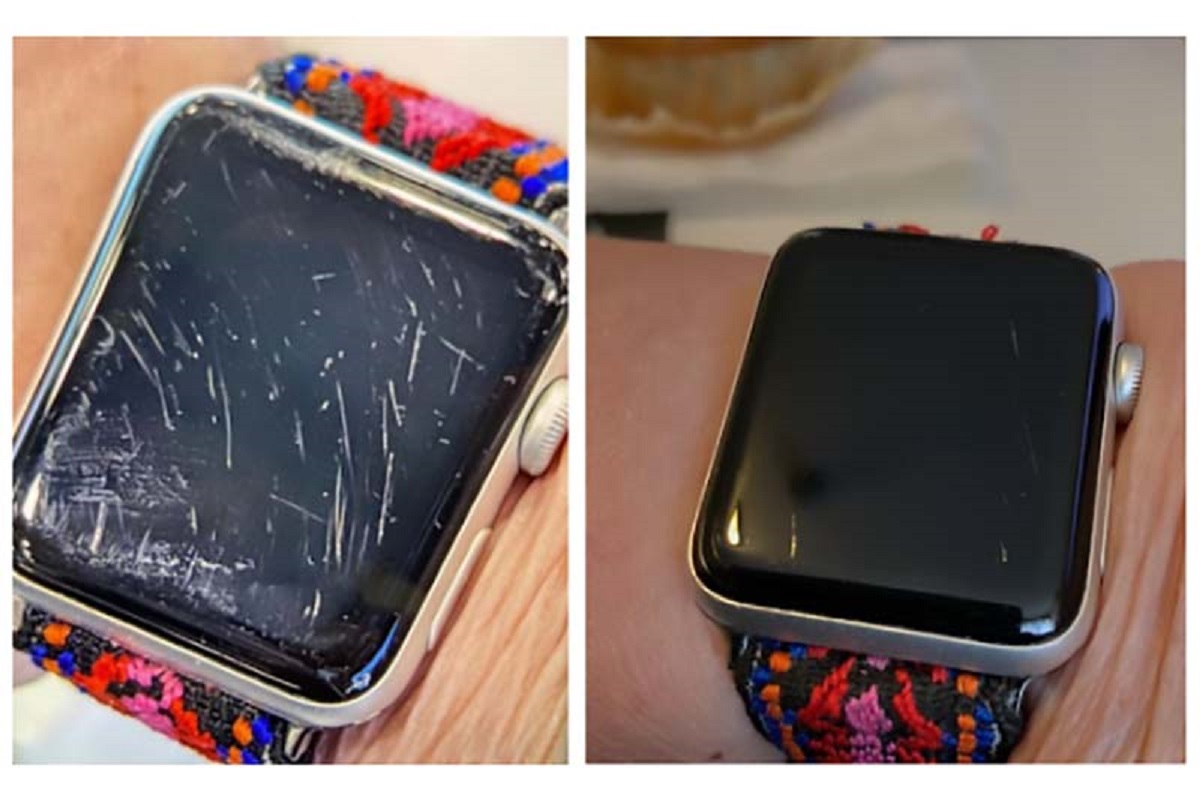
First, assess the depth of the scratches. Superficial surface scratches may be easier to polish out compared to deeper ones that have penetrated the screen’s protective layer. Light surface scratches are often caused by dust particles or minor abrasions and can typically be remedied with gentle polishing techniques. Conversely, deeper scratches may require more intensive efforts to effectively diminish their visibility.
Next, examine the location and extent of the scratches. Are they concentrated in a specific area or dispersed across the screen? Understanding their distribution can provide insights into the possible causes and help tailor your approach to address them. Additionally, consider the impact of the scratches on the screen’s functionality. If they obstruct the display or interfere with touch-sensitive controls, addressing them promptly becomes even more crucial.
Furthermore, consider the screen’s material and coating. AV receiver screens are typically made of durable materials such as glass or high-quality plastics, and they may feature protective coatings to enhance clarity and resist scratches. Understanding the composition of the screen will inform your choice of polishing materials and techniques to ensure that the restoration process is both effective and safe for the screen’s surface.
By gaining a comprehensive understanding of the scratches on your AV receiver screen, you can approach the restoration process with clarity and confidence. In the next section, we will explore the essential materials needed to embark on this rejuvenation journey.
Gathering the Necessary Materials
Before you begin the process of polishing out the scratches on your AV receiver screen, it’s crucial to assemble the necessary materials to ensure a successful outcome. The right tools and products will not only facilitate the restoration process but also safeguard the screen from further damage. Here’s a comprehensive list of the essential materials you’ll need:
- Microfiber Cloth: A soft, lint-free microfiber cloth is indispensable for gently cleaning the screen and applying polishing compounds. Avoid using paper towels or abrasive cloths that may exacerbate the scratches.
- Screen Cleaner: Choose a mild, non-abrasive screen cleaner specifically formulated for electronic displays. This will help remove dust, fingerprints, and other surface contaminants before the polishing process.
- Polishing Compound: Select a high-quality, fine-grit polishing compound designed for use on glass or plastic surfaces. The compound should be suitable for removing light to moderate scratches while restoring the screen’s clarity.
- Plastic Polish (if applicable): If your AV receiver screen is made of plastic, opt for a specialized plastic polish that is safe for the screen’s material and effective in reducing the visibility of scratches.
- Protective Gloves: To prevent skin oils and fingerprints from transferring onto the screen during the restoration process, wear clean, lint-free gloves to handle the materials and apply the polishing compounds.
- Masking Tape: In some cases, using masking tape to protect the surrounding areas of the screen can prevent accidental damage and ensure precision during the polishing process.
- Soft Brush or Compressed Air: For removing loose debris and dust from the screen’s crevices and edges, a soft brush or a can of compressed air can be employed before cleaning and polishing.
By gathering these essential materials, you’ll be well-prepared to embark on the journey of restoring your AV receiver screen to its optimal condition. In the subsequent section, we will delve into the crucial step of cleaning the screen to prepare it for the polishing process.
Cleaning the Screen Before Polishing
Prior to initiating the polishing process, it is essential to thoroughly clean the AV receiver screen to ensure that any surface contaminants and debris are removed. This preparatory step is crucial for optimizing the effectiveness of the subsequent polishing and minimizing the risk of further damage to the screen.
Begin by powering off the AV receiver and allowing the screen to cool down if it has been in use. This will prevent the cleaning and polishing agents from evaporating too quickly and allow for a more controlled application. Once the screen is at a suitable temperature, follow these steps to clean it:
- Dust Removal: Use a soft brush or a can of compressed air to gently remove any loose dust and debris from the screen’s surface, edges, and corners. This initial step prevents abrasive particles from being inadvertently dragged across the screen during the cleaning process.
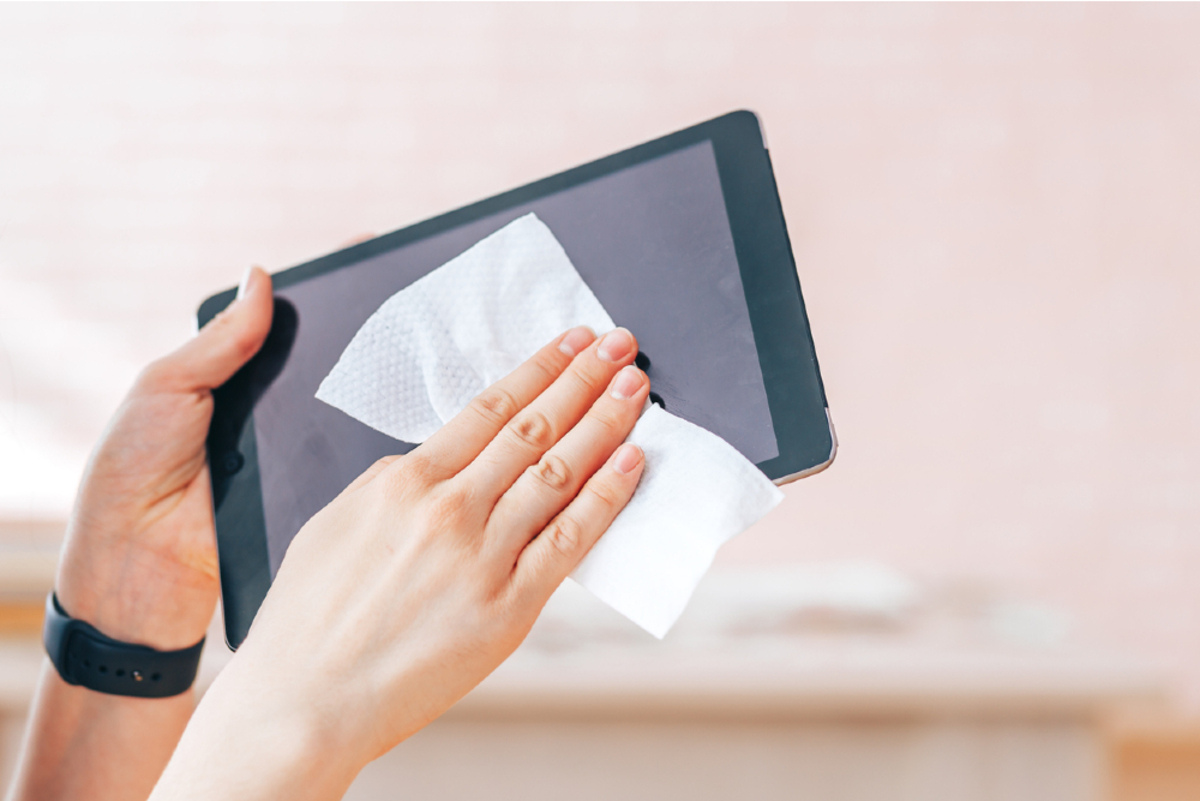
- Application of Screen Cleaner: Apply a small amount of the chosen non-abrasive screen cleaner to a microfiber cloth. Avoid spraying the cleaner directly onto the screen to prevent any liquid from seeping into the device. Carefully wipe the screen in gentle, circular motions, ensuring even coverage while focusing on areas with visible smudges and fingerprints.
- Thorough Drying: Allow the screen to air dry or use a clean, dry section of the microfiber cloth to gently remove any residual cleaner. Ensure that the screen is completely dry before proceeding to the next stage of the restoration process.
By meticulously cleaning the screen, you create an optimal foundation for the subsequent polishing process. In the following section, we will delve into the intricate process of polishing out the scratches to rejuvenate your AV receiver screen.
Polishing Out the Scratches
With the screen meticulously cleaned and prepared, it’s time to embark on the crucial step of polishing out the scratches that have marred the surface of your AV receiver screen. This process requires precision, patience, and the appropriate materials to achieve the desired results. Here’s a step-by-step guide to effectively polish out the scratches:
- Application of Polishing Compound: Apply a small amount of the selected polishing compound to a clean, dry section of the microfiber cloth. Gently rub the compound onto the scratched areas of the screen using circular motions. Exercise caution to avoid applying excessive pressure, as this may cause further damage to the screen.
- Consistent Polishing: Continue to polish the affected areas with the compound, ensuring even coverage and consistent pressure. The fine abrasive particles in the compound work to gradually diminish the visibility of the scratches, restoring the screen’s smooth and clear surface.
- Assessment and Reapplication: Periodically assess the progress of the polishing process by gently wiping away the excess compound and examining the treated areas under adequate lighting. If the scratches persist, reapply the polishing compound and continue the process until the desired level of restoration is achieved.
- Final Cleaning: Once the scratches have been effectively polished out, use a fresh microfiber cloth to gently remove any remaining polishing compound from the screen. Ensure that all residues are thoroughly eliminated to reveal the revitalized and unblemished surface.
It’s important to approach the polishing process with care and attentiveness to avoid inadvertently causing additional damage to the screen. By patiently and methodically working through the steps, you can effectively diminish the visibility of scratches and restore the screen to its optimal condition.
Following the successful completion of the polishing process, the next section will focus on final touches and maintenance tips to preserve the rejuvenated state of your AV receiver screen.
Final Touches and Maintenance Tips
After successfully polishing out the scratches on your AV receiver screen, it’s essential to implement final touches and adopt maintenance practices to preserve its revitalized state and prevent the recurrence of imperfections. Here are some crucial final touches and maintenance tips to ensure the longevity of your screen’s enhanced appearance:
- Regular Cleaning: Incorporate a regular cleaning routine using a non-abrasive screen cleaner and a microfiber cloth to remove dust, fingerprints, and smudges. This proactive measure will help maintain the screen’s clarity and prevent the accumulation of debris that could potentially lead to new scratches.
- Screen Protection: Consider applying a protective film or screen guard to shield the surface of the AV receiver screen from potential scratches and abrasions. These protective accessories act as a sacrificial layer, preserving the integrity of the screen beneath.
- Preventive Measures: Encourage mindful handling of the AV receiver remote and other accessories to minimize the risk of accidental contact with the screen. Implementing simple precautions can significantly reduce the likelihood of new scratches and blemishes.
- Optimal Environment: Position the AV receiver in a well-ventilated and dust-free area to minimize the exposure of the screen to airborne particles and environmental contaminants. Creating an optimal environment can contribute to the long-term preservation of the screen’s pristine condition.
- Periodic Inspection: Routinely inspect the screen for any signs of new scratches or imperfections. Promptly addressing minor issues can prevent them from escalating and requiring more extensive restoration efforts in the future.
By incorporating these final touches and adopting proactive maintenance practices, you can safeguard the rejuvenated state of your AV receiver screen and prolong its visual appeal. Consistent care and attention will ensure that your screen continues to deliver an optimal viewing experience, free from the distractions of unsightly scratches.