Introduction
Welcome to our guide on how to remove scratches from a tablet! Whether you’ve accidentally dropped your tablet or it has developed scratches over time, we understand how frustrating it can be to have a device with a blemished screen. Fortunately, there are several methods you can try to restore your tablet’s screen to its original, scratch-free condition.
Before diving into the various techniques, it’s important to note that the effectiveness of these methods may vary depending on the type and depth of the scratches. Minor surface scratches are typically easier to remove, while deeper scratches may require more advanced solutions. It’s always a good idea to start with the gentlest methods and gradually progress to more aggressive techniques if necessary.
In this guide, we will walk you through the steps to assess the damage, gather the necessary materials, and try different approaches to remove scratches from your tablet’s screen. We’ll cover simple home remedies using toothpaste, baking soda paste, and even everyday household items like WD-40 and nail polish. Additionally, we’ll explore the use of specialized products such as scratch removal kits.
While it’s important to note that there is no foolproof method for completely eliminating deep scratches, these techniques have been known to significantly reduce the visibility of minor scratches. It’s crucial to approach the process with patience and to carefully follow the instructions for each method.
By the end of this guide, you’ll have a better understanding of how to assess and treat scratches on your tablet’s screen. We’ll also provide you with some valuable tips to prevent future scratches, ensuring the longevity and visual appeal of your device. So let’s jump right in and get those scratches off your tablet!
Assess the Damage
Before attempting to remove scratches from your tablet, it’s crucial to assess the extent of the damage. This step will help you determine the most appropriate method to use and set realistic expectations for the outcome.
Start by thoroughly examining your tablet’s screen under good lighting conditions. Look for any visible scratches or marks that you’d like to address. Take note of the depth and location of the scratches, as well as their impact on the overall functionality of the device.
Surface-level scratches that are barely noticeable to the naked eye may be easier to fix compared to deeper, more pronounced scratches. If the scratches are deep or affecting the visibility or functionality of the screen, it’s recommended to seek professional assistance or consult the tablet manufacturer for repair options.
If the scratches are relatively minor and only affect the screen’s outer layer, you can consider trying some DIY methods to address them. However, keep in mind that these methods may not be effective for more severe damage or deeper scratches that reach the LCD panel underneath the screen.
It’s essential to remember that attempting to remove scratches from your tablet yourself carries some risk. Always proceed with caution and be aware that there is a chance of causing further damage if you’re not careful. If you’re unsure about any step or have concerns about the process, it’s best to consult a professional or seek guidance from the tablet manufacturer.
Once you’ve evaluated the damage and analyzed the severity of the scratches, you can move on to the next step of gathering the necessary materials. Let’s explore the different items you’ll need to effectively remove scratches from your tablet’s screen in the following section.
Gather the Necessary Materials
Before you begin the process of removing scratches from your tablet, it’s important to gather the necessary materials. Having everything at hand will make the process smoother and more efficient. Here are some essential items you’ll need:
- Microfiber cloth: A soft, lint-free cloth is essential for cleaning the screen and applying various remedies. Avoid using paper towels or rough materials that could potentially scratch the screen even further.
- Toothpaste: Look for a non-gel, non-gelatin type toothpaste that contains baking soda. This mild abrasive will help gently buff out surface scratches.
- Baking soda: If your toothpaste doesn’t contain baking soda, you can use it separately to create a paste with water for scratch removal.
- WD-40: This household lubricant can be effective in filling in small scratches and reducing their visibility on tablet screens. Make sure to use it sparingly and in a well-ventilated area.
- Nail polish: Clear nail polish can serve as a temporary solution for shallow scratches by filling in the gaps and providing a protective coating. This is especially helpful for preventing further damage.
- Magic eraser: A melamine foam sponge, commonly known as a magic eraser, can be used to remove surface-level scratches. Wet the sponge before use and be cautious not to apply excessive pressure.
- Vegetable oil: This kitchen staple can be used to buff out minor scratches. Simply apply a small amount to the screen and gently rub it in circular motions using a microfiber cloth.
- Scratch removal kit: If you’re willing to invest in a specialized product, there are various scratch removal kits available on the market. These kits typically include a solution, a microfiber cloth, and instructions on how to use them effectively.
Before proceeding, ensure that you have all the necessary materials ready and within reach. This will save you time and frustration during the scratch removal process.
Now that you have your materials prepared, let’s move on to the next step: cleaning the tablet’s screen. Cleaning the surface thoroughly will help ensure better results and prevent any debris or dirt from further scratching the screen.
Clean the Tablet
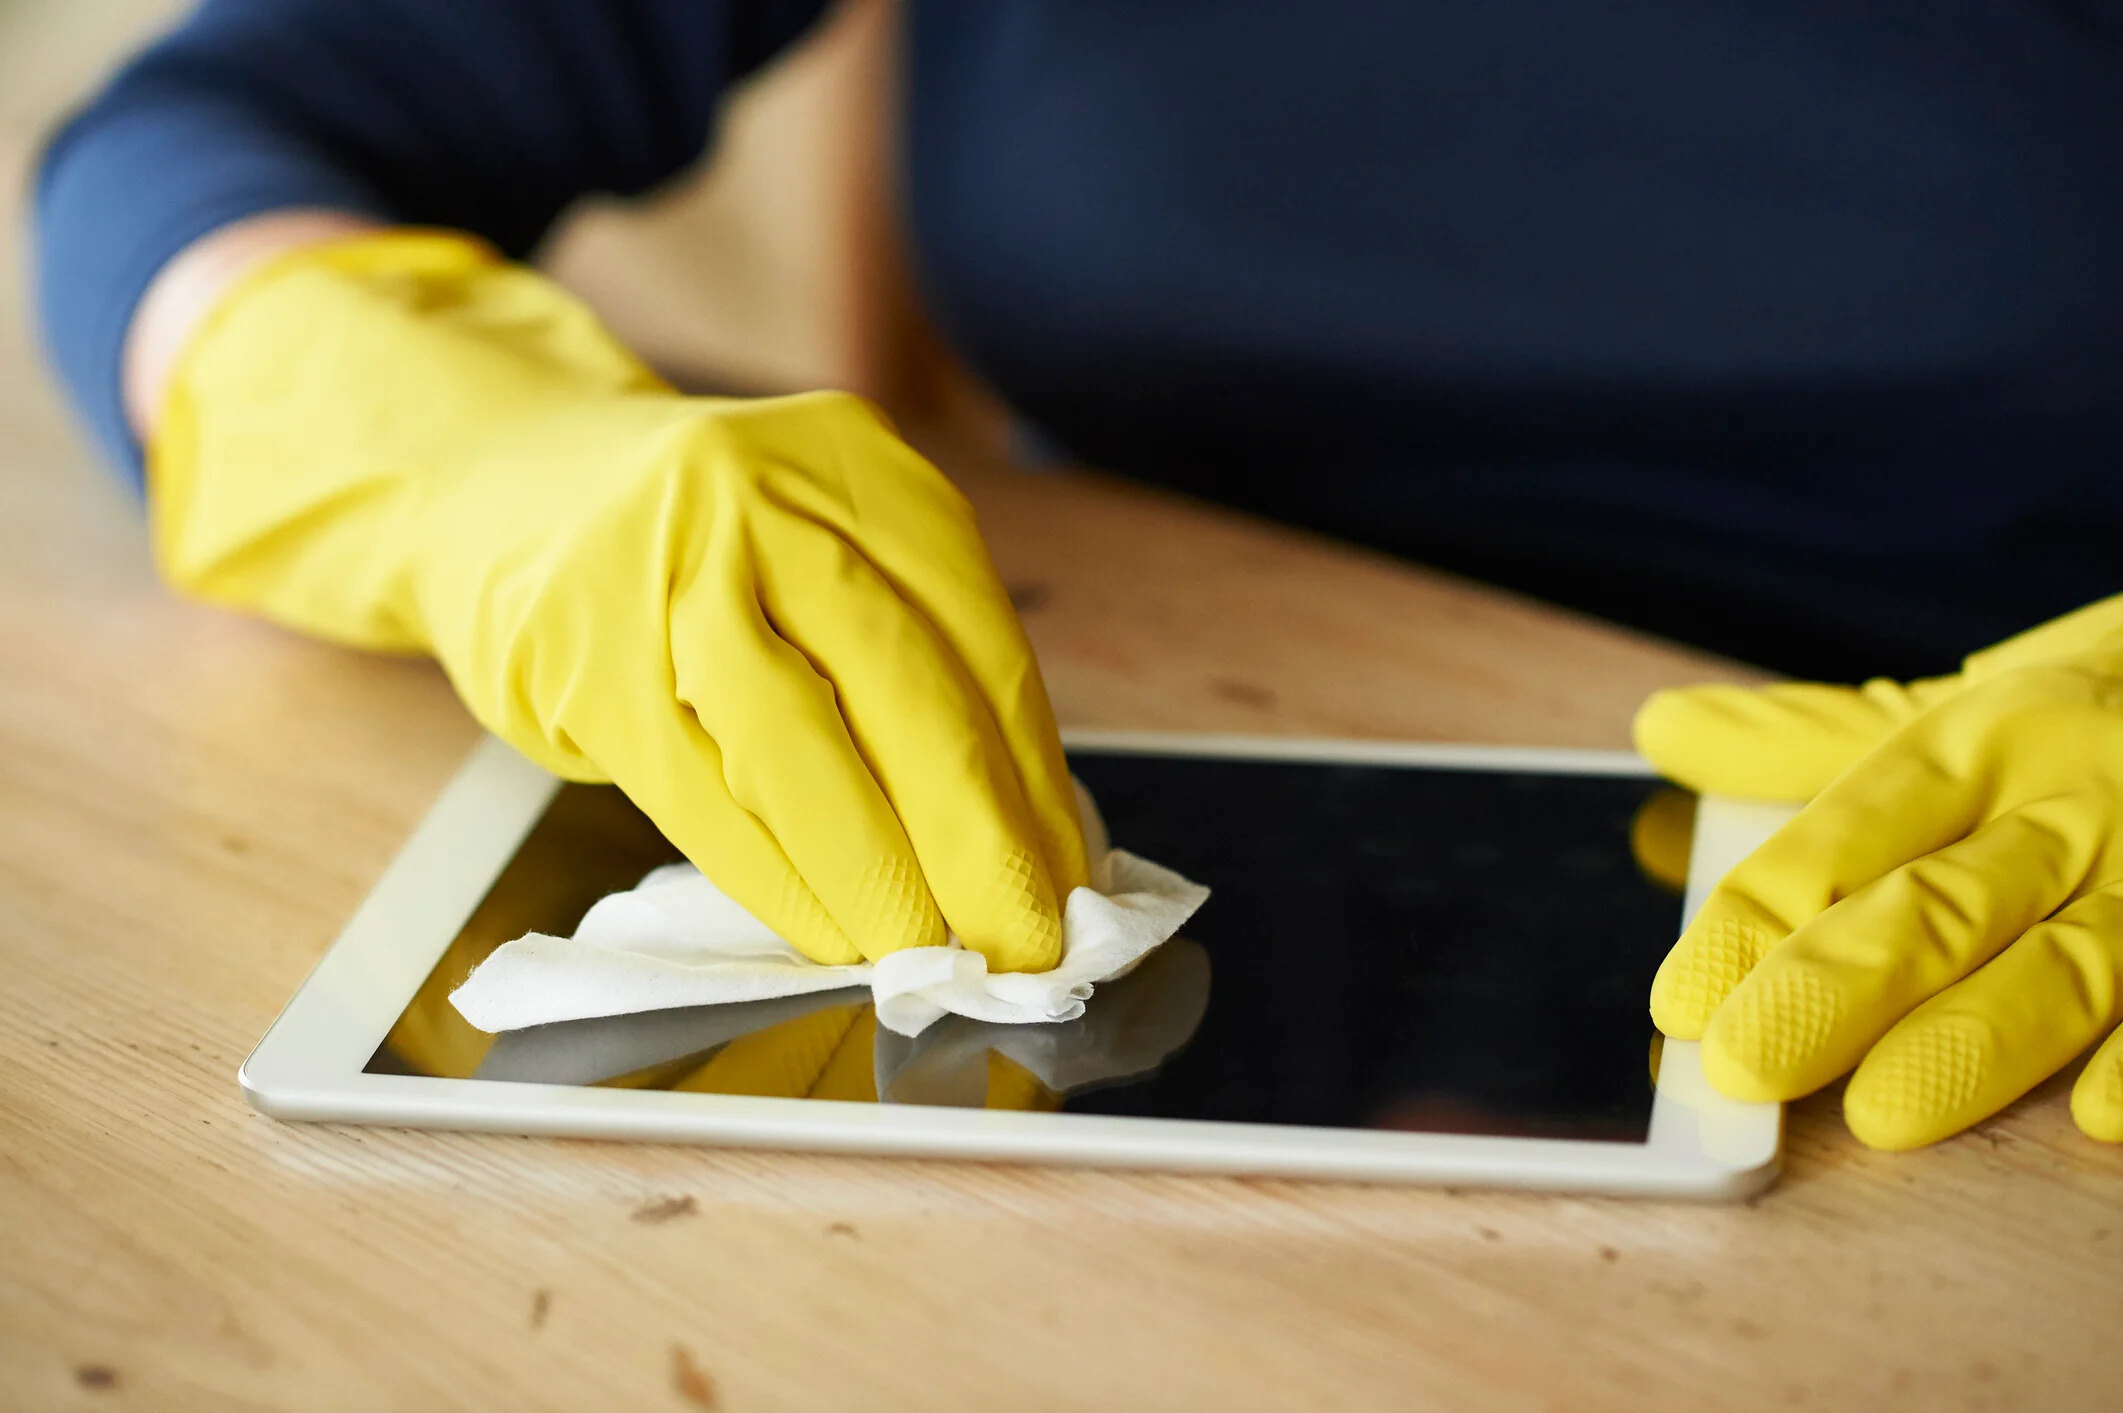
Before you begin the process of removing scratches from your tablet, it is important to clean the screen thoroughly. Cleaning the screen will help remove any dirt, oils, or debris that could interfere with the scratch removal process. Here are the steps to effectively clean your tablet’s screen:
- Power off your tablet to avoid any accidental button presses or interference during the cleaning process.
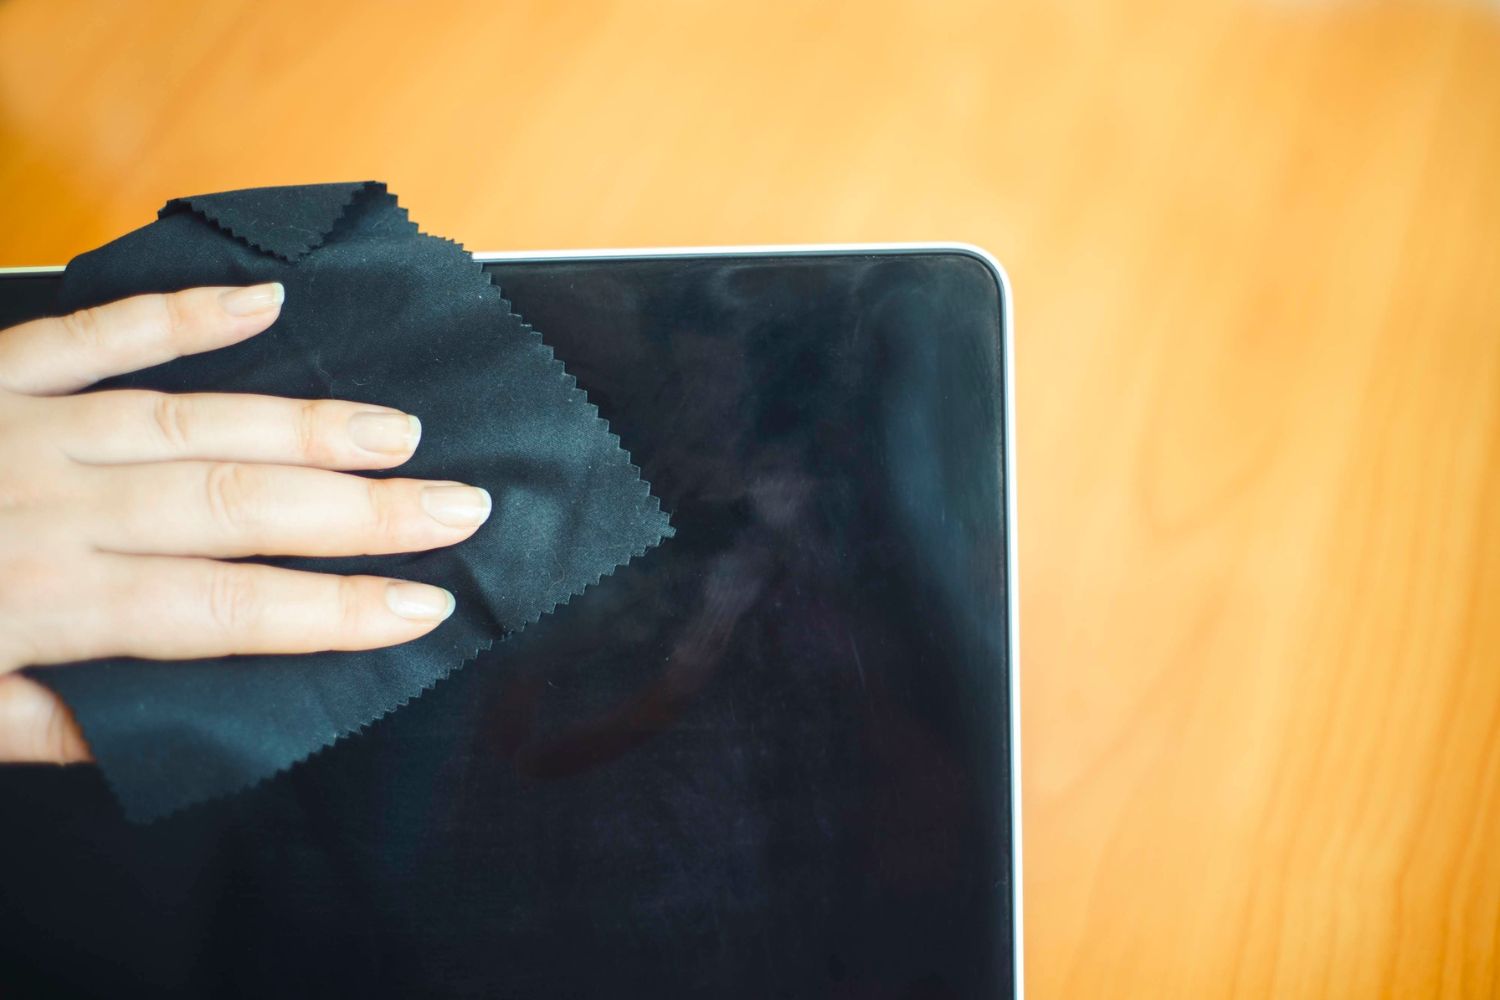
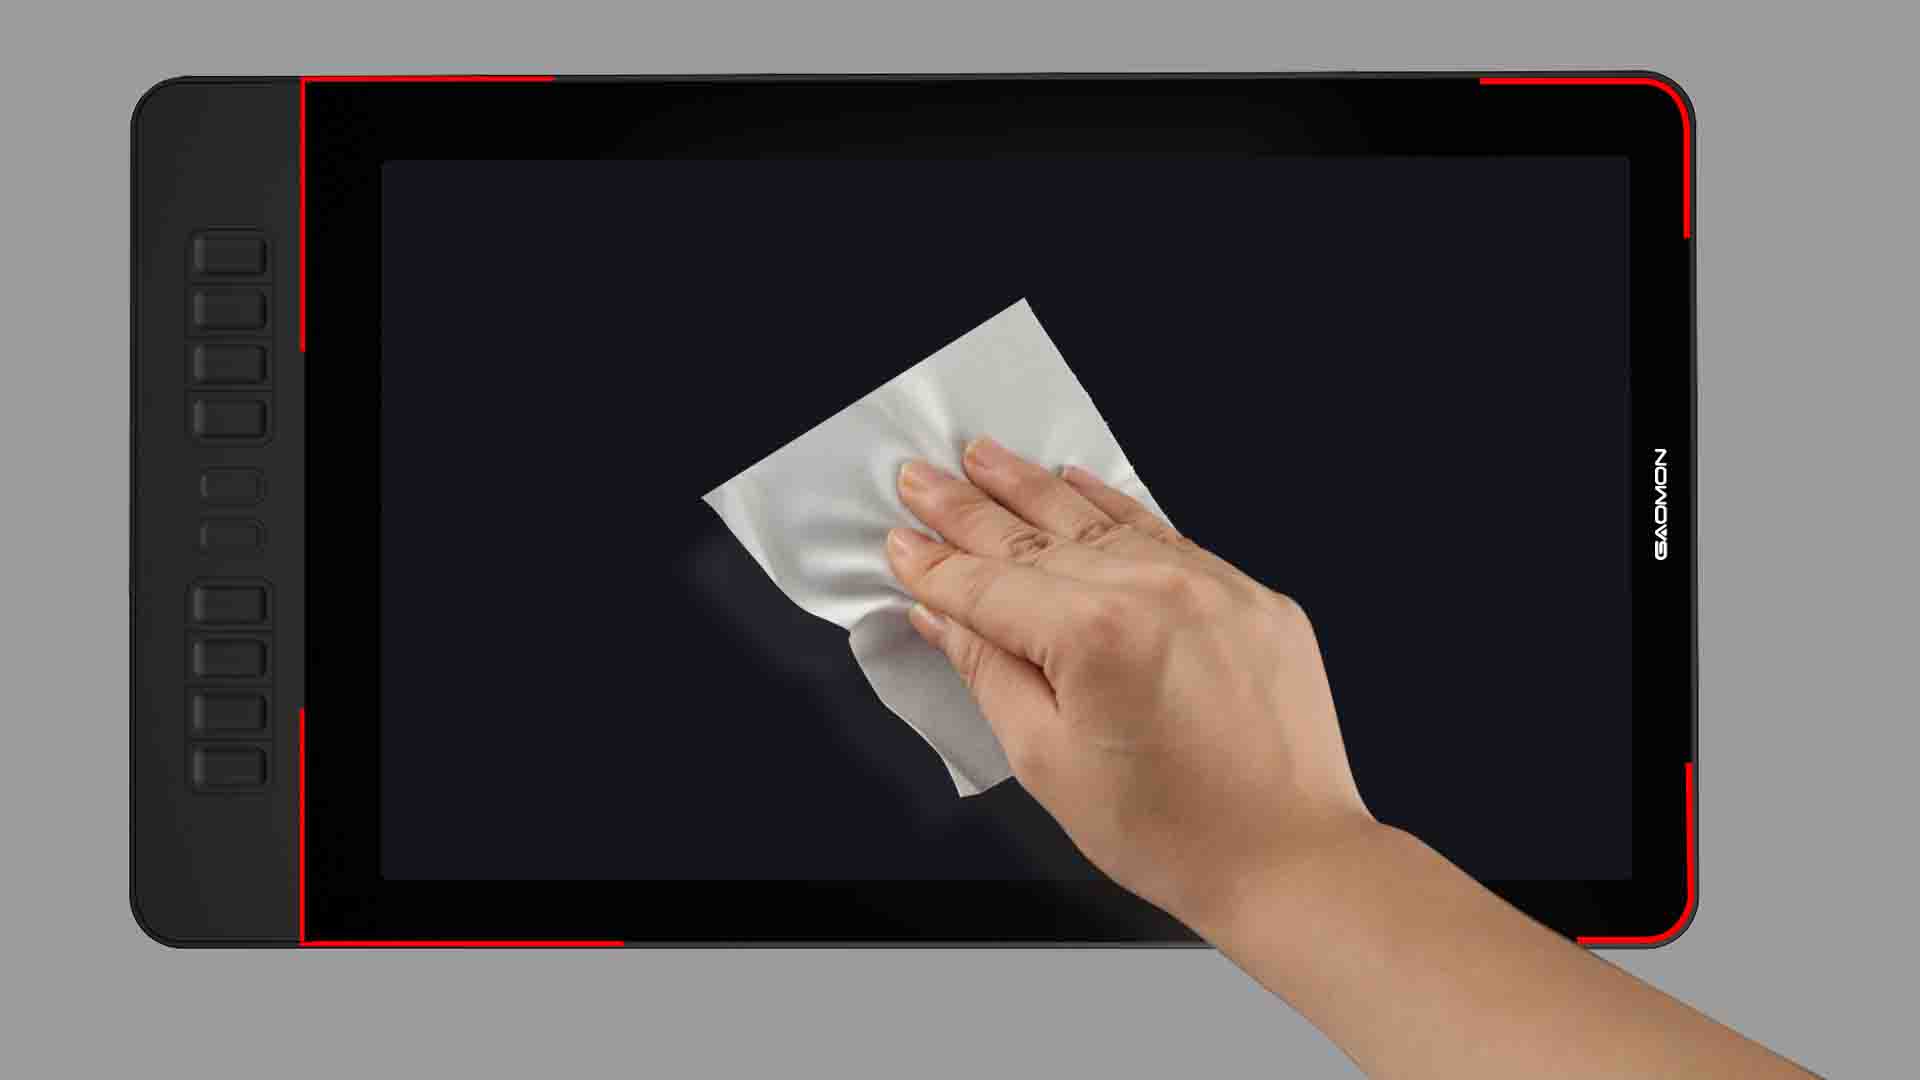
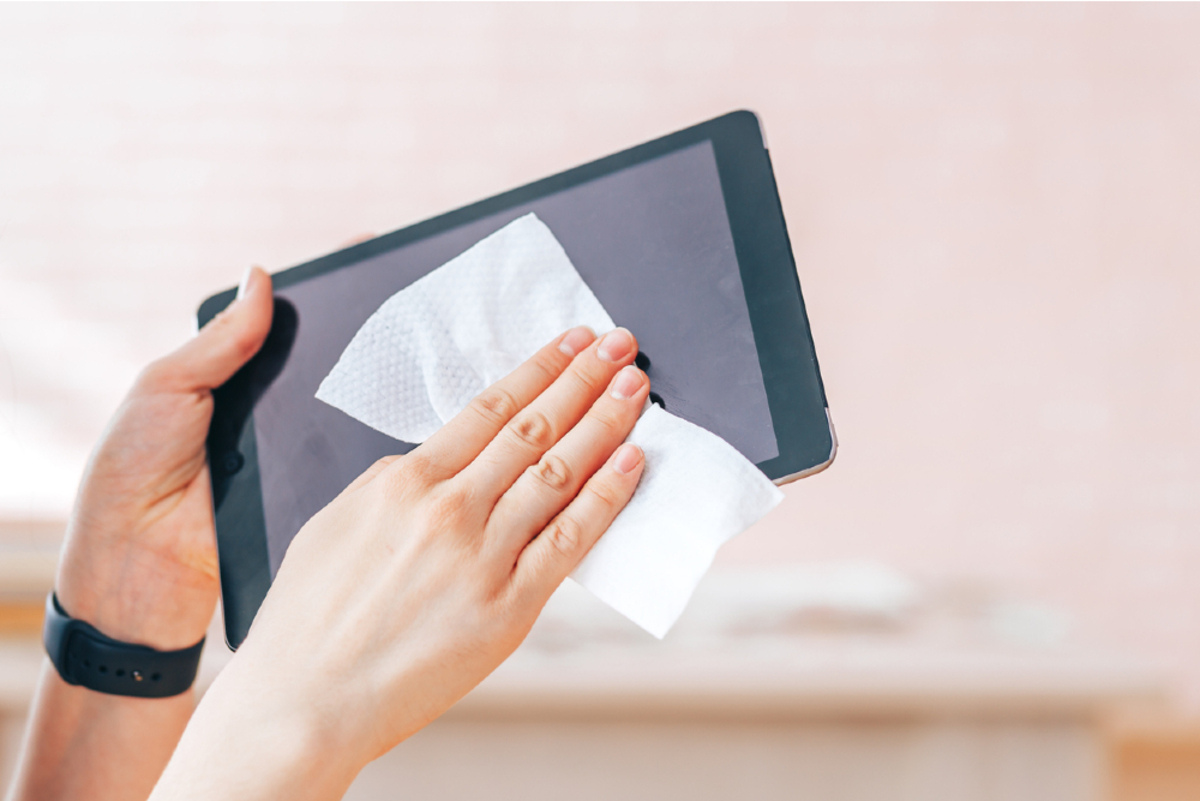
- Gently wipe the screen with a soft, dry microfiber cloth to remove any loose dust or particles. Be sure to use gentle, circular motions and avoid applying excessive pressure.
- If the screen has stubborn smudges or fingerprints, dampen the microfiber cloth slightly with distilled water or screen cleaning solution. Avoid using harsh cleaning agents or tap water, as they may damage the screen.
- Wipe the screen in a gentle, circular motion to remove the smudges or fingerprints. Start from one edge and work your way to the other, ensuring thorough coverage of the entire screen.
- Check the screen for any remaining residue or streaks. If necessary, repeat the cleaning process until the screen is completely clean and free of any smudges.
- Once the screen is dry and clean, inspect it for any remaining scratches. It is important to note that some scratches may appear more pronounced when the screen is dirty, so cleaning it first will give you a clearer view of the damage.
By starting with a clean screen, you can better assess the severity of the scratches and ensure that the subsequent scratch removal methods are as effective as possible. Now that your tablet screen is clean and ready, it’s time to move on to the various techniques you can try to remove those pesky scratches.
Apply Toothpaste
If you have minor surface scratches on your tablet, one simple and cost-effective method to try is using toothpaste. Toothpaste, specifically non-gel, non-gelatin type with baking soda, contains mild abrasives that can help buff out scratches. Here’s how to apply toothpaste to your tablet’s screen:
- Start by applying a small pea-sized amount of toothpaste directly onto the scratched area of the screen.
- Using a soft, lint-free cloth or your fingertip, gently rub the toothpaste into the scratched area using small circular motions. Be sure to apply light pressure and avoid pressing too hard.
- Continue rubbing the toothpaste into the scratch for about 2-3 minutes, or until you start seeing noticeable improvement.
- Once you’re satisfied with the results, use a clean microfiber cloth to wipe off any excess toothpaste residue from the screen.
It’s important to note that toothpaste should only be used on minor surface scratches and not on deep or severe ones. Also, avoid getting toothpaste on any other parts of the tablet, such as the buttons or ports.
After trying the toothpaste method, assess the results. If the scratches have significantly diminished or disappeared, you can consider the repair process complete. However, if the scratches are still visible, you may need to explore other methods to further reduce their appearance.
Before moving on to the next technique, it’s crucial to clean the tablet’s screen again to remove any toothpaste residue. Use a clean, damp cloth to wipe the screen, followed by a dry microfiber cloth to ensure it is completely clean.
Now that you’ve learned how to use toothpaste to remove scratches from your tablet, let’s explore another method using baking soda paste in the following section.
Use Baking Soda Paste
If toothpaste didn’t yield the desired results, you can try using a baking soda paste to address the scratches on your tablet’s screen. Baking soda is a mild abrasive that can help buff out surface scratches effectively. Here’s how to create and use a baking soda paste:
- In a small bowl, mix equal parts baking soda and water to create a thick paste. Start with a teaspoon of each ingredient and adjust the quantities as needed.
- Gently clean the tablet’s screen using a soft, lint-free cloth to remove any dirt or debris.
- Apply a small amount of the baking soda paste directly onto the scratched area of the screen.
- Using a soft cloth or your fingertip, rub the paste onto the scratch in circular motions. Apply gentle pressure and continue rubbing for about 2-3 minutes.
- Once you’ve buffed the scratched area, wipe off the excess baking soda paste with a clean, damp cloth.
- Inspect the screen to see if the scratches have improved. If necessary, repeat the process with fresh baking soda paste until you achieve the desired results.
As with the toothpaste method, it’s important to note that baking soda paste is most effective for minor surface scratches. Deep or severe scratches may require professional repair or more advanced techniques.
After using the baking soda paste, be sure to clean the screen again using a damp cloth to remove any residue. Finish off by drying the screen with a microfiber cloth. Assess the results and decide whether you need to proceed with alternative methods.
Now that you’ve learned how to use a baking soda paste to treat scratches on your tablet’s screen, let’s move on to another technique using WD-40.
Try WD-40
If you have tried toothpaste and baking soda paste without achieving the desired results, another method to consider is using WD-40. WD-40 is a versatile household lubricant that can also help reduce the visibility of minor scratches on tablet screens. Here’s how to use WD-40:
- Start by ensuring that you are in a well-ventilated area, as WD-40 has a strong odor.
- Apply a small amount of WD-40 onto a clean, soft cloth. Be careful not to oversaturate the cloth.
- Gently rub the WD-40 onto the scratched area of the tablet’s screen, using circular motions. Apply light pressure and continue rubbing for about a minute.
- Allow the WD-40 to sit on the screen for a few minutes. This will give the lubricant time to fill in the scratches.
- Using a clean, dry microfiber cloth, wipe away the excess WD-40 from the screen.
It’s important to note that WD-40 should be used sparingly and only on minor scratches. Avoid applying it to deep or severe scratches, as it may not be as effective and could potentially damage the screen further.
After using WD-40, assess the screen to see if the scratches have improved. If necessary, you can repeat the process or consider trying other methods to further diminish the visibility of the scratches.
Remember to clean the screen again after using WD-40 to remove any residue. Use a damp cloth followed by a dry microfiber cloth to ensure the screen is clean and free from any excess lubricant.
If the scratches are still present after trying these methods, don’t worry. There are other techniques to explore, such as using nail polish or a magic eraser, which we’ll discuss in the following sections.
Apply Nail Polish
If you have shallow scratches on your tablet’s screen, one method you can try is using clear nail polish. Nail polish can help fill in the scratches and create a protective coating that reduces their visibility. Here’s how to apply nail polish to your tablet’s screen:
- Start by thoroughly cleaning the tablet’s screen using a soft, lint-free cloth to remove any dirt or debris.
- Dip a cotton swab or a small brush into clear nail polish, making sure to remove any excess polish from the applicator.
- Apply a thin layer of nail polish directly onto the scratched area of the screen. Be careful not to apply too much, as it may cause the polish to spread beyond the intended area.
- Allow the nail polish to dry completely, following the manufacturer’s instructions.
- Once the polish is dry, inspect the screen to see if the scratches have diminished in visibility. If necessary, you can apply an additional layer of nail polish to further reduce the appearance of the scratches.
It’s important to note that using nail polish is a temporary solution and may wear off over time. You may need to reapply the nail polish periodically to maintain its effectiveness.
After applying the nail polish, clean the screen again using a damp cloth to remove any smudges or excess polish. Finish by drying the screen with a microfiber cloth.
If the scratches are still visible or you’re looking for an alternative method, you can explore using a magic eraser or applying vegetable oil, which we’ll discuss in the following sections.
Use a Magic Eraser
If you have surface-level scratches on your tablet’s screen, using a magic eraser can be an effective method to reduce their visibility. A magic eraser, also known as a melamine foam sponge, contains fine abrasive particles that can gently remove superficial scratches. Here’s how to use a magic eraser:
- Dampen the magic eraser sponge with water. Be sure to squeeze out any excess moisture, as using a wet sponge can damage the tablet.
- Gently rub the magic eraser sponge onto the scratched area of the tablet’s screen. Use light pressure and small circular motions to buff out the scratches.
- Continue rubbing for a few minutes, or until you notice an improvement in the visibility of the scratches.
- Once you’re satisfied with the results, use a clean, dry microfiber cloth to wipe away any residue from the screen.
It’s important to note that while a magic eraser can be effective for minor scratches, it may not be suitable for deeper or more severe scratches. Additionally, prolonged or excessive use of a magic eraser can potentially damage the tablet’s screen, so use it with caution.
After using the magic eraser, assess the screen to determine if any scratches are still visible. If necessary, repeat the process or consider trying other methods, such as applying vegetable oil, which we’ll discuss next.
Remember to clean the screen again using a damp cloth to remove any residue left by the magic eraser. Finish off by drying the screen with a microfiber cloth to ensure it is clean and free from any leftover particles.
If you’re still not satisfied with the results or are looking for an alternative method, you can explore using vegetable oil or a scratch removal kit, which we’ll cover in the next sections.
Apply Vegetable Oil
If your tablet’s screen has minor surface scratches, one method you can try is using vegetable oil. Vegetable oil acts as a mild abrasive and can help reduce the visibility of scratches. Here’s how to apply vegetable oil to your tablet’s screen:
- Start by ensuring that the tablet’s screen is clean. Use a soft, lint-free cloth to remove any dirt or debris.
- Apply a small amount of vegetable oil directly onto the scratched area of the screen. It’s best to start with a small quantity and add more if necessary.
- Using a soft cloth or your fingertip, gently rub the vegetable oil onto the scratch in circular motions. Apply light pressure and continue rubbing for a few minutes.
- After buffing the scratched area, use a clean, dry microfiber cloth to wipe away any excess oil from the screen.
- Inspect the screen to see if the scratches have improved in visibility. If necessary, you can repeat the process with a fresh application of vegetable oil.
It’s important to note that vegetable oil is typically effective for minor surface scratches. Deep or severe scratches may require professional repair or more advanced techniques.
After applying vegetable oil, clean the screen again using a damp cloth to remove any residue. Finish off by drying the screen with a microfiber cloth to ensure it is clean and free from any leftover oil.
If the scratches are still noticeable or you’re looking for an alternative method, you can explore using a scratch removal kit, which we’ll discuss in the next section.
Buff with a Microfiber Cloth
One simple and effective method to try when removing scratches from your tablet’s screen is using a microfiber cloth. Microfiber cloths are ideal for buffing away minor surface scratches and can leave your screen looking polished and scratch-free. Here’s how to buff your tablet’s screen with a microfiber cloth:
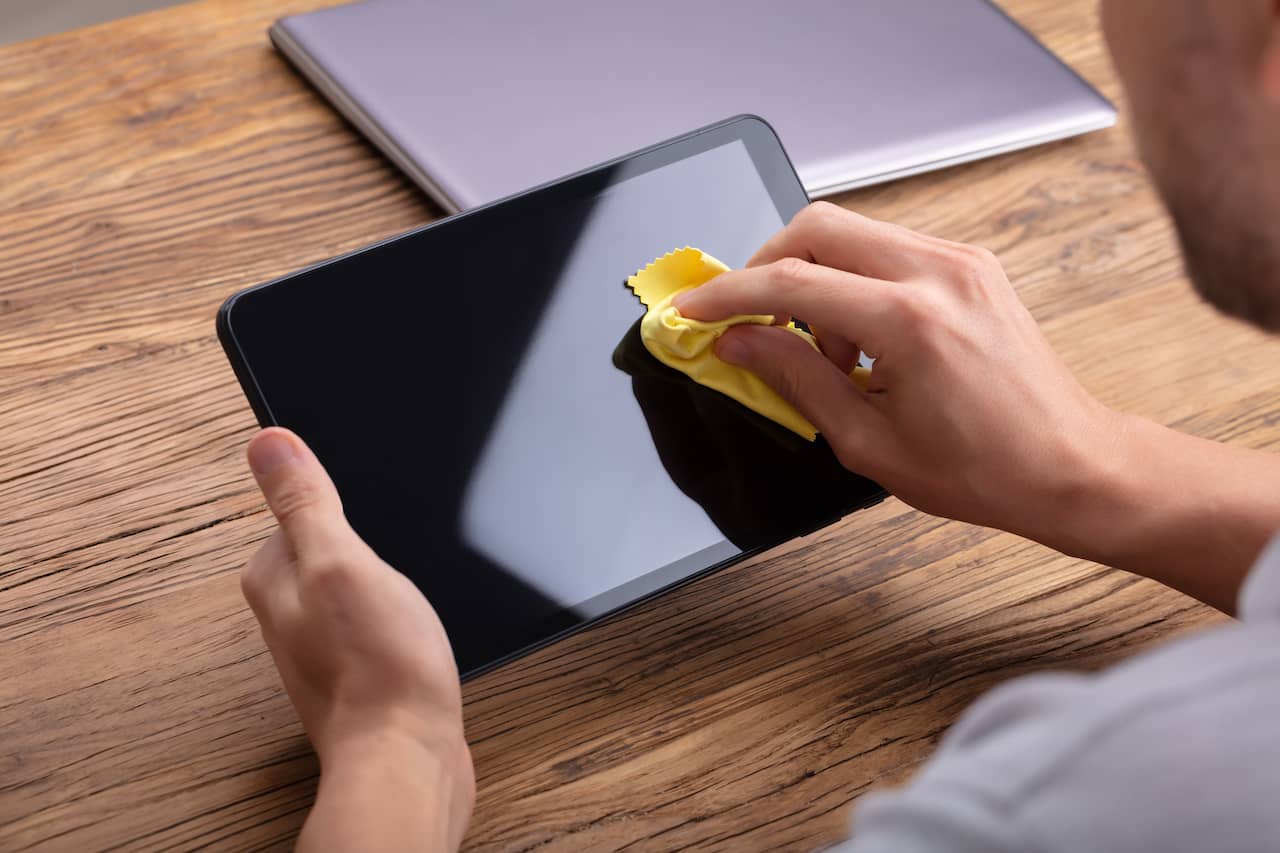
- Ensure that your tablet’s screen is clean and free from any dust or debris. Use a soft, dry microfiber cloth to gently wipe the screen and remove any loose particles.
- Hold the microfiber cloth by its edges and fold it into a small square or rectangle. This will provide a firm and controlled surface for buffing.
- Gently rub the microfiber cloth over the scratched area of the screen using small circular motions. Apply light pressure and continue buffing for a few minutes.
- Inspect the screen to see if the scratches have diminished in visibility. If necessary, repeat the process with a fresh section of the microfiber cloth.
- After buffing, use a clean, dry microfiber cloth to wipe away any residue or particles left on the screen.
Microfiber cloths are non-abrasive and safe to use on screens, making them an excellent option for routine maintenance and scratch removal. However, it’s important to note that deeper or more severe scratches may require more advanced techniques or professional assistance.
By buffing your tablet’s screen with a microfiber cloth, you can effectively reduce the appearance of minor scratches and restore its smooth, polished look. Remember to clean the screen periodically and use gentle, circular motions while buffing to avoid any additional damage.
If the scratches persist or you’re looking for other methods, you can explore using a scratch removal kit, which we’ll discuss in the next section.
Use a Scratch Removal Kit
If you’ve tried various DIY methods without the desired results, using a scratch removal kit can be a more advanced and effective solution. Scratch removal kits are specifically designed to reduce the visibility of scratches on tablet screens. Here’s how to use a scratch removal kit:
- Start by thoroughly cleaning the tablet’s screen using a soft, lint-free cloth to remove any dirt or debris.
- Read the instructions provided with the scratch removal kit carefully. Each kit may have specific steps and components that need to be followed.
- Apply the provided solution or compound onto the scratched area of the screen, following the instructions on the kit. Use a soft cloth or applicator pad to apply the solution.
- Gently rub the solution into the scratch using small circular motions. Apply light pressure and continue rubbing for the recommended duration outlined in the instructions.
- Once the recommended time has passed, wipe away any excess solution using a clean, dry microfiber cloth.
- Inspect the screen to see if the scratches have significantly improved in visibility. If necessary, repeat the process with the kit’s solution or compound.
Scratch removal kits often contain different compounds or solutions that are specifically designed to address different types of scratches and screens. Follow the instructions provided with the kit and exercise caution during the process.
After using the scratch removal kit, clean the screen again using a damp cloth to remove any residue or particles left from the process. Finish off by drying the screen with a clean, dry microfiber cloth.
If the scratches are still noticeable or you’re hesitant to use a scratch removal kit on your own, it may be best to consult a professional or the tablet manufacturer for further assistance and advice.
Now that you’ve learned about the various methods to remove scratches from your tablet’s screen, let’s explore some prevention tips to help maintain a scratch-free display.
Prevention Tips
Preventing scratches on your tablet’s screen is key to maintaining its pristine condition. While it’s impossible to completely eliminate the risk of scratches, there are several steps you can take to minimize the chances of damaging your tablet’s display. Here are some prevention tips:
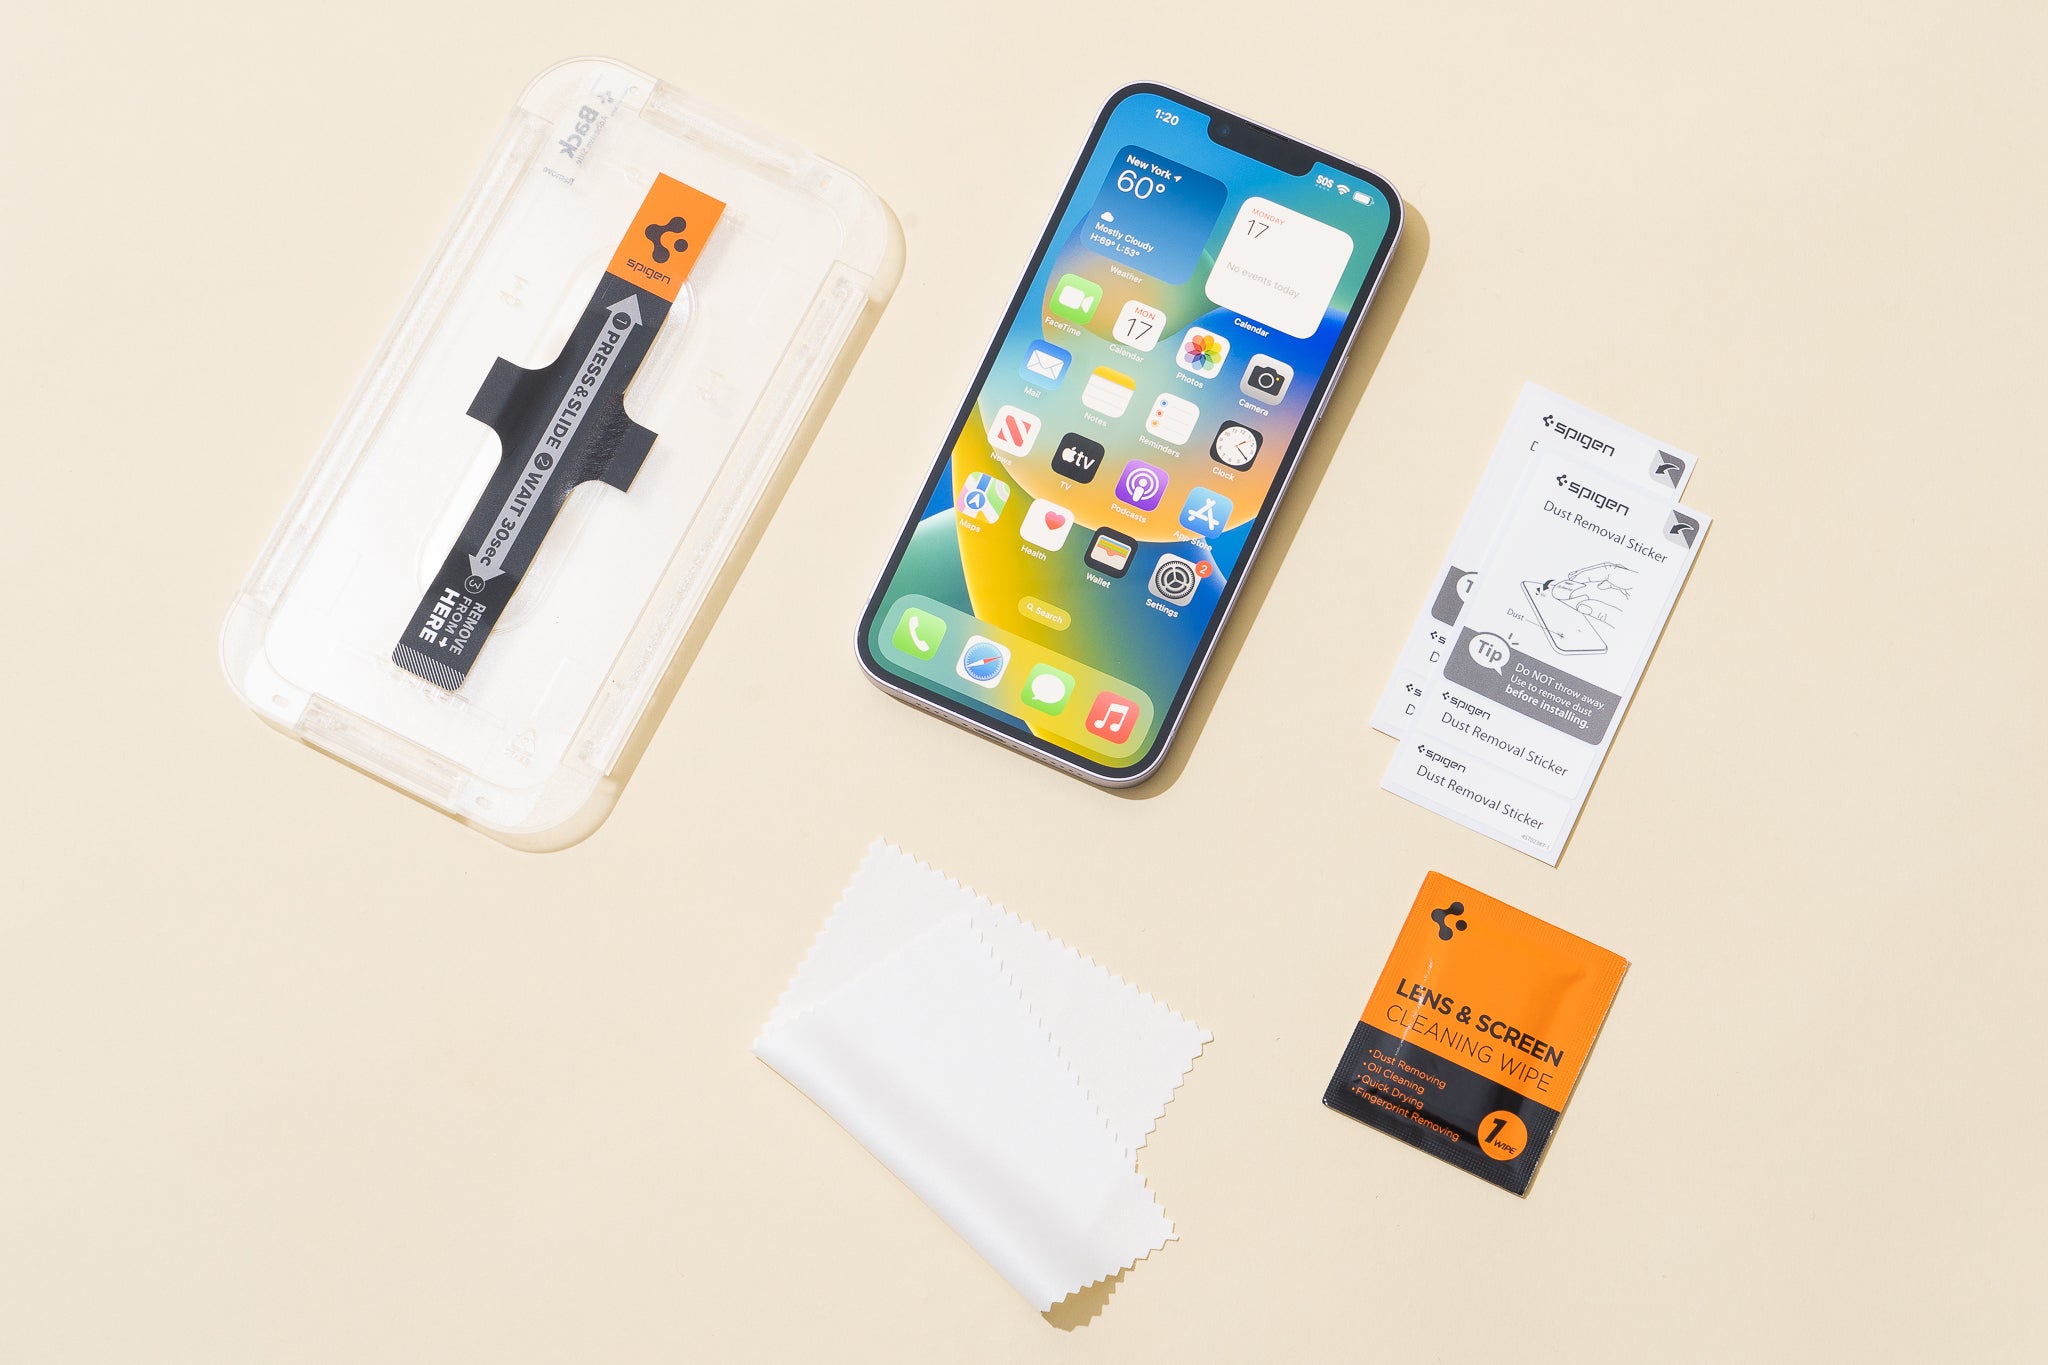
- Use a screen protector: Apply a quality screen protector to create an additional layer of protection against scratches and daily wear. Be sure to choose a screen protector specifically designed for your tablet model.
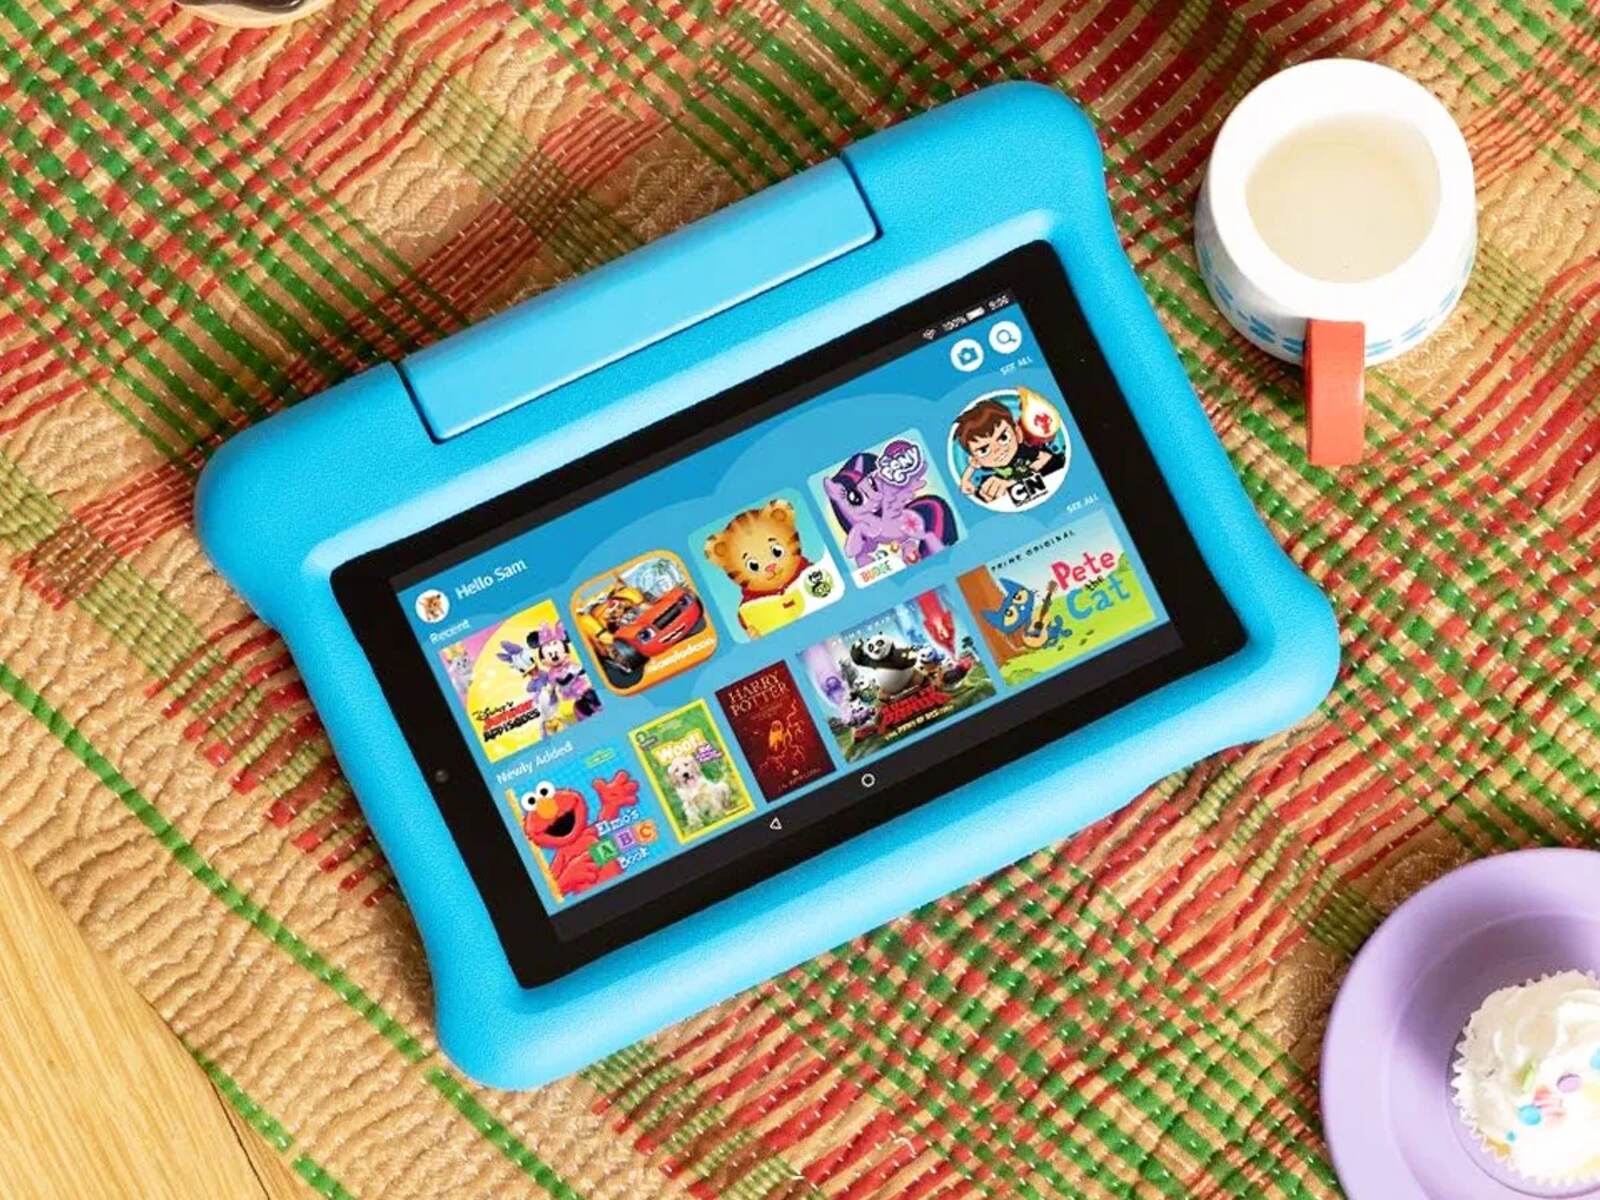
- Invest in a protective case: Use a durable, well-fitting case to shield your tablet from accidental drops, impacts, and scratches when not in use. Look for a case that provides full coverage and features a raised edge to protect the screen.
- Avoid placing objects on the tablet: Be mindful of what you place on or near your tablet’s screen. Avoid placing sharp objects, such as keys or pens, directly on the screen, as they can cause scratches when moved or pressed.
- Keep your tablet away from abrasive materials: Avoid placing your tablet in pockets or bags with abrasive materials like sand, gravel, or other sharp objects that could scratch the screen.
- Clean the screen regularly: Use a soft, lint-free cloth to regularly clean the screen and remove any smudges or fingerprints. Avoid using harsh chemicals or abrasive materials that can damage the surface.
- Be cautious during use: Handle your tablet with care, and avoid using excessive force or pressure when tapping or swiping the screen. Treat it gently to minimize the risk of accidental scratching.
By following these prevention tips, you can significantly reduce the likelihood of scratches and maintain the visual clarity of your tablet’s screen.
While scratches may still occur despite your best efforts, it’s important to remember that they are often superficial and can be remedied with the methods mentioned earlier. However, for deep or severe scratches, it’s recommended to consult a professional or rely on the manufacturer’s repair services.
By incorporating these prevention tips and being mindful of how you handle and protect your tablet, you can enjoy a scratch-free and visually appealing display for years to come.
Conclusion
Scratches on a tablet’s screen can be frustrating and detrimental to the overall user experience. However, there are several DIY methods you can try to reduce the visibility of scratches and restore the screen to its former glory. From toothpaste and baking soda paste to WD-40 and nail polish, each method offers a unique approach to addressing different types of scratches.
It’s important to assess the damage carefully and choose the method that best suits the severity of the scratches. Remember to follow the instructions closely and proceed with caution to avoid causing further damage to the screen. Additionally, preventive measures such as using screen protectors, protective cases, and practicing gentle handling can help minimize the risk of future scratches.
While these methods have shown promise in improving the appearance of minor surface scratches, it’s important to note that deep or severe scratches may require professional repair or more advanced solutions. If you are unsure about the best course of action, it’s always recommended to consult a professional or reach out to the tablet manufacturer for guidance.
Maintaining a clean and scratch-free screen enhances the visual appeal and functionality of your tablet. By incorporating these techniques and prevention tips, you can prolong the lifespan of your tablet’s screen and enjoy a clearer display for all your digital activities.
Remember, patience and careful execution are vital throughout the scratch removal process. With the right approach, you can significantly reduce the visibility of scratches on your tablet’s screen and continue enjoying its features to the fullest.