Introduction
Tablets have become an integral part of our lives, serving as versatile and portable devices for communication, entertainment, and productivity. However, with frequent use, there is always the risk of scratches appearing on the tablet screen. Even though scratches may seem inevitable, there are several methods you can try to fix them and restore your tablet’s screen to its former glory.
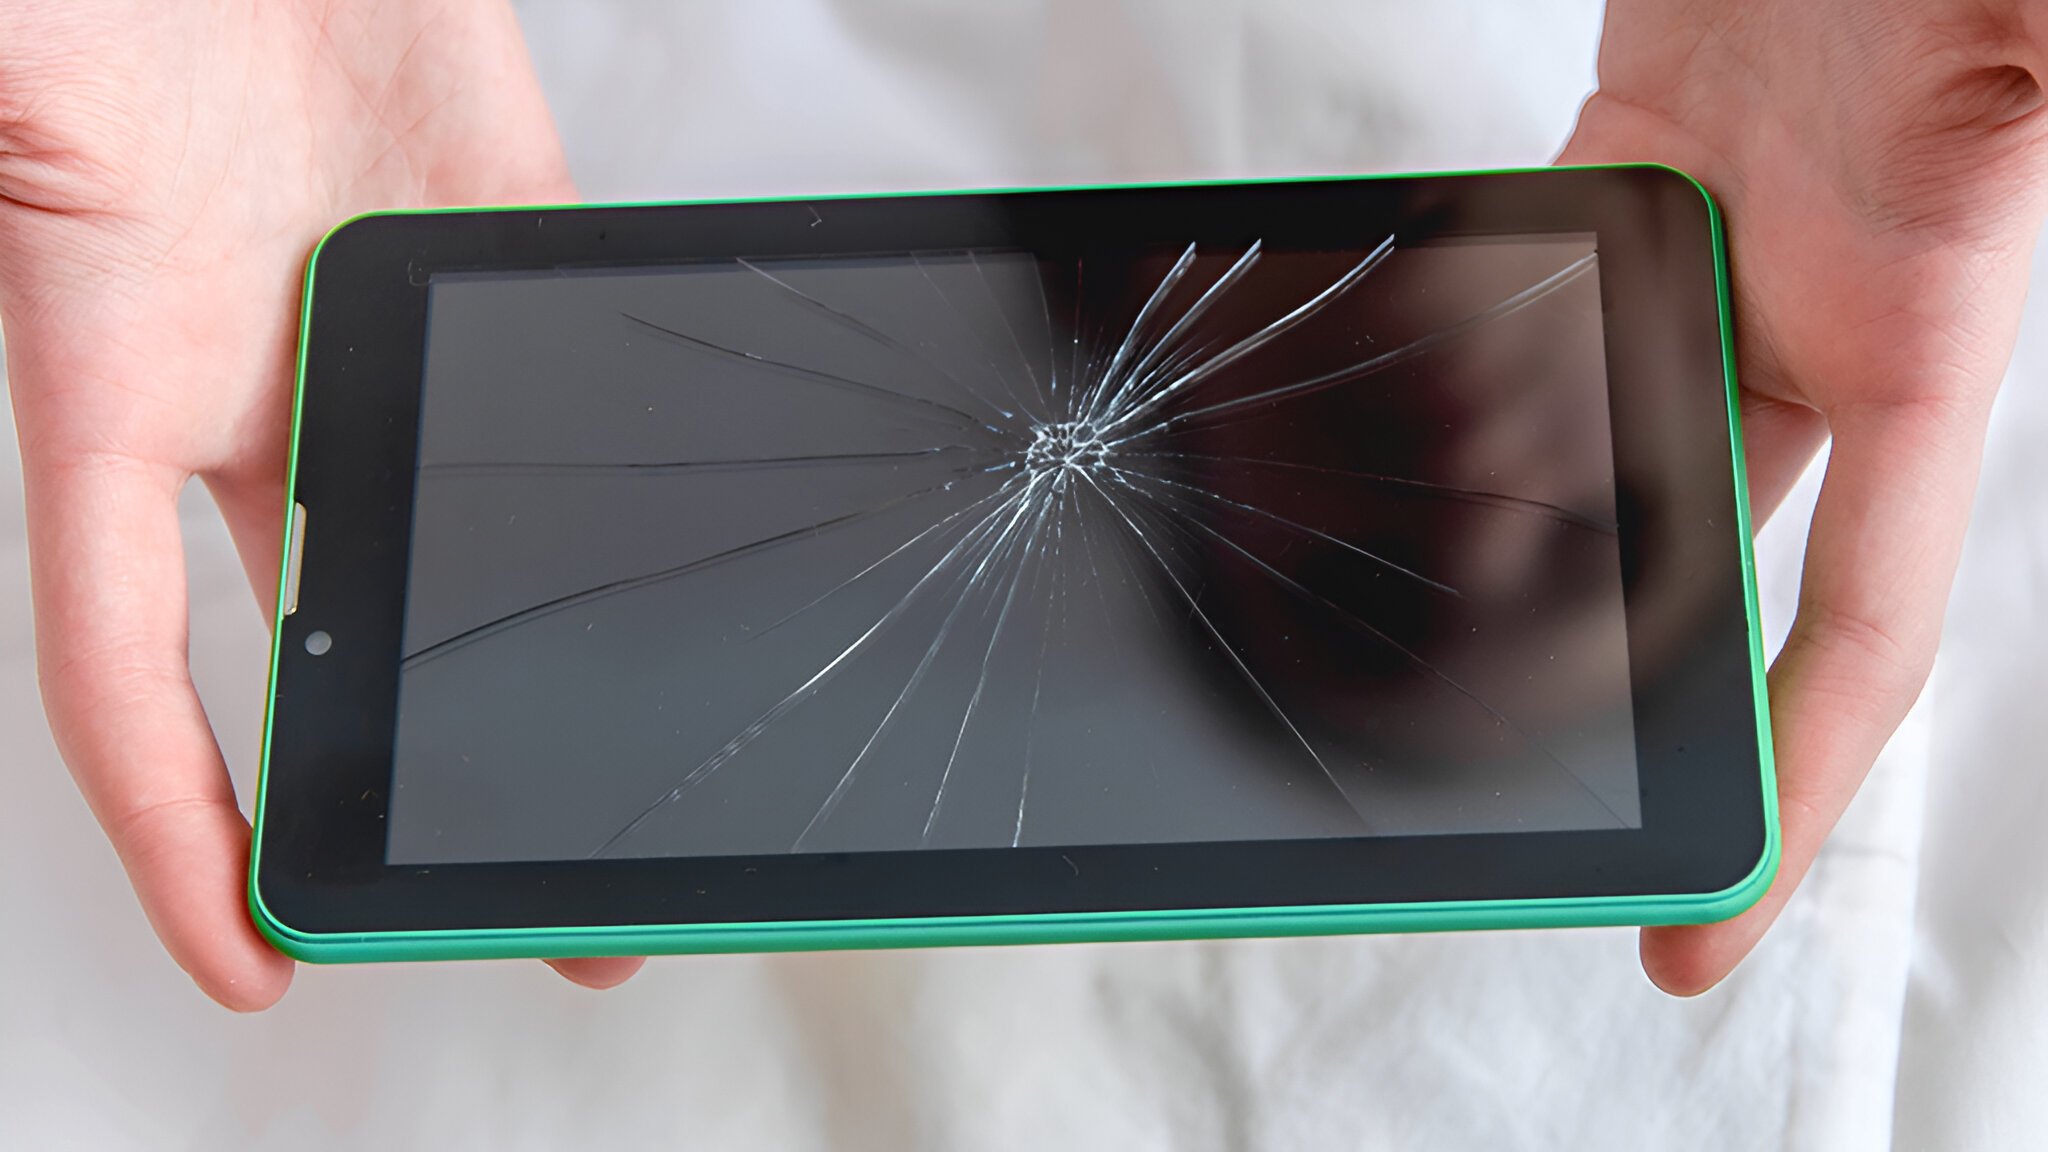
Scratches can occur from various sources, such as mishandling, contact with sharp objects, or simply regular wear and tear. While some scratches may be superficial, others can be deeper and more pronounced. The severity of the scratch will determine the method you should use for repair.
Before attempting any repair, it is essential to assess the extent of the damage. Light scratches that are barely visible or can only be seen at certain angles can often be resolved using simple home remedies. However, deeper scratches may require more advanced techniques or even professional assistance.
In this article, we will guide you through different methods to fix scratches on a tablet screen. We will start by assessing the damage, gathering the necessary materials, and then explain various repair techniques. From using household items like toothpaste and baking soda to specialized scratch repair kits, we will cover multiple options to cater to different levels of scratches.
Please note that while these methods have proven effective for many users, there is no one-size-fits-all solution. The success of the repair will depend on the severity of the scratch, the type of tablet screen, and other factors. It is always a good idea to test any method on a small inconspicuous area of the screen before proceeding with the entire damaged area.
Lastly, prevention is key to avoiding future scratches on your tablet screen. We will discuss some preventive measures you can take to ensure the longevity of your device’s screen. Taking proper care and implementing these practices can significantly reduce the chances of scratches and keep your tablet looking pristine.
Assessing the Damage
Before attempting any repair methods, it is important to evaluate the extent of the damage to your tablet screen. This will help you determine the best course of action and avoid potentially worsening the situation. Here are some steps to assess the damage:
1. Inspect the Scratch: Carefully examine the scratch on your tablet screen. Note its size, depth, and location. Is it a light surface scratch or a deeper one that you can feel with your fingernail? Understanding the severity of the scratch will help you choose the most appropriate method for repair.
2. Monitor Visibility: Test different lighting conditions and angles to see how visible the scratch is. Some scratches may only be noticeable under certain lighting conditions or at specific viewing angles. Knowing when and how the scratch is visible can help you assess the urgency of the repair.
3. Determine Impact on Functionality: Consider how the scratch impacts the functionality of your tablet. Is it obstructing any important areas of the screen or interfering with touch responsiveness? If the scratch affects the usability of your device, it may require more immediate attention.
4. Document the Damage: Take a photo or make a note of the scratch to keep a record of its appearance. This can be helpful if you decide to consult a professional or contact the tablet manufacturer for further advice or warranty-related inquiries.
Remember, not all scratches will require immediate repair. Some minor scratches may be tolerable and not affect your tablet’s performance or overall user experience. However, if the scratch is deep, large, or interfering with screen functionality, it’s best to address it promptly.
By assessing the damage, you can make an informed decision on the appropriate repair method. Whether you opt for a DIY solution or seek professional assistance, understanding the severity of the scratch will help you achieve the best possible results.
Gathering the Necessary Materials
Before you begin the process of fixing scratches on your tablet screen, it is important to gather the necessary materials. Having the right tools and supplies on hand will ensure that you can proceed with the chosen repair method smoothly and effectively. Here are the essential materials you may need:
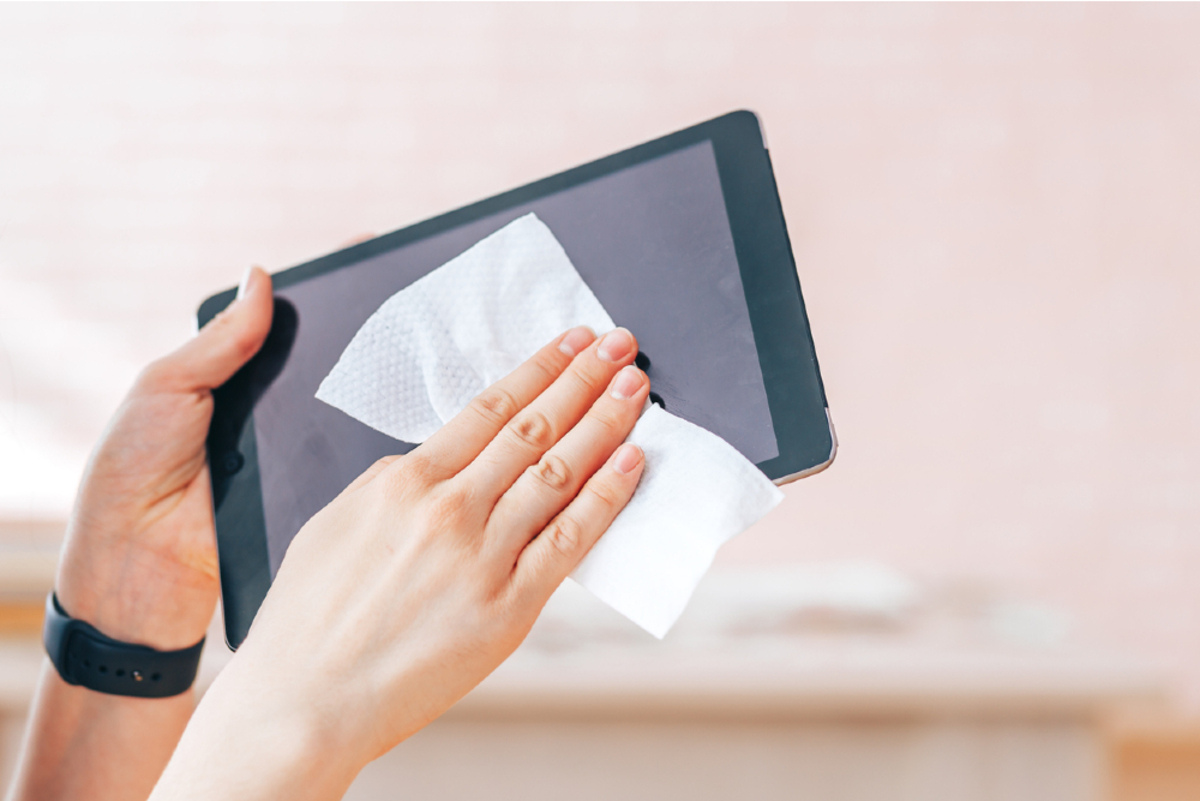
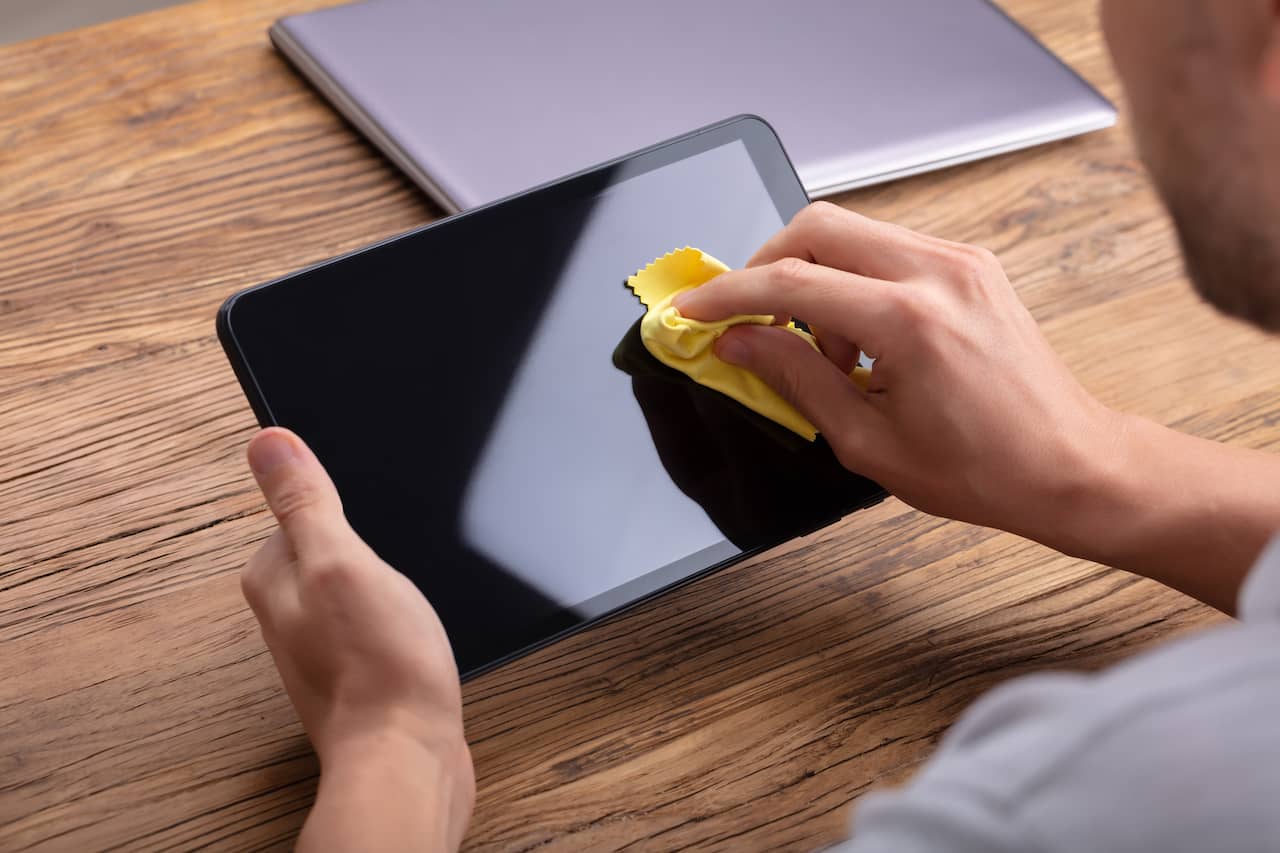
1. Microfiber Cloth: A microfiber cloth is a must-have for any tablet owner. It is a soft and lint-free cloth that is gentle on the screen and helps remove smudges and dirt. Make sure to use a clean microfiber cloth specifically designated for electronics, as other types of cloth may scratch the screen further.
2. Screen Cleaning Solution: To prepare your tablet screen for repair, you will need a screen cleaning solution. Look for a solution that is specifically formulated for electronics and is free from harsh chemicals that may damage the screen. Alternatively, you can use a mixture of distilled water and isopropyl alcohol with a 50:50 ratio.
3. Toothpaste: Toothpaste can be an effective remedy for light surface scratches. Opt for a non-gel, non-whitening toothpaste that contains baking soda. Avoid using toothpaste with any abrasive particles or bleach, as they can cause further damage to the screen.
4. Baking Soda: Baking soda is another household item that can help remove slightly deeper scratches. It acts as a mild abrasive when mixed with water, making it useful for buffing out small imperfections on the screen.
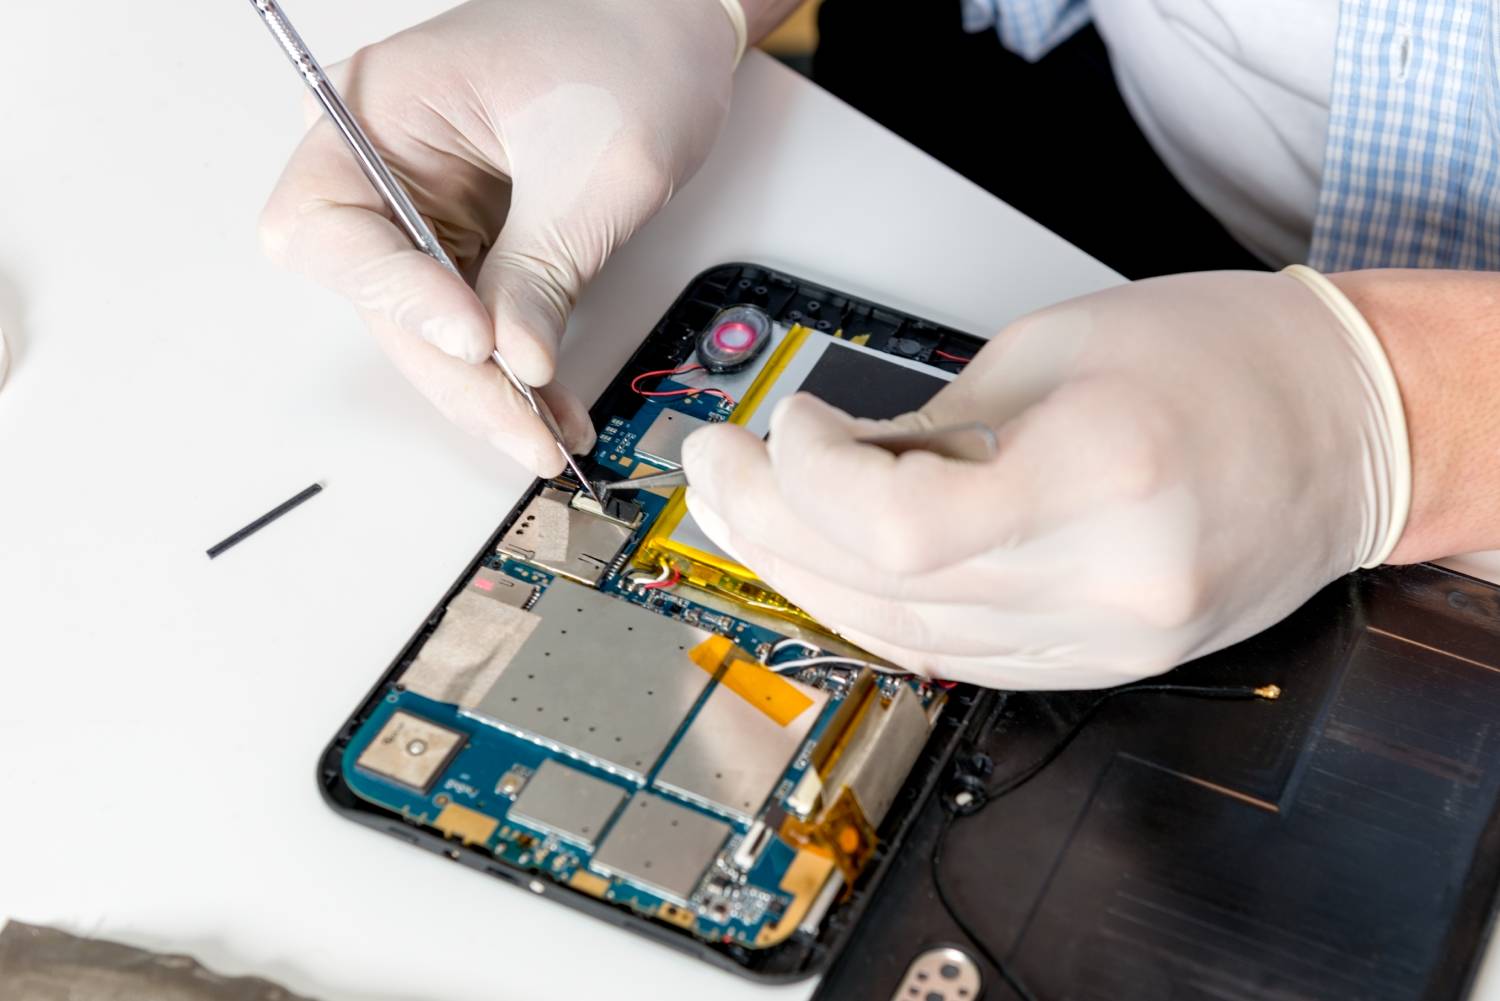
5. Scratch Repair Kit: If the scratches on your tablet screen are more severe, you may consider investing in a scratch repair kit. These kits typically include specialized tools, compounds, and instructions specifically tailored to address various types of screen scratches. Make sure to choose a reputable kit that is compatible with your tablet’s screen type.
6. Soft-bristled Brush: A soft-bristled brush, such as a clean makeup brush or a dedicated electronics brush, can be helpful for gently removing dust and debris from the screen without causing any additional scratches.
7. Plastic Card: A plastic card, such as a credit card or a plastic spatula, can be used to apply pressure and spread the toothpaste or baking soda mixture evenly during the repair process.
Remember to always read and follow the manufacturer’s instructions and guidelines when using any products or tools on your tablet screen. Additionally, if you are unsure about using certain materials or methods, it is wise to consult a professional or seek advice from the tablet manufacturer.
By gathering the necessary materials in advance, you will have everything you need to proceed with confidence and increase the likelihood of successfully repairing the scratches on your tablet screen.
Using Toothpaste to Remove Light Scratches
If you have noticed light surface scratches on your tablet screen, you may be able to effectively remove them using toothpaste. Toothpaste contains mild abrasives that can help polish the screen and minimize the appearance of superficial scratches. Follow these steps to use toothpaste for repairing light scratches:
1. Prepare the Screen: Start by turning off your tablet and unplugging it from any power source. Use a microfiber cloth to gently wipe away any dust or debris from the screen. Make sure the screen is clean and dry before proceeding.
2. Apply the Toothpaste: Squeeze a small amount of non-gel, non-whitening toothpaste onto your fingertip. Gently rub the toothpaste onto the scratched area in a circular motion. Ensure that the toothpaste covers the entire scratched surface. Avoid applying excessive pressure as this may cause further damage.
3. Buff the Scratched Area: Using a clean microfiber cloth, gently buff the scratched area in circular motions for about 2-3 minutes. The toothpaste acts as a mild abrasive, and the circular motion helps distribute the product evenly and promote an even removal of the scratches.
4. Clean and Inspect: Once you have buffed the scratched area, use a damp microfiber cloth to clean off the toothpaste residue. Wipe the screen gently to ensure you remove all traces of toothpaste. Inspect the screen to see if the scratches have diminished or disappeared. Repeat the process if necessary.
5. Final Clean and Dry: After removing the toothpaste residue, use a clean, dry microfiber cloth to give the screen one final gentle wipe. Ensure that the screen is completely dry before turning your tablet back on.
It is important to note that toothpaste should only be used for light surface scratches. Deeper or more severe scratches may require other methods or professional assistance. Additionally, toothpaste should not be used on screens with anti-reflective or oleophobic coatings, as it can potentially damage these protective layers.
If the scratches persist or worsen after attempting the toothpaste method, it is advisable to explore alternative approaches or consult a professional for further assistance. Every tablet is different, so results may vary based on the screen type and scratch severity.
By following these steps and using toothpaste correctly, you can potentially reduce the visibility of light scratches and restore the appearance of your tablet screen.
Using Baking Soda to Remove Deeper Scratches
If you are dealing with deeper scratches on your tablet screen, an effective remedy you can try is using baking soda. Baking soda acts as a mild abrasive when mixed with water, allowing you to remove slightly deeper scratches. Here is a step-by-step guide to using baking soda for scratch repair:
1. Create a Baking Soda Paste: Start by creating a paste with baking soda and water. In a small bowl, mix a small amount of baking soda with a few drops of water until you achieve a thick, smooth paste consistency. Be mindful not to make it too runny.
2. Prepare the Screen: Turn off your tablet and unplug it from any power source. Use a soft-bristled brush or a microfiber cloth to gently remove any dust or debris from the screen. Ensure that the screen is clean and dry before proceeding.
3. Apply the Baking Soda Paste: Use a clean fingertip or a soft cloth to apply a thin layer of the baking soda paste to the scratched area. Ensure that you cover the entire scratched surface with the paste. Avoid using excessive pressure during application.
4. Buff the Scratched Area: Using a clean, damp microfiber cloth, gently buff the scratched area in circular motions for about 2-3 minutes. The baking soda acts as a mild abrasive and, when combined with the circular motion, helps to buff out the scratches gradually.
5. Clean and Inspect: After buffing, use a clean, damp microfiber cloth to wipe away the baking soda residue from the screen. Inspect the area to see if the scratches have improved. If the scratches are still visible, you can repeat the process until you achieve the desired results.
6. Final Clean and Dry: Once you have removed the baking soda residue, use a clean, dry microfiber cloth to give the entire screen a final gentle wipe. Ensure that the screen is completely dry before turning your tablet back on.
It’s worth noting that using baking soda paste is most effective for slightly deeper scratches. If the scratches are too deep or extensive, it’s advisable to consult a professional or explore other repair options.
Furthermore, baking soda should not be used on screens with anti-reflective or oleophobic coatings, as it may cause damage to these protective layers. Always test the paste on a small, inconspicuous area of the screen before applying it to the entire scratched surface.
By following these steps and using baking soda correctly, you may be able to reduce the visibility of deeper scratches and restore the appearance of your tablet screen.
Using a Scratch Repair Kit
If you are dealing with more severe or extensive scratches on your tablet screen, using a scratch repair kit can provide a more effective solution. A scratch repair kit is specifically designed to address different types of screen scratches and often includes specialized tools and compounds. Here is a step-by-step guide on how to use a scratch repair kit:
1. Read the Instructions: Start by carefully reading the instructions provided with the scratch repair kit. Familiarize yourself with the recommended techniques, tools, and compounds specified for your tablet screen type.
2. Prepare the Screen: Turn off your tablet and unplug it from any power source. Use a soft-bristled brush or a microfiber cloth to gently remove any dust or debris from the screen. Ensure that the screen is clean and dry before proceeding.
3. Apply the Compound: Depending on the kit, you may need to apply a specific compound provided. Follow the instructions to apply the compound to the scratched area, ensuring complete coverage of the affected surface. The compound is typically designed to fill and smooth out the scratches.
4. Use the Repair Tool: Most scratch repair kits include a specialized tool such as a polishing pad or applicator. Use the provided tool to gently buff the compound in a circular motion over the scratched area. The goal is to promote even distribution and blending of the compound with the surrounding screen surface.
5. Clean and Inspect: Once you have completed the repair process, use a clean microfiber cloth to wipe away any remaining compound residue from the screen. Inspect the area to see if the scratches have been significantly reduced or eliminated. Repeat the process if necessary.
6. Follow Additional Instructions: Some scratch repair kits may have additional steps or specific post-repair care instructions. Follow these instructions carefully to ensure optimal results and prevent any potential damage to the screen.
It is important to note that scratch repair kits can vary, and their effectiveness may depend on factors such as the severity of the scratches and the quality of the kit. Always choose a reputable scratch repair kit that is compatible with your tablet’s screen type and follow the instructions provided for the best results.
If you are unsure about using a scratch repair kit or if the scratches persist after attempting the repair, it may be advisable to seek professional assistance or consult the tablet manufacturer for further guidance.
By using a scratch repair kit as directed, you can potentially minimize or eliminate the appearance of severe scratches on your tablet screen, restoring its overall appearance and usability.
Preventing Future Scratches
Prevention is key when it comes to maintaining the pristine condition of your tablet screen. By implementing some simple practices, you can reduce the risk of future scratches and prolong the lifespan of your device. Here are some preventive measures to consider:
1. Use a Screen Protector: Invest in a high-quality screen protector that is specifically designed for your tablet model. A screen protector acts as a barrier between your tablet screen and potential scratches, providing an extra layer of protection.
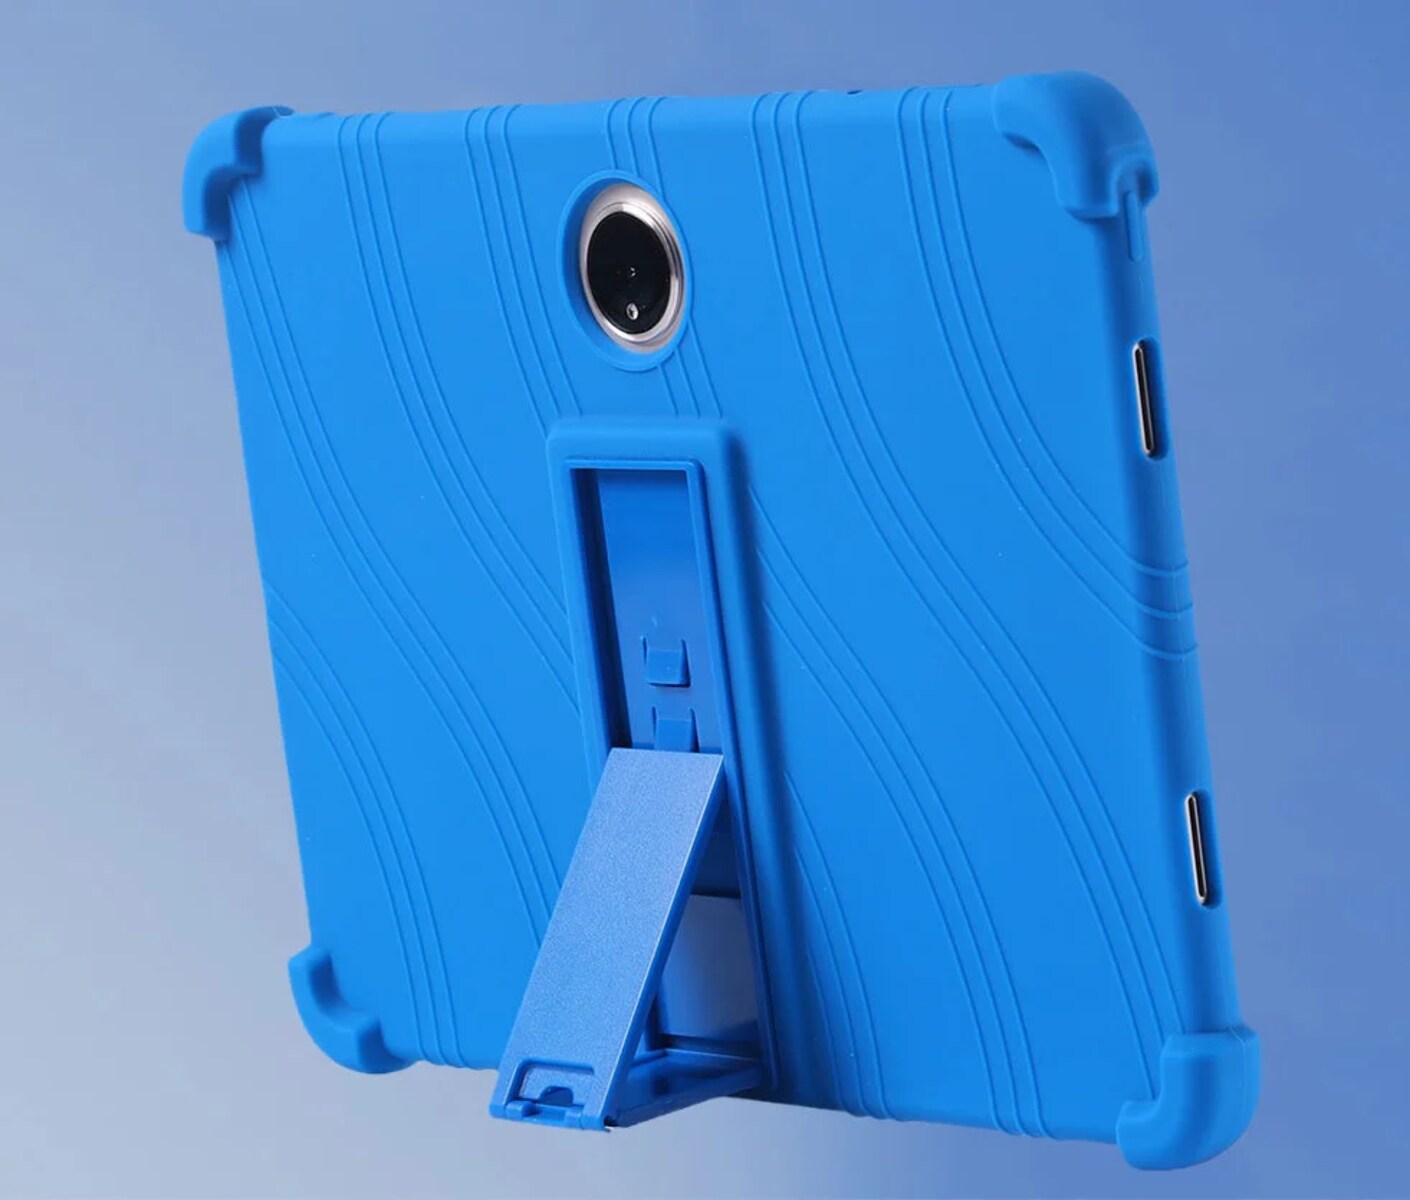
2. Opt for a Tablet Case: Consider using a tablet case or cover to provide additional protection. Look for a case that covers the screen when not in use and provides cushioning against accidental bumps or drops.
3. Store Separately: When not in use, store your tablet in a dedicated compartment or a protective sleeve to prevent scratches from coming into contact with other objects in your bag or pocket.
4. Avoid Sharp Objects: Be mindful of what you place near your tablet to prevent accidental scratches. Keep sharp objects like keys, pens, or metal jewelry away from your tablet to minimize the risk of scratching the screen.
5. Clean with Caution: When cleaning your tablet screen, use a microfiber cloth specifically designed for electronics. Avoid using harsh chemicals or abrasive materials that can damage the screen. Instead, opt for screen cleaning solutions made for electronics or a mixture of distilled water and isopropyl alcohol.
6. Handle with Care: Treat your tablet gently and avoid applying excessive pressure or force when using it. This applies to both the screen and the overall device. Be cautious when swiping, tapping, or interacting with the touchscreen to minimize the risk of accidental scratches.
7. Keep Away from Liquids: Liquid spills can damage your tablet screen and potentially cause internal damage as well. Avoid using your tablet near water or other liquids, and be cautious about placing drinks or other liquid-containing items near your device.
8. Regular Maintenance: Regularly inspect your tablet screen for any signs of scratches or damage. Promptly address any minor scratches using the appropriate methods discussed in this article.
By following these preventive measures, you can significantly reduce the chances of future scratches and keep your tablet screen looking pristine for a longer period of time. Remember that prevention is always easier and less costly than repair.
Conclusion
Throughout this article, we have explored various methods to fix scratches on a tablet screen. From using household remedies like toothpaste and baking soda to utilizing specialized scratch repair kits, there are options available for different types of scratches and screen damages.
Assessing the damage is the first step in determining the most appropriate course of action. Light scratches can often be effectively addressed with toothpaste, while deeper scratches may require the use of baking soda or professional assistance. Scratch repair kits offer a comprehensive solution for more severe scratches, providing specialized tools and compounds.
It is important to understand that not all scratches can be completely eliminated. The effectiveness of the repair methods may vary depending on factors such as the severity of the scratches, the type of tablet screen, and the techniques used. It is always recommended to test any method on a small area or consult the tablet manufacturer for specific recommendations.
Prevention is key in maintaining a scratch-free tablet screen. Using a screen protector, opting for a tablet case, and handling the device with care can significantly reduce the risk of scratches. Regularly cleaning the screen using appropriate methods and avoiding contact with sharp objects or liquids are also essential preventive measures.
Remember, every tablet is unique, and the success of scratch repair methods may vary. If you are uncertain or uncomfortable attempting any of the repair techniques, it is advisable to consult a professional or reach out to the tablet manufacturer for assistance.
By following the guidelines and choosing the right approach, you can potentially minimize the appearance of scratches and restore your tablet screen to its former clarity. With proper care and preventive measures, you can enjoy a scratch-free tablet screen for an extended period, enhancing your overall tablet experience.