Introduction
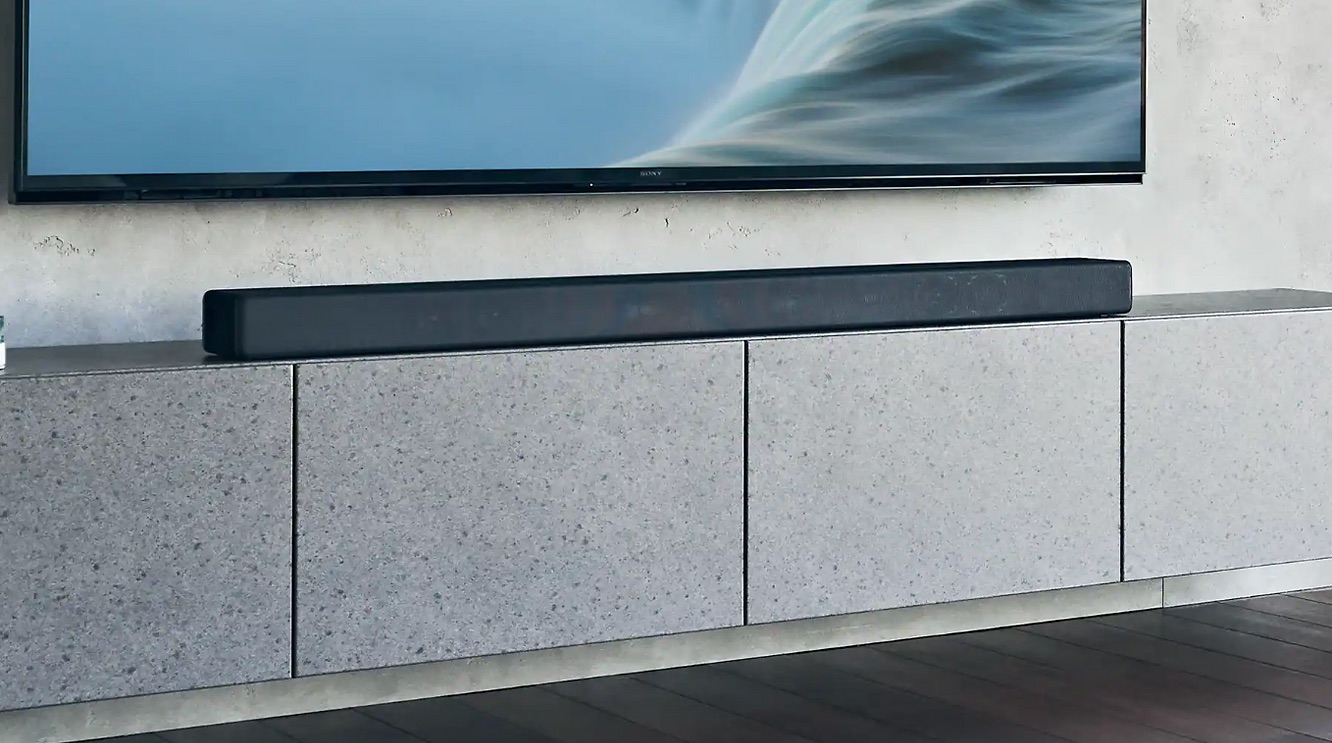
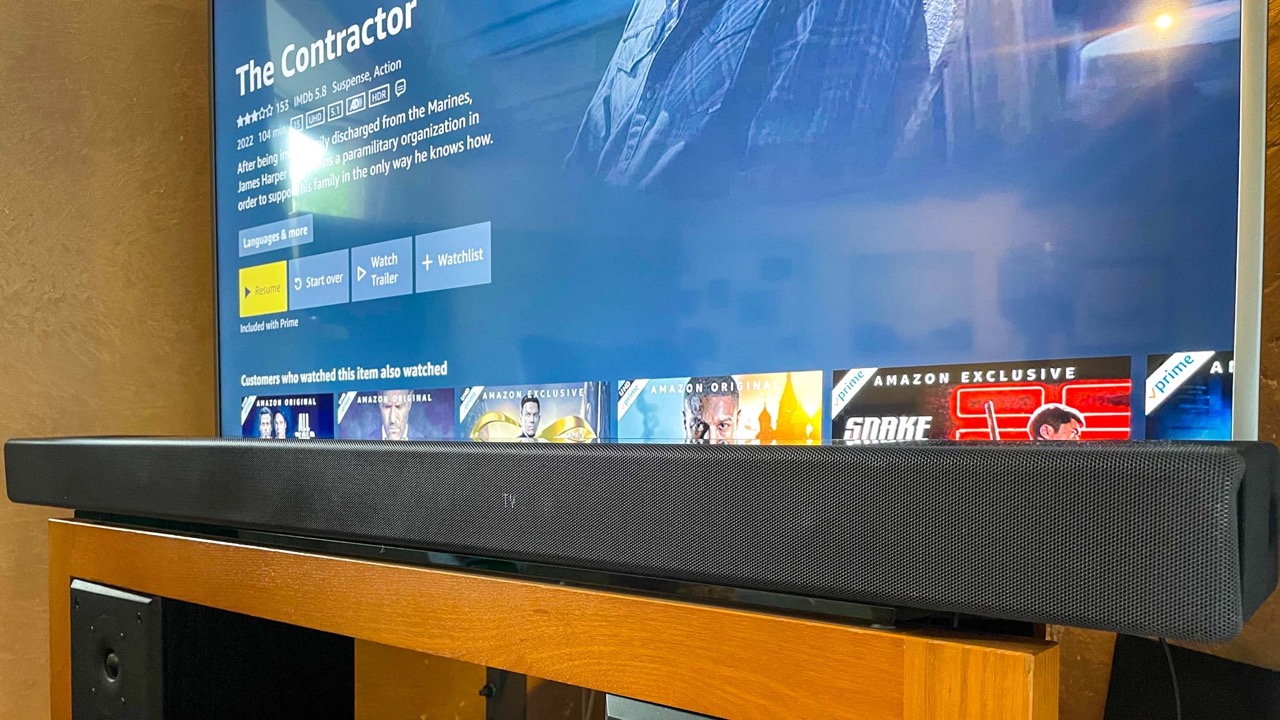
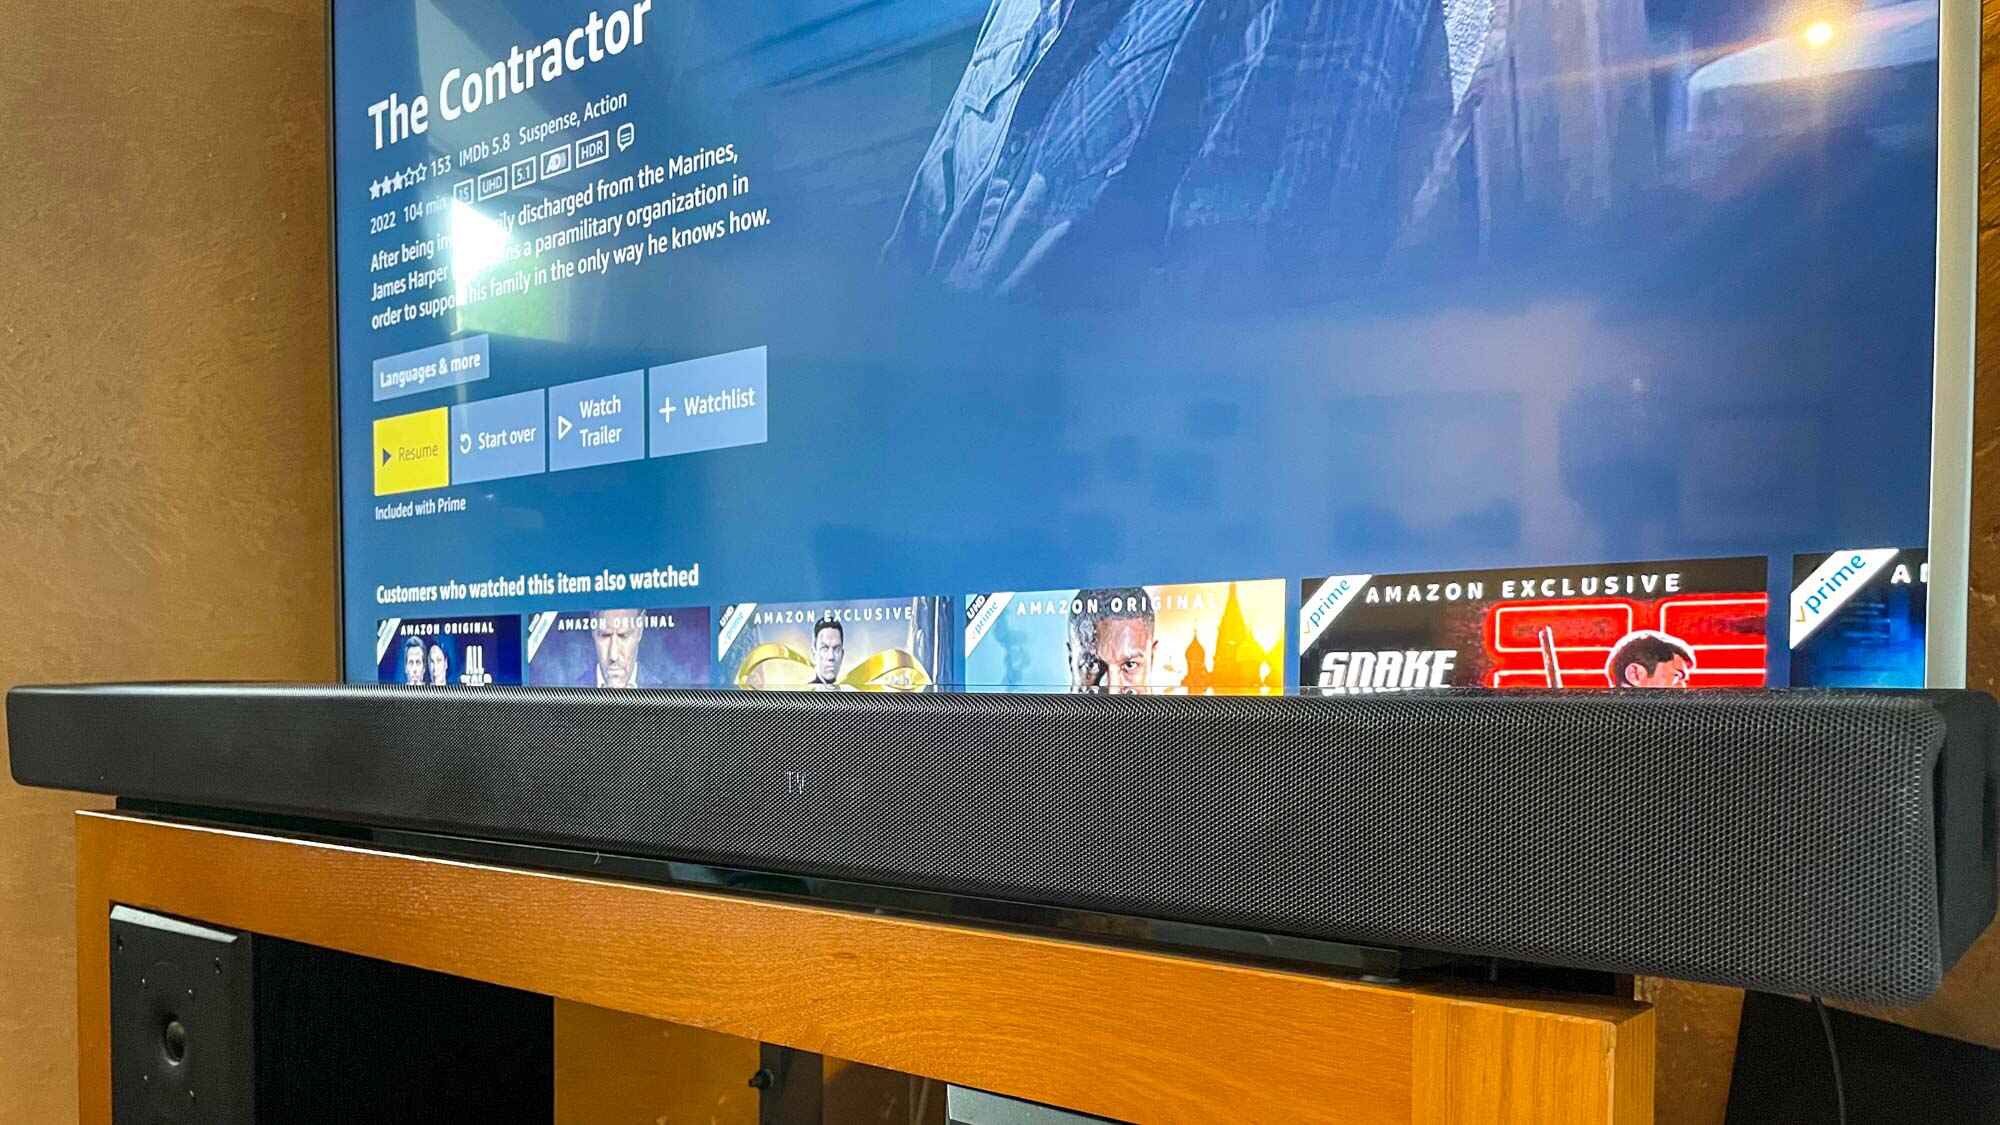
Having a soundbar that automatically turns on with your TV can greatly enhance your home entertainment experience. It eliminates the need to manually power on the soundbar every time you want to watch TV and ensures that you always have immersive, high-quality audio to complement your viewing. If you own a Sony soundbar and want to know how to make it turn on with your TV, you’ve come to the right place.
Sony soundbars are known for their exceptional sound quality and advanced features, including the ability to synchronize with your TV. By following a few simple steps, you can seamlessly integrate your Sony soundbar into your TV setup, ensuring that it turns on and off automatically alongside your television.
In this guide, we will walk you through the process of making your Sony soundbar turn on with your TV. We will cover everything from verifying compatibility to adjusting TV settings, so you can enjoy a hassle-free experience each time you turn on your TV.
Before we delve into the steps, it’s important to note that the specific instructions may vary depending on the model of your Sony soundbar and TV. We recommend consulting the user manuals for both devices to ensure accurate configuration.
Now let’s get started and learn how to make your Sony soundbar turn on with your TV.
Step 1: Verify Compatibility
The first step in making your Sony soundbar turn on with your TV is to verify compatibility between the two devices. Not all Sony soundbars have the capability to synchronize with a TV and turn on automatically. Therefore, it’s crucial to check if your soundbar model supports this feature.
To determine the compatibility, refer to the user manual or product specifications of your Sony soundbar. Look for features like HDMI ARC (Audio Return Channel) and HDMI-CEC (Consumer Electronics Control). These technologies allow for seamless communication between the soundbar and TV, enabling power synchronization.
If your soundbar model supports HDMI ARC and HDMI-CEC, you can proceed to the next steps. However, if it doesn’t have these features, you may need to consider alternative methods like using an infrared (IR) blaster or a programmable remote control to turn on the soundbar.
It’s worth noting that even if your Sony soundbar and TV are compatible, you need to ensure that your TV also supports HDMI ARC and HDMI-CEC. Check the user manual or the settings menu of your television to confirm these functionalities.
Once you’ve verified the compatibility of your soundbar and TV, you’re ready to move on to the next step and start connecting them.
Step 2: Connect HDMI ARC
After confirming the compatibility between your Sony soundbar and TV, the next step is to connect them using HDMI ARC (Audio Return Channel). This technology allows both audio and control signals to be transmitted through a single HDMI cable, simplifying the setup process.
Here’s how to connect your Sony soundbar to your TV using HDMI ARC:
- Locate the HDMI ARC port on both your soundbar and TV. These ports are usually labeled “ARC” or “HDMI ARC”.
- Using an HDMI cable, connect one end to the HDMI ARC port on your soundbar and the other end to the HDMI ARC port on your TV.
- Ensure that the TV and soundbar are powered off before making the connection.
- Once the HDMI ARC connection is established, power on both your TV and soundbar.
By connecting your soundbar and TV using HDMI ARC, you enable the transmission of audio from the TV to the soundbar, as well as the ability for your soundbar to receive power commands from the TV.
It’s important to note that some Sony soundbars may require additional settings adjustment to enable HDMI ARC functionality. Refer to the user manual of your soundbar for specific instructions on how to enable HDMI ARC.
Now that your soundbar is connected to your TV via HDMI ARC, let’s move on to the next step to enable HDMI-CEC and ensure seamless control between the devices.
Step 3: Enable HDMI-CEC
Enabling HDMI-CEC (Consumer Electronics Control) is crucial to establish communication and control between your Sony soundbar and TV. This feature allows the devices to communicate and send commands to each other through the HDMI connection.
To enable HDMI-CEC on your TV and soundbar, follow these steps:
- On your TV, go to the settings menu and look for the HDMI-CEC or HDMI Control option. The exact location of these settings may vary depending on the TV model.
- Select and enable HDMI-CEC or HDMI Control.
- On your Sony soundbar, check the user manual for instructions on how to enable HDMI-CEC. Depending on the soundbar model, it may be referred to as BRAVIA Sync or Control for HDMI.
- Once HDMI-CEC is enabled on both devices, the TV and soundbar will be able to send power commands and control signals to each other.
Enabling HDMI-CEC ensures that when you power on your TV, it will automatically send a signal to the soundbar to turn on as well. Similarly, when you power off your TV, the soundbar will receive the command to turn off, providing a seamless and synchronized experience.
It’s important to note that the specific names and locations of HDMI-CEC settings may vary depending on the TV brand. Some common names for HDMI-CEC include Anynet+ (Samsung), Simplink (LG), and Viera Link (Panasonic).
Once you’ve enabled HDMI-CEC on your Sony soundbar and TV, you’re ready to proceed to the next step and set the soundbar as the default audio output.
Step 4: Set Soundbar as Default Audio Output
Setting your Sony soundbar as the default audio output on your TV ensures that the audio is automatically routed to the soundbar whenever it’s turned on. This step is crucial to ensure that you have an immersive audio experience with your TV.
Follow these steps to set your Sony soundbar as the default audio output:
- On your TV, navigate to the settings menu and look for the audio or sound settings.
- Select the audio output options. Depending on your TV model, you may find options like “Audio Output,” “Sound Output,” or “Speaker Settings.”
- Choose the option to select the audio output device. You should see the name of your Sony soundbar listed.
- Select your Sony soundbar as the default audio output device.
- Save the settings and exit the menu.
By setting your Sony soundbar as the default audio output, the TV will automatically route the audio signal to the soundbar whenever it’s powered on. This ensures that you don’t have to manually switch the audio output every time you turn on your TV.
It’s worth mentioning that some Sony soundbars come with additional features and settings, such as different audio modes or equalizer settings. You can explore these options in the soundbar’s user manual to further customize your audio experience.
Now that you’ve set your Sony soundbar as the default audio output, let’s move on to the next step and adjust the TV settings to optimize the soundbar’s performance.
Step 5: Adjust TV Settings
Adjusting the settings on your TV can help optimize the performance of your Sony soundbar and ensure that you’re getting the best audio experience. Here are some TV settings you may need to adjust:
- Audio Output Format: Check the audio output format settings on your TV. Depending on the capabilities of your soundbar, you may need to select a specific audio format, such as Dolby Digital or DTS, to ensure compatibility and optimal audio quality.
- Audio Delay: If you notice any synchronization issues between the video and audio when using your soundbar, you can adjust the audio delay settings on your TV. This will help minimize any noticeable delays and ensure a seamless viewing experience.
- Volume Control: Some TVs have the option to control the volume of external speakers independently. Ensure that the volume control settings are set to control the soundbar’s volume instead of the TV’s internal speakers.
- Sound Modes: Explore the sound mode options on your TV and experiment with different presets to find the one that suits your audio preferences best. Some TVs offer modes like Movie, Music, or Game, which can enhance the audio experience based on the content you’re watching.
- Equalizer: If your TV has an equalizer or audio enhancement settings, you can fine-tune the sound output to your liking. Adjust the bass, treble, and other audio parameters to achieve the desired audio quality.
It’s important to note that specific TV settings and options may vary depending on the TV brand and model. Refer to the TV’s user manual or settings menu to locate and adjust these settings accurately.
Now that you’ve adjusted the TV settings to optimize the soundbar’s performance, it’s time to move on to the final step – testing and troubleshooting.
Step 6: Test and Troubleshoot
After following the previous steps to make your Sony soundbar turn on with your TV, it’s important to test the setup and address any potential issues or troubleshooting requirements. Here’s what you need to do:
- Power On Test: Power on your TV and observe if the soundbar turns on automatically. If it does, you’ve successfully set up the synchronization between your Sony soundbar and TV.
- Audio Output Test: Play some audio or video content on your TV and ensure that the sound is being played through the soundbar. Adjust the volume settings on both the TV and soundbar to achieve the desired audio level.
- Power Off Test: Power off your TV and verify if the soundbar turns off as well. This ensures that both devices are synced when powering on and off.
- Troubleshooting: If you encounter any issues during testing, first double-check the connections between the TV and soundbar. Ensure that the HDMI cables are securely connected and that the input source on the soundbar matches the HDMI ARC input on the TV. Additionally, review the settings on both devices to make sure they are properly configured.
- Consult Support: If you’re still experiencing issues, consult the user manuals of your Sony soundbar and TV for specific troubleshooting steps. You can also reach out to the support channels provided by Sony for further assistance.
By thoroughly testing the setup and troubleshooting any issues, you can ensure that your Sony soundbar seamlessly turns on with your TV and delivers an enhanced audio experience.
With the completion of these steps, you have successfully learned how to make your Sony soundbar turn on with your TV. Enjoy the immersive sound and enhanced viewing experience whenever you power on your TV.
Conclusion
Setting up your Sony soundbar to turn on with your TV provides the convenience of automatic synchronization and an immersive audio experience every time you power on your television. By verifying compatibility, connecting via HDMI ARC, enabling HDMI-CEC, setting the soundbar as the default audio output, adjusting TV settings, and conducting thorough testing and troubleshooting, you can effortlessly integrate your Sony soundbar into your TV setup.
Remember to consult the user manuals of both your Sony soundbar and TV for specific instructions and troubleshooting steps tailored to your models. Additionally, take advantage of support channels provided by Sony if you encounter any difficulties along the way.
By following these steps and ensuring a seamless connection between your Sony soundbar and TV, you can elevate your home entertainment experience and enjoy high-quality audio that complements your favorite movies, shows, and games.
Now, power on your TV and immerse yourself in the rich, immersive sound that your Sony soundbar delivers!


