Introduction
Are you a proud owner of a Sony HT-S350 Soundbar and facing trouble connecting it to the subwoofer? Don’t worry, we’ve got you covered! In this step-by-step guide, we will walk you through the process of connecting your Sony HT-S350 Soundbar to the subwoofer with ease.
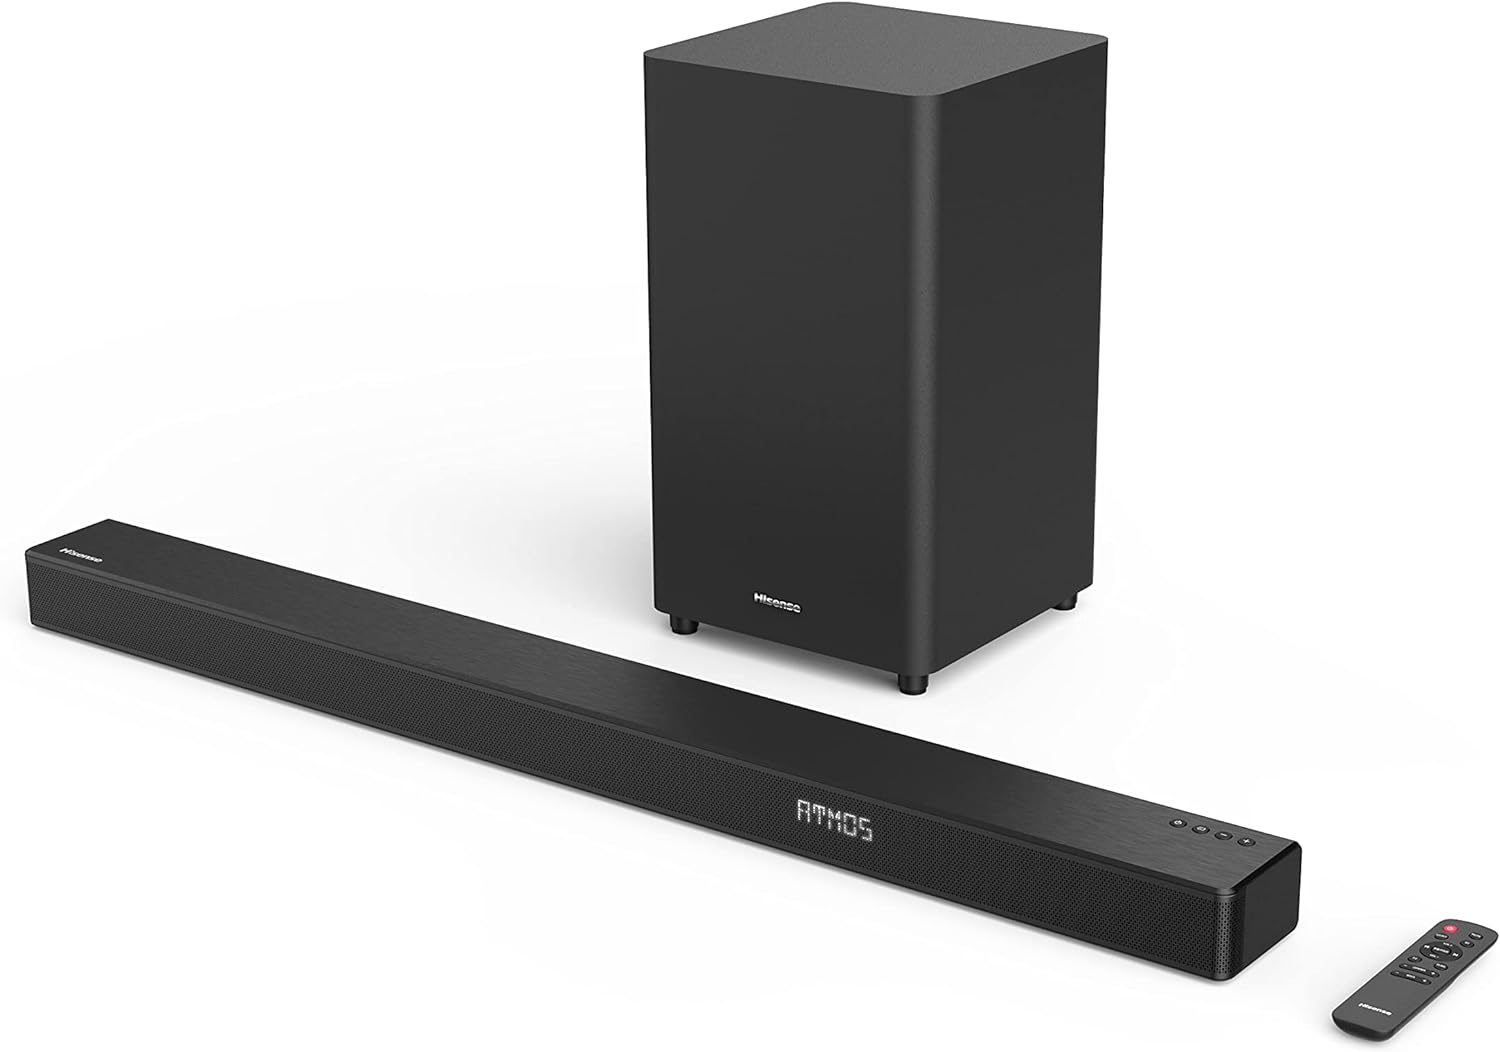
The HT-S350 Soundbar by Sony is a powerful audio device that enhances your TV viewing experience by delivering immersive sound. With a dedicated subwoofer, it adds depth and richness to your audio, making action-packed movies and music come alive.
Before we delve into the steps, it’s essential to ensure that you have all the necessary components handy. You will need the Sony HT-S350 Soundbar, the subwoofer, the power cords, and any necessary cables. Also, make sure your TV has an HDMI ARC or optical audio output for seamless connectivity.
So let’s get started and connect your Sony HT-S350 Soundbar to the subwoofer, so you can enjoy a truly immersive sound experience in the comfort of your own home!
Step 1: Unpacking the Soundbar and Subwoofer
Before we begin the setup process, it is crucial to unpack and set up both the soundbar and subwoofer properly.
Start by carefully unpacking the contents of the box. Remove all the protective packaging materials and place the soundbar and subwoofer on a stable surface near your TV.
Take a moment to familiarize yourself with the various ports and buttons on the soundbar and subwoofer. This will make it easier to connect them later on.
Next, connect the power cord to both the soundbar and the subwoofer, and then plug them into a power outlet. Ensure that the power cords are securely connected and the devices are receiving power.
Once the soundbar and subwoofer are powered on, you may notice a blinking LED light or display indicating that they are ready to be connected to each other and your TV.
It is also a good idea to read the user manual that comes with your Sony HT-S350 Soundbar and subwoofer. The manual provides detailed instructions, troubleshooting tips, and additional information that can be helpful during the setup process.
With the soundbar and subwoofer unpacked and powered on, you are ready to move on to the next step of connecting the soundbar to your TV.
Step 2: Connecting the Soundbar to the TV
Now that you have unpacked and set up the soundbar and subwoofer, it’s time to connect the soundbar to your TV.
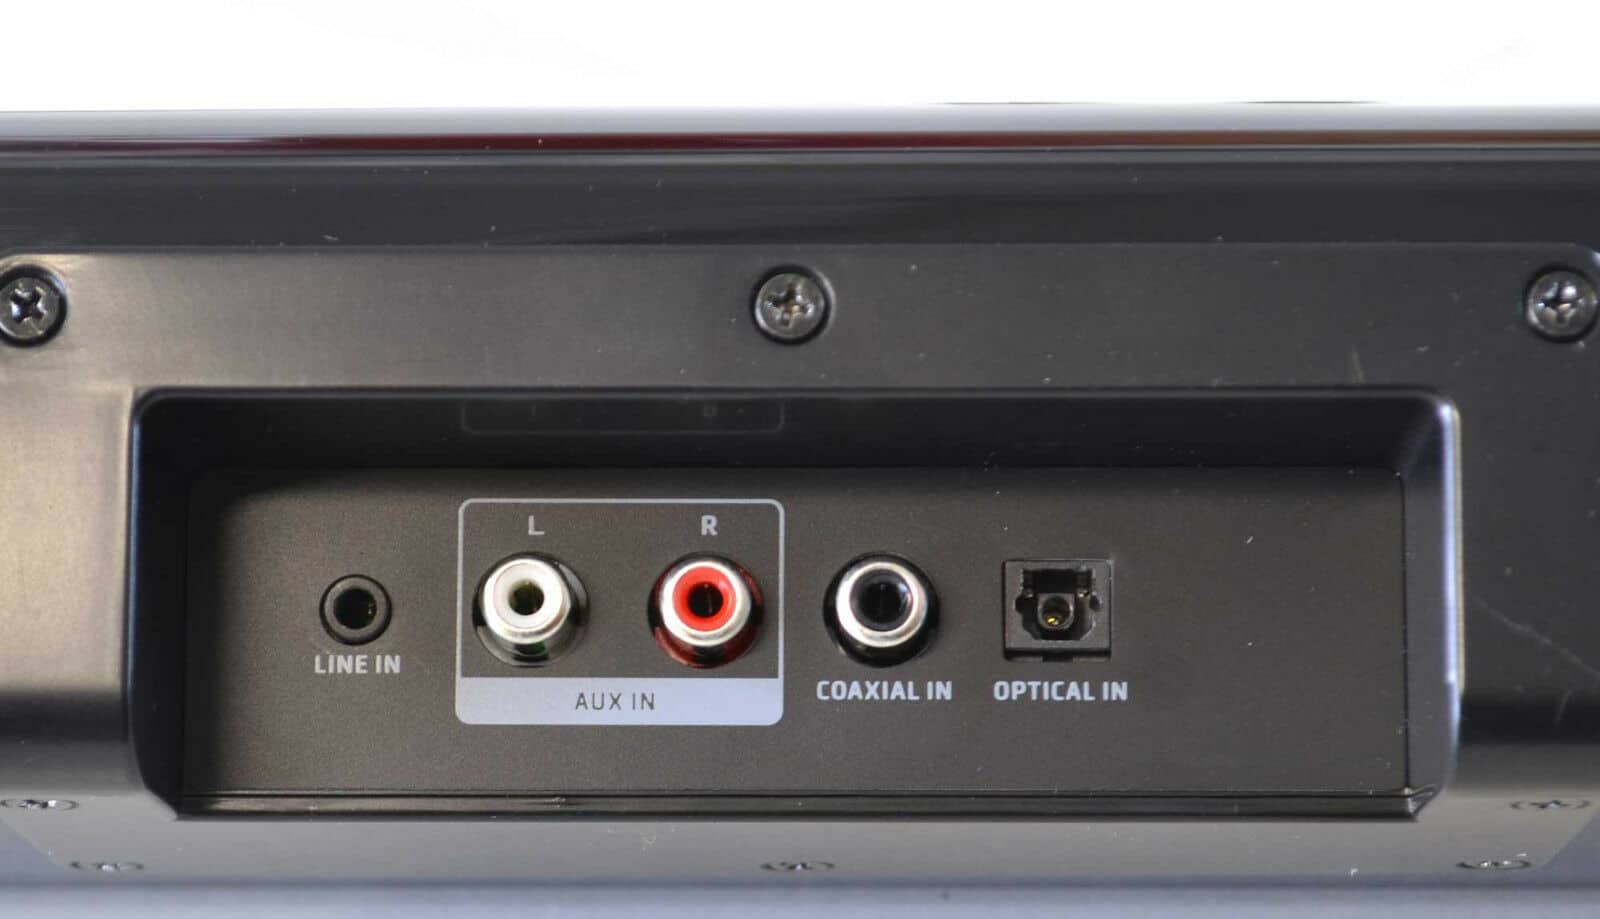
First, identify the type of audio output your TV has. The Sony HT-S350 Soundbar offers two connection options: HDMI ARC (Audio Return Channel) and optical audio.
If your TV has an HDMI ARC port, use an HDMI cable to connect the HDMI ARC port on the soundbar to the HDMI ARC port on your TV. Make sure to insert the cable securely into both ports.
If your TV does not have an HDMI ARC port, you can use an optical audio cable. Connect one end of the optical audio cable to the optical audio output on your TV and the other end to the optical audio input on the soundbar. Again, make sure the cable is firmly connected.
Once the connection is made, switch the input source on your TV to the appropriate HDMI ARC or optical audio input port. This step ensures that the audio signal from your TV is directed to the soundbar for playback.
If your TV has HDMI CEC (Consumer Electronics Control) enabled, you may also be able to control the soundbar using your TV’s remote. This allows for convenient control over volume, power, and other functions without the need for an additional remote.
With the soundbar successfully connected to your TV, you are ready to move on to the next step of connecting the subwoofer to the soundbar.
Step 3: Connecting the Subwoofer to the Soundbar
Now that you have connected the soundbar to your TV, it’s time to connect the subwoofer to the soundbar to ensure optimal audio performance.
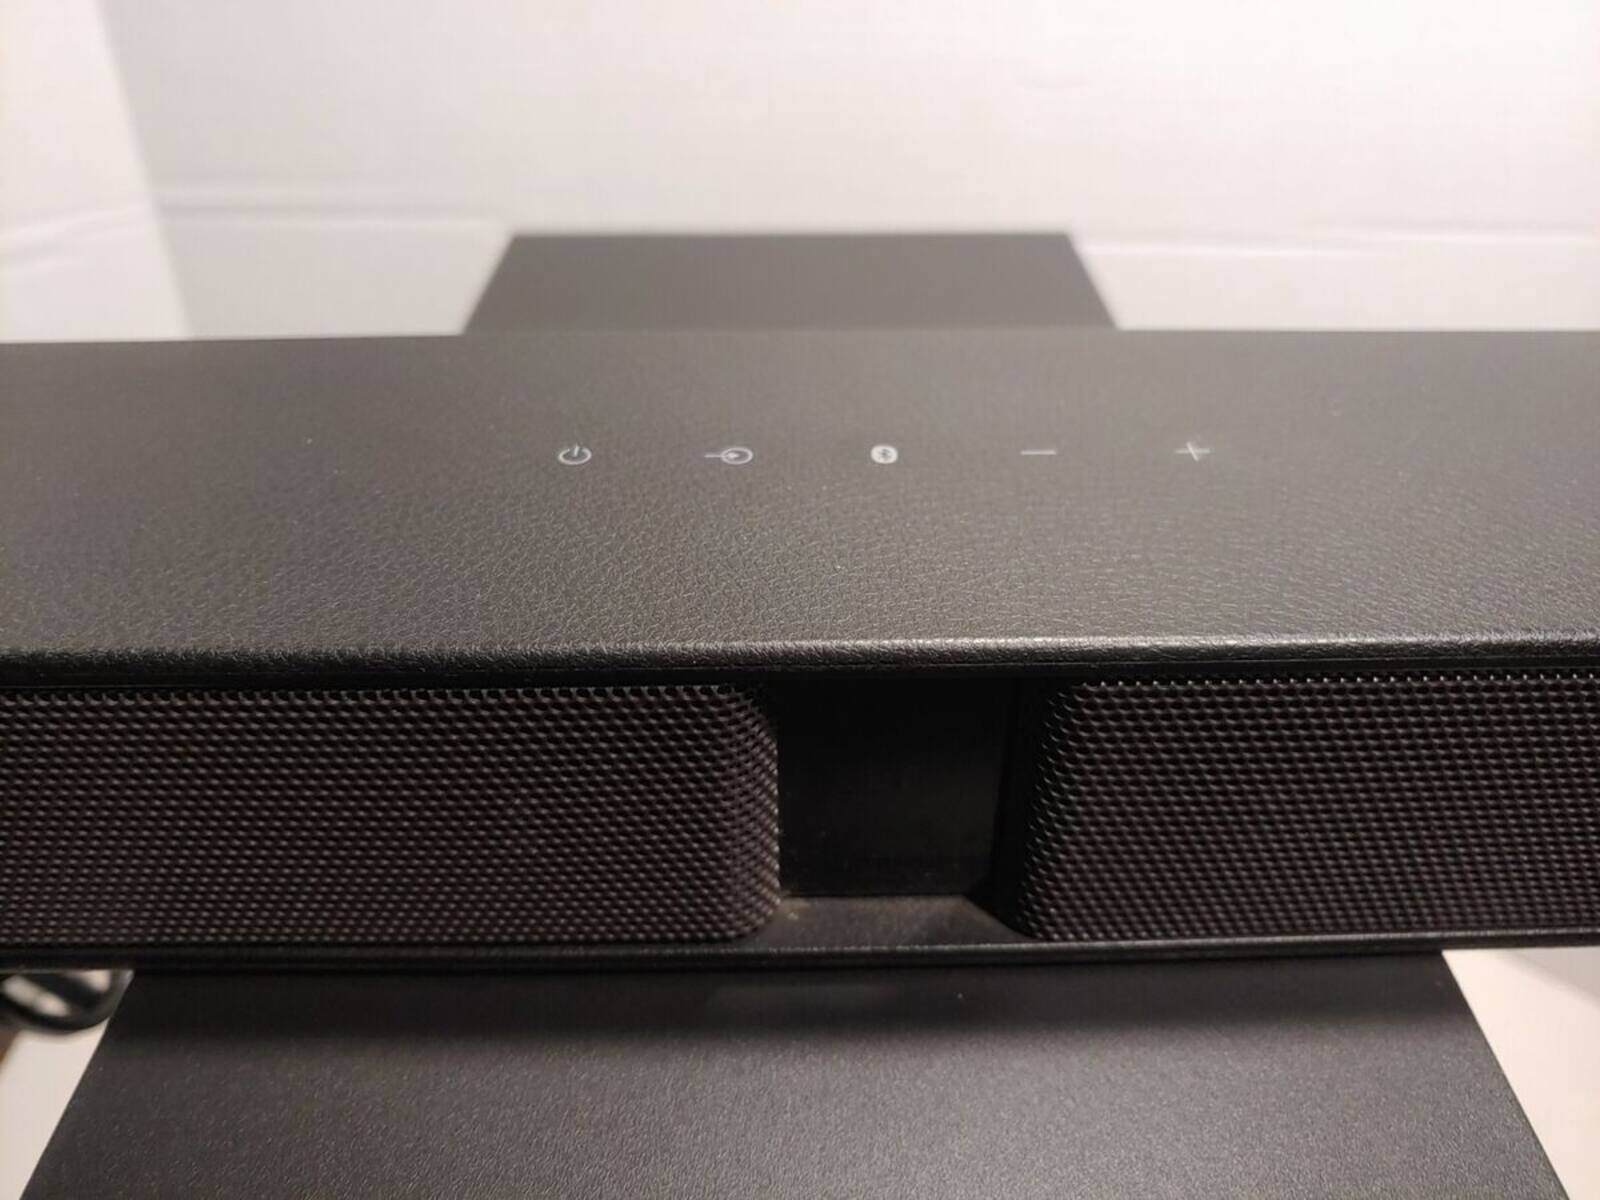
Start by locating the pairing button on the back of the subwoofer. Press and hold the pairing button until the LED indicator on the subwoofer starts flashing.
Next, on the soundbar, press and hold the F (function) button until the display shows “PAIRING.” The soundbar will now search for the subwoofer’s signal.
Once the soundbar finds the subwoofer’s signal, the LED indicator on the subwoofer will stop flashing and remain lit, indicating a successful connection. The soundbar’s display should also show the subwoofer’s status.
It’s important to note that the subwoofer and soundbar need to be relatively close to each other during the pairing process to ensure a stable connection. Once the pairing is complete, you can move the subwoofer to its desired location within the recommended range.
If the pairing process is not successful, ensure that the subwoofer and soundbar are both powered on and in pairing mode. You may need to repeat the pairing process or refer to the user manual for troubleshooting steps.
Once the subwoofer is successfully paired with the soundbar, you’re almost there! The next step involves testing the connection and ensuring that both devices are working seamlessly together for an immersive audio experience.
Step 4: Pairing the Subwoofer with the Soundbar
After connecting the subwoofer physically to the soundbar, the next step is to pair them wirelessly to establish a seamless audio connection.
To begin the pairing process, ensure that both the subwoofer and soundbar are turned on and in close proximity to each other.
On the soundbar, locate the “PAIRING” button or icon. Press and hold this button until the LED indicator on the soundbar starts blinking.
Now, move to the back of the subwoofer and press the “PAIRING” button. Hold it until the LED indicator on the subwoofer starts blinking as well.
The subwoofer and soundbar will now enter pairing mode and attempt to establish a wireless connection. It is essential to complete this process within a certain timeframe, typically around two minutes, as the devices may automatically exit pairing mode if no connection is made.
During the pairing process, you may notice the LED indicators on both the soundbar and subwoofer change. The blinking LED lights will indicate that the devices are actively trying to establish a connection.
Once the pairing is successful, the LED indicators on both devices will stop blinking and remain steadily lit. This indicates that the subwoofer has been successfully paired with the soundbar.
If the pairing process is not successful, repeat the steps above. Ensure that both devices are in pairing mode at the same time and within close proximity to each other.
Once the subwoofer is successfully paired with the soundbar, you can move on to the final step and test the connection to ensure optimal sound quality.
Step 5: Testing the Soundbar and Subwoofer Connection
After successfully connecting and pairing the subwoofer with the soundbar, it’s time to test the connection to ensure that both devices are working together seamlessly.
Start by playing some audio through your TV or your preferred media source. It can be a movie, a TV show, or even some music.
As the audio plays, pay close attention to the sound coming from both the soundbar and the subwoofer. The subwoofer is responsible for delivering deep bass and low-frequency sounds, enhancing the overall audio experience.
If you notice that the sound is not balanced or if you experience issues with the audio output, there are a few things you can try:
- Check the volume levels on both the soundbar and the subwoofer. Ensure that they are set to an appropriate level that suits your preferences.
- Verify that the audio settings on your TV are properly configured, particularly those related to audio output and sound modes.
- Ensure that the soundbar and subwoofer are placed in an optimal position within your room. Experiment with different placements to find the sweet spot for the best sound quality.
- If necessary, refer to the user manual for troubleshooting tips or contact Sony’s customer support for further assistance.
Once you are satisfied with the sound quality and the overall performance of the soundbar and subwoofer, congratulations! You have successfully connected and tested the connection between the Sony HT-S350 Soundbar and the subwoofer.
Now sit back, relax, and immerse yourself in the rich, high-quality audio that your Sony HT-S350 Soundbar and subwoofer combination can deliver!
Conclusion
Connecting the Sony HT-S350 Soundbar to the subwoofer may seem daunting at first, but by following the step-by-step process outlined in this guide, you can easily achieve a seamless audio setup.
Throughout this guide, we covered the necessary steps, including unpacking the soundbar and subwoofer, connecting the soundbar to the TV, pairing the subwoofer with the soundbar, and testing the connection. By carefully following these steps, you can enjoy an immersive sound experience in the comfort of your own home.
Remember to refer to the user manual provided with your Sony HT-S350 Soundbar and subwoofer for more detailed instructions and troubleshooting tips. Additionally, Sony’s customer support is always available to assist you with any further questions or concerns you may have.
With the Sony HT-S350 Soundbar and subwoofer combination, you can elevate your home entertainment experience with high-quality sound and deep bass. Whether you’re watching movies, playing games, or listening to music, the powerful audio output will enhance your immersion and enjoyment.
So, go ahead and connect your Sony HT-S350 Soundbar to the subwoofer using the steps outlined in this guide. Experience the audio prowess of this impressive sound system and transform your viewing and listening experiences today!